
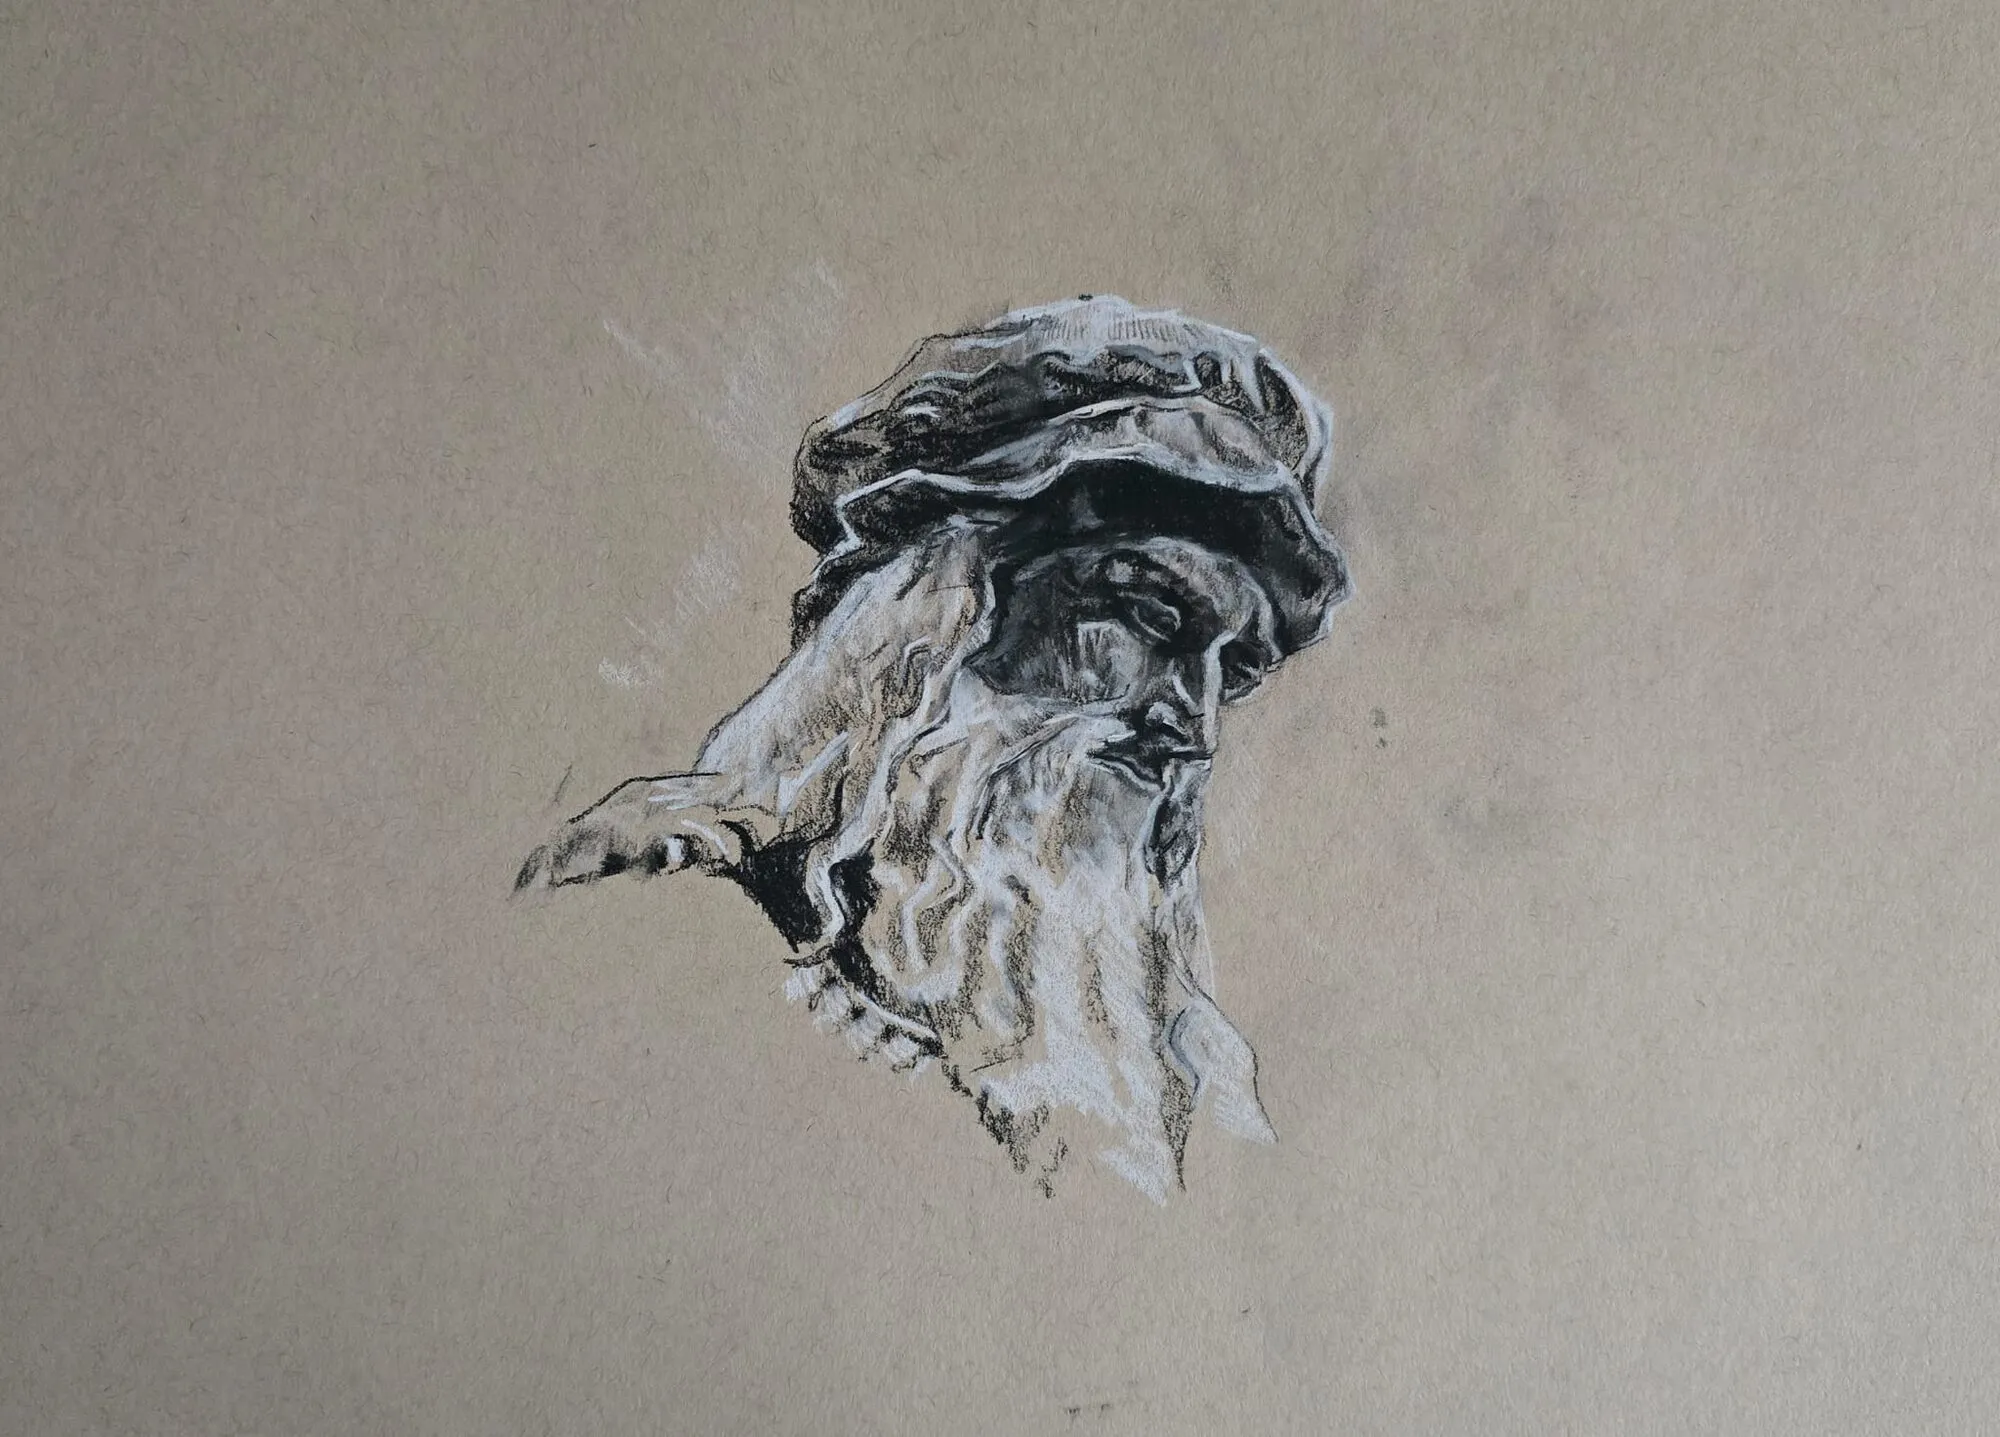
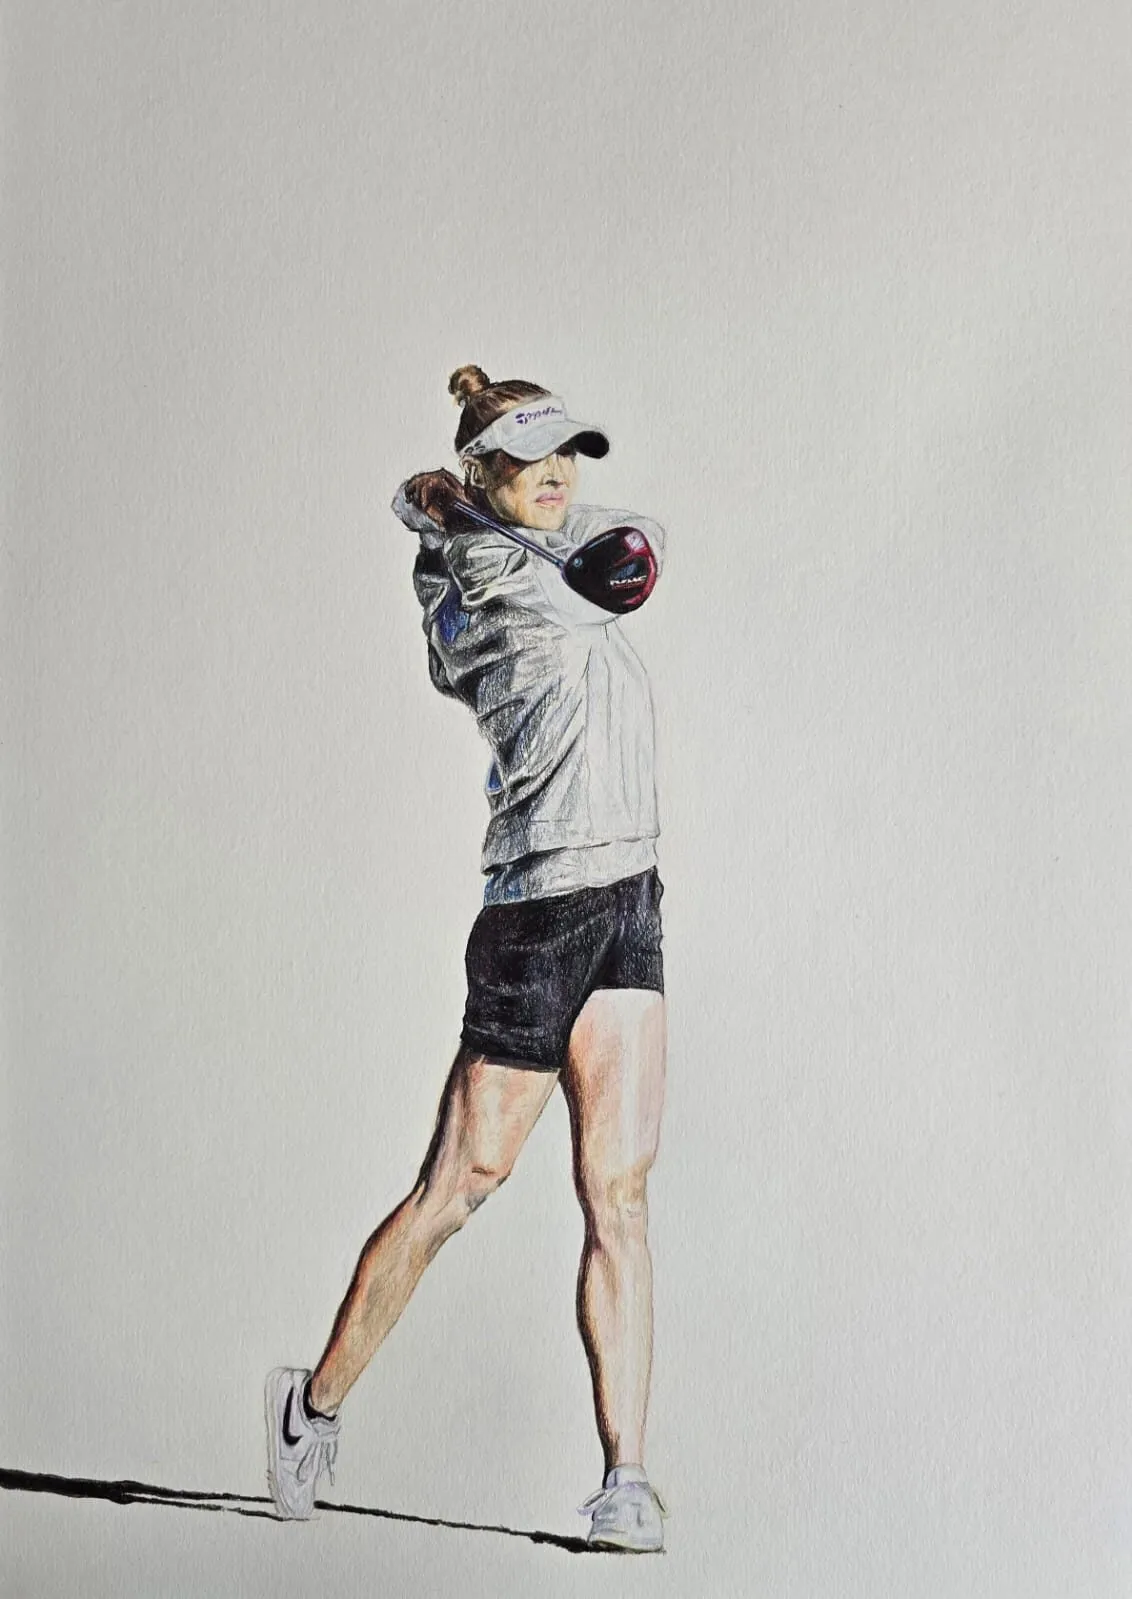
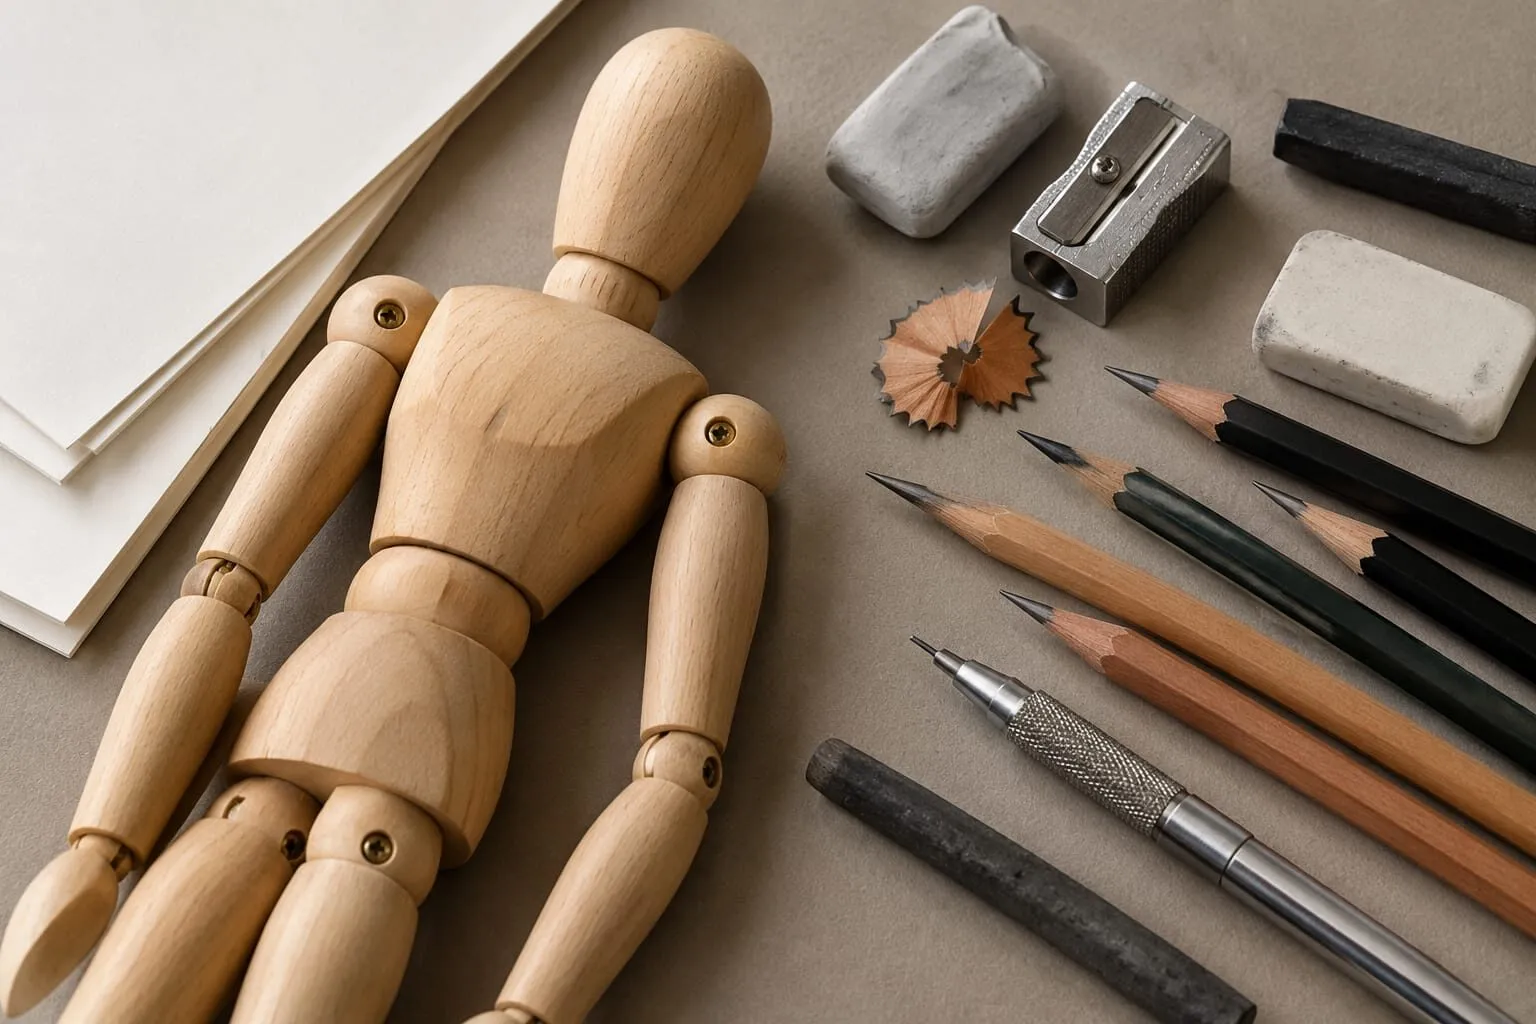
Most artists hit the same wall. The drawing has the right ingredients - eyes, nose, a jug, a horse - and yet something is off, and no amount of fiddling with the shading fixes it. The instinct is to buy better pencils or learn a fancier technique. Usually the real gap is earlier: in how you look, how you practise and what you are learning from.
This guide lays out a path for improvement that works whether you are starting out or refining realism. It has five parts - observe, practise, learn, study, equip - and each links to a deeper guide in the Learn section. Read the whole thing once, then jump to the part that matches your current bottleneck.
New to drawing, or want a lesson to practise on? The how to draw hub has step-by-step tutorials, drawing ideas for beginners gives you something to sketch today, and the 30-day drawing challenge turns the path below into a daily habit. If you work in coloured pencil (colored pencil in the US), the beginner’s guide to coloured pencil drawing is a good companion.
The path in one view
| Stage | The question it answers | Start here |
|---|---|---|
| Observe | Why does my drawing look wrong? | How to draw what you see |
| Practise | How do I improve week by week? | How to practise drawing daily |
| Learn | Which books and courses are worth it? | Best books to improve your drawing |
| Study | What can master drawings teach me? | Master draughtsmen to study |
| Equip | Which materials help rather than hinder? | Pencil grade chart and paper guides |
If you are brand new, begin with drawing for beginners: where to start, which packages the first month into a simple plan.
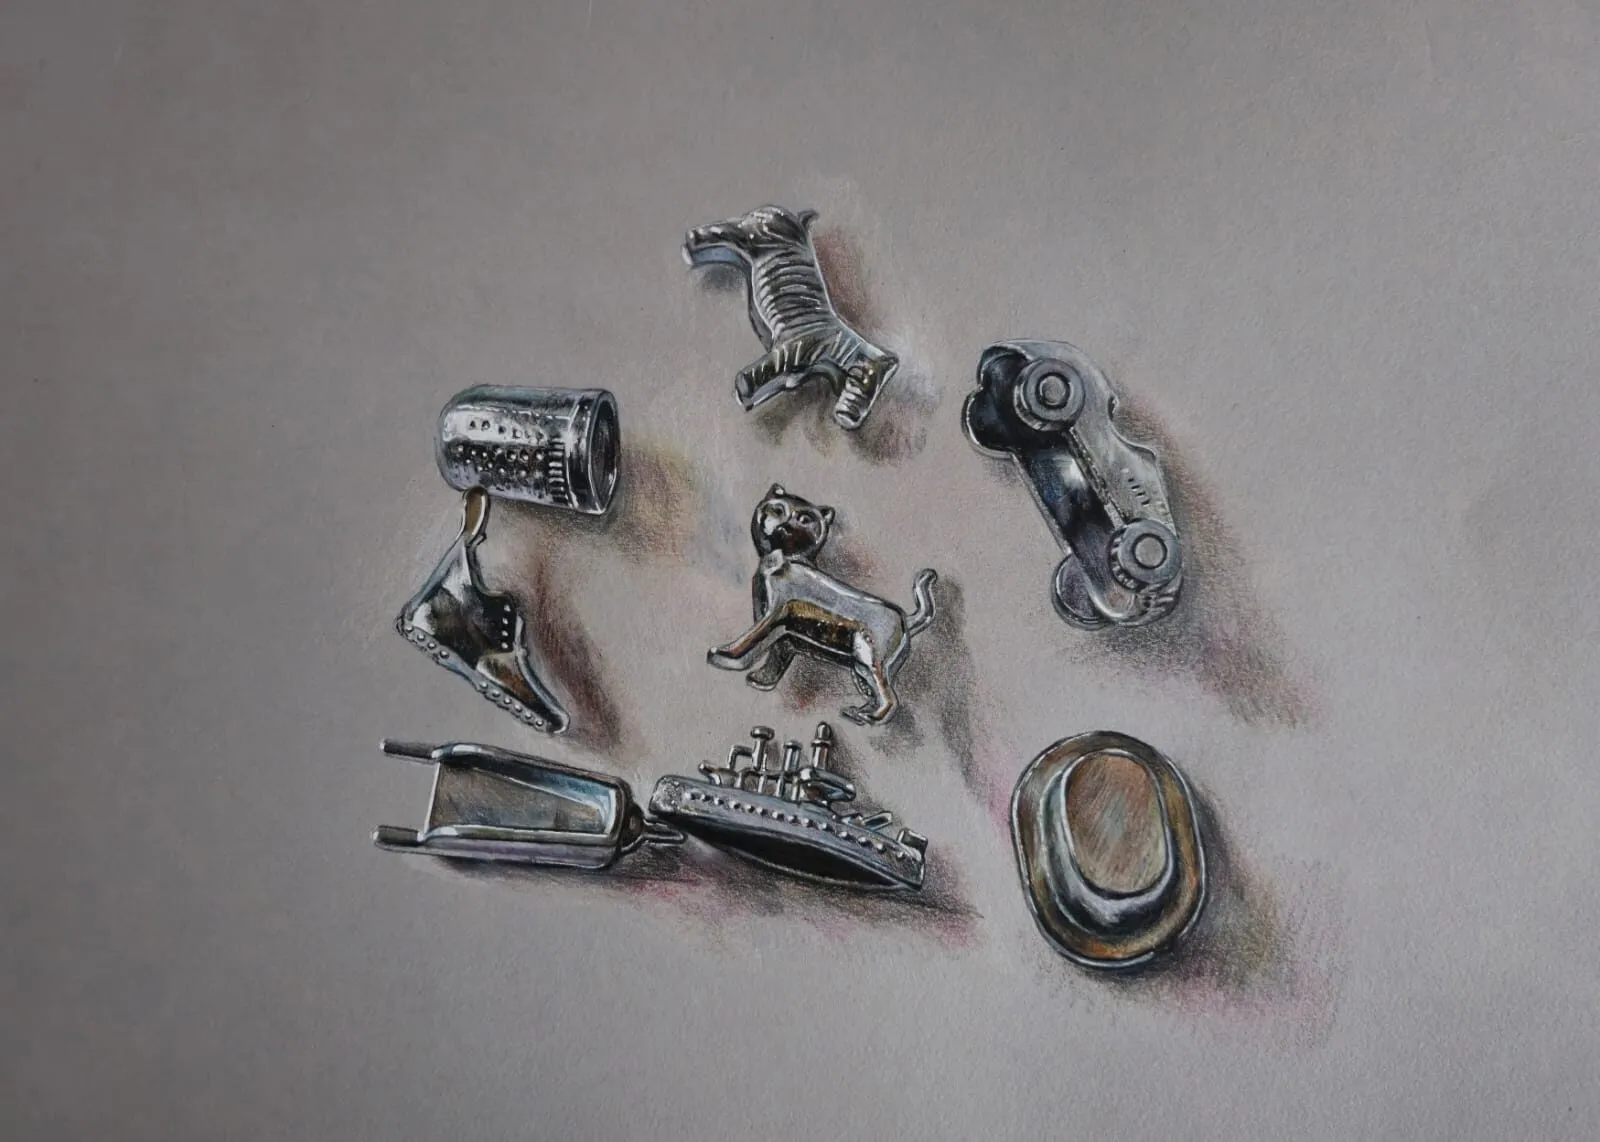
A group of silver metal board-game tokens drawn in coloured pencil on grey paper. Drawing by Michael Brace.
1. Observe: learn to see accurately
Almost every beginner’s drawing goes wrong for the same reason: they draw what they think an eye or a hand looks like, not what is in front of them. The brain supplies symbols - an almond shape for an eye, a circle for a head - and the hand obediently draws the symbol. Improvement begins when you replace the symbol with measurement.
The core habits are small and learnable:
- See shapes, not objects. Break a subject into simple shapes and angles, then compare them to each other.
- Draw the spaces between things. Negative space has no symbol attached to it, so your brain cannot cheat.
- Measure and compare. Check relative sizes, and use plumb lines and horizontals to test alignments.
- Squint to see values. Half-closing your eyes merges detail into a few large light and dark masses.
- Check errors with fresh eyes. Turn the drawing upside down or view it in a mirror - mistakes jump out.
These are covered step by step, with exercises, in how to draw what you see. If you want a structured method for retraining perception, the classic book on the subject is Betty Edwards’ Drawing on the Right Side of the Brain, and Bert Dodson’s Keys to Drawing teaches similar observational habits in a gentler, more playful way.
Why value comes before detail
Beginners often chase detail - eyelashes, textures, individual hairs - while the big tonal structure is wrong. A drawing with correct large values and little detail will always read better than a detailed drawing with the values muddled. Train this early. The value study tool converts a reference photo to tones so you can see what the simplified light and dark pattern actually looks like, and our guide to value in drawing explains how to use it.
2. Practise: deliberate, regular, measurable
Practice only improves you if it is aimed at something. Drawing the same comfortable subject in the same comfortable way for an hour feels productive and changes very little. Deliberate practice means picking a weakness - proportion, edges, hands, soft shading - and designing a short exercise for it.
A workable structure looks like this:
- Warm up for five to ten minutes with gesture or simple contour drawing.
- Do one focused exercise aimed at your current weakness, such as a timed value study or a measured copy.
- Finish with a short study from a real subject, applying what you just practised.
- Note what went wrong, in one sentence, in the margin of the page.
Little and often wins. Twenty to thirty minutes on most days is more effective than a rare four-hour marathon, because the skills are largely perceptual and motor, and both consolidate through repetition. The full routine, including weekly rhythm, timed studies and how to avoid plateaus, is in how to practise drawing daily.
Track your progress
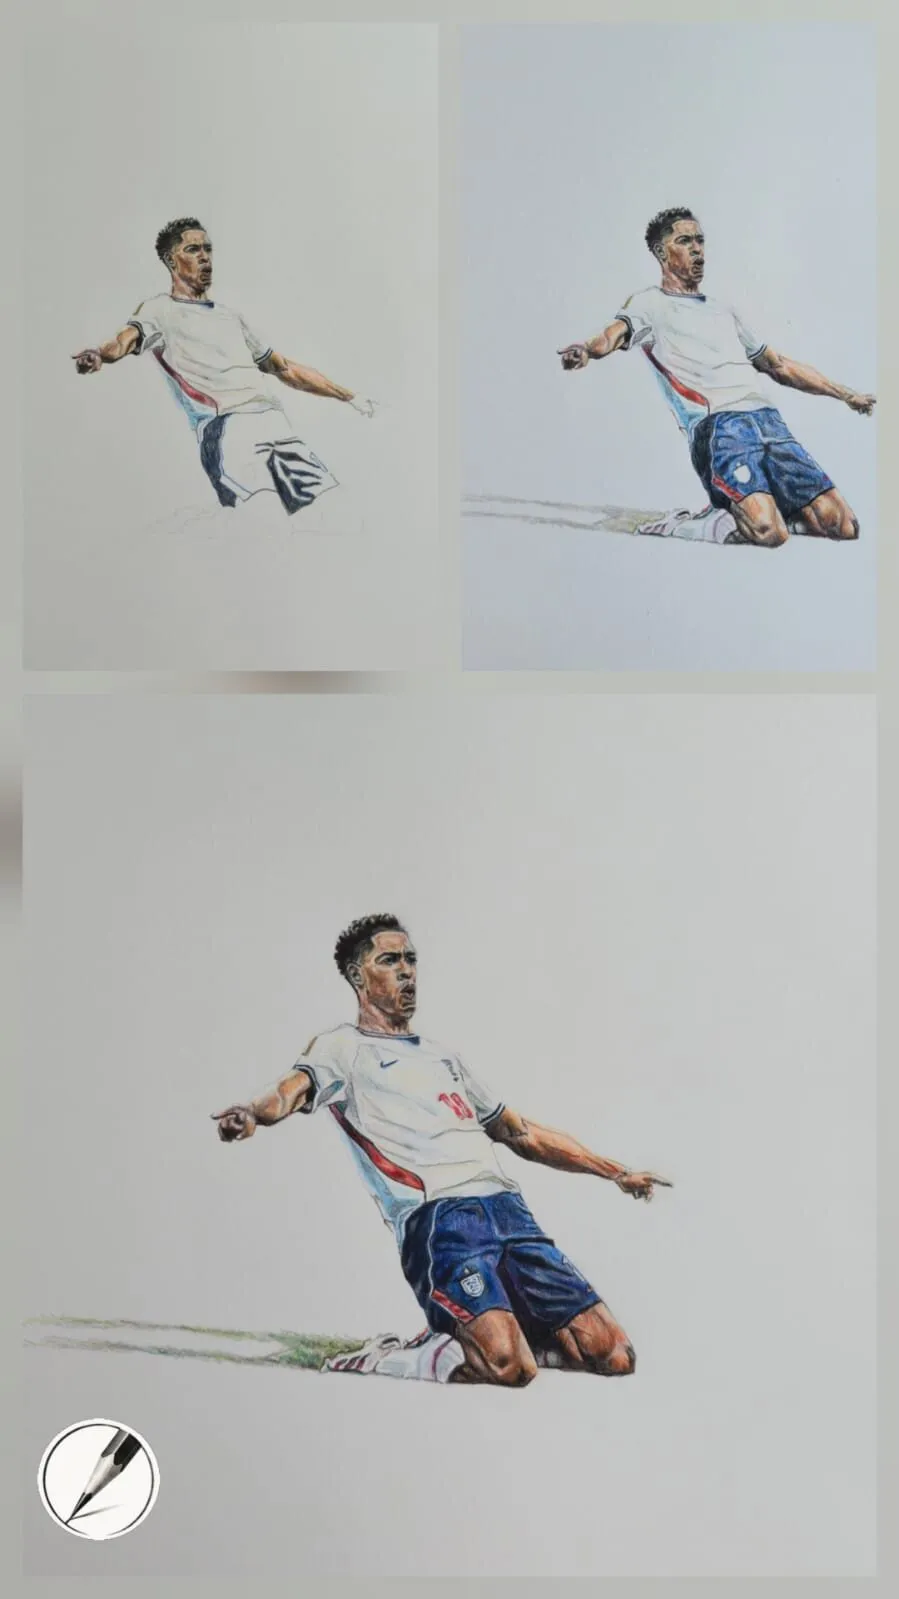
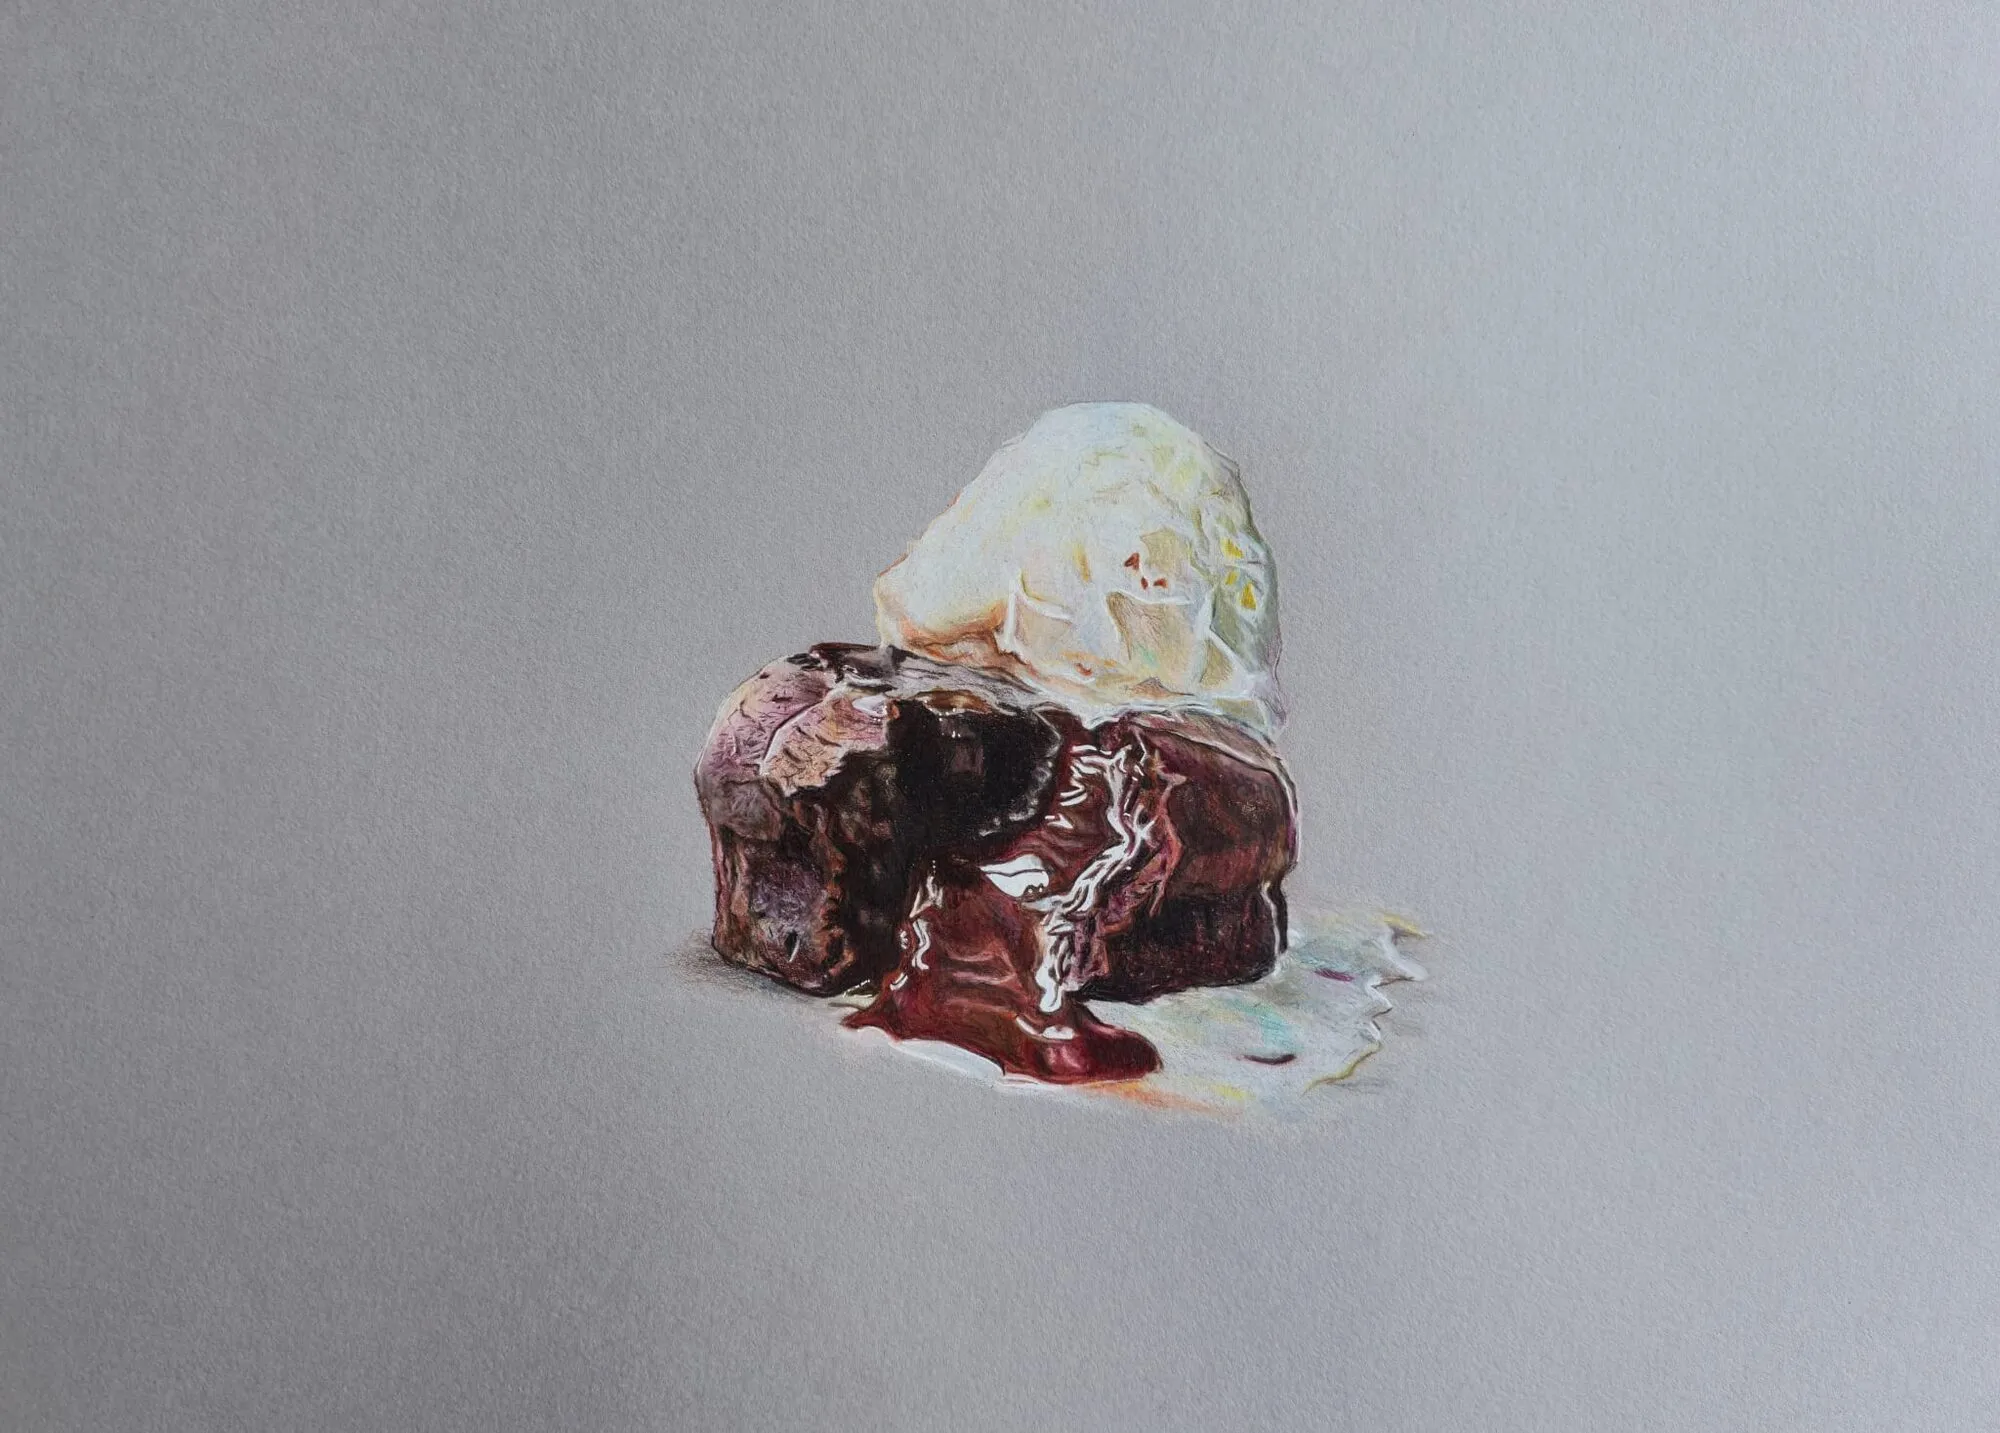
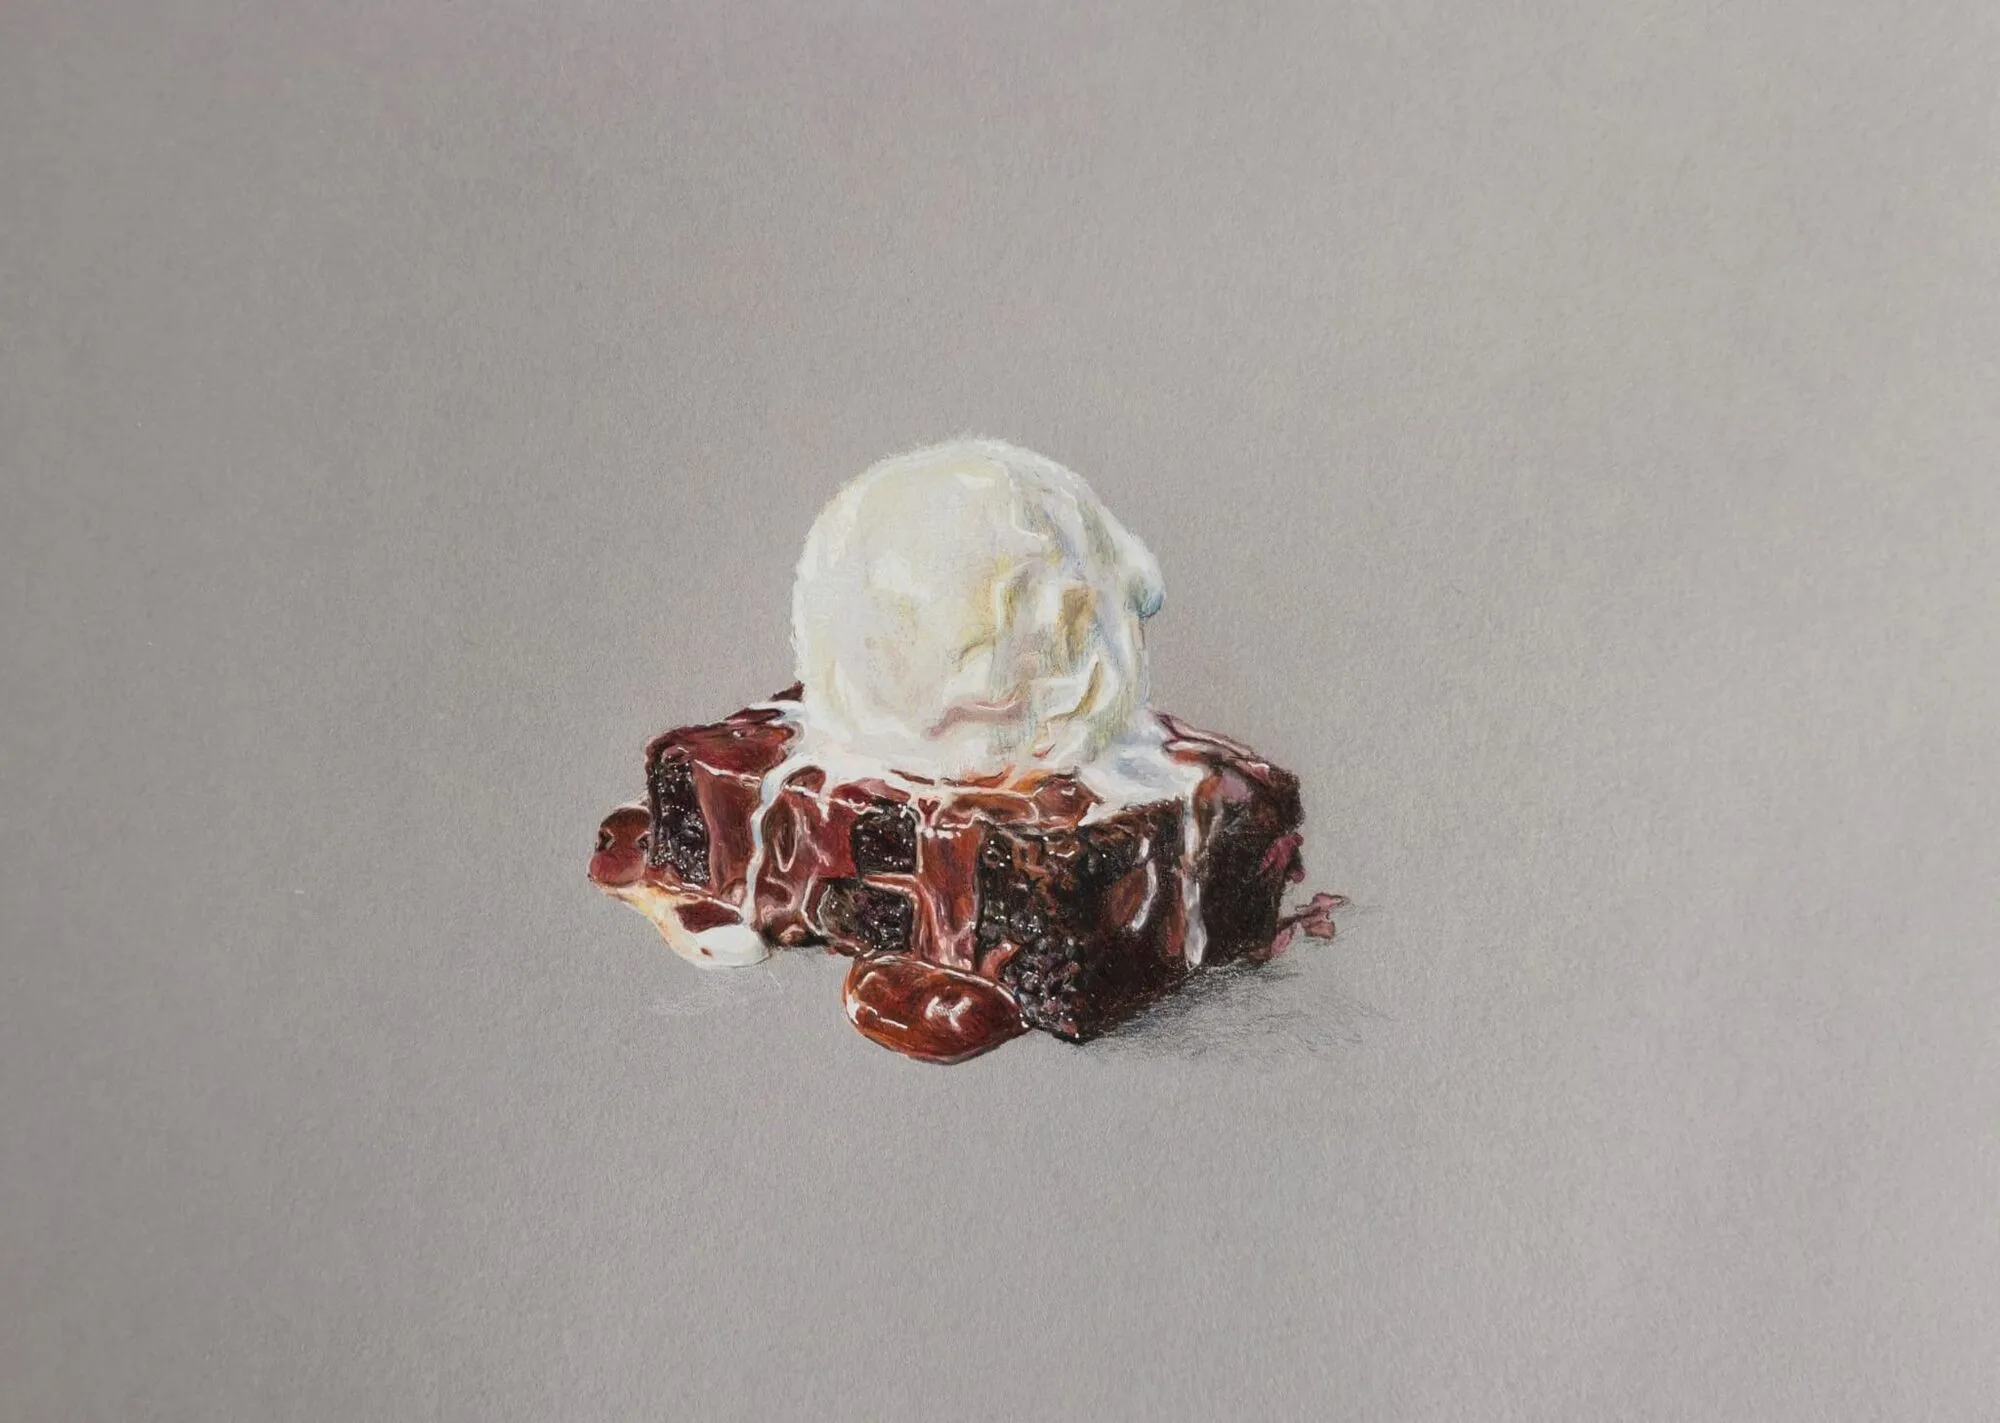
Progress in drawing is slow enough that you will not notice it day to day, which is why so many people quit thinking they have stalled. Fix that by keeping dated studies of the same kind of subject and comparing them every few months. Michael’s two drawings of the same subject, made at different times, show the point well: the improvement in accuracy, tone and confidence is obvious side by side, and it would have been invisible week to week.
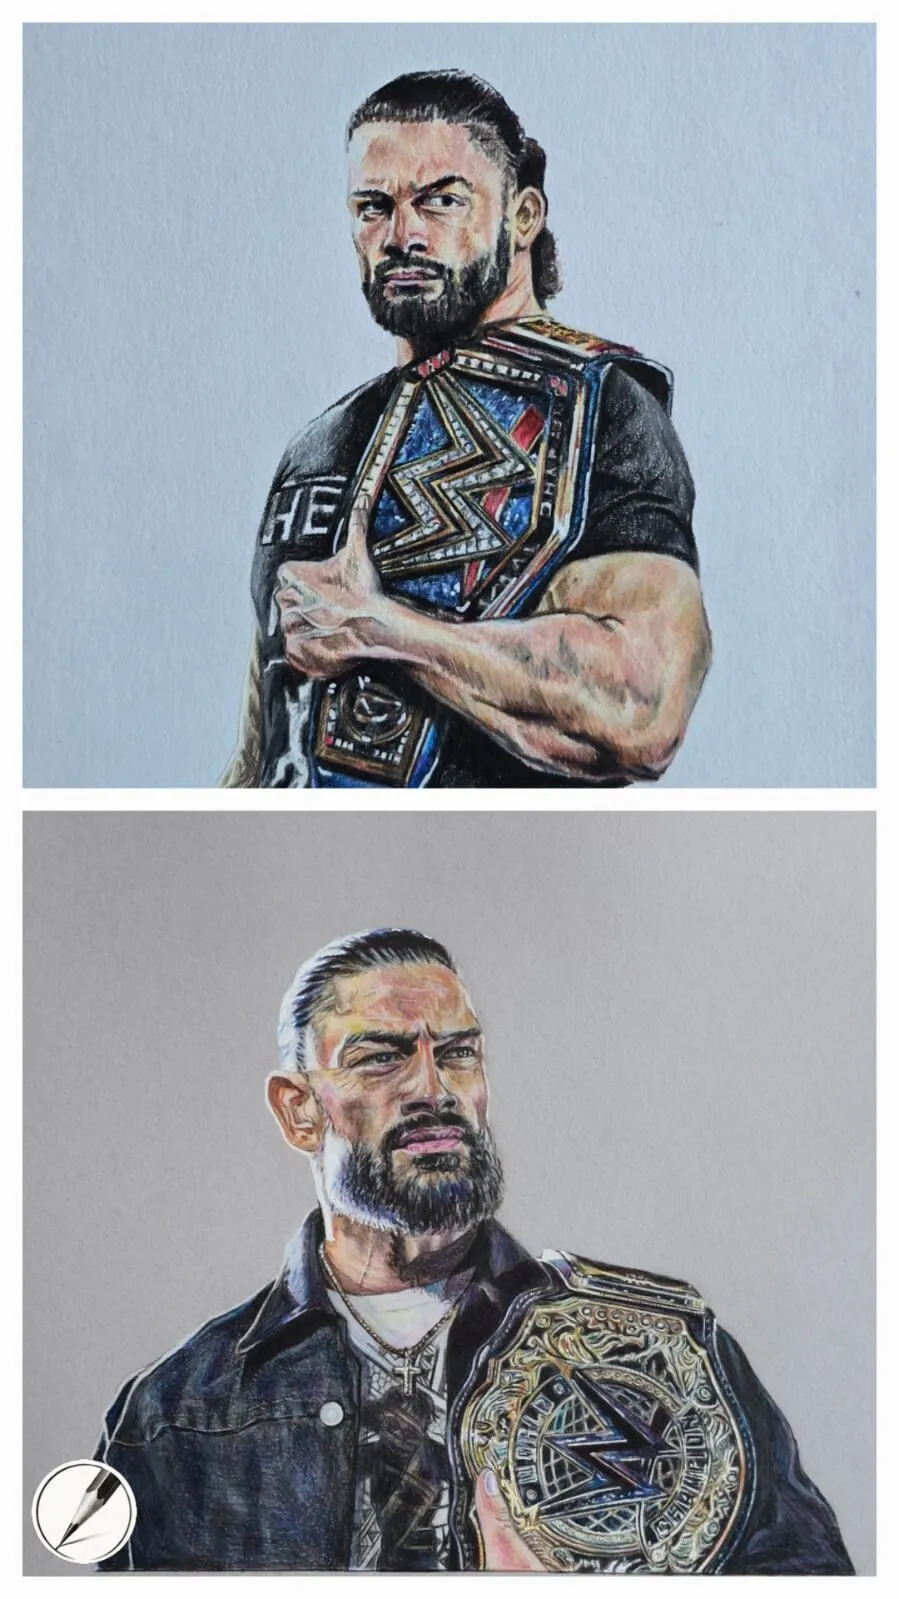
The same subject drawn at two different stages of development. Keep dated work and compare it - the change is easier to see than to feel.
3. Learn: books and courses
Self-teaching works, but a good teacher shortens the route. Books and courses fix different problems.
Books are cheap, permanent and dense. A strong instructional book gives you an exercise programme you can repeat and revisit. The best ones for general improvement are, in order of what we would suggest reading first: Keys to Drawing, Drawing on the Right Side of the Brain, You Can Draw, and, once you want a serious realism toolkit, Alyona Nickelsen’s Colored Pencil Painting Bible and Sarah Evans’ Super Realism. Our ranked round-up of the best books to improve your drawing gives a “best for” and “why it matters” for each.
Then go specialist:
- Best books for figure drawing - Loomis, Nicolaides, anatomy references and books on gesture.
- Best books for animal drawing - anatomy, gesture and fur and feather rendering.
- Best books for botanical drawing - careful, patient observation and plant structure.
- Best books for coloured pencil artists - the titles that teach layering, glossy surfaces and colour, organised by goal.
Courses add what a book cannot: a person who looks at your work and tells you what is wrong. Foundation drawing, life drawing and observational drawing are the highest-value course types for nearly everyone, and botanical and portrait courses are especially useful for coloured pencil artists. Our guide to the best drawing courses covers ten course types and the institutions known for them, how to choose one, and cheaper ways to get similar training. Always check each institution’s current offer, availability and requirements directly, since these change.
4. Study: learn from master drawings
Looking at great drawings is not decoration - it is instruction. A master drawing preserves decisions: where the line thickens, where the edge disappears, how a shadow is simplified to a single tone. You can see how they think on paper, including hesitations and corrections.
Ten artists give the most instructive coverage: Leonardo for observation and anatomy, Michelangelo for gesture and sculptural form, Durer for precision, Rembrandt for economy and character, Ingres for line, Degas for movement, Sargent for confident mark-making, Kollwitz for emotional value contrast, Prud’hon for soft luminous shading and Bargue for structured copying. Our guide to master draughtsmen to study explains what each teaches and how to study a drawing by copying, analysing and making thumbnails, rather than just admiring it.
Seeing originals helps enormously. If you can visit collections, our list of the best museums and galleries for drawings is a good place to plan trips.
5. Equip: materials that help you improve
Materials do not make you a better artist, but the wrong ones can make you feel like a worse one. Paper that shreds under layering, a pencil that will not hold a point or a paper too smooth to grip pigment all add friction that has nothing to do with skill.
A few principles:
- Choose paper for the subject. Heavier paper with some tooth takes layering and erasing; smoother papers suit fine detail. See best paper for realistic drawing and, if you work in graphite, best paper for graphite drawing.
- Know your graphite grades. A range from hard to soft covers light construction lines to deep darks; the pencil grade chart shows the spread, and graphite pencil grades explained describes the practical use of each.
- Consider toned paper. Working from a mid-tone gives you a head start on values, particularly for glossy subjects. See why use grey paper for coloured pencil.
- Add coloured pencil when you are ready. The best coloured pencils for beginners are a friendly entry point once your graphite drawings feel stable.
The wider hubs go deeper: coloured pencils, paper, techniques, colour theory, graphite and charcoal and the art world section for competitions, framing and portfolios.
Learn one medium well before spreading yourself across several. Graphite is a superb training ground because it isolates value and form; colour then becomes a layer of understanding on top rather than a distraction. When you make the jump, how to layer coloured pencils is the essential first technique.
Common reasons people stop improving
- Drawing from memory or imagination too early. Without a reliable stock of observed forms, invented drawings repeat the same clichés. Draw real things first.
- Practising only what is comfortable. Improvement lives in the exercises you avoid.
- Copying photos without understanding them. Photographs flatten values and hide edges. Use them, but learn to interpret them. See how to draw what you see for photo-versus-life notes.
- Switching materials constantly. Each change resets your feel for the surface and pencil.
- Comparing your unfinished work to finished masterpieces. Compare it to your own work from three months ago.
A simple plan for the next three months
Here is one way to combine everything above without overloading yourself.
Month one - see and build habits. Work through the first exercises of one observation book. Do 20 to 30 minutes most days: gesture warm-ups, upside-down copies and simple value studies. Follow the 30-day plan for beginners if you are starting from scratch.
Month two - add structure and a subject focus. Choose the area that matters to your work: the figure, animals, plants or still life. Read the relevant specialist list above, buy one book and work through it. Add one weekly master copy.
Month three - test and feedback. Do a timed study of a subject you drew in month one, compare, and identify your top two weaknesses. Consider a class or drawing group for feedback. Then repeat the cycle.
The short version
To improve at drawing, fix your seeing first, practise in short deliberate sessions, learn from one good book or course at a time, study master drawings actively and use materials that support you. Keep dated work so you can see the progress you cannot feel. Start with how to draw what you see and the best books to improve your drawing, then choose the specialist guides that fit your subjects.