Books & Courses
Drawing for Beginners: Where to Start
A practical starting point for new artists: materials to buy, first exercises, beginner mistakes, a 30-day plan and when to move to colored pencil (coloured pencil).
Key takeaways
- ◆You need very little to start: two or three graphite pencils, an eraser and a sketchbook or decent drawing paper.
- ◆Begin with simple exercises - lines, shapes, values and contour - before attempting portraits or complex scenes.
- ◆The most common beginner mistake is drawing symbols instead of what is in front of you; learn to measure and compare.
- ◆Follow a 30-day plan of short daily sessions to build the habit and the basic skills together.
- ◆Move to coloured pencil once graphite drawings feel stable: value control first, colour second.
Most people who say “I can’t draw” have never been taught to see, which is a different problem from having no ability. Drawing is a set of learnable skills, and the first ones - looking carefully, judging proportion and controlling tone - are simpler than they seem. The difficulty is knowing what to do first, and what to buy without wasting money.
This guide gives you a starting kit, the first exercises worth doing, the mistakes to avoid and a 30-day plan that takes you from a blank page to confident basics. It also tells you when to move to coloured pencil. For the longer view, see how to get better at drawing.
For hands-on lessons, begin with how to draw basic forms and shading, then the 30-day drawing challenge. Kit guides help too: the best drawing pencils for beginners, best drawing paper for beginners and best drawing supplies for beginners. When you are ready for colour, see the beginner’s guide to coloured pencil (colored pencil) drawing.
What you actually need
You do not need a shop’s worth of equipment. Start with:
- Two or three graphite pencils. A hard one for light construction lines (around 2H), a medium (HB) and a soft (around 4B) are a flexible trio. The pencil grade chart shows how grades compare, and graphite pencil grades explained covers what each is for.
- A sketchbook or decent drawing paper. Thin copier paper works for warm-ups, but a sketchbook with reasonable weight and a little tooth feels better and takes erasing. Read when to use cartridge paper for an inexpensive, versatile white option.
- An eraser. A soft, non-abrasive eraser for lifting tone and cleaning up. See best erasers for graphite.
- A sharpener. A sharp point is the most useful thing a beginner can have.
That is enough for months. Upgrade when you notice a specific limit, not because a shop display looks appealing.
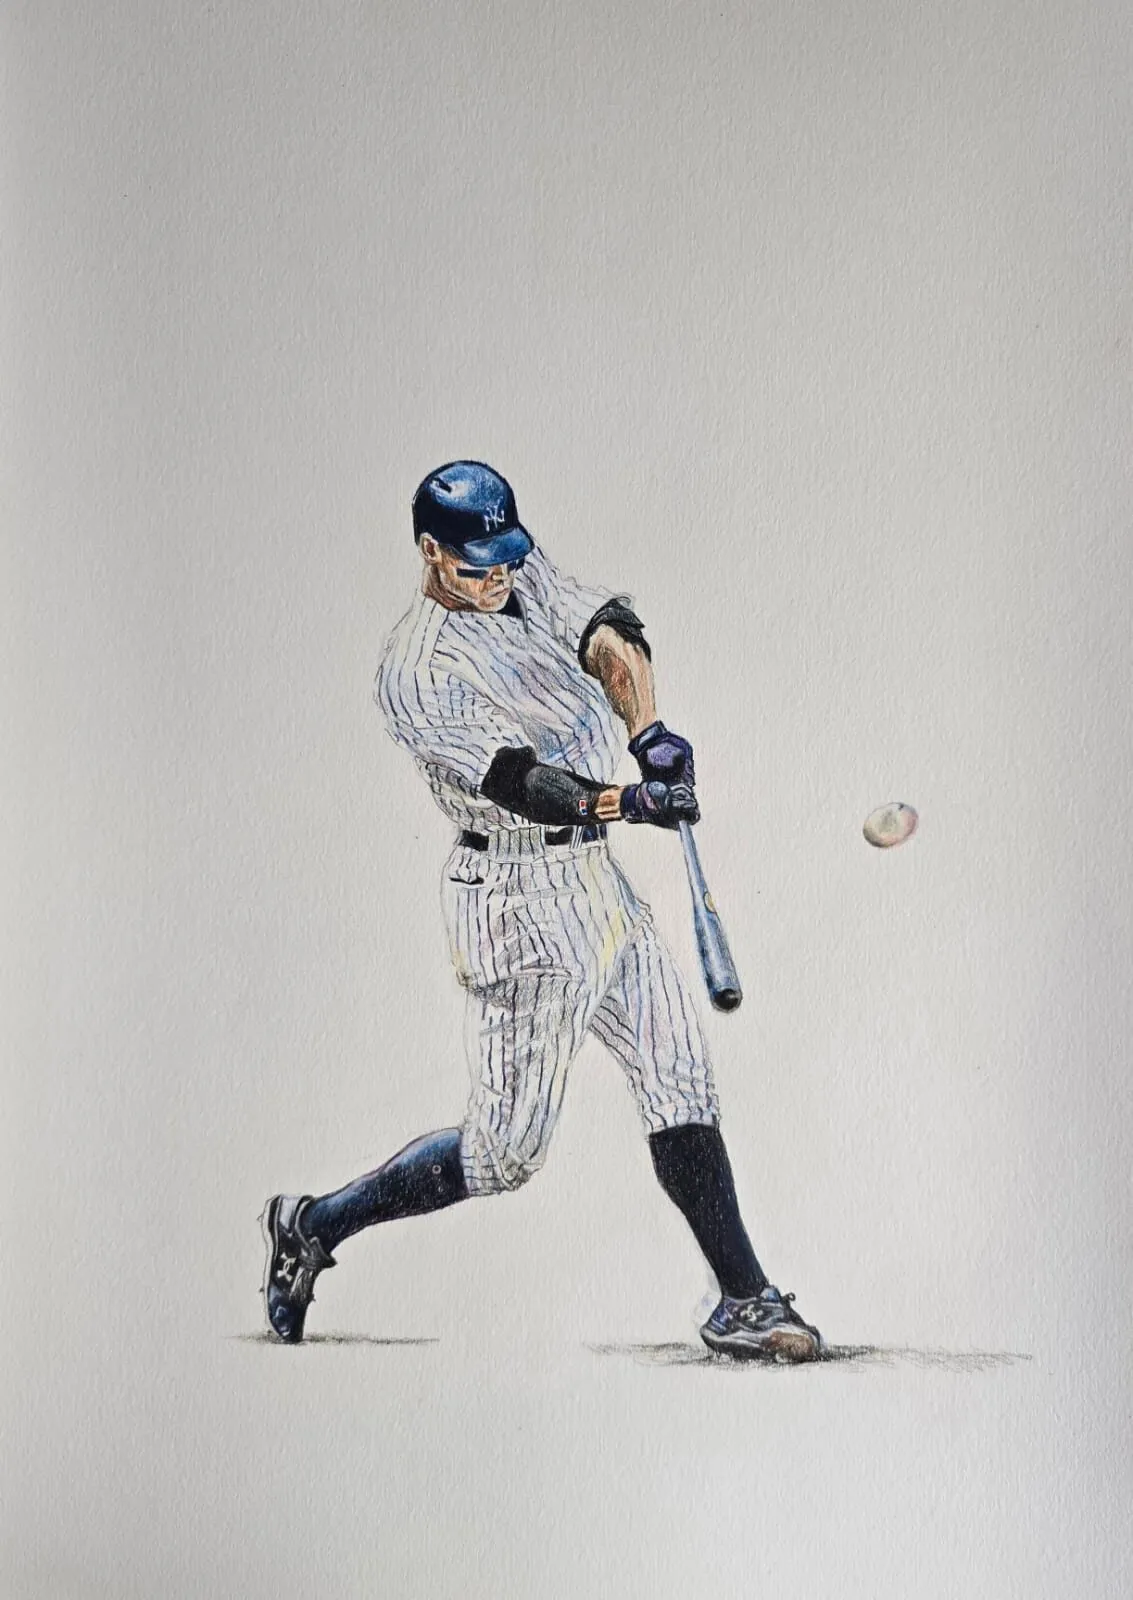
A baseball batter mid-swing drawn in coloured pencil. Drawing by Michael Brace.
The first exercises
Do these in order, a few minutes each.
- Lines and marks. Draw straight lines, curves and circles freehand. Aim for a smooth, confident stroke rather than a perfect one.
- Value scale. Draw a row of boxes and shade from lightest to darkest in even steps. This teaches pressure control. Our guide to how to shade with pencil covers it in depth.
- Basic forms. Draw a cube, a sphere, a cylinder and a cone, then shade each with a single light source. Almost every object is a variation on these.
- Contour drawing. Slowly draw the edges of an object, looking mostly at it and hardly at the page.
- A simple still life. Choose two or three plain objects, such as a mug and an apple, and draw them, checking proportions.
How to see, not just look
Beginners’ drawings usually go wrong because the brain substitutes a symbol for what it sees. Faces become an oval with an almond eye; a mug becomes a rectangle. Fix it with a few habits:
- Measure and compare. Hold your pencil at arm’s length and compare one dimension against another.
- Draw the spaces between things. Negative space has no symbol.
- Squint to see big value shapes instead of detail.
- Turn the drawing upside down occasionally to see it fresh.
These are covered step by step in how to draw what you see. Betty Edwards’ Drawing on the Right Side of the Brain and Bert Dodson’s Keys to Drawing are the two best books for this stage; see best books to improve your drawing.
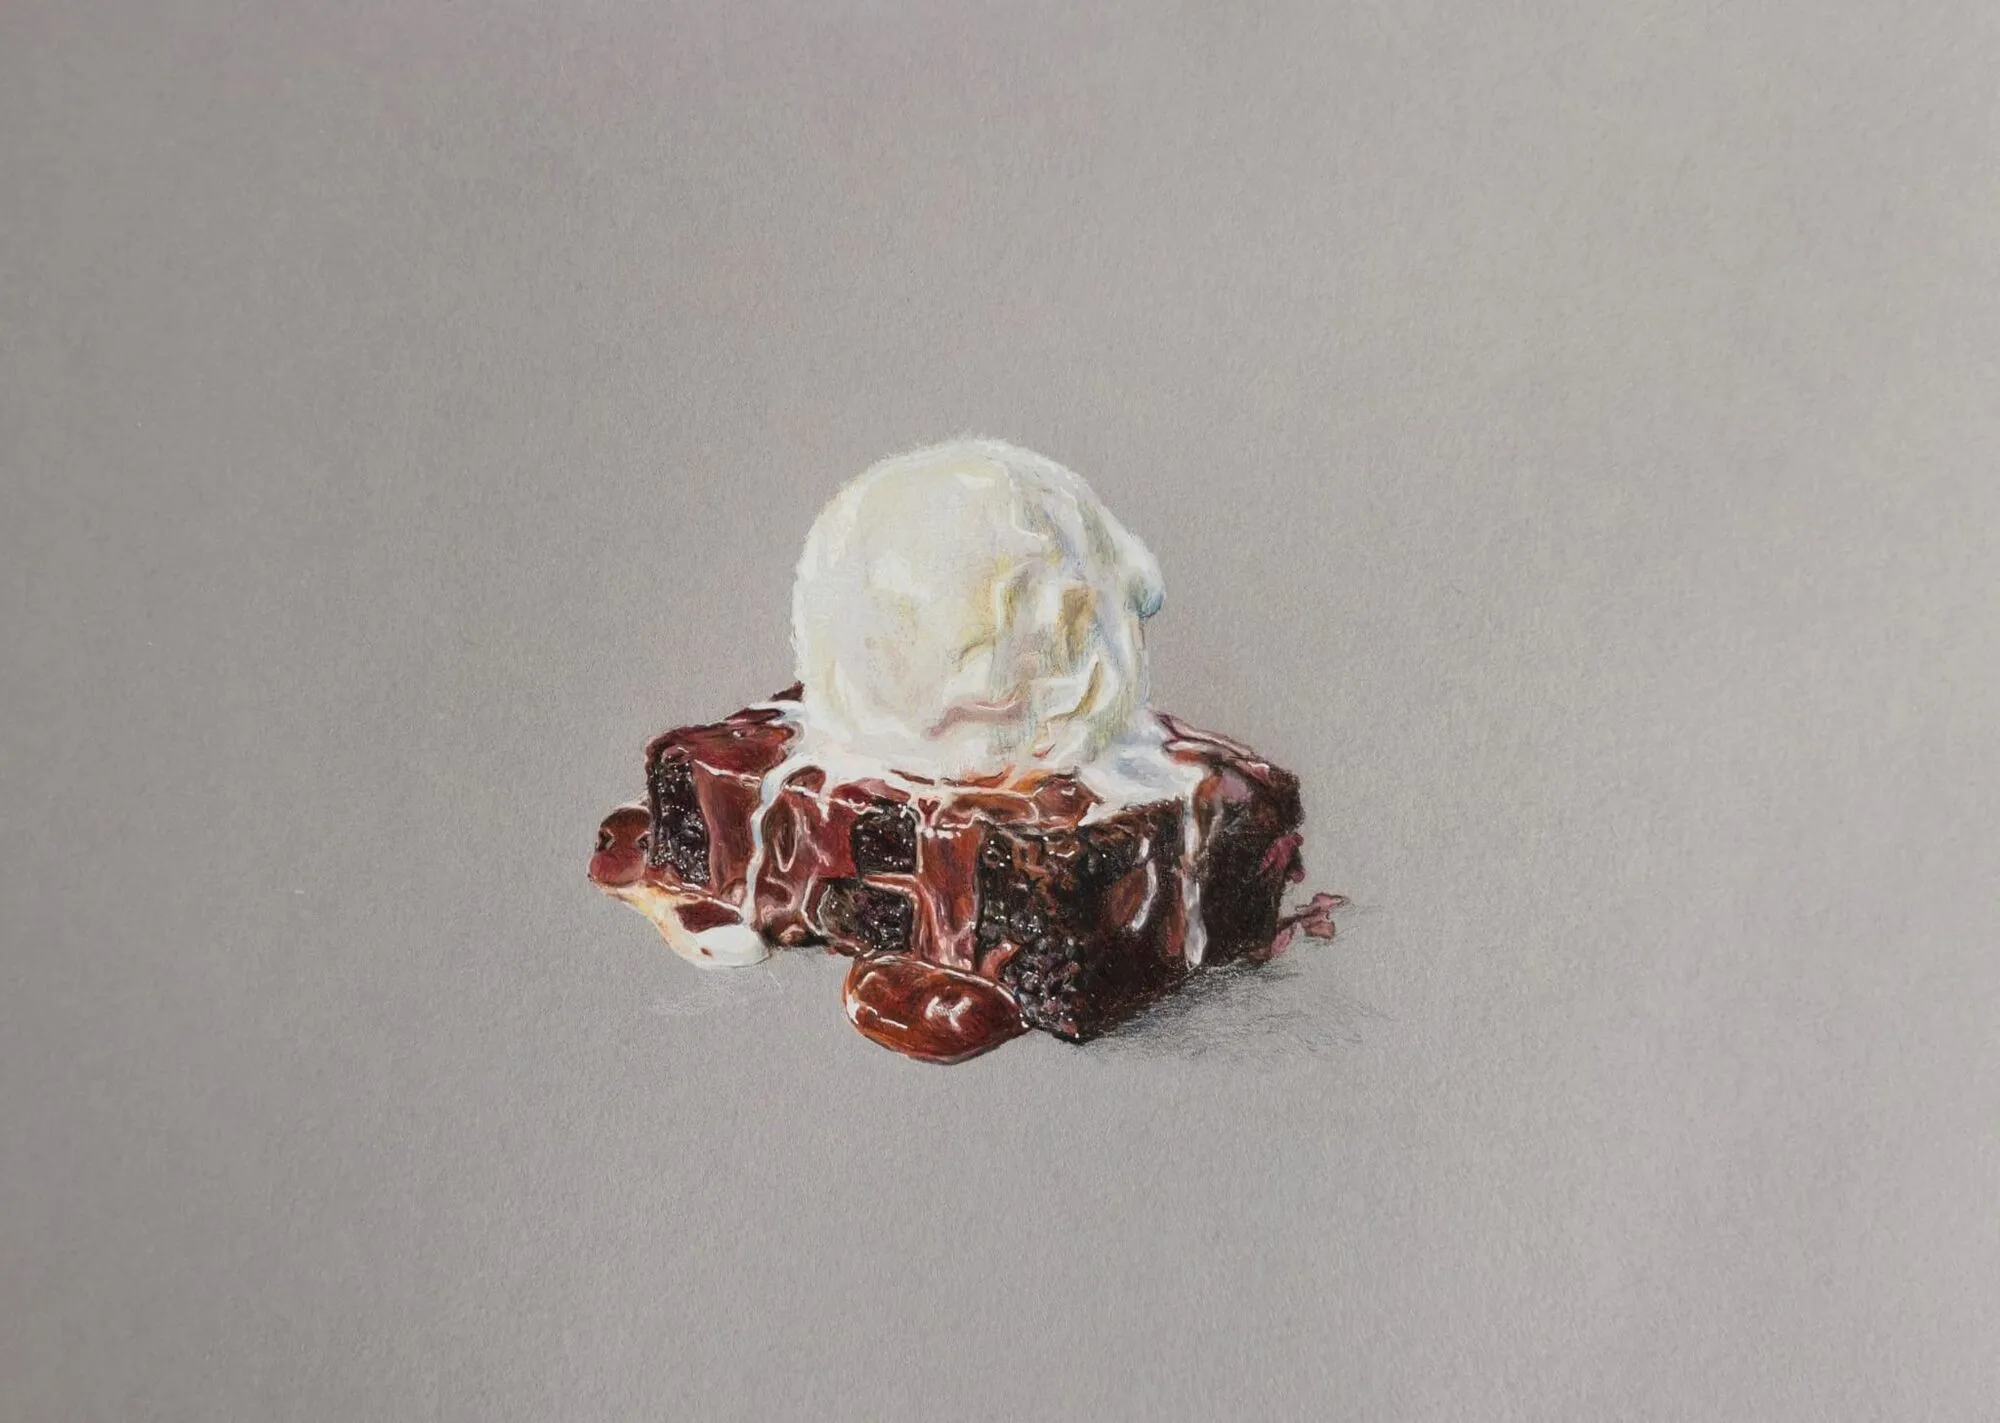
A brownie with ice cream and sauce drawn in coloured pencil on grey paper. Drawing by Michael Brace.
Common beginner mistakes
- Pressing hard from the start. Build tone in light layers. Hard pressing flattens the paper and makes erasing difficult.
- Starting with detail. Get the big shapes and proportions right before eyes, texture or patterns.
- Outlining everything. Real objects are edges of tone, not lines. Vary your line and let some edges disappear.
- Copying from memory. Draw real objects until you have a stock of observed forms.
- Erasing constantly. Lightly correct, keep the searching lines and move on.
- Comparing yourself with experts. Compare your work with your own drawings from last month.
- Waiting until you feel ready. You improve by drawing badly at first.
A 30-day plan
Twenty to thirty minutes a day. Keep everything in one dated sketchbook.
Week 1: marks and forms
- Day 1: Lines, curves, circles. Day 2: Value scale (10 steps). Day 3: Sphere and shadow. Day 4: Cube and cylinder. Day 5: Cone and combined forms. Day 6: A still life of three simple objects. Day 7: Rest, or review the week.
Week 2: seeing
- Day 8: Contour drawing of your hand. Day 9: Measured drawing of a mug using comparisons. Day 10: Negative space drawing of a chair. Day 11: Squint study, three values. Day 12: Upside-down copy of a simple line drawing. Day 13: Drawing of a household object with plumb lines. Day 14: Rest or review.
Week 3: tone and form
- Day 15: Shaded egg or apple. Day 16: Fabric folds. Day 17: Shiny object such as a spoon. Day 18: Value study from a photograph using the value study tool. Day 19: Simple still life with cast shadows. Day 20: Gesture sketches of a person or pet. Day 21: Rest or review.
Week 4: putting it together
- Day 22: Timed 20-minute still life. Day 23: Simple plant study. Day 24: Contour and shading of a shoe. Day 25: Copy a master drawing. Day 26: Your hand, shaded. Day 27: Self-portrait outline, blocking proportions. Day 28: Redraw Day 8 or Day 15 and compare. Days 29 and 30: Free choice, then a compare-and-reflect session.
For what to do after day 30, follow the routine in how to practise drawing daily.
Choosing what to draw
Beginners often want to draw portraits or animals straight away, and it is fine to try. But simple subjects teach fastest: apples, cups, boxes, a folded cloth, a pair of scissors. They hold still, the light is under your control and errors are easy to see. Add complexity as measuring becomes automatic.
When to move to coloured pencil
Coloured pencil adds a new dimension: colour, temperature and layering. But it also adds complexity, and colour can hide weak values. Move on when:
- You can shade a sphere and a cube smoothly, with a full range of tones.
- Your simple still lifes are reasonably accurate.
- You can hold a consistent point and light pressure.
- You feel curious about colour rather than bored with grey.
Then start small. Try a limited palette and a simple subject, and read best coloured pencils for beginners and how to layer coloured pencils. The coloured pencil guides and technique guides cover the rest. Keep some graphite drawing going alongside; value control is the skill colour depends on most.
Habits that make the first month easier
Draw at the same time each day if you can, since attaching drawing to an existing habit, such as after breakfast or during a lunch break, makes it far easier to keep going. Keep the bar low on bad days: ten minutes of contour drawing still counts. Finally, do not wait for inspiration or a perfect subject. The objects around you - a kettle, a shoe, your own hand - are ideal, and the habit of drawing them regularly is what builds skill.
Where to get feedback
Feedback speeds everything up. Show your drawings to a friend who draws, join a local sketching group or post work in an online community that welcomes beginners. Ask one specific question, such as “do the proportions look right?”, rather than “is it good?”. When you are ready for structured teaching, our guide to the best drawing courses explains which course types suit a new artist, and how to find similar training cheaply.
The short version
Buy two or three graphite pencils, an eraser and a sketchbook. Do forms, values and contour exercises, learn to measure and compare, and avoid pressing too hard or chasing detail. Follow the 30-day plan, keep dated pages and move to coloured pencil when your graphite drawings are stable.
Quick answers
Frequently asked questions
What do I need to start drawing?+
A few graphite pencils in different grades (for example a hard, a medium and a soft one), a good eraser, a sharpener and a sketchbook or sheets of reasonable drawing paper. That is enough. Better materials help later, but the early gains come from practice and learning to observe.
Is it too late to learn to draw as an adult?+
No. Drawing is a trained skill made of observation, hand control and understanding of form, and adults can build all three. Adults often have an advantage in patience and in knowing what they want to draw. Regular, short, deliberate practice matters far more than age or talent.
Should I start with graphite or coloured pencil?+
Graphite is the better training ground because it isolates value and form without colour to distract you. Once you can produce convincing tone, adding coloured pencil is much easier. You can start both if you like, but keep a few graphite exercises going.
How long before I see improvement?+
Improvements in accuracy often appear within a few weeks of regular practice, especially if you use exercises for seeing and measuring. Larger changes, such as convincing likenesses, take longer. Keeping dated drawings lets you see progress that is hard to feel day to day.