Graphite & Charcoal
Pencil Drawing for Beginners
Everything you need to start pencil drawing: which pencils and paper to buy, how to hold the pencil, basic marks, shading, first exercises and a first project.
Key takeaways
- ◆You only need three or four pencils (for example 2H, HB, 2B and 4B), one pad of decent paper and an eraser to start.
- ◆Hold the pencil further back from the point and draw from the shoulder and elbow to keep marks loose and pressure light.
- ◆Build tone in thin layers instead of pressing hard; firm pressure too early makes shiny, patchy marks that will not darken.
- ◆Short, repeated exercises (lines, value scales, gradients, simple forms) teach more than a few long, ambitious drawings.
- ◆Choose a first project with few shapes and clear light, such as an egg or a cup, and keep every page so you can see progress.
Pencil drawing is the easiest medium to start and one of the hardest to master, which is exactly why it suits beginners. The kit is cheap, there is nothing to mix or dry, and mistakes can be softened or erased. The difficulty is knowing what to buy, how to hold the pencil and what to practise first, so that early sessions build skill instead of frustration.
This guide is a complete starter path. It covers the materials that matter, how to hold and move the pencil, the basic marks, shading and value, a set of first exercises, a simple first project, the mistakes almost every beginner makes and a sensible order for progressing. Follow it in sequence and you will have a solid base for the more detailed guides later in the graphite and charcoal section.
What you need to start
You do not need a large set. A small, well-chosen kit is easier to learn with because each pencil has a clear job.
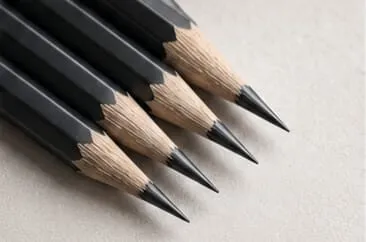
- Four graphite pencils: 2H, HB, 2B and 4B. The H pencils are harder and paler; the B pencils are softer and darker. See graphite pencil grades explained for the full scale, or compare them visually with the pencil grade chart.
- A kneaded eraser. It lifts graphite by pressing and dabbing rather than rubbing, so it lightens tone without damaging the paper. The best erasers for graphite guide covers other types.
- A sharpener or a craft knife. A sharp point is essential for detail; many artists prefer a knife because it exposes more lead for shading.
- A drawing pad or loose sheets of drawing paper. See below.
- A scrap sheet to rest your hand on, which prevents smudging.
If you would like a fuller list of starter supplies, the best drawing pencils for beginners guide compares sets, and the which pencil set quiz can narrow the choice.
Choosing paper
Paper affects every mark you make. For graphite, choose a medium-weight drawing paper with a fine to moderate surface texture, often called tooth. A little tooth grabs graphite so you can build tone in layers; a very smooth sheet gives crisp detail but shows streaks and takes fewer layers; a very rough sheet breaks up fine lines. Thin copy paper is fine for throwaway warm-ups but wears and buckles quickly under repeated layers.
Buy a pad rather than individual fancy sheets at first. You will fill pages quickly, and it is easier to practise freely when the paper does not feel precious. When you are ready to choose more carefully, read the guide to the best paper for graphite drawing.
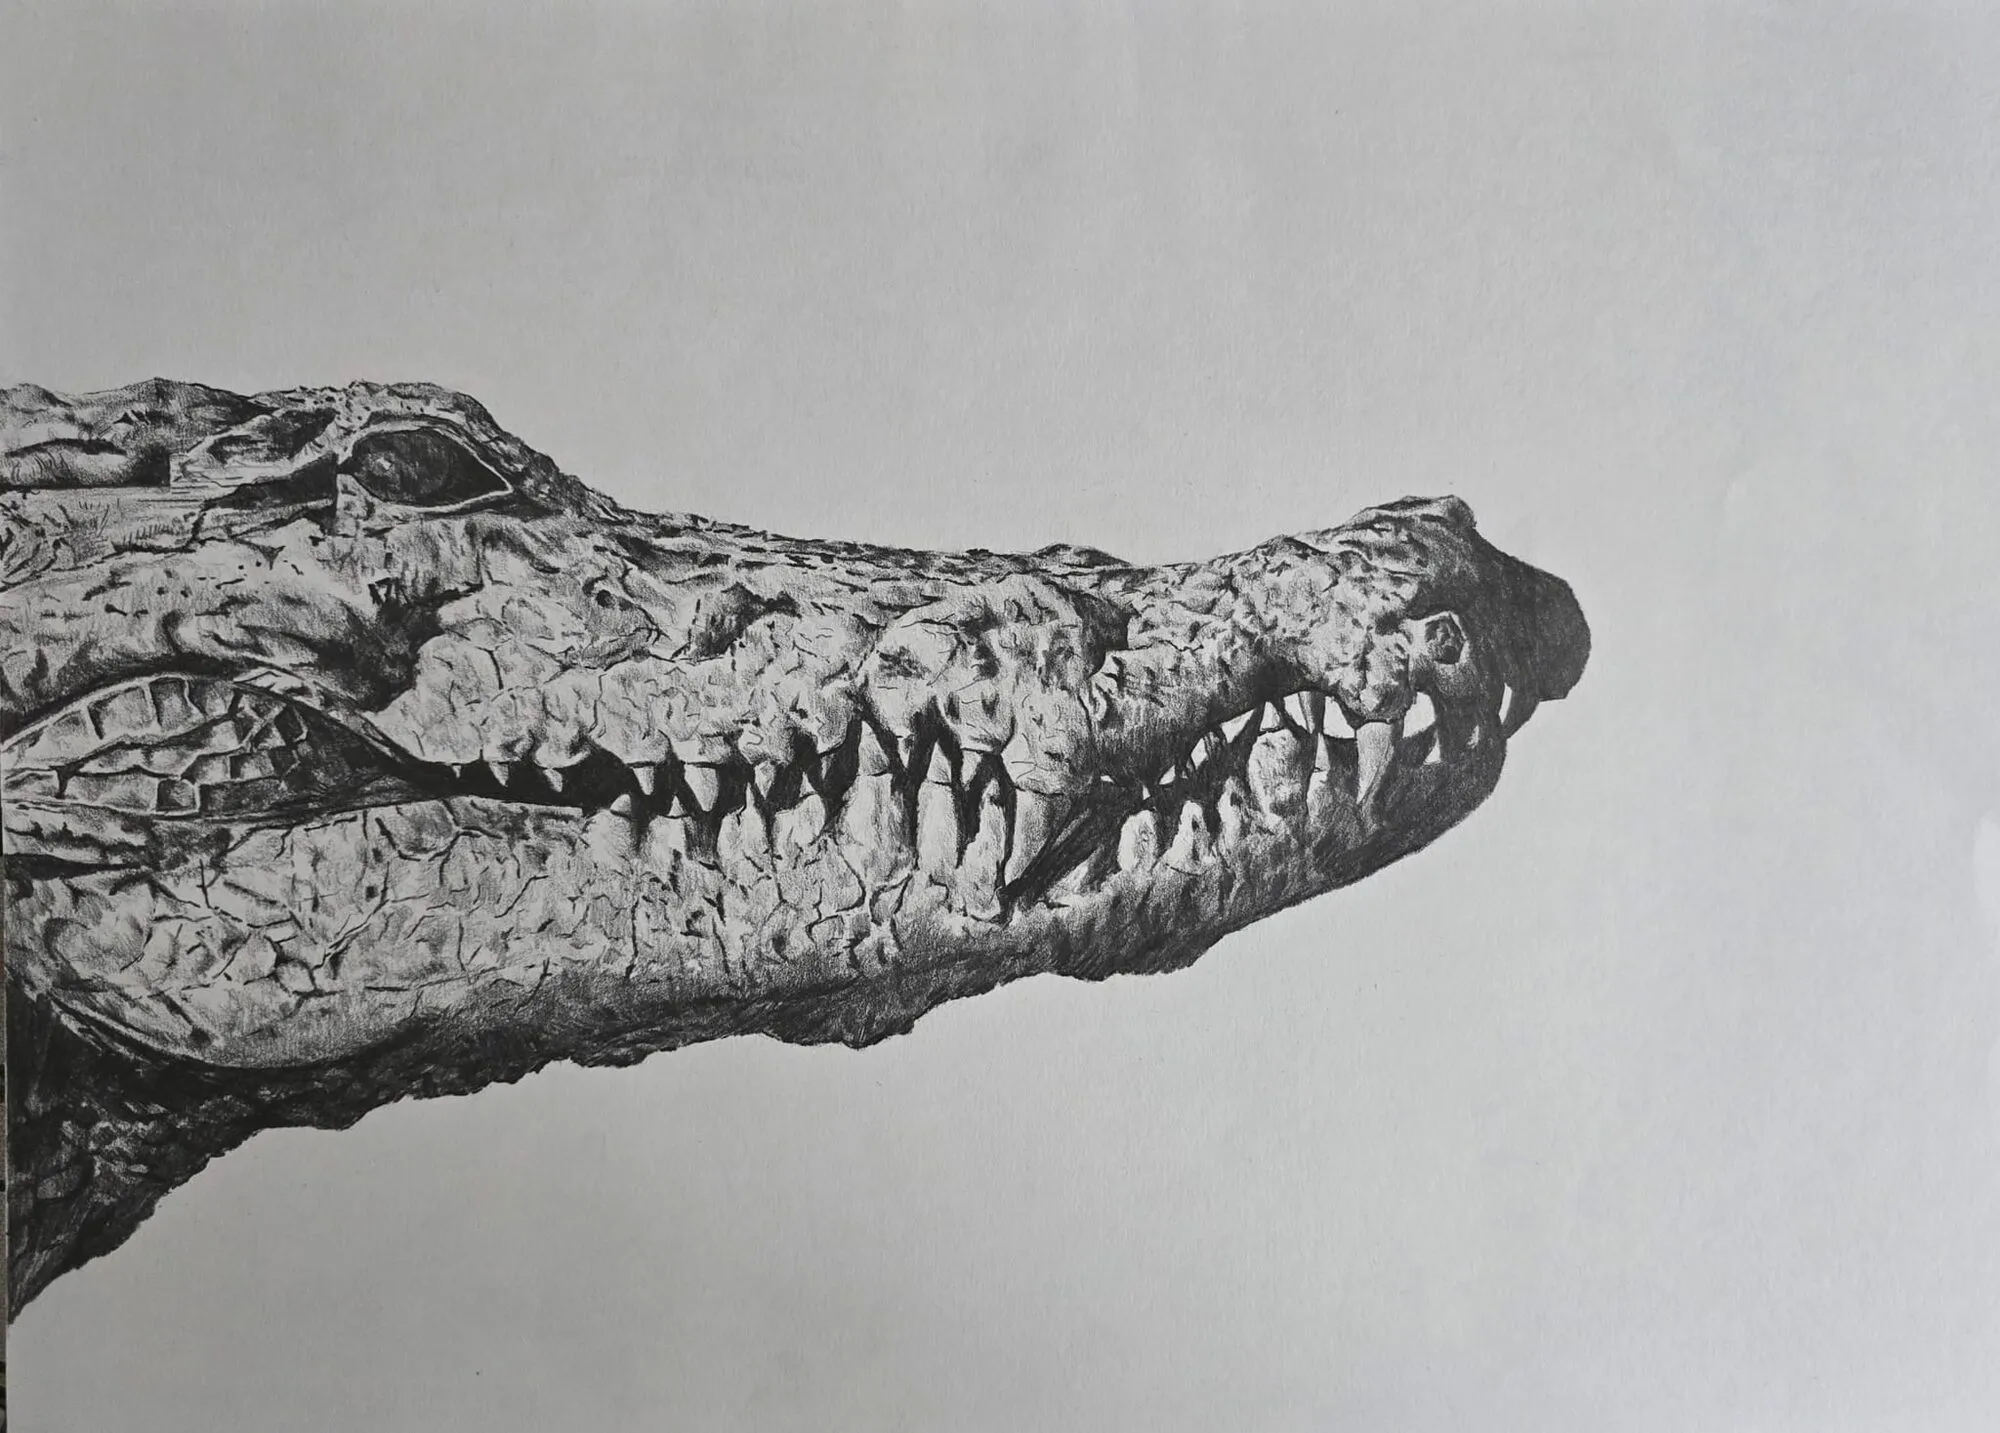
A crocodile’s head and teeth drawn in graphite pencil. Drawing by Michael Brace.
How to hold the pencil
There are two grips, and you will use both.
The writing grip holds the pencil near the point, like a pen. It gives control for small details and accurate outlines, but it tends to make you press harder and move only from the fingers.
The overhand grip holds the pencil further back on the barrel, with the pencil resting along the hand at a low angle. It lets you use the side of the lead for broad, soft tone and naturally lightens pressure.
Whichever grip you use, keep the hand relaxed. Tension shows up in the drawing as stiff, scratchy lines. Move from the elbow and shoulder for long lines and large areas, from the wrist for medium shading, and only use the fingers for small details. Try drawing the same straight line with fingers only, then with the whole arm, and compare the confidence of the two.
The basic marks
Everything in pencil drawing is built from a handful of marks. Practise each on a spare page until it feels automatic.
- Straight lines: short and long, in all directions. Draw them quickly, in one movement, rather than slowly and shakily.
- Curves and ovals: drawing circles and ellipses from the shoulder builds the flowing movement you need for round forms.
- Hatching: a set of roughly parallel lines, evenly spaced. Closer lines look darker.
- Cross-hatching: a second set of lines crossing the first to deepen tone.
- Scribbled or circular tone: loose overlapping loops that build an even, soft texture quickly.
- Smooth shading: overlapping strokes so light that no individual line shows.
You will learn each in more depth later. For now, fill a page with each mark, noticing how pressure, spacing and pencil grade change the result. The guide to hatching and cross-hatching is the natural next step for line-based tone.
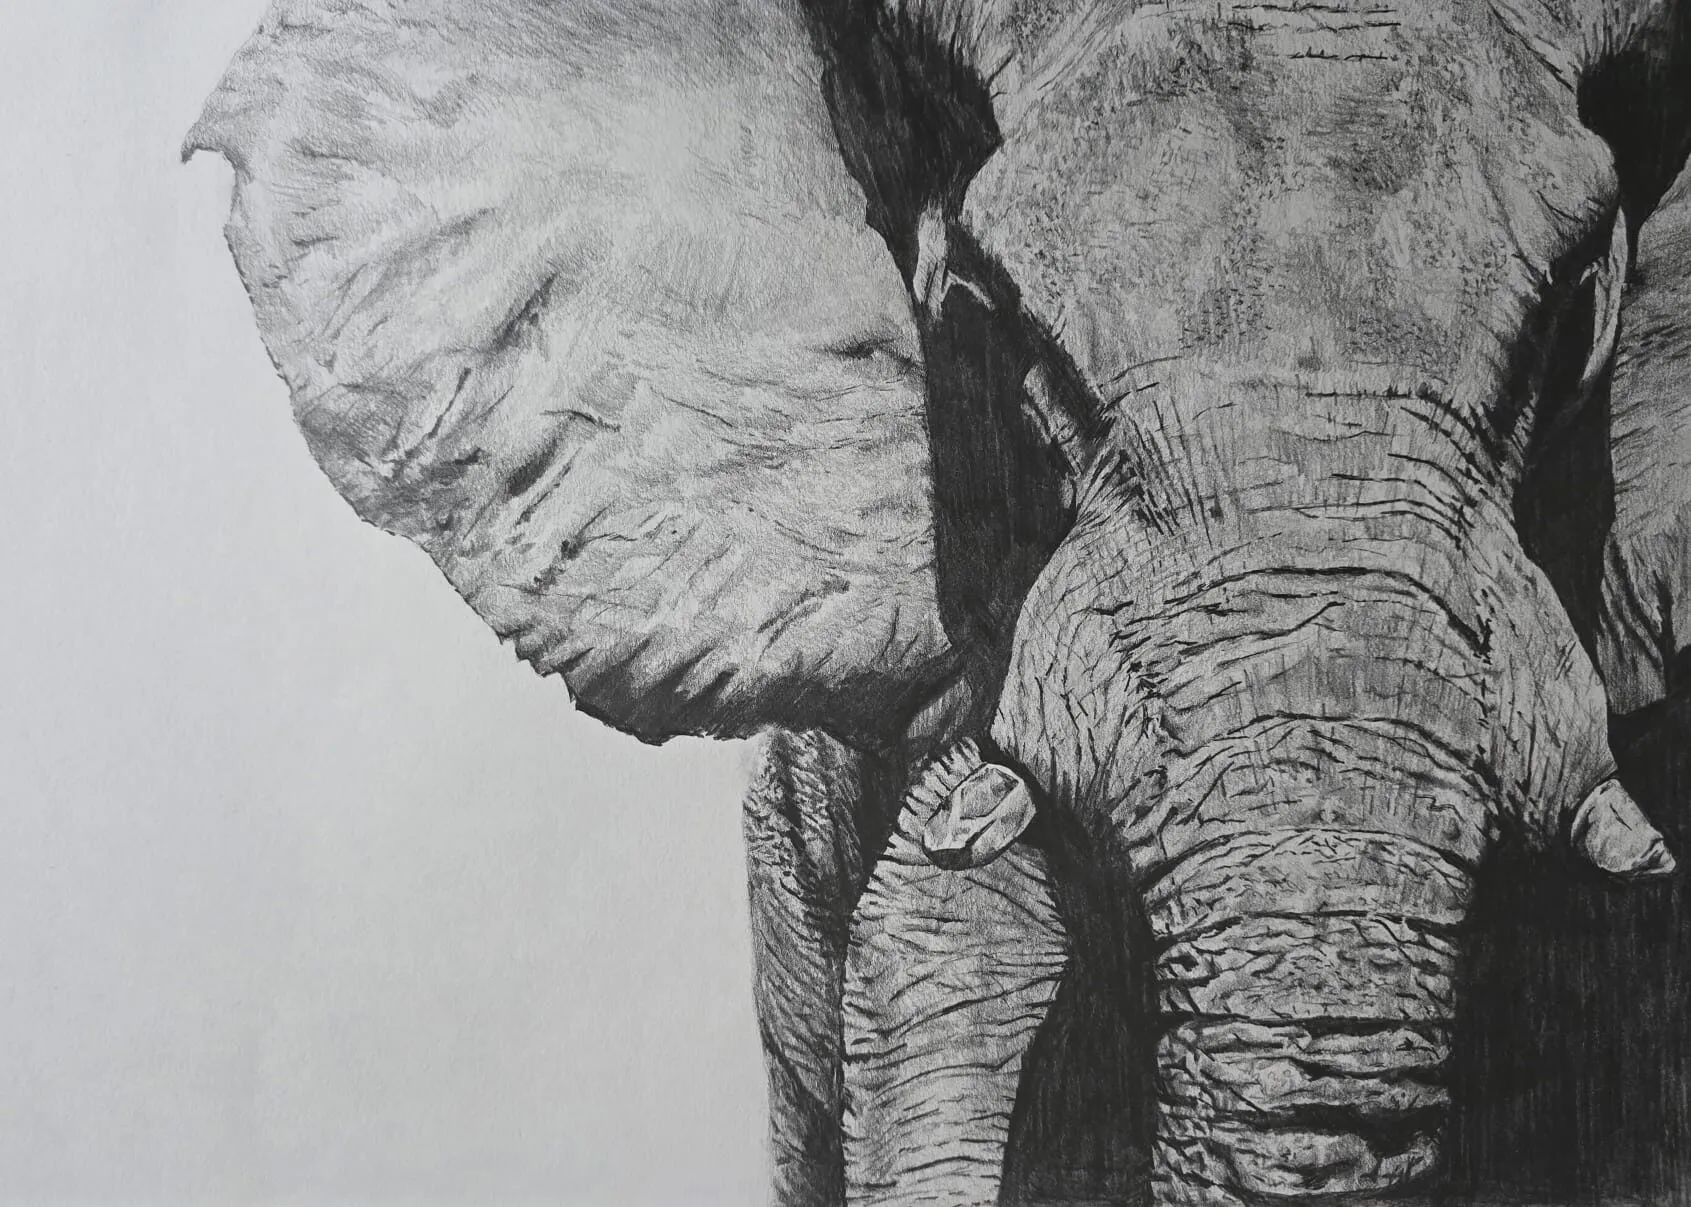
A close-up of an elephant’s ear, trunk and skin drawn in graphite pencil. Drawing by Michael Brace.
Understanding tone and value
Value means how light or dark something is. It is the single most important idea in realistic drawing, because we read form from light and shadow far more than from outlines. A flat circle becomes a sphere when one side is lighter, the other darker and there is a shadow underneath.
Beginners often use a narrow range of mid-greys, which makes drawings look flat. A convincing drawing has a true light, a true dark and steps between. The fastest way to train your eye is a value scale, a strip of boxes running from white to near black. There is a dedicated walkthrough in how to make a value scale, and the value in drawing guide explains why it matters so much.
Shading: the core skill
Graphite gets darker because you add layers, not because you press harder. Light pressure leaves graphite on the peaks of the paper texture; more layers fill in the valleys. Pressing hard early flattens the paper surface, leaving shiny, hard marks that resist further tone.
A dependable method:
- Hold the pencil back and use the side of the lead at a low angle.
- Sweep across the area with overlapping strokes of even pressure.
- Change direction slightly with each new layer so stripes do not build up.
- Switch to a softer pencil for darker areas instead of pressing harder with a hard one.
- Keep highlights clean by leaving white paper or lifting with a kneaded eraser.
The full method, with gradients and form exercises, is in how to shade with pencil.
First exercises
Spend your first week or two on exercises, about 20 to 30 minutes a day. They are not exciting, but they fix problems that otherwise follow you into every drawing.
- Line control. Fill a page with straight lines of varying length, then a page of curves. Aim for smooth, confident strokes.
- Pressure ladder. Draw a row of boxes and fill each with a different pressure, from barely visible to firm. Notice that light pressure gives pale tone and even layers give depth.
- Value scale. Draw a strip of five boxes, white to dark, with even steps. Repeat with seven or nine.
- Smooth gradient. Shade a rectangle from dark to light with no visible bands.
- Hatching and cross-hatching patches. Fill small squares with one, two and three layers of lines.
- Simple forms. Draw and shade a sphere, cylinder and cube with a single light source. See how to draw basic forms and shading.
- Contour drawing. Draw the outline of an everyday object without lifting the pencil, looking at the object more than the paper.
More structured practice sets are in the drawing exercises for beginners lesson and the 30 day drawing challenge.
Your first project
Once the exercises feel comfortable, draw a real object. Choose something simple, with a clear light source and few details: an egg on a sheet of paper, a plain mug, a pear. Set it near a window or under a single lamp so one side is clearly light and the other clearly shaded.
- Lightly sketch the overall shape with the 2H or HB, checking the proportions by comparing width to height.
- Refine the outline until it looks right, then erase unneeded construction lines with the kneaded eraser.
- Squint at the object to see the big shadow shape and lightly shade it in with the HB.
- Add mid-tones with the 2B, following the curve of the form with your strokes.
- Darken the core shadow and the cast shadow with the 4B, then step back and look.
- Lift highlights with the kneaded eraser and compare your values to the object.
Do not aim for perfection. The goal is to go through the whole process, from line to tone, once from start to finish. If you want to check how your tones read, run a photo of your drawing through the value study tool.
Common beginner mistakes
- Pressing too hard. It flattens the paper, makes marks shiny and leaves grooves that show later. Use more layers and a softer pencil instead.
- Outlining everything in dark lines. Heavy outlines flatten forms. Let changes in tone describe edges.
- Finishing one corner at a time. Work across the whole drawing together so values stay in relation to each other.
- Smudging the work. Dragging your hand across graphite ruins clean areas. Use a slip sheet, and read how to avoid smudging pencil drawings.
- Using a blunt pencil for detail. Sharpen often, or keep a separate pencil for points.
- Drawing what you think, not what you see. Symbols (an almond eye, a round apple) replace observation. Slow down and measure shapes against each other.
- Giving up on early drawings. Everyone’s first pages look rough. Keep them as a baseline.
A sensible progression
Skills build in a fairly predictable order, and it helps to follow it.
| Stage | Focus | Guide |
|---|---|---|
| 1 | Holding, marks, pressure | This guide |
| 2 | Value scales, gradients, simple forms | How to shade with pencil |
| 3 | Line-based tone | Hatching and cross-hatching |
| 4 | Smooth tone and soft edges | How to blend graphite |
| 5 | Observation and proportion | How to draw what you see |
| 6 | Texture and subject studies | Realistic textures in graphite |
Along the way, a regular habit matters more than any single trick. The guide to how to practise drawing daily shows how to keep a routine going, and where to start drawing gives a broader overview. You can also explore the how-to-draw hub for subject lessons such as eyes, noses and trees once you have the basics.
Coloured pencil or graphite first?
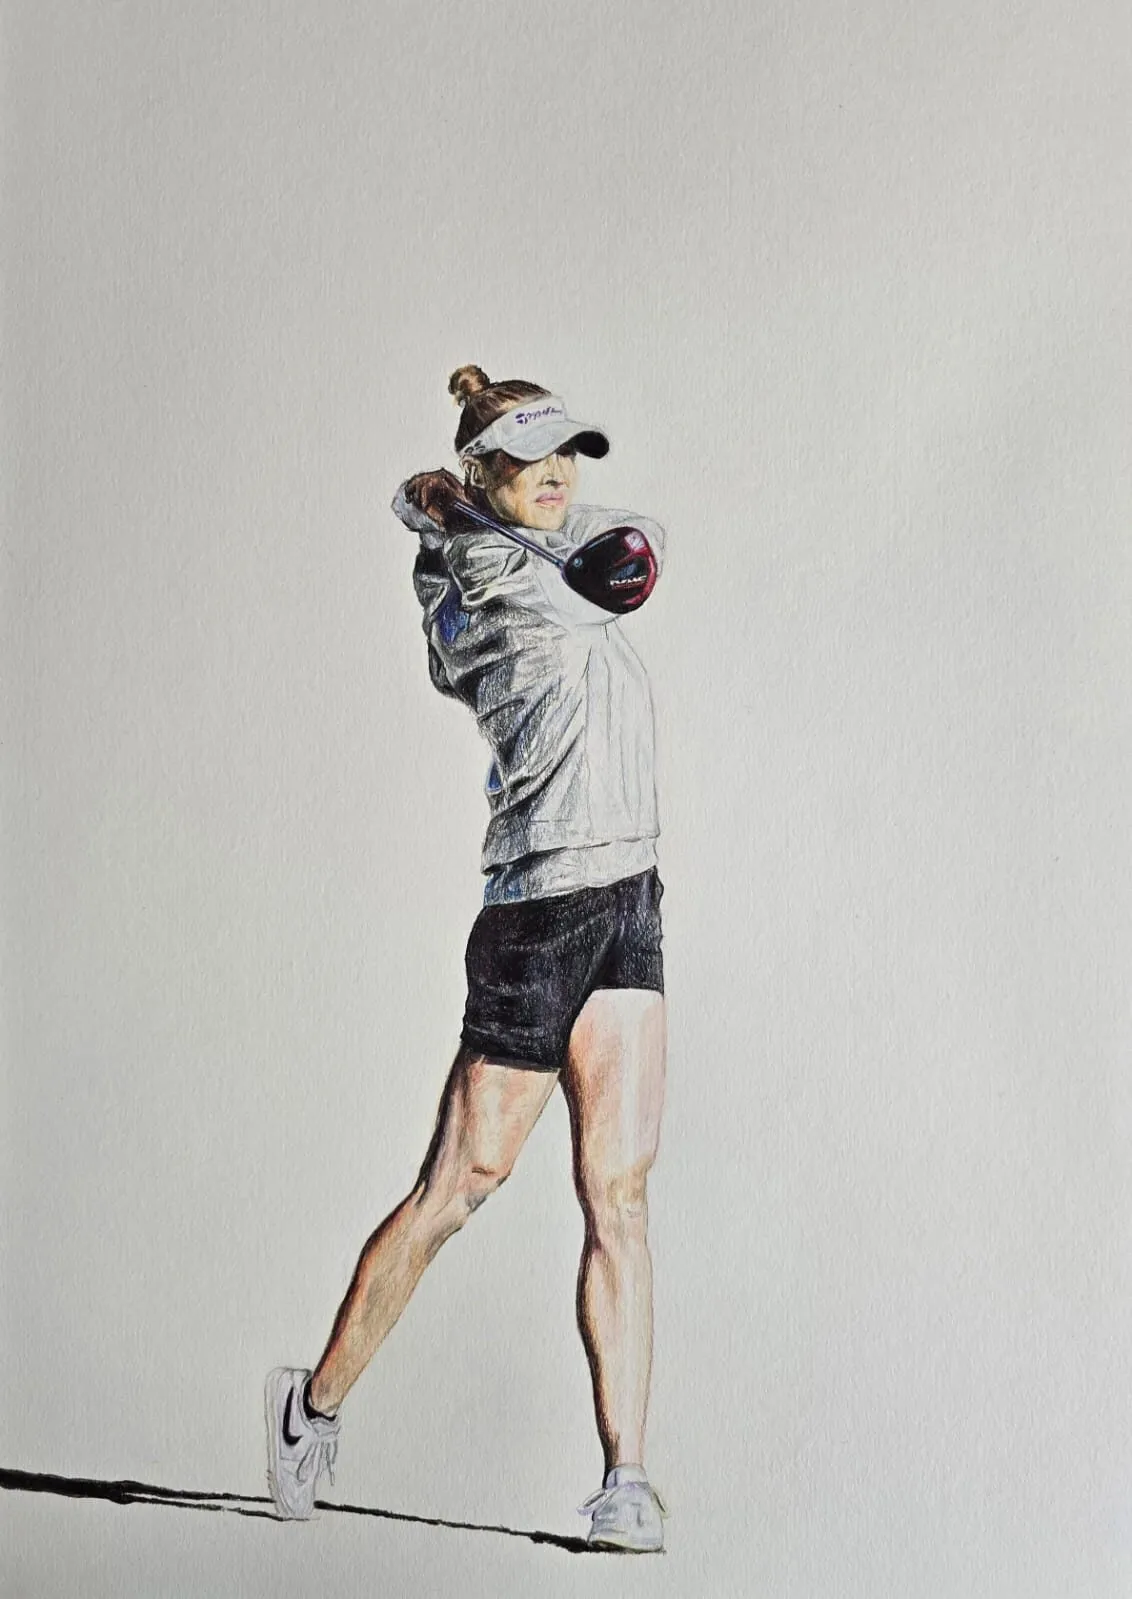
Many beginners wonder whether to begin with graphite or coloured pencil (colored pencil in the US). Graphite is cheaper and teaches value without the added question of colour, which makes it a strong foundation. Coloured pencil adds hue, saturation and layering on top of those same value skills. Learning tone in graphite first transfers directly, and when you are ready, the coloured pencil drawing for beginners guide picks up from there.
The short version
Buy four graphite pencils (2H, HB, 2B, 4B), a kneaded eraser and a pad of medium-weight drawing paper. Hold the pencil back, draw from the shoulder and build tone in light layers. Spend the first two weeks on lines, pressure, a value scale, gradients and simple forms, then draw a single object from start to finish. Keep your pages, slow down and look more than you draw.
Quick answers
Frequently asked questions
What pencils do I need to start drawing?+
Start with a small spread of graphite grades: 2H for light construction lines, HB for general drawing, 2B for mid-tones and 4B for darker shading. Add a kneaded eraser and a sharpener. That is enough for months of practice. Buy more grades only when you feel a gap in your range of tone.
What is the best paper for pencil drawing beginners?+
A smooth to lightly textured drawing paper of medium weight is a good start. Avoid very thin copy paper, which marks and buckles easily, and very rough paper, which makes fine control harder. A drawing pad sold for graphite or general sketching is a sensible, affordable first choice.
How long does it take to get good at pencil drawing?+
Steady improvement is usually visible within weeks of short, regular practice. Realistic drawing of complex subjects takes much longer, and there is no fixed timeline. Twenty minutes a day on focused exercises tends to beat one long weekly session. Keep old practice sheets to compare against.
Should I draw with light or dark pencils first?+
Begin with lighter, harder pencils for the outline and first layers, then move to softer, darker pencils for shadows. It is easy to add tone and hard to remove it. Starting light lets you correct proportions and shapes before committing to dark marks.