Drawing Techniques
How to Blend Coloured Pencils
Five ways to blend coloured pencils (colored pencils in the US) - lighter pencils, colourless blenders, burnishing, solvents and layers - and when each works best.
This guide contains affiliate links. If you buy through them we may earn a small commission at no cost to you. How this works.
Jump to recommended products
Key takeaways
- ◆There are five main ways to blend: a lighter pencil, a colourless blender, burnishing, solvents, or simply more layers.
- ◆Soft pencils blend easily, while firm pencils blend cleanly and keep detail sharper.
- ◆Blending is built through layers, not pressure - patience beats force.
- ◆Choose the method to suit the subject: layers for skin, gentle strokes for fur, solvent or blender for large smooth backgrounds.
- ◆Blend after your values are right, because smoothing a wrong value only makes it harder to fix.
Blending is what makes a coloured pencil drawing look continuous rather than scribbled. It joins one colour to the next, softens the edge of a shadow, and turns a patchwork of strokes into skin, sky or a smooth painted surface. The trouble is that “blending” covers several quite different actions, and choosing the wrong one for your paper or pencil leads to streaks, wax build-up or a muddy result.
This guide compares the five main methods, explains when each works best, and gives a step-by-step approach for the subjects where blending matters most. It sits inside our complete guide to coloured pencil techniques, and it depends on the layering skills in how to layer coloured pencils.
What blending really means
Blending merges colours without losing texture. The aim is a smooth transition that still looks like drawing, not a flat smear. Three ideas underlie every method:
- Blending is built through layers, not pressure. Pressing harder rarely blends better; it fills the tooth and makes smoothing harder.
- Soft pencils blend easily; firm pencils blend cleanly. Wax-based soft pencils such as Derwent Coloursoft mix readily but can build wax. Firmer, oil-based pencils such as Faber-Castell Polychromos blend more slowly but keep a crisper result.
- The surface matters. Smooth papers give seamless results; textured papers keep some grain through the blend.
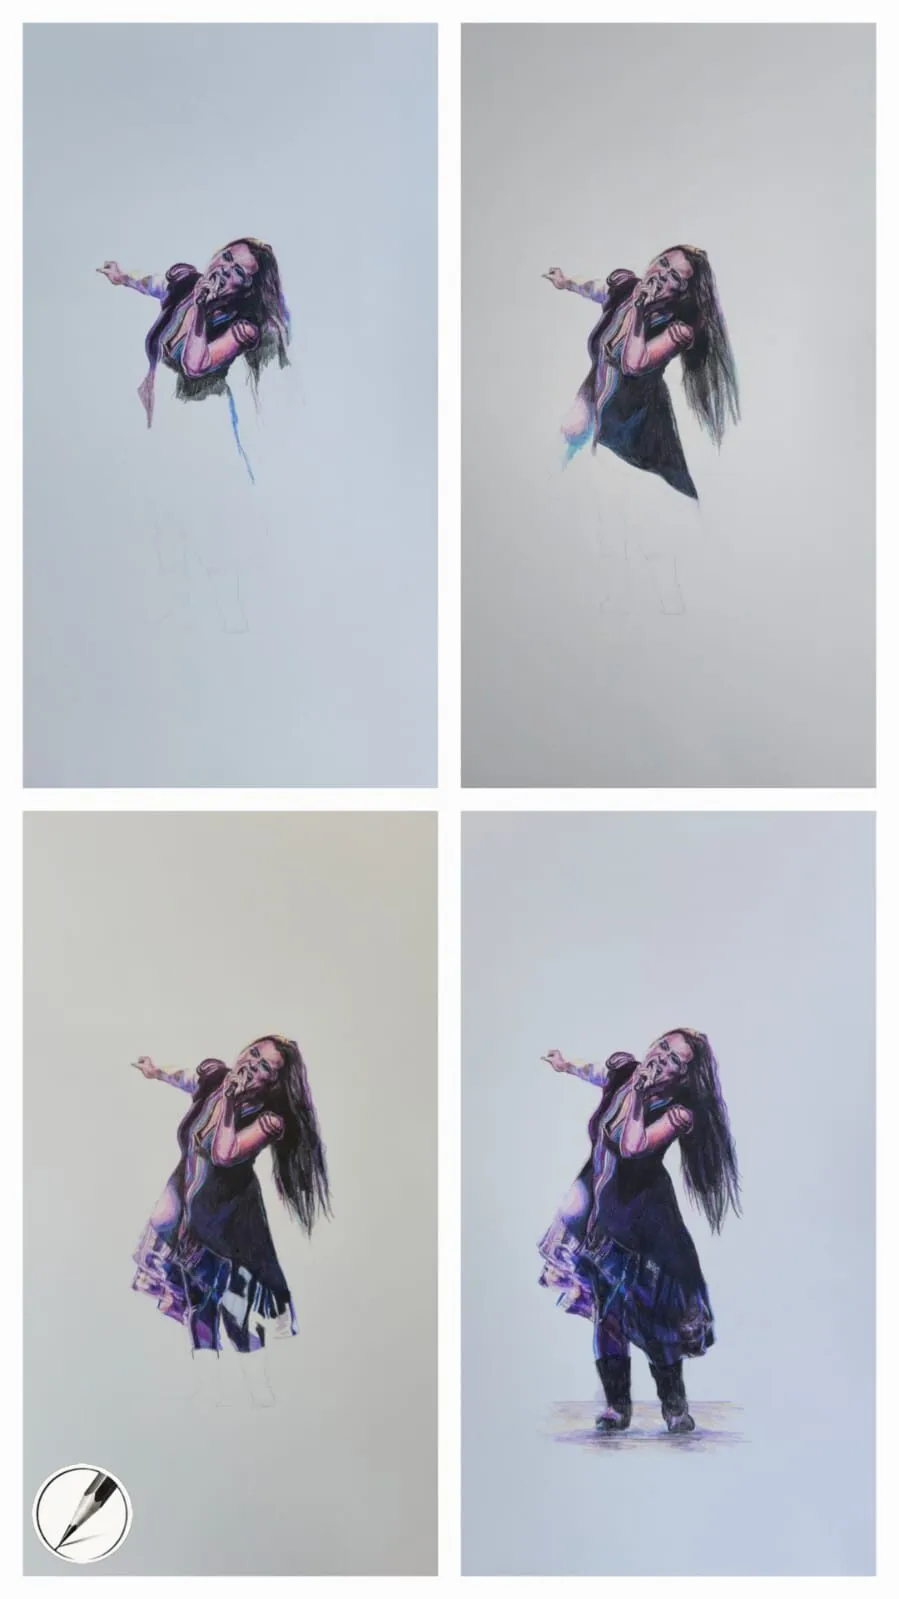
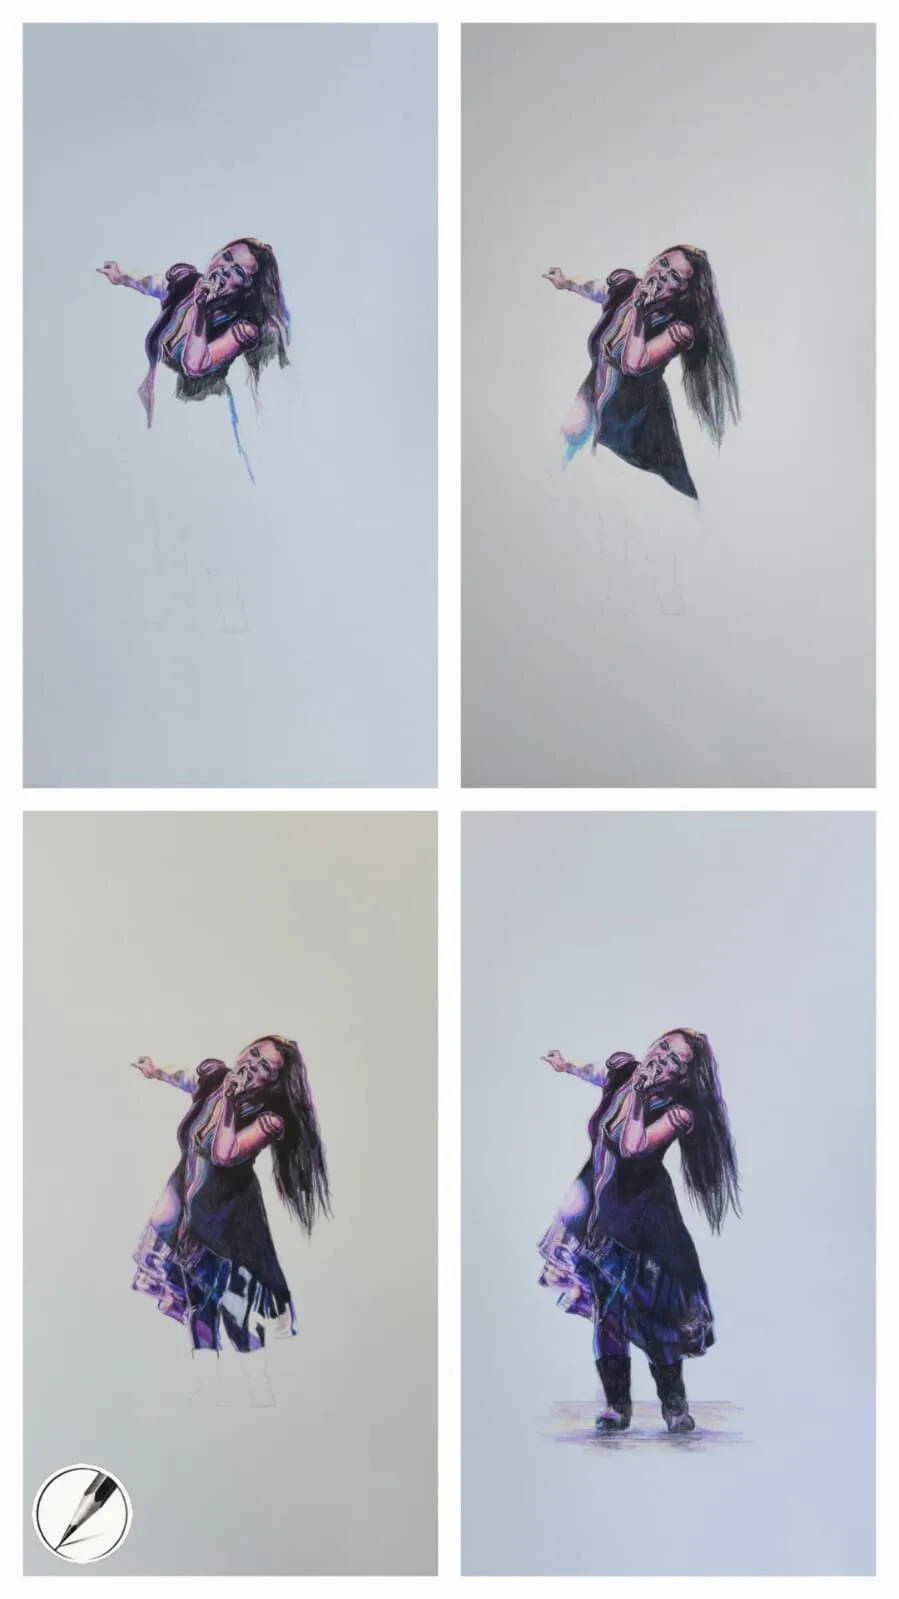
A figure drawing built up in four stages of coloured pencil. Drawing by Michael Brace.
The five methods, compared
| Method | How it works | Best for | Watch out for |
|---|---|---|---|
| Lighter pencil | Layer a paler pencil over the boundary, pushing colours together | Everyday transitions, skin, small areas | Can lighten or shift the hue if too pale |
| Colourless blender | A pigment-free pencil pushes colours together without adding colour | Smoothing without changing colour, large soft areas | Wax build-up if overused |
| Burnishing | Heavy pressure with a light pencil crushes pigment smooth | Final polish on finished areas | Flattens tooth; little colour can be added afterwards |
| Solvent | Melts pigment for a paint-like wash | Backgrounds, big smooth transitions, textured paper | Warps thin paper; needs ventilation |
| More layers | Thin layers of related colours overlap and merge | Skin, fur, subtle gradients | Slow, but the most controllable |
None of these is best in all cases. The sections below explain when to reach for each.
1. Lighter pencils
Using a lighter pencil to blend is the simplest method and the one most people start with. Take a paler colour in the same family - a light cream over a warm brown, for instance - and lay it lightly across the border between two tones. The lighter pigment fills gaps and softens the edge, and it introduces a little unifying colour.
Use short, overlapping strokes and light pressure. Work from the lighter area into the darker one so you do not drag dark pigment into a highlight.
2. Colourless blenders
A colourless blender is a pencil with a binder but no pigment. It pushes existing pigment around and evens the surface without adding a new hue. This is useful when you want to smooth an area without shifting its colour, for example a soft backdrop that should stay a certain shade.
Keep pressure light to moderate. Because blenders add binder rather than colour, overuse can leave a slick, shiny area that will not take more pencil, so treat one as a finishing tool rather than the first step.
3. Burnishing
Burnishing is a strong form of blending: pressing hard with a light pencil to grind the pigment into the paper, smoothing and glossing it. It gives the smoothest, glossiest transitions but flattens the tooth and locks the colour in. Use it only once layers are complete, as covered in how to burnish coloured pencils.
4. Solvents
Solvents melt pigment to create a paint-like wash. They are ideal for smoothing large backgrounds and soft transitions and they suit textured papers such as Canson well. Use them sparingly, because too much can warp paper or oversaturate pigment. The whole method, including safety notes, is in using solvents with coloured pencils.
5. More layers
Often the best blend is no tool at all. Building thin layers of two or three related colours lets them overlap and merge in the eye. This takes patience but keeps texture and colour depth, and it is the most controllable option. It is also the technique that best suits skin, where tone shifts are subtle and many hues sit underneath.
Step-by-step: a basic soft blend
- Sharpen and test. Try the blend on a scrap of the same paper first.
- Lay down both colours lightly, overlapping them slightly at the join.
- Take a lighter pencil or colourless blender. Stroke lightly across the join, alternating direction.
- Blend from light to dark, so you do not drag shadow into highlights.
- Add another light layer of the local colour if the transition looks patchy.
- Step back. Judge the blend at arm’s length, not close up.
- Correct edges with a small lift using a kneaded eraser or with a sharp pencil.
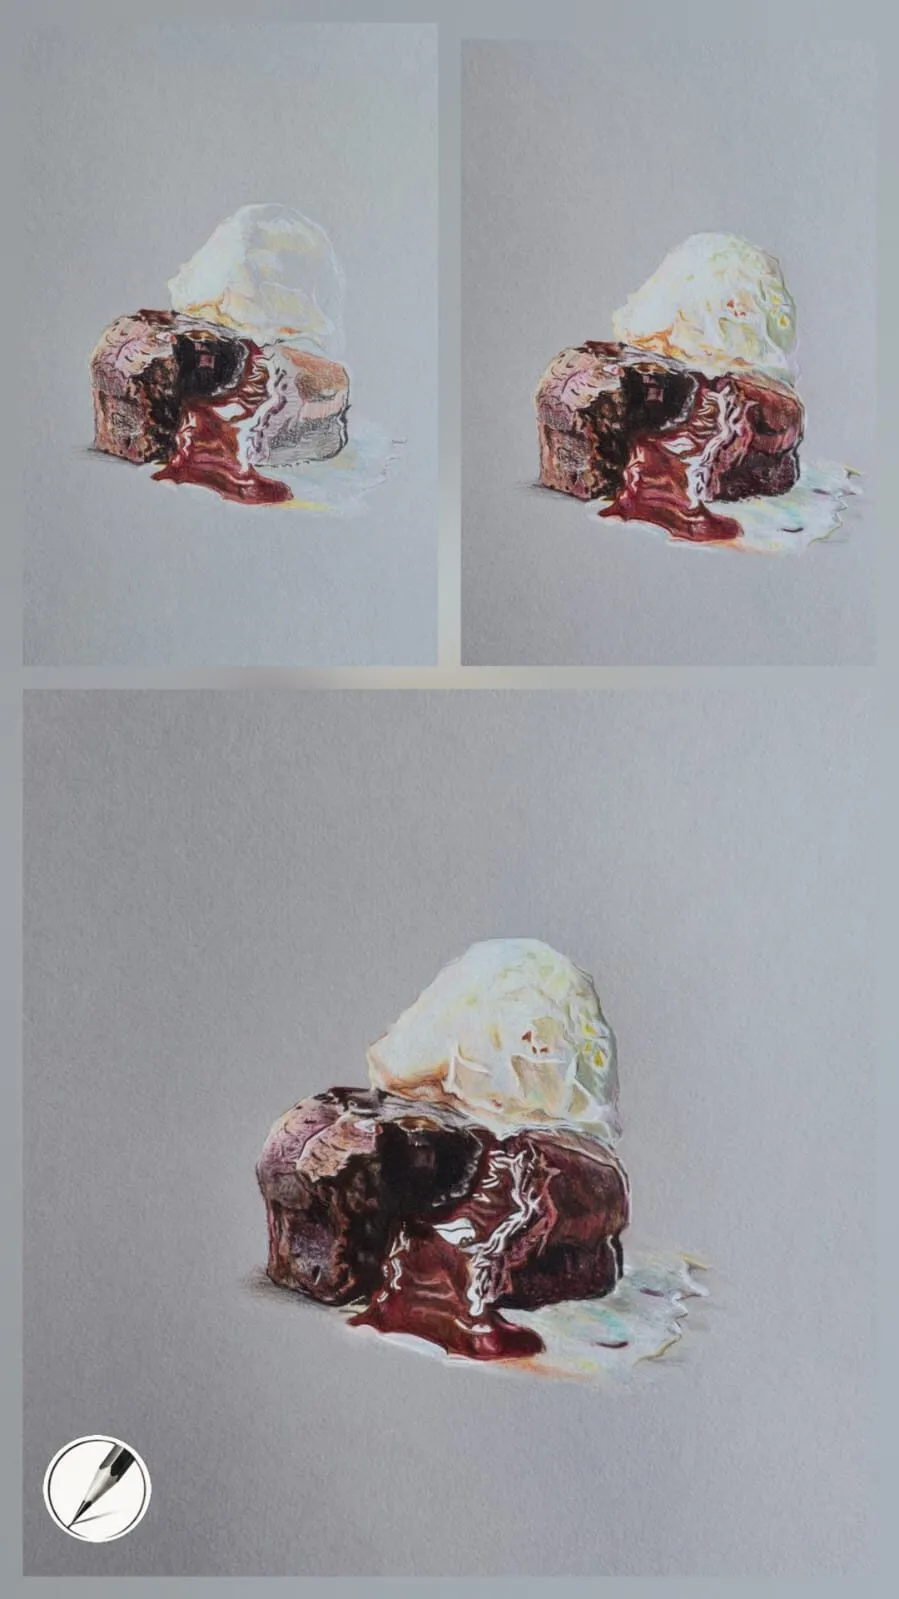
A chocolate dessert with ice cream drawn in coloured pencil, shown in three stages. Drawing by Michael Brace.
Blending by subject
Skin
Skin is layers of ochre, rose, grey and brown, so blending here is mostly a matter of layering. Keep pressure light, use small overlapping strokes and let warm and cool tones mingle at the transitions. See how to draw portraits in coloured pencil for a full workflow, and how to mix skin tones for colour choices.
Fur
Blend fur along the direction of growth. Soft base layers give the underlying tone, and fine, directional strokes on top suggest individual hairs. Over-blending fur makes it look like felt; leave some stroke visible. More in how to draw animal fur.
Atmospheric backgrounds
Backgrounds should support the subject rather than compete with it. Large, smooth, soft gradations work well with a colourless blender, or with a light solvent wash on textured paper. Keep the background slightly lower in contrast than the subject so the eye goes to the focus.
Glossy surfaces
Blending here should be smooth and controlled, with restraint, because the crisp highlights on top do the work. See how to draw glossy surfaces.
Choosing tools and paper
Smooth, heavy papers such as hot press give seamless blends and take burnishing well. Textured papers keep more grain, which suits atmospheric or expressive results and takes solvent well. Our guides to smooth versus textured paper and the best paper for coloured pencils explain the differences, and wax versus oil-based pencils explains why pencil type changes blending behaviour.
For non-solvent blending tools, a paper stump, a cotton bud or a soft cloth all work, provided pressure stays light. Avoid using fingers, since skin oils can leave marks.
Common blending mistakes
- Blending too early. It fills the tooth and limits later colour. Build values first.
- Over-blending. Everything goes soft and flat. Keep some crisp edges for focus.
- Wrong direction. Blending across a form instead of with it flattens volume.
- Rushing. Blending is built through layers, so a quick pass will not fix a rough underlayer.
For a wider look at gear, read our comparison of the best blending tools for coloured pencil, and practise on the basic forms and shading lesson. Coloured pencils are called colored pencils in the US, and everything in this guide applies to both.
For a wider look at gear, read our comparison of the best blending tools for coloured pencil, and practise on the basic forms and shading lesson. Coloured pencils are called colored pencils in the US, and everything in this guide applies to both.
The short version
For most drawings, blend with thin layers and a lighter pencil or colourless blender. Use burnishing only at the end, and solvents for big smooth areas on suitable paper. Match softness to subject, keep the values correct first, and be patient. For the full workflow, see the techniques guide and how to layer coloured pencils.
Where to buy
Recommended products
Affiliate links. We may earn a small commission if you buy, at no extra cost to you. Why?
Pencils · Derwent
Derwent Coloursoft Pencils
Soft, velvety and richly pigmented - excellent for painterly blending and bold colour.
Pencils · Faber-Castell
Faber-Castell Polychromos
Firm, oil-based artist pencils that hold a point - a benchmark for detail and clean layering.
Paper · Arches
Arches Hot Press Paper
Smooth, archival paper prized for portraits, fine detail and subtle blending.
Quick answers
Frequently asked questions
What is the best way to blend coloured pencils smoothly?+
Build many thin layers with light pressure, then smooth with a lighter pencil or colourless blender. This keeps the tooth open and the transition soft. Solvents give the smoothest, most paint-like result but need care. For most drawings, layering plus a light blending pass is the safest and most controllable approach.
Do I need a colourless blender pencil?+
No, but it can be handy. A colourless blender is a wax or oil pencil with no pigment that pushes existing colour together. A pale pencil in a matching family does the same job and adds a little colour. Many artists blend with lighter pencils and layers, and reach for a blender only when they want smoothness without colour change.
Why won't my coloured pencils blend?+
Usually the tooth is already full, because of heavy pressure early on, or the pencils are firm and were used on a smooth surface. Try lighter layers, a different pencil brand, or a paper with more grain. If the paper is saturated, lift a little pigment with putty to reopen the surface before blending.
Can I blend coloured pencils with a finger?+
You can, but it is not recommended. Skin oils can mark the paper and leave uneven patches, particularly on light areas. A paper stump, tortillon, cotton bud or soft cloth is cleaner. Whichever tool you use, keep the pressure light and work in small areas.
Are colored pencil blending methods the same as coloured pencil methods?+
Yes. Colored pencils and coloured pencils are the same materials, so every blending method here works regardless of which spelling you search for.
Are colored pencil blending methods the same as coloured pencil methods?+
Yes. Colored pencils and coloured pencils are the same materials, so every blending method here works regardless of which spelling you search for.