How to Draw
How to Draw Basic Forms and Shading: Sphere, Cube, Cylinder, Cone
Learn to draw and shade the sphere, cube, cylinder and cone with light, core shadow, reflected light and cast shadow, in graphite, then colored pencil.
This guide contains affiliate links. If you buy through them we may earn a small commission at no cost to you. How this works.
Jump to recommended products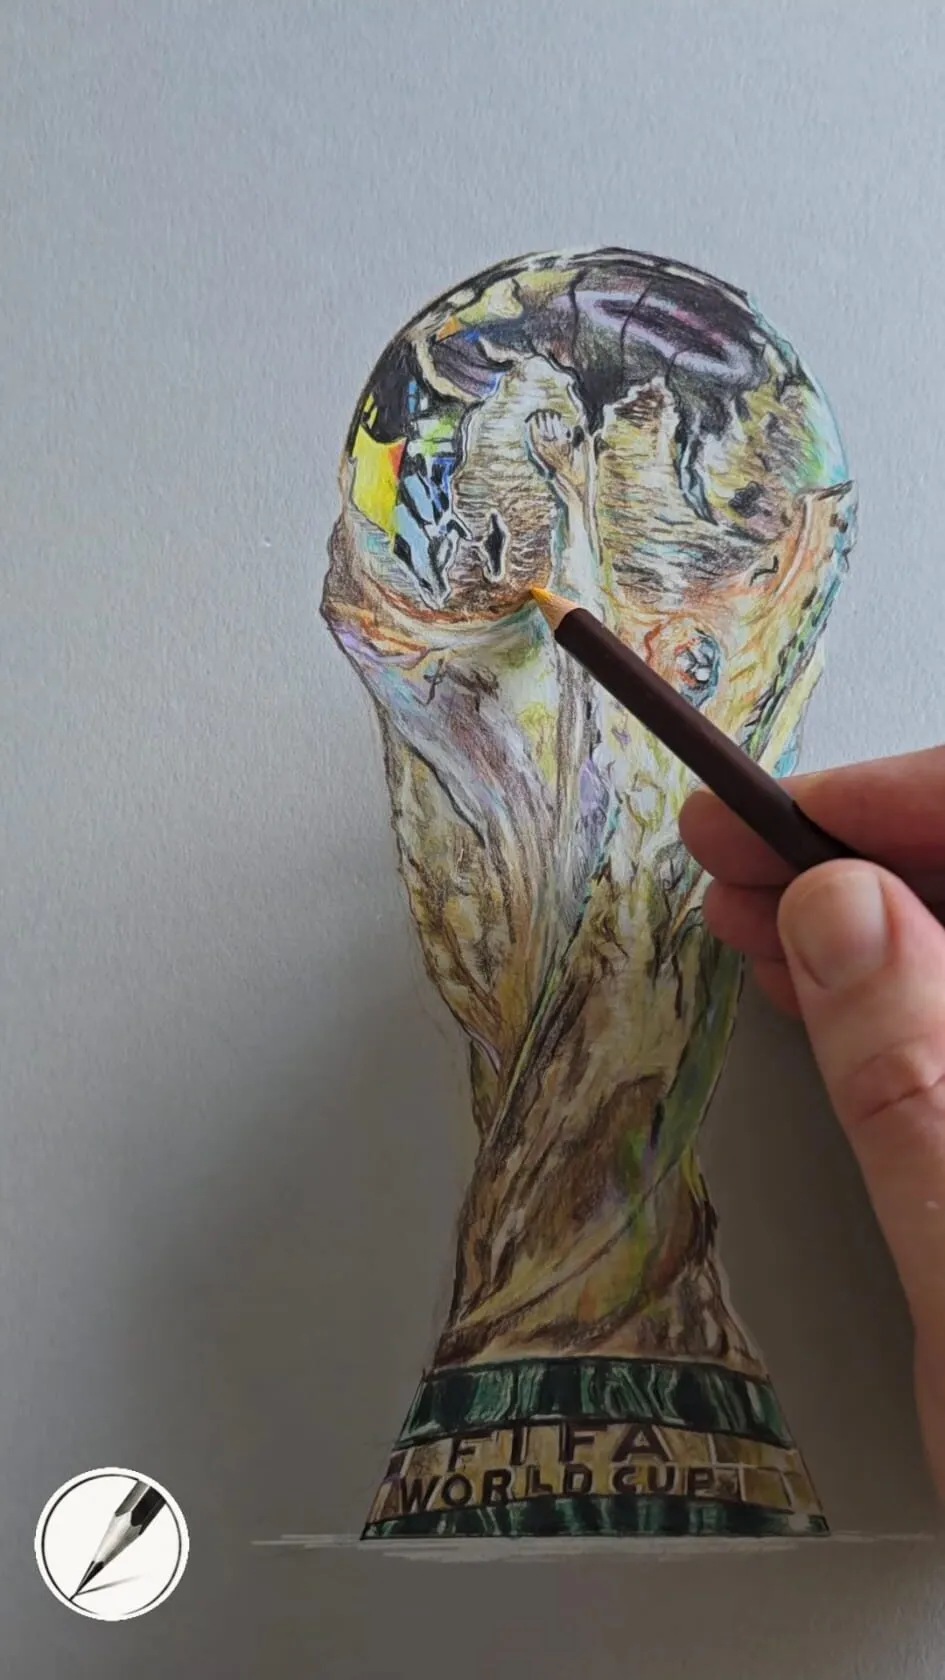
Key takeaways
- ◆Almost every object is a sphere, cube, cylinder, cone or a combination, so practising these four forms trains you to draw anything.
- ◆Every lit form has the same parts: highlight, light tone, core shadow, reflected light and cast shadow.
- ◆The core shadow is the darkest part of the form itself, and reflected light keeps the shadow side from looking flat.
- ◆Curved forms need smooth gradients, and flat-sided forms need clean, even planes with sharp edges between them.
- ◆Learn in graphite first, then repeat the same forms in colored pencil to see how colour adds temperature to light and shadow.
The sphere, cube, cylinder and cone are the alphabet of drawing. Nearly every object you will ever draw is one of them or a combination: an apple is a sphere, a book is a cube, a can is a cylinder, a party hat is a cone. If you can make each form look solid under a light, you can build a mug, a bottle, a face or a building by combining them.
This lesson teaches you to draw the four forms, shade them with the five parts of a lit form, control a smooth gradient, and then turn them into real objects. It starts in graphite because tone is easier to see without colour, then repeats the exercises in coloured pencil (colored pencil in the US). The exercise leads straight to real objects: cylinders, cones and spheres, made convincing by careful light and shadow.
What you need
- Graphite: a 2H or HB for outlines and light tone, a 2B and a 4B for mid and dark tone. See how graphite pencil grades work if you are unsure.
- Paper: smooth to lightly textured paper. Smooth shows gradients well; a little tooth holds more layers.
- A simple light source: one lamp on one side. Place a real egg, box, can and funnel or paper cone on a table in front of it.
- A kneaded eraser and a sharpener. For colour later, a small set of coloured pencils and grey paper are enough.
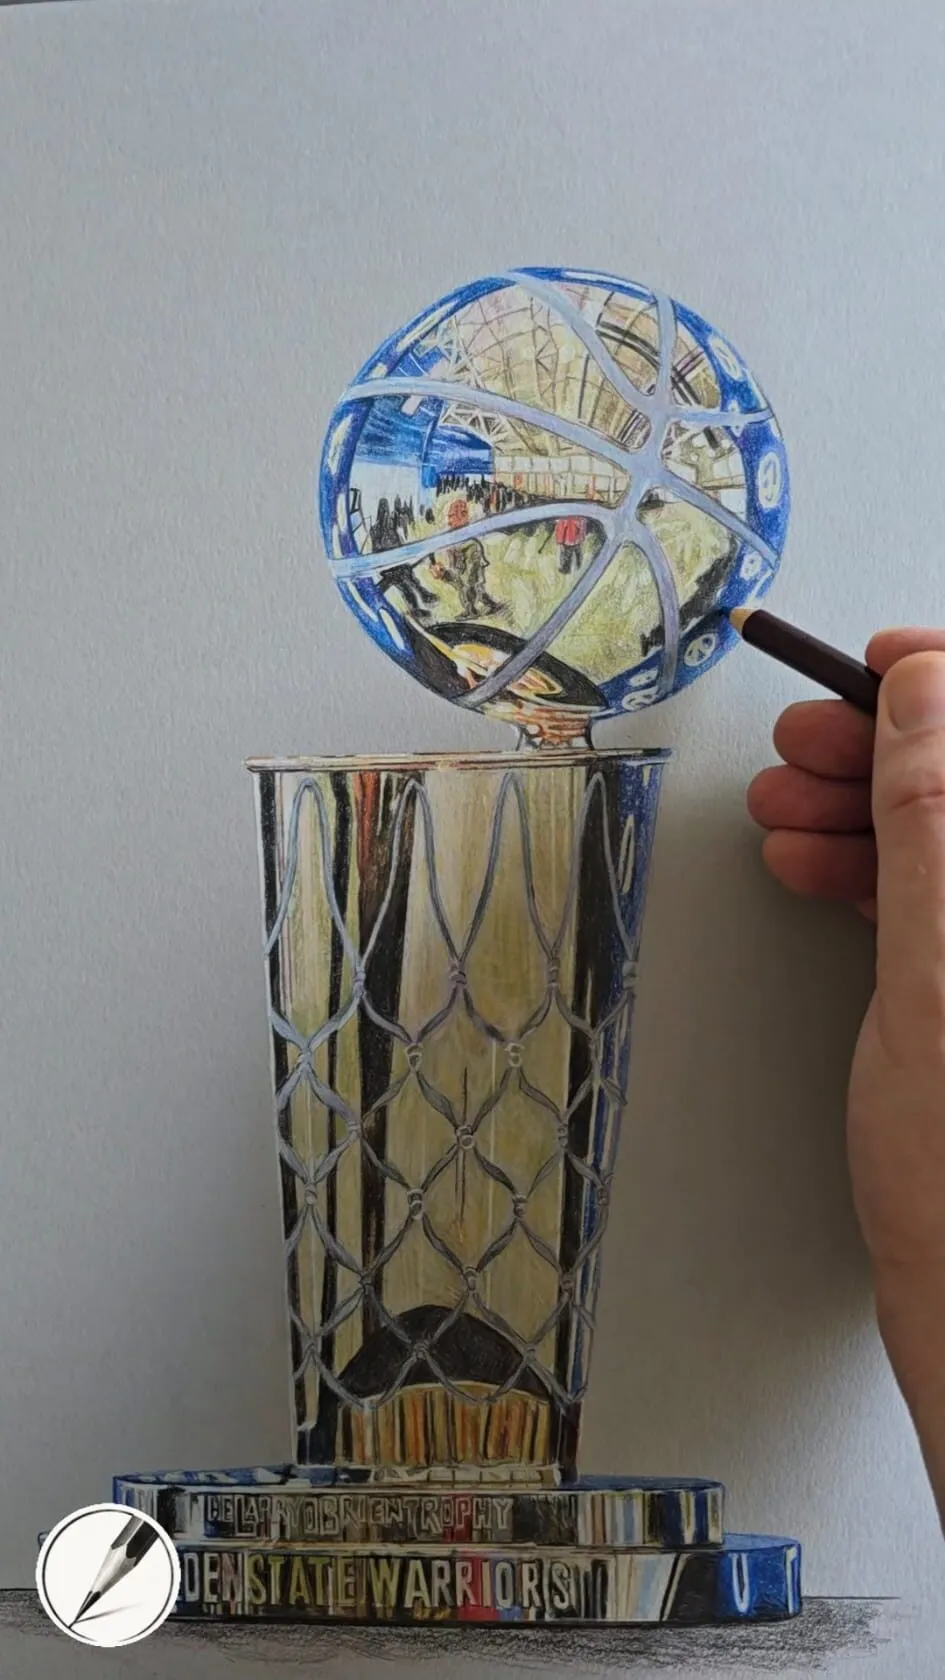
A hand adding detail to a trophy drawing in coloured pencil on grey paper. Drawing by Michael Brace.
The five parts of a lit form
Set a white ball under a single lamp and you will see the same five zones on every form. Learn their names and you can find them on anything.
- Highlight: the brightest spot where the light hits the surface most directly. On a matte form it is a soft light area, on a shiny one it is a sharp point.
- Light tone: the lit surface around the highlight, gradually darkening as it turns away.
- Core shadow: the darkest band of the form itself, on the side turned away from the light. It is not at the very edge.
- Reflected light: a slightly lighter band between the core shadow and the edge, caused by light bouncing back from the surface the form sits on.
- Cast shadow: the shadow the form throws on the surface beneath and beside it. It is darkest right where the form touches the ground.
If you leave out the reflected light, the shadow side looks flat and the form looks like a cut-out. If you leave out the cast shadow, it floats. The shadows and light lesson goes deeper on these parts.
Gradient control
Curved forms (sphere, cylinder, cone) need smooth gradients, meaning a gradual change from light to dark with no visible steps or streaks. This is the core skill.
Before you draw forms, fill a strip with a gradient:
- Draw a long rectangle and divide it into eight or ten equal boxes.
- Leave the first box white. Shade the second with the lightest tone you can make.
- Increase pressure or add layers a little at a time, so each box is slightly darker than the last.
- Blend the boxes into one continuous gradient by shading across the joins.
Use light pressure and build in layers; do not press hard. The how to shade with pencil guide covers pressure and stroke, and the value in drawing guide explains why the steps matter.
Drawing the sphere
The sphere is the best teacher because its tone changes continuously.
- Draw a circle. Lightly draw a curved line across the middle to give a sense of form.
- Decide where the light comes from. Say it is top left. The highlight goes on the upper left, a little inside the edge.
- Draw the cast shadow first as an oval extending away from the light, on the lower right. Make it darkest under the sphere.
- Shade the sphere with curved strokes that follow the form, going from light to dark around the surface.
- Place the core shadow as a curved band on the lower right, not at the very edge.
- Lift the edge slightly with a lighter band of reflected light.
- Check that the gradient is smooth. Soften with light layers.
Drawing the cube
A cube shows the difference between curved and flat surfaces. Its three visible faces are each a flat plane, so tone is even inside each face and changes sharply at the edges.
- Draw the cube in simple perspective. If you need help, see how to draw in perspective.
- With light from the top left, the top face is lightest, the left face middle, and the right face darkest.
- Shade each face with a flat, even tone. Keep the edges crisp.
- Add a slight gradient within each face, as light falls off with distance.
- Draw the cast shadow with the same perspective as the cube’s base, extending to the right.
Drawing the cylinder and cone
The cylinder has two edges of flat ellipse and a curved body. Draw the ellipses carefully, because a pointed or flat ellipse instantly breaks the illusion. The bottom ellipse is slightly rounder than the top if you are looking from above.
For shading, use a gradient across the body that runs from highlight to core shadow, with the reflected light near the shadow edge. The shading follows the curve, so strokes run vertically along the length, and the tone changes horizontally.
The cone is like a cylinder that narrows to a point. Its shading is a gradient across the body, and the tone is lightest near the highlight line and darkest at the core shadow line. The cast shadow is a long, pointed shape stretching away from the light.
Turning forms into real objects
Once you are comfortable, look at objects and ask which form they are.
| Object | Basic form |
|---|---|
| Apple, orange, ball | Sphere |
| Book, box, dice | Cube |
| Mug, can, tree trunk | Cylinder |
| Ice cream cone, party hat | Cone |
| Bottle | Cylinder with a smaller cylinder or cone on top |
| House | Cube with a wedge roof |
| Head | Sphere with a jaw and planes |
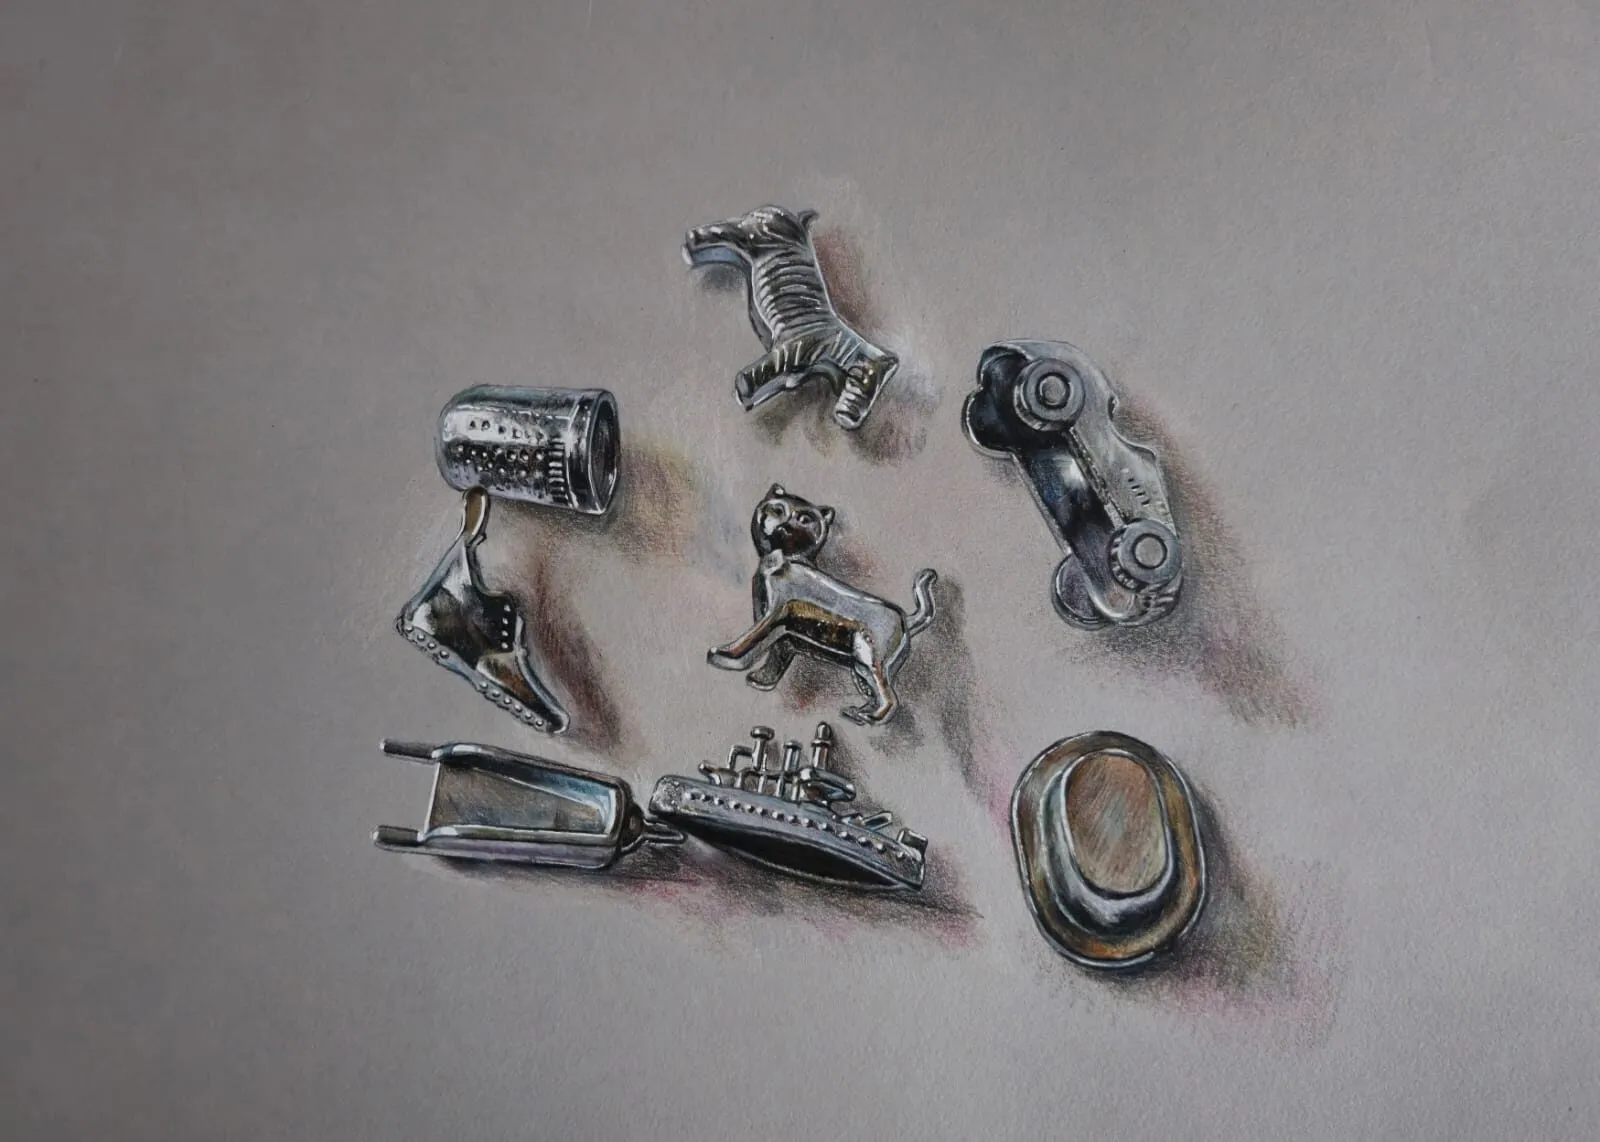
Draw the underlying form first, then add the details. Silver board-game tokens are a good example: each token is a cylinder or a cone, and they become convincing metal by careful control of highlights, dark reflections and cast shadow. For reflective surfaces, see how to draw shiny metal and reflections.
Adding colour
Once you can shade the forms in graphite, repeat them in coloured pencil. Choose one colour, such as a red sphere, and use the same five parts.
- The light tone is a pale, warm version of the colour.
- The core shadow is a deeper version, with a little of its complement or a dark blue or brown added, rather than black.
- The reflected light picks up some colour from the surface below.
- The cast shadow is a cooler, darker version of the surface colour.
This shows how colour temperature and value work together. Warm light usually gives cooler shadows. You can see this in Michael’s stages of the Perseus statue, where light colour is built up gradually to create depth and form.
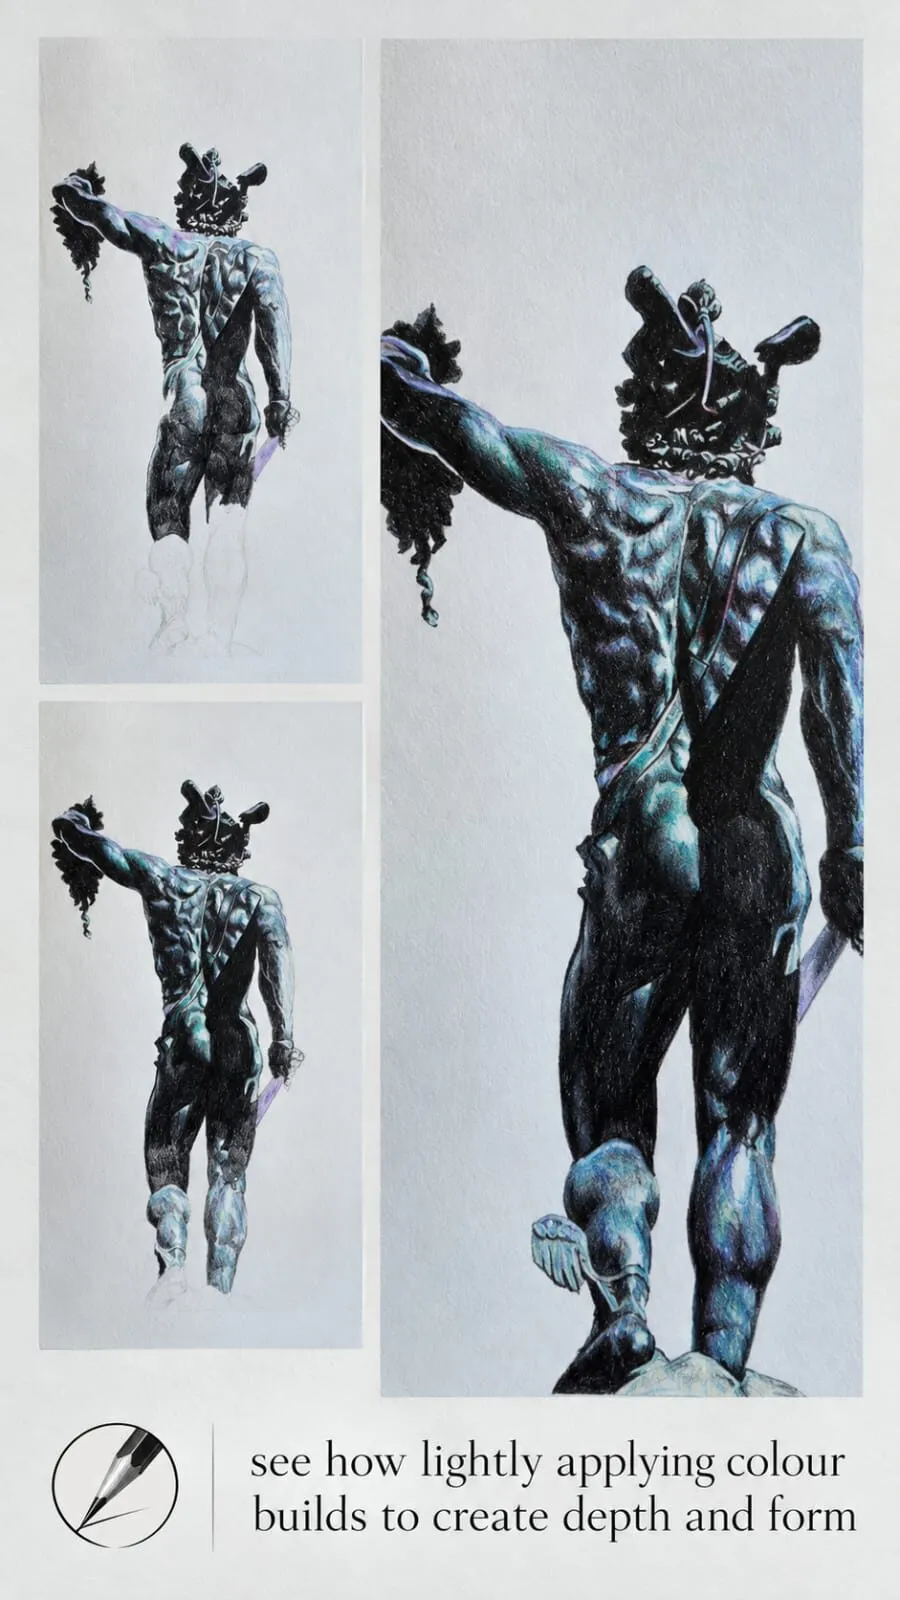
Three stages of one of Michael’s drawings: light layers of colour gradually give the statue depth and form.
For a fuller look at layering, see how to layer coloured pencils.
Common mistakes
The fix for most is to slow down. Work light, and check the form against a real object under a lamp.
Practice exercises
- Gradient strip: fill ten boxes from white to dark, daily until it is smooth.
- Four forms, one light: draw a sphere, cube, cylinder and cone on one page with the same lighting.
- Change the light: draw the same sphere with the light from the left, the right and above.
- Real objects: choose an egg, a cup and a box, and label the five parts on each.
- Colour version: repeat the sphere in red, blue and green pencils.
The short version
Learn the sphere, cube, cylinder and cone in graphite, and find the five parts on each: highlight, light tone, core shadow, reflected light and cast shadow. Work in light layers for smooth gradients, then repeat in colour once the values are right. When you are ready, move on to perspective or return to the how to draw hub.
Where to buy
Recommended products
Affiliate links. We may earn a small commission if you buy, at no extra cost to you. Why?
Pencils · Derwent
Derwent Drawing Pencils
Muted, earthy tones suited to wildlife, nature and atmospheric work.
Book · Bert Dodson
Keys to Drawing
Practical, encouraging exercises for accuracy and confidence.
Buy on AmazonAffiliate link · opens Amazon
Quick answers
Frequently asked questions
What are the basic forms in drawing?+
The four basic forms are the sphere, the cube, the cylinder and the cone. Nearly every object can be simplified into one or a combination of them: an apple is a sphere, a box is a cube, a mug is a cylinder and an ice cream cone is a cone. Drawing them well teaches structure and lighting.
What is the difference between form and shape?+
A shape is flat and two-dimensional, such as a circle or square. A form is three-dimensional and has volume, such as a sphere or cube. You turn a shape into a form by showing how light falls across it, with gradual or distinct changes of tone that describe its surface.
What is the core shadow?+
The core shadow is the darkest band of tone on the form itself, on the side turned away from the light. It sits between the lit area and the reflected light, and it is separate from the cast shadow that falls on the ground. It gives a form its weight and roundness.
Are colored pencils and coloured pencils the same?+
Yes, colored is the US spelling and coloured the UK spelling of the same pencils. The exercises in this lesson work with either type. Use graphite to learn the values first, then repeat the same forms in colored or coloured pencil to see how colour changes the light and shadow.