Graphite & Charcoal
Pencil Drawing Techniques: Core Methods and When to Use Them
Hatching, cross-hatching, stippling, scumbling, blending, smudging, lifting, layering and contour: what each pencil technique does and when to use it.
Key takeaways
- ◆Most pencil drawings combine several techniques; the skill is matching the method to the texture or form you are drawing.
- ◆Line-based methods (hatching, cross-hatching, contour) keep marks visible, while blending and smudging hide them.
- ◆Layering light tone first and lifting highlights later gives more control than trying to get the right value in one pass.
- ◆Stippling and scumbling suit texture and atmosphere, but both take time or patience to build smoothly.
- ◆Practise each technique on a small patch before using it in a drawing, and keep a swatch page for reference.
Pencil drawing looks like one medium but is really a toolkit of a dozen ways to put graphite on paper. A tight stipple, a loose scribble and a blended gradient all come from the same pencil, yet they suit different subjects. Knowing which to reach for is what turns practice sheets into convincing drawings.
This guide gives you a map of the core techniques: what each one does, how to do it, when it works best and where it goes wrong. A comparison table sums up the choices, and the sections link to the detailed guides when you are ready to go deeper. If you are new to pencil, start with pencil drawing for beginners and come back.
Techniques at a glance
| Technique | Mark type | Best for | Watch out for |
|---|---|---|---|
| Hatching | Parallel lines | Clear tone, drawing with visible line | Uneven spacing |
| Cross-hatching | Crossing line sets | Deep shadow, texture | Mechanical grid look |
| Stippling | Dots | Soft tone, stone, skin texture | Slow; dots can be uneven |
| Scumbling | Loose loops | Fur, foliage, rough surfaces | Muddy if pressed hard |
| Blending | Softened layers | Smooth skin, sky, metal | Flattening and lost edges |
| Smudging | Spread graphite | Quick soft tone, atmosphere | Dirty whites |
| Lifting | Removed graphite | Highlights, soft edges | Damaged paper if rubbed |
| Layering | Stacked thin layers | Depth and rich darks | Burnished surface if pressed |
| Contour | Lines that follow form | Shape, structure, edges | Flat outlines |
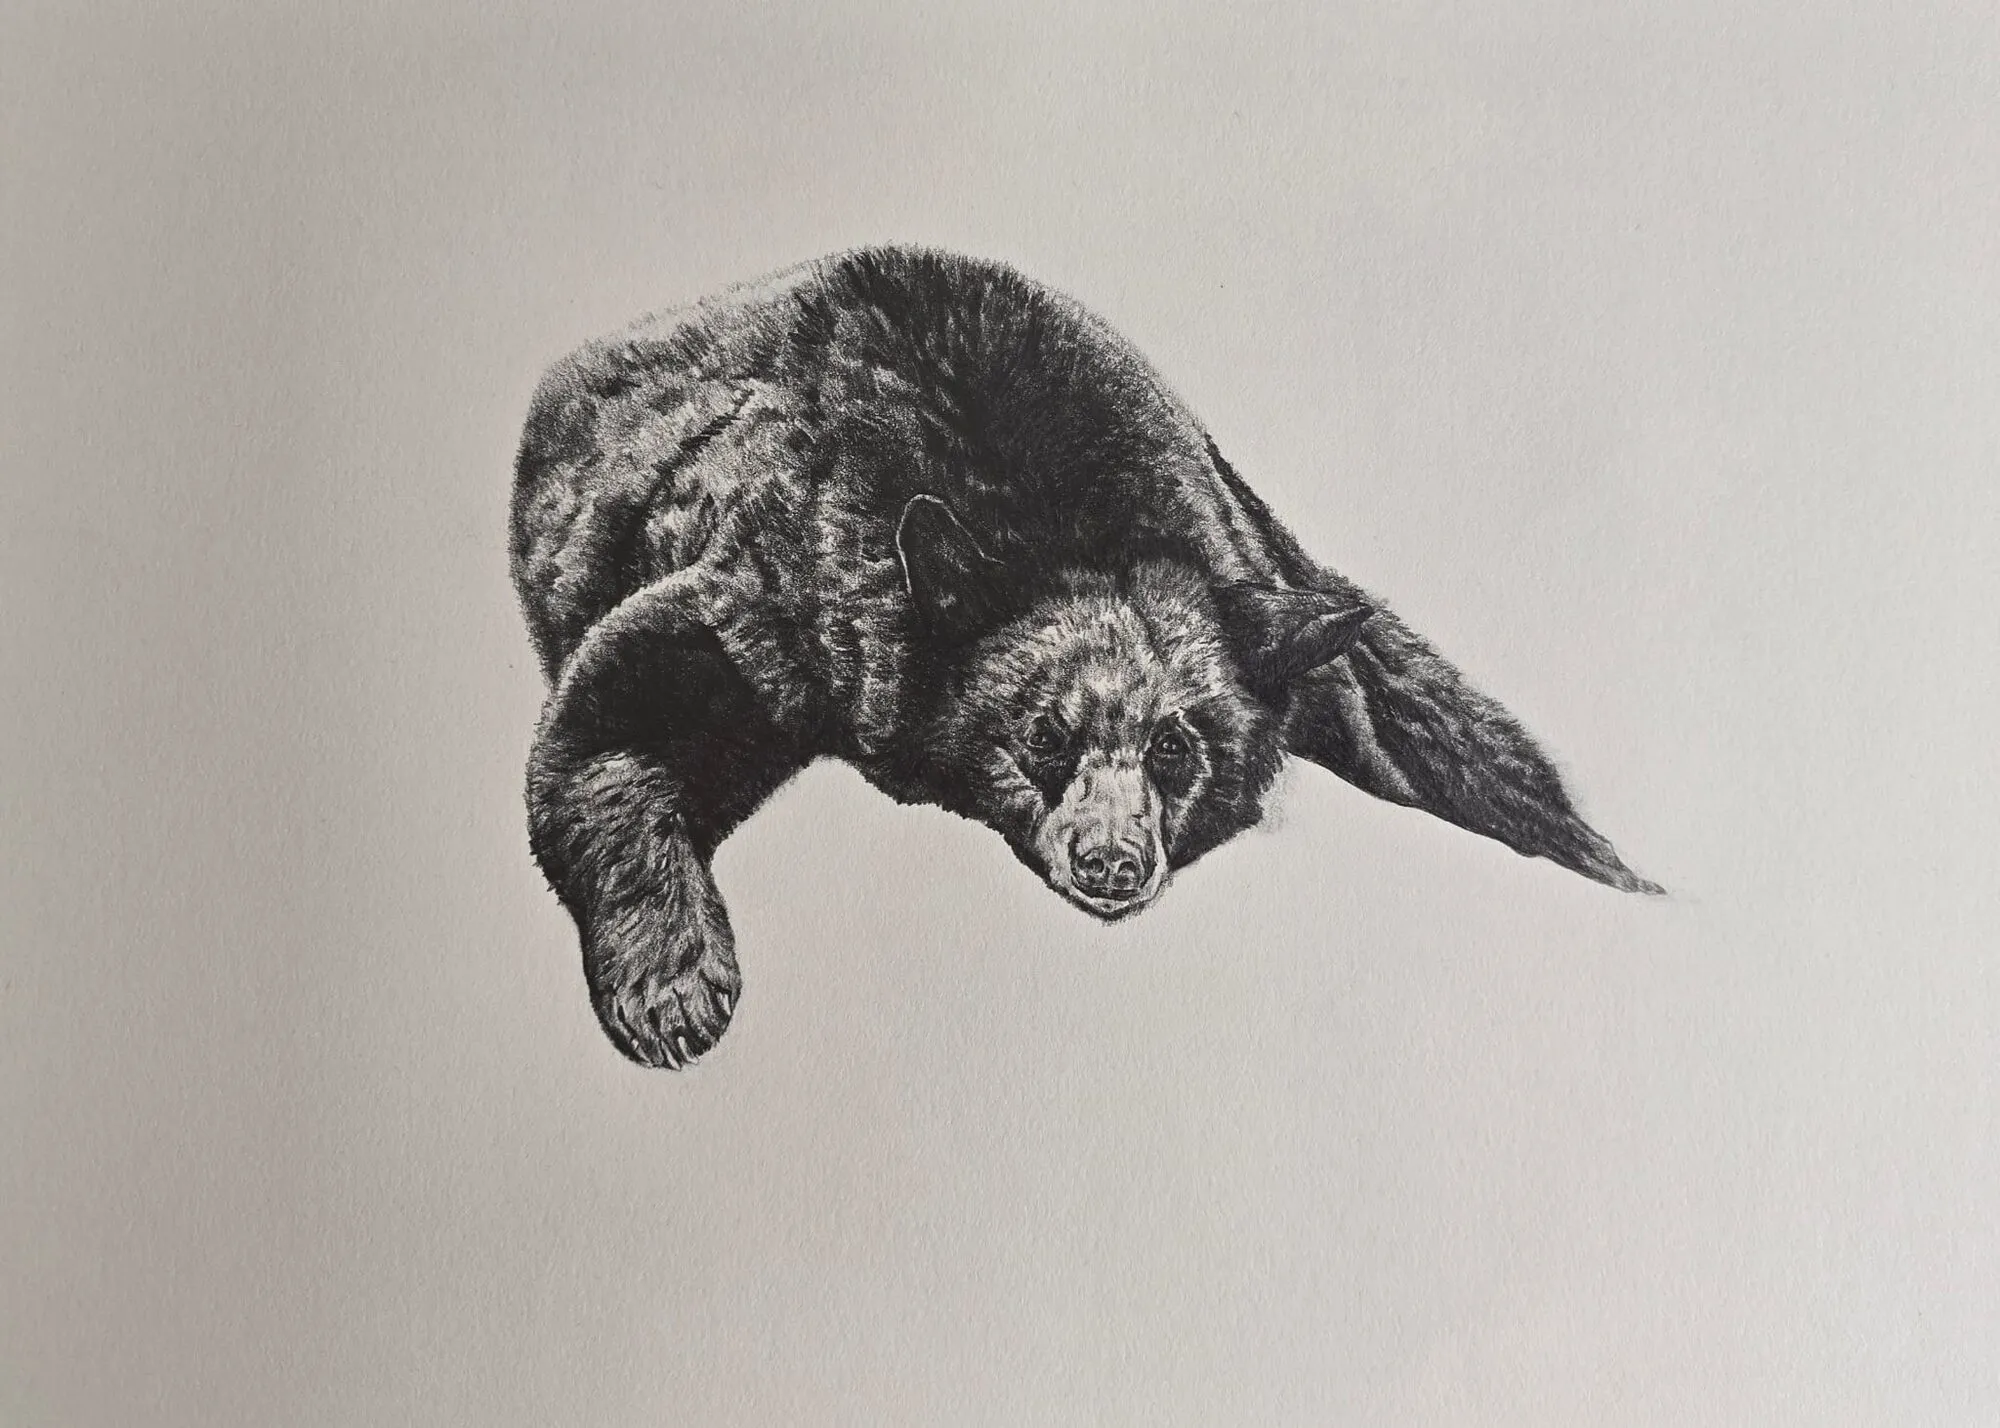
A bear lying down drawn in graphite pencil. Drawing by Michael Brace.
Hatching
Hatching is a set of roughly parallel lines. Tone comes from the spacing and pressure: lines close together read darker, lines further apart read lighter. Keep the angle consistent and the spacing even, and draw each line with a quick, flicking stroke that lifts at the end so the ends taper softly.
Use it when you want the drawing itself to show line, as in sketches, studies and graphic styles, and when you need clear control over tone without smoothing. It also describes direction: hatching that follows a form’s curve makes the surface feel rounded. See hatching and cross-hatching for the full method.
Cross-hatching
Cross-hatching adds one or more additional sets of lines at an angle to the first. It builds darker tone without pressing hard, because the layers accumulate. Two layers give a mid-tone, three or four give deep shadow.
It works well for shadows, engraved looks, fabric and textured surfaces. The risk is a grid that looks mechanical. Vary the angles, let lines follow the form and change the spacing gradually rather than in steps.
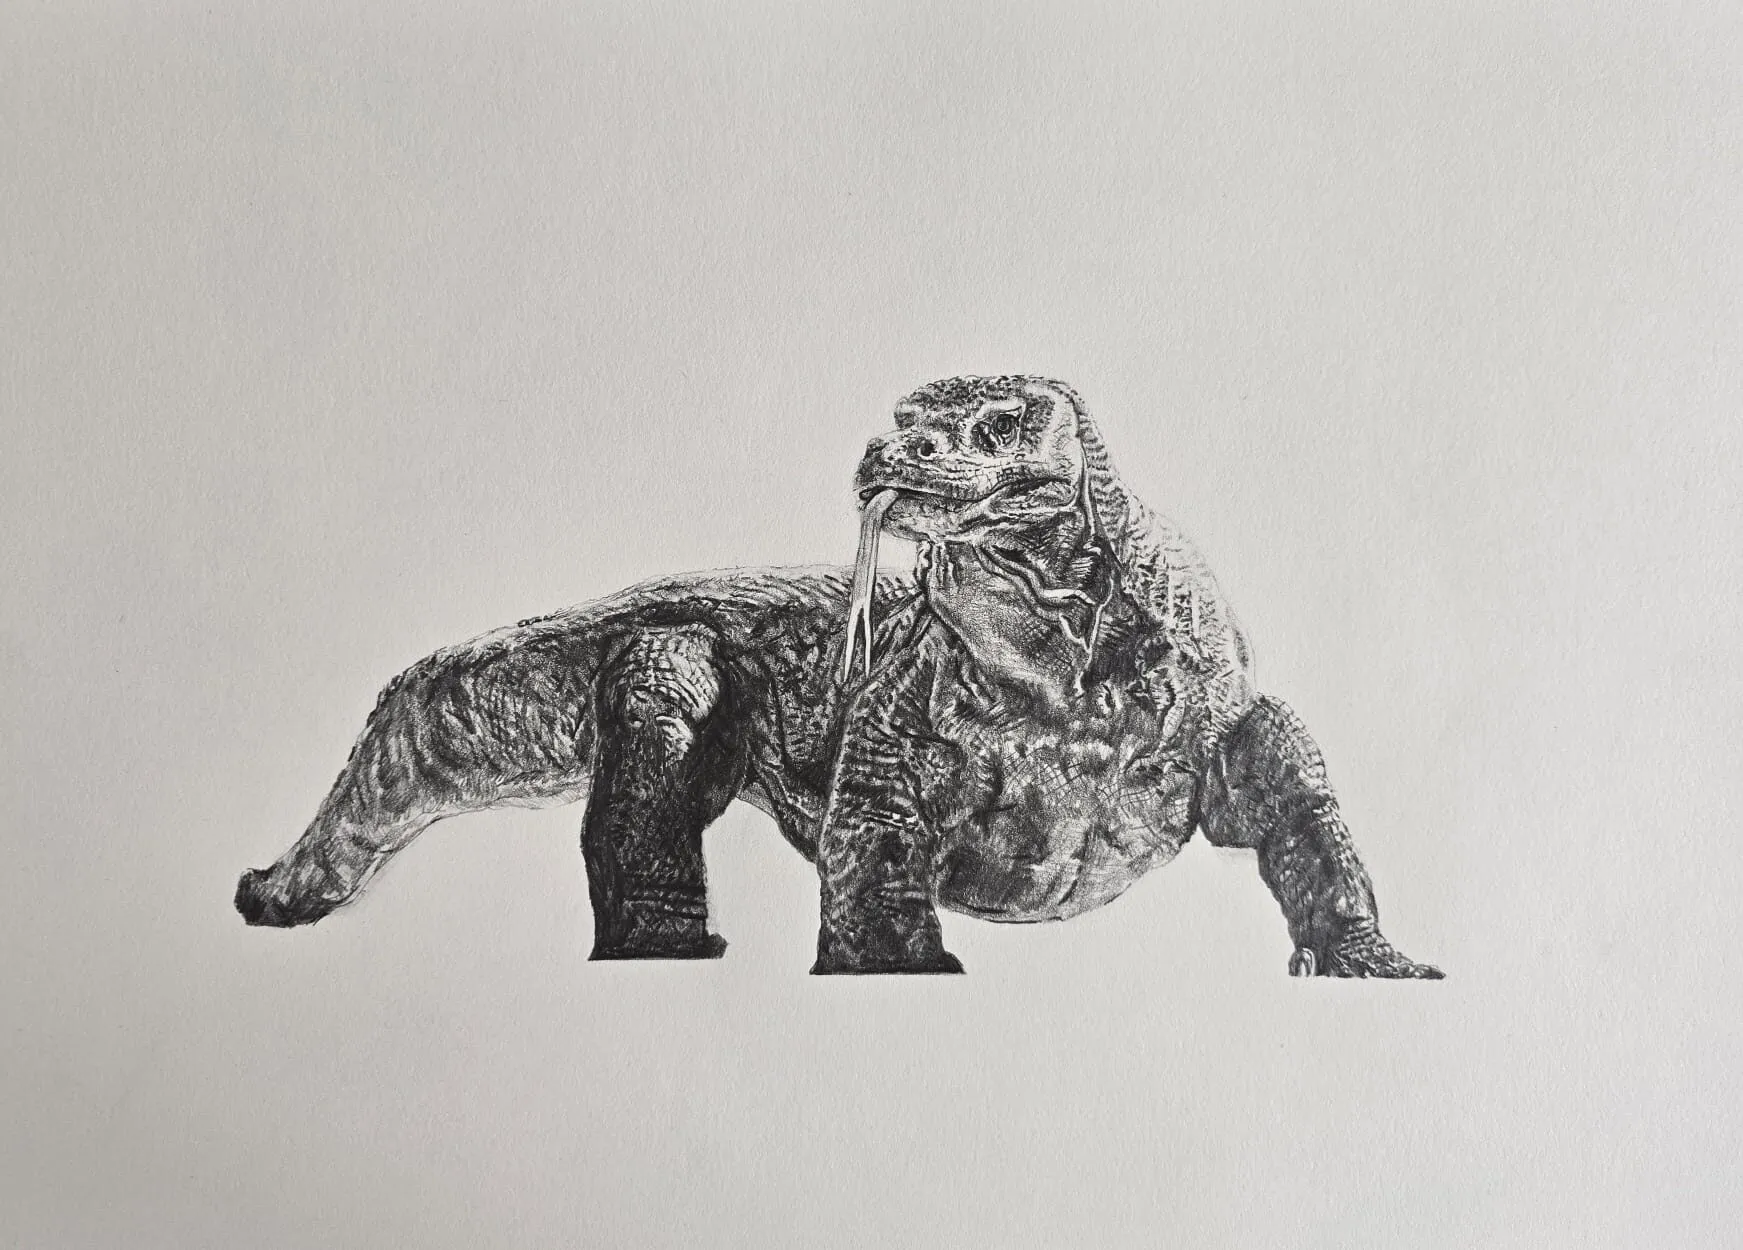
A lizard drawn in graphite pencil. Drawing by Michael Brace.
Stippling
Stippling builds tone from dots. Darker areas have more dots closer together, and lighter areas have fewer. It is slow, but it produces a soft, grainy tone that is hard to achieve any other way and it never smears.
Use it for rough or pitted surfaces such as stone, skin pores, rock and sand, and for delicate gradients where you want no directional lines. Use a well-sharpened harder pencil for control, and keep dots small and varied in spacing, not in a regular pattern. It is not a technique for filling large areas.
Scumbling and circular shading
Scumbling is loose, overlapping scribbles or small circular strokes laid over one another. It is faster than stippling and more organic than hatching. Keep the pressure light and the loops overlapping in a random, even way.
It suits fur, foliage, clouds, bark and any subject where a slightly irregular texture is a feature. For smooth skin or polished surfaces, the texture is too visible unless you blend afterwards. Pressing hard produces a dark, shiny tangle, so build up slowly.
Blending
Blending softens graphite so the individual strokes disappear. Tools include paper stumps, tortillons, tissue, cotton wool and soft brushes. You can also blend by layering with a hard pencil over soft tone, which fills in the paper texture.
Use it for skin, skies, metal, glass and any smooth transition. The danger is overdoing it: too much blending flattens tone, lowers contrast and makes a drawing look foggy. Blend early layers, then sharpen edges and add darks on top. The full guide is how to blend graphite, and the stump-specific method is in how to use blending stumps.
Smudging
Smudging is the accidental or casual cousin of blending: spreading graphite with a finger or the side of your hand. It produces soft atmospheric tone quickly and is part of the classic sketchy look.
The trouble is that fingers carry skin oils and push graphite into clean areas. If you use it deliberately, work on a scrap first, and keep it to areas you intend to be soft. To prevent accidental smudging, see how to avoid smudging pencil drawings.
Lifting
Lifting removes graphite to make highlights or soften edges. A kneaded eraser is pressed and dabbed on the drawing so it picks up graphite rather than scrubbing; it can also be shaped to a point for fine highlights. A putty eraser, tissue or a soft cloth works for wider lifts, and an eraser pencil gives precise marks.
Lifting is a drawing technique, not just a correction: many artists shade a whole area mid-grey and draw the highlights by lifting out. It is effective for hair, eyes, clouds and reflections. Do not scrub, which damages the paper surface. See the best erasers for graphite for a comparison of types.
Layering
Layering is the foundation under almost every other technique. Instead of making the final value in one pass, you build it from several thin layers, light to dark. The first layers establish shape and pale tone; later layers add mid-tones and shadows; the last layers add the darkest accents.
Layering keeps the paper surface open and lets you correct as you go. It also works with other techniques: hatch in layers, blend between them, add a final scumble. Pressing too hard in early layers fills the paper tooth and stops later layers from taking, so keep pressure light at first. Our guide to how to shade with pencil walks through a light-to-dark build.
Contour drawing
Contour drawing uses line to follow the edges and surfaces of a form. In pure contour, the pencil traces what the eye sees, often without lifting. Cross-contour lines run across a form like lines of latitude on a globe, describing its volume.
Use it to learn observation, to build the structure beneath a tonal drawing, and to describe form through line. The weakness is that hard outlines flatten objects, so vary line weight: heavier where shapes overlap or turn into shadow, lighter on the lit side. The how to draw what you see guide builds on this habit.
Choosing techniques by subject
Combining methods is normal. A few starting points:
- Smooth skin: layered shading, blended lightly, with lifted highlights.
- Fur and hair: directional strokes in layers, with lifted lighter strands.
- Animal hide and rough skin: scumbling and cross-hatching over a blended base.
- Stone, sand and bark: stippling or scumbling, with hard edges left visible.
- Metal and glass: smooth layered tone, strong contrast, crisp edges and lifted highlights.
- Skies and clouds: soft blending with lifted shapes.
For a worked look at texture, read how to draw realistic textures in graphite.
How to practise techniques
Make a technique sampler on a single page. Draw nine squares and fill each with a technique: hatching, cross-hatching, stippling, scumbling, blending, smudging, lifting, layering and contour. Repeat with a harder and a softer pencil and with light and firm pressure. Label the page and keep it beside you while you draw.
Then apply a technique to a simple form, such as a sphere, and compare how each one changes the feel. If you want a structured routine, the 30 day drawing challenge includes exercises that touch most of these. A swatch of your pencils in the pencil grade chart tool will help you pick which grade suits which method.
Common mistakes when mixing techniques
- Using every technique in one drawing. A drawing reads better when one or two methods dominate and the others support them. Decide the main voice first, such as smooth layered tone or visible hatching.
- Blending too soon. Blend early layers, then add detail on top. Blending over finished detail softens it away.
- Switching pencils without testing. Different grades behave differently under each technique, so a soft pencil that scumbles beautifully may smear when hatched.
- Ignoring the paper. Smooth paper suits fine hatching and blending, while toothy paper suits scumbling and stippling.
- Forgetting to step back. Techniques that look right close up can look busy or flat from a distance, so check from arm’s length.
The short version
Hatching and cross-hatching give controlled, visible line tone. Stippling and scumbling build texture and softness. Blending and smudging hide strokes, lifting draws highlights, layering supplies depth and contour describes form. Choose by the surface you are drawing, combine freely, and keep a technique sampler so you remember what each method looks like on your paper.
Quick answers
Frequently asked questions
What are the main pencil drawing techniques?+
The core techniques are hatching, cross-hatching, stippling, scumbling or circular shading, blending, smudging, lifting, layering and contour drawing. Hatching and cross-hatching use lines, stippling uses dots, scumbling uses loose loops, blending softens tone, lifting removes graphite, layering builds depth and contour follows form.
What is the difference between blending and smudging?+
Blending is a controlled softening of tone, usually with a stump, tortillon, tissue or cloth, to remove visible strokes. Smudging is unintended or casual spreading of graphite, often by a finger or hand. The effect on the paper can look similar, but blending is deliberate and precise while smudging often dirties clean areas.
Which technique is best for realistic drawing?+
No single technique is best. Realistic work usually combines smooth layered shading, blending for soft transitions, cross-hatching or scumbling for texture, and lifting for highlights. Choose by subject: smooth tone for skin and metal, directional marks for fur and hair, and stippling or scumbling for stone and rough surfaces.
How do I learn pencil techniques quickly?+
Make a swatch page with a square for each technique, then repeat it using different pencil grades and pressures. Short daily sessions work best. Apply each technique to a small subject, such as a sphere, leaf or simple animal texture, before combining several in a larger drawing.