Graphite & Charcoal
Best Erasers for Graphite Drawing
Kneaded, vinyl, gum, pencil-style and battery erasers compared for graphite, with advice on lifting versus erasing, creating highlights and protecting paper.
This guide contains affiliate links. If you buy through them we may earn a small commission at no cost to you. How this works.
Jump to recommended products
Key takeaways
- ◆A kneaded eraser is the most useful all-round tool: it lifts tone gently, can be shaped, and does not leave crumbs.
- ◆A soft vinyl or plastic eraser removes graphite cleanly, and an eraser pencil or battery eraser gives precise, narrow highlights.
- ◆Lifting takes off a little tone and keeps the drawing soft; erasing removes it completely.
- ◆Erasing is a drawing method as well as a correction: highlights, hair and reflections can all be drawn with an eraser.
- ◆Hard or rough erasing damages the paper's surface, so use gentle pressure and the softest eraser that does the job.
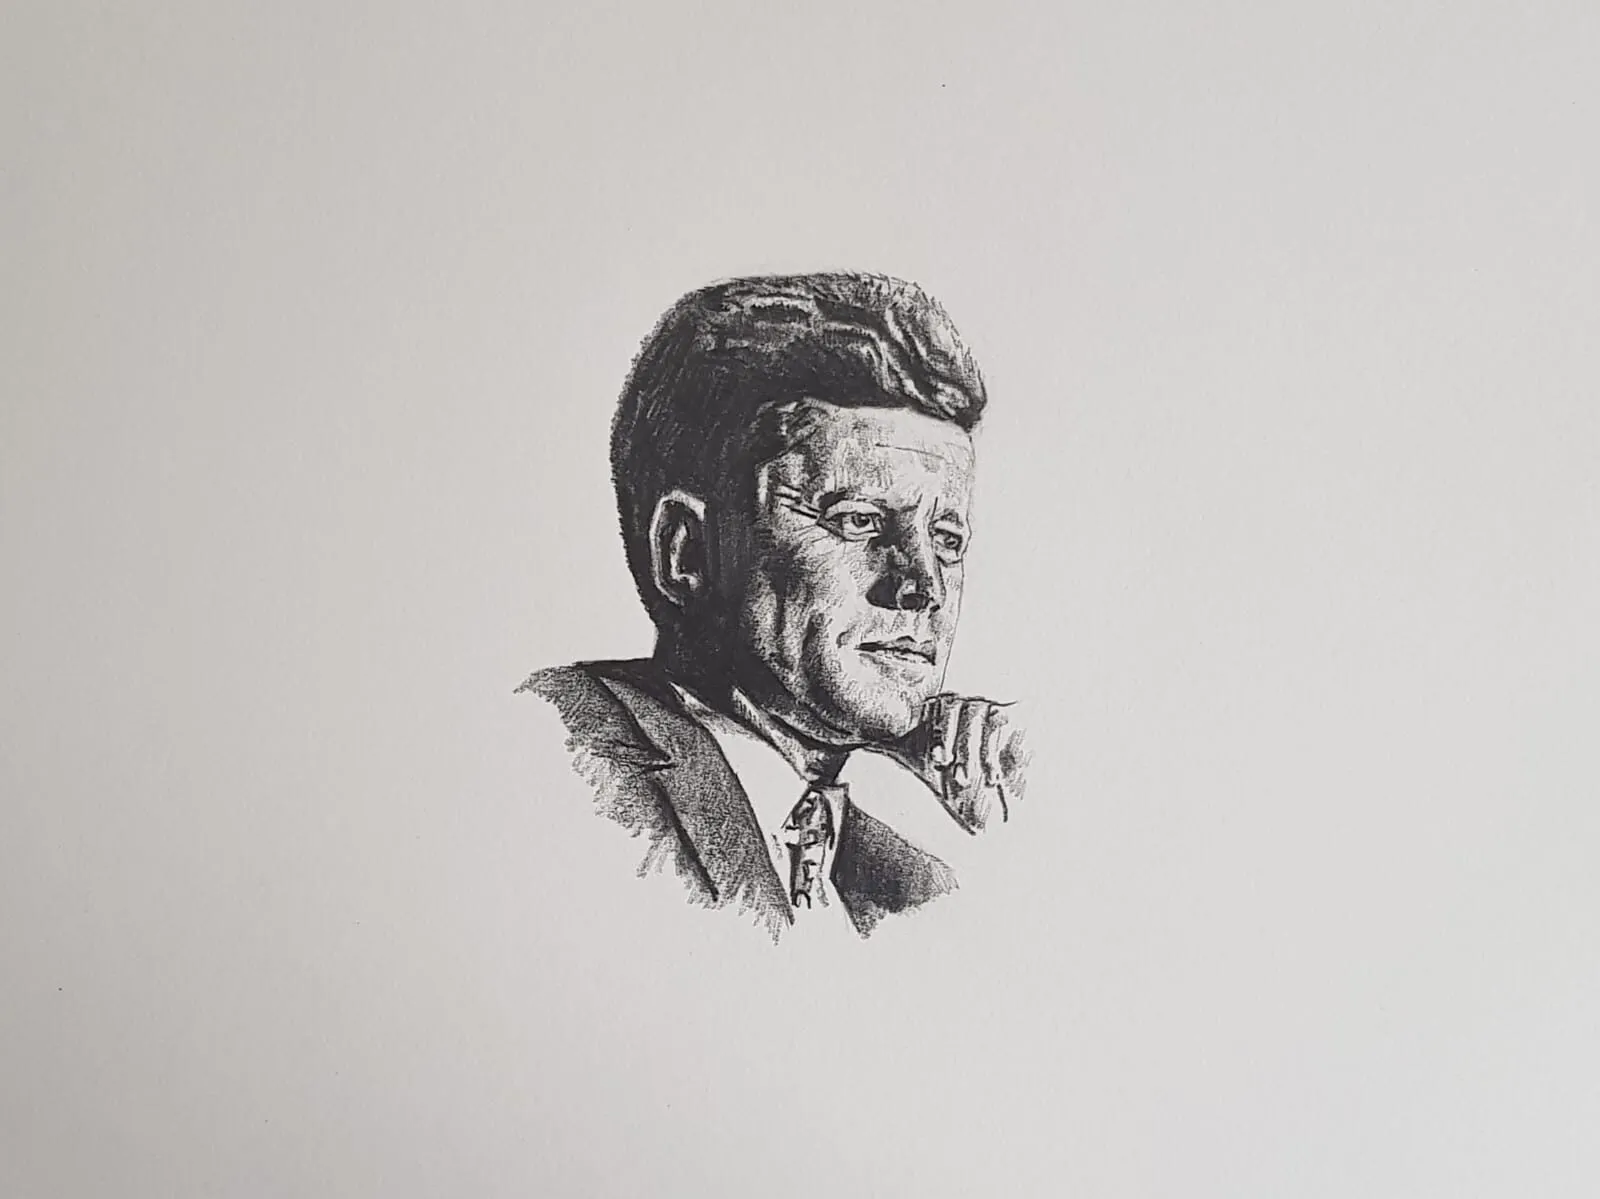
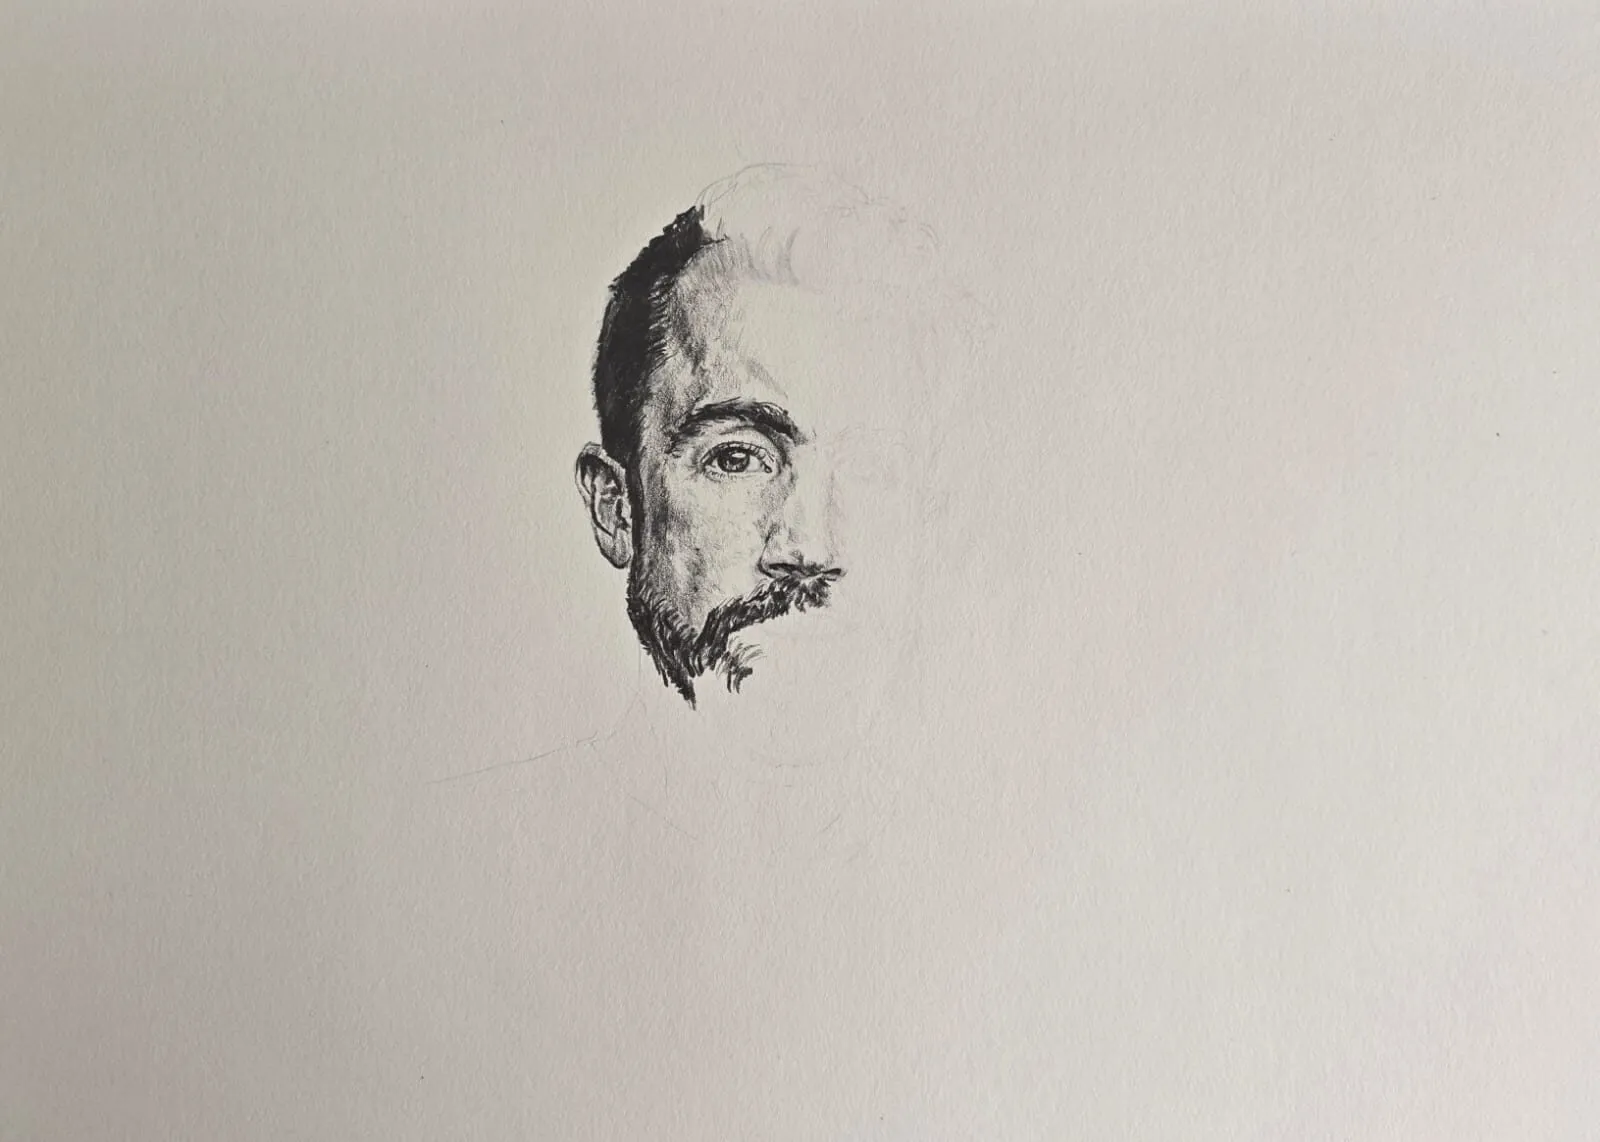
Beginners treat an eraser as an undo button. Experienced graphite artists treat it as a drawing tool: a way to lift a soft highlight out of a shaded area, draw pale hairs across dark fur, pick out a glint in an eye and clean up the edges of a form. Which eraser you choose changes what you can do.
This guide explains the main types, what each is best at, the difference between lifting and erasing, how to create highlights, how to look after your erasers and how to avoid damaging the paper. It names categories and Michael’s tools rather than ranking a long list, since eraser ranges change and quality varies by batch. To see erasing in a wider workflow, browse our graphite and charcoal guide.
The main types
Kneaded erasers
A kneaded eraser is a soft, putty-like material that you can stretch, fold and shape. Rather than rubbing graphite away, it absorbs it. Press it onto the drawing and lift straight up to remove tone gently, or roll it to a point for small details. It leaves no crumbs and does not damage the paper if used lightly.
Best for: lifting tone, soft highlights, reducing dark areas, cleaning up smudges and general use. Less good for: completely removing dark or heavy marks, which can require many lifts.
Vinyl and plastic erasers
A vinyl or plastic eraser is a firm, smooth block that rubs away graphite cleanly and leaves little residue. It is stronger than a kneaded eraser and ideal for correcting mistakes and sharpening edges.
Best for: clean removal, crisp edges and correcting lines. Less good for: soft, subtle lifting, and it leaves crumbs that need brushing away. Use gentle pressure, since a firm one can burnish or damage the paper.
Gum and art gum erasers
Gum erasers are softer and more crumbly than vinyl. They are gentle on paper and good for lightly cleaning surfaces, but they leave a lot of crumbs and can smear heavy graphite rather than removing it.
Best for: light cleaning and delicate papers. Less good for: precision and heavy graphite.
Pencil erasers and eraser sticks
An eraser pencil or eraser stick is a narrow eraser in a pencil-like holder. You sharpen or extend it, and it gives a precise tip for small, exact highlights and edges. Michael’s tools include Pasler eraser pencils, which suit this fine work.
Best for: fine highlights, whiskers, glints and clean edges. Less good for: large areas, which is slow with such a small tip.
Battery or electric erasers
A battery eraser uses a small motor to spin or vibrate a thin eraser tip. It removes graphite quickly and precisely without much pressure, making it excellent for fine detail and for lifting light lines out of dark tone. It can also be used for cleaning. Michael’s tools include the Derwent electric eraser.
Best for: precise highlights, hair, fine lines and tidy edges. Less good for: large areas, and it can wear through paper if held in one place. Keep it moving and use it lightly.
| Eraser | Action | Precision | Paper risk | Best for |
|---|---|---|---|---|
| Kneaded | Lifts | Medium, shapeable | Very low | Soft lifting, tone control |
| Vinyl/plastic | Rubs | Medium | Moderate | Clean removal |
| Gum | Rubs, crumbly | Low | Low | Light cleaning |
| Pencil-style | Rubs | High | Moderate | Fine highlights |
| Battery | Spins | Very high | Higher if held still | Precise detail |
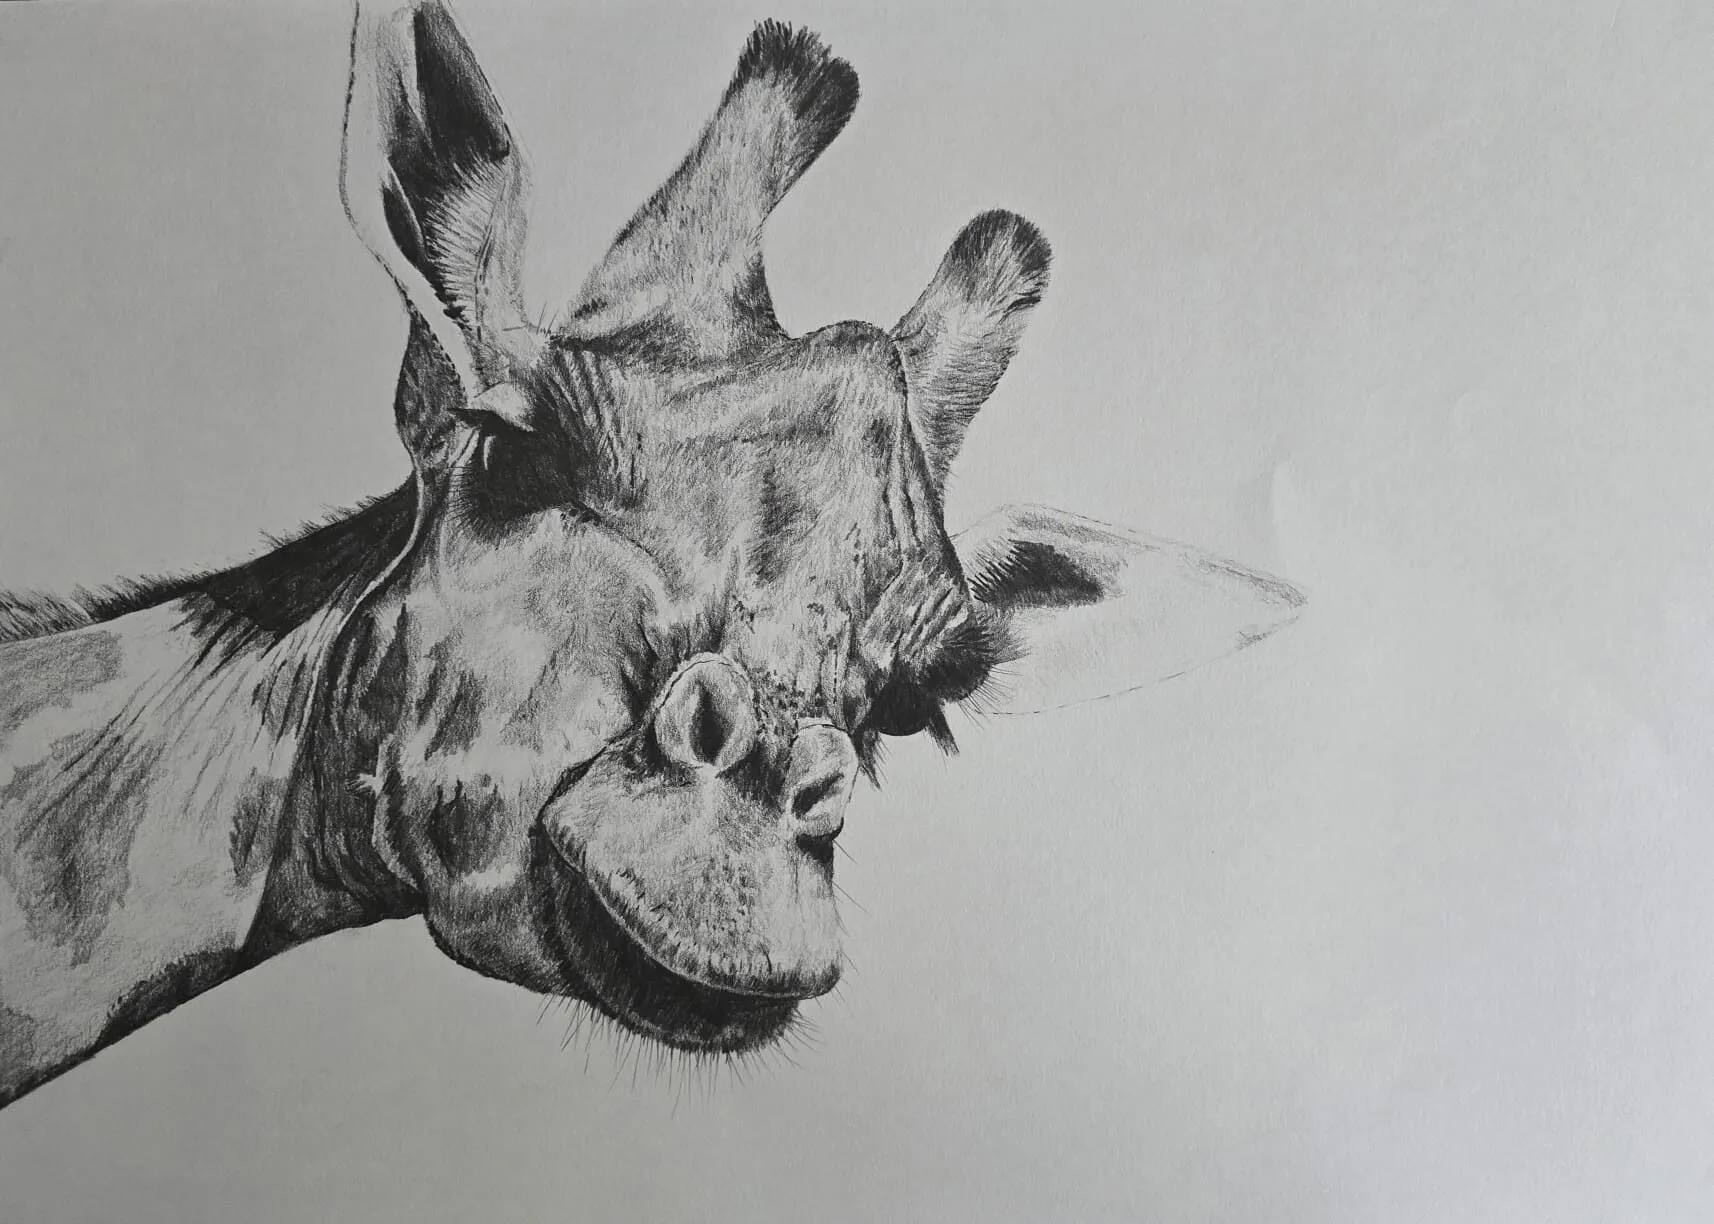
A giraffe’s head drawn in graphite pencil. Drawing by Michael Brace.
Lifting versus erasing
Lifting pulls graphite off the surface without rubbing. Press a kneaded eraser flat or shaped onto the tone, and pull up. It removes some graphite, so tone lightens without disappearing. It is gentle and reversible, since you can lift more or add tone back.
Erasing rubs the surface to remove graphite. It is more powerful and more precise, but it wears the paper and can leave the tooth flattened. Use it for corrections and defined highlights.
A good rule: lift first, erase second. Try a kneaded eraser, then move to firmer tools only if you need them. For more on the difference in coloured pencil, see lifting and erasing coloured pencil.
Drawing with the eraser
The best use of an eraser is to draw highlights into tone. This is a subtractive approach: lay down an area of tone, then lift the lights out.
Soft highlights
Lay a smooth tone, then press or roll a kneaded eraser gently over the area you want lighter. Repeat for a smooth transition. This suits soft highlights on skin, cloth or a rounded surface.
Sharp highlights
For crisp highlights such as a glint in an eye, a reflection on metal or a whisker, shape a kneaded eraser to a point or use a pencil or battery eraser. Draw the highlight as if you were using a light pencil.
Hair and fur
Lay a dark, soft tone, then lift fine, tapered strokes following the direction of the hair. It is the fastest way to make light hairs appear over dark. Use the edge of a firm eraser, or a battery eraser held lightly, and flick outwards.
Clean edges
Use a vinyl eraser with a straight edge, or a piece of paper as a mask, to sharpen the boundary of a shape. Cut a vinyl eraser to a chisel edge with a craft knife for crisp lines.
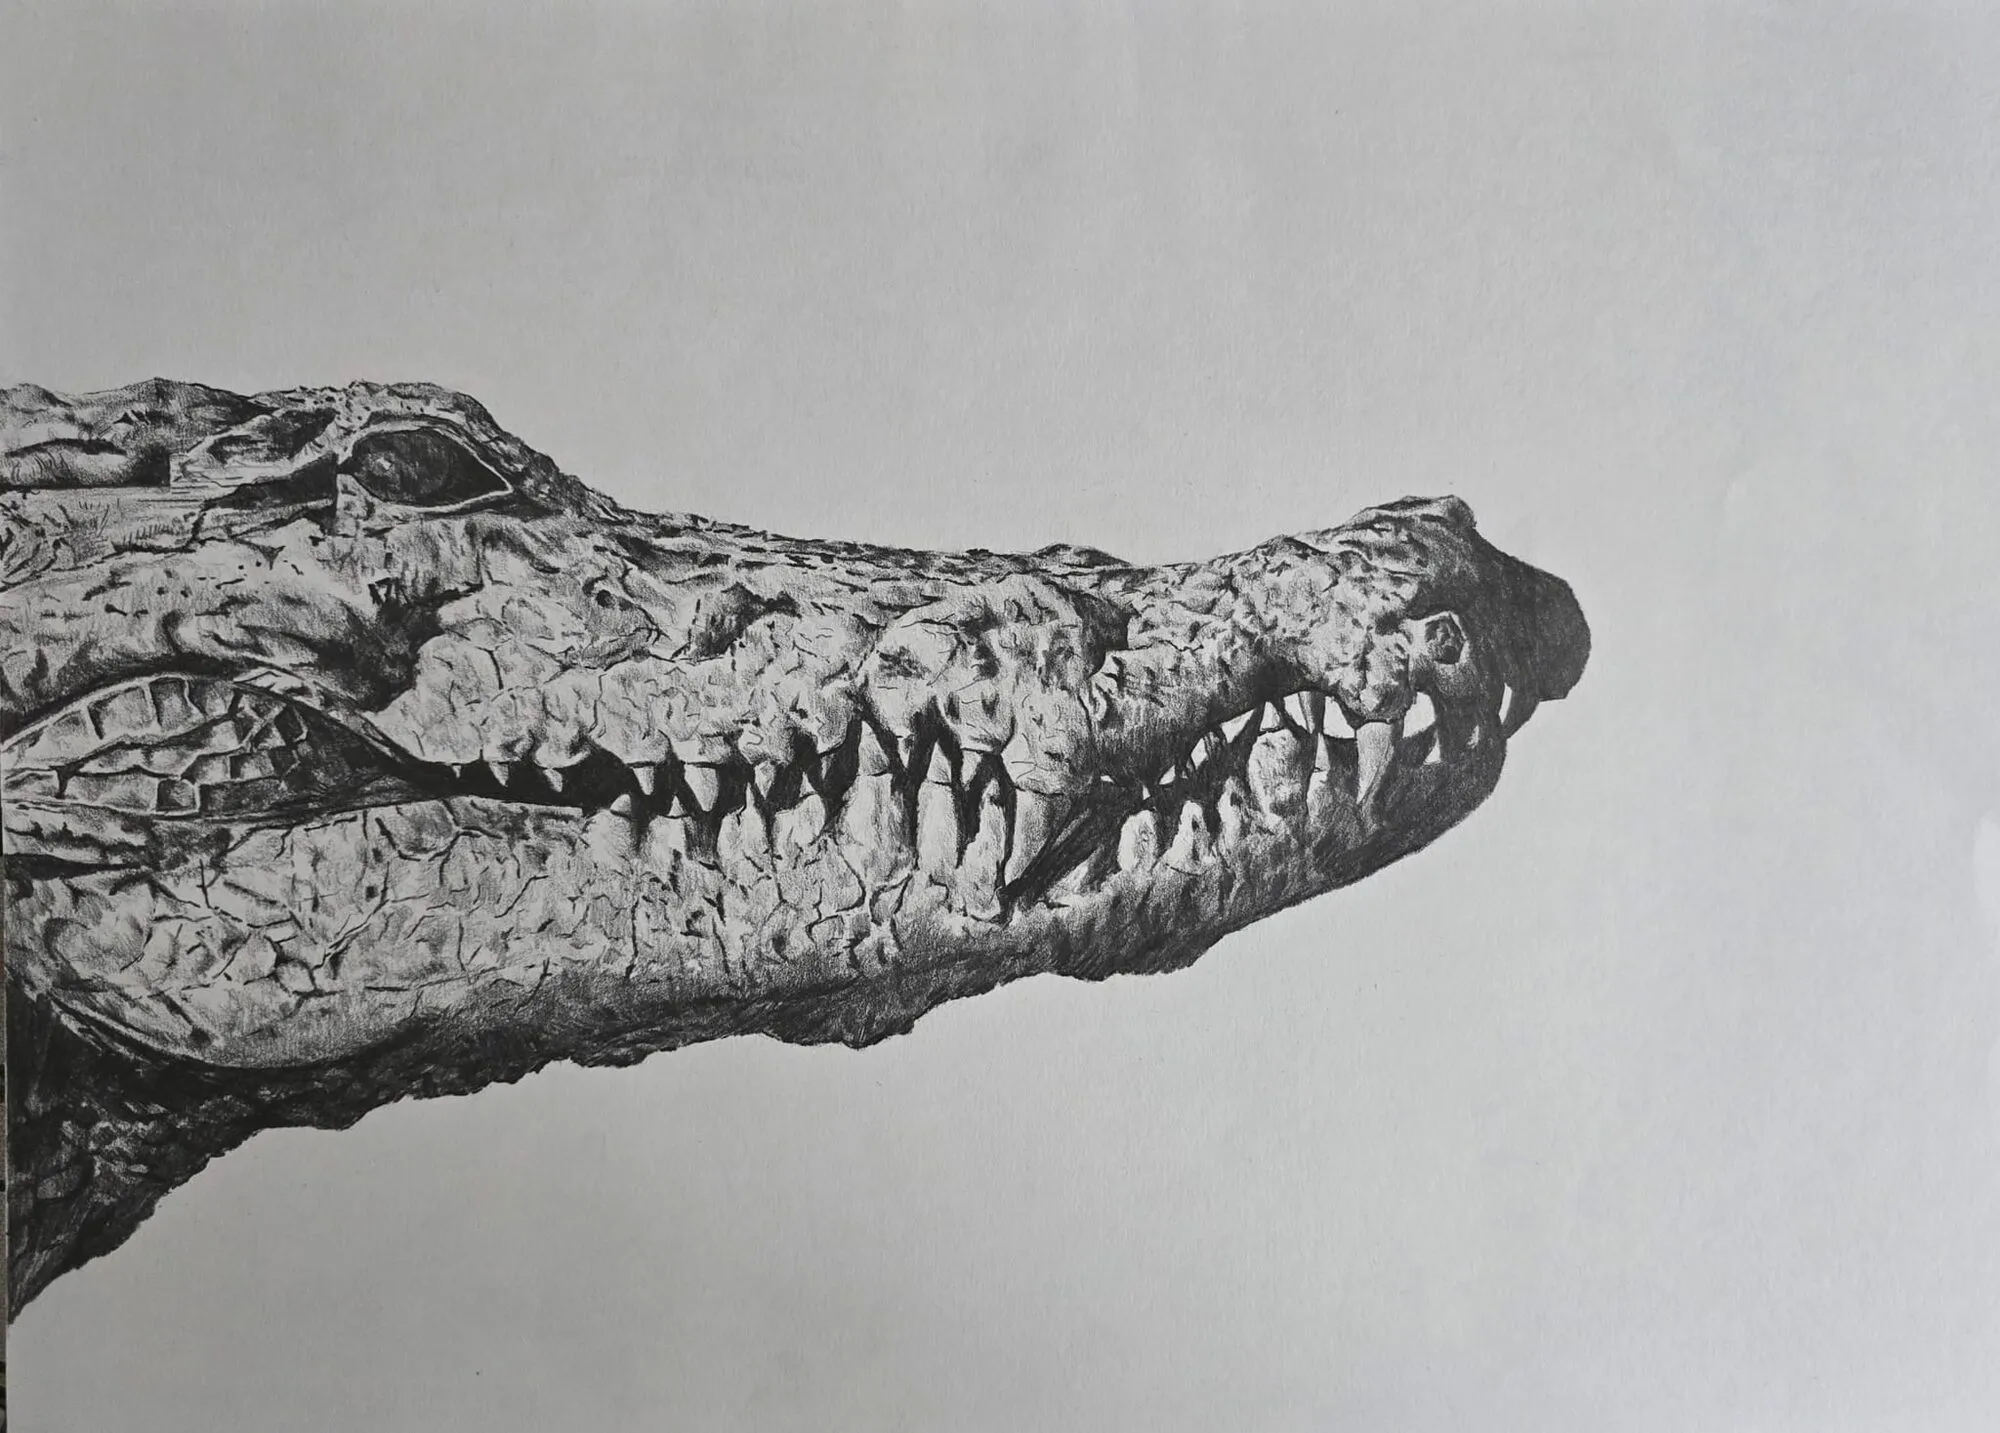
A crocodile’s head and teeth drawn in graphite pencil. Drawing by Michael Brace.
Using an eraser as a mask
You can protect areas of the drawing by placing a sheet of paper or an erasing shield over them. Erasing shields are thin metal or plastic templates with cut-out shapes, allowing you to erase precisely inside a shape while leaving the surroundings untouched. A piece of scrap paper with a cut edge works too. This is useful for sharp straight lines and clean shapes.
Caring for erasers
- Knead and stretch a kneaded eraser between uses so the dirty surface goes inside. Replace it when it is grey all through, shiny or difficult to shape.
- Keep vinyl erasers clean. Rub a dirty one on scrap paper to clear the surface, since dirty erasers smear.
- Trim pencil erasers with a craft knife to keep a clean edge, and replace worn ones.
- Store erasers in a container away from dust and oils. A kneaded eraser can pick up grit and scratch the paper.
- Do not leave erasers on plastic, as some vinyl erasers can react with certain plastics over time.
Protecting the paper
Erasing takes something from the paper as well as the graphite. Too much rubbing wears the surface, flattens the tooth and can leave fuzzy, shiny or thin areas that will not take graphite well again.
- Use the gentlest eraser that will do the job.
- Use light pressure and short strokes, and let the eraser do the work.
- Lift where possible, with kneaded erasers, rather than rubbing.
- Keep the battery eraser moving and use a light touch to avoid wearing through.
- Choose sturdy paper. Heavier paper tolerates more erasing. Softer cartridge papers dent and scuff more easily and forgive erasing less, so plan carefully when working on them. Our guide to the best paper for graphite drawing covers what to choose.
Recommended erasing kit
For most graphite artists, a small set is enough:
- A kneaded eraser for lifting and general use.
- A vinyl or plastic eraser for clean removal and sharp edges.
- A pencil-style eraser for fine highlights and details.
- A battery eraser, if you do a lot of fine detail such as hair, fur or reflections.
- A soft brush to sweep away crumbs, rather than blowing or using your hand.
Michael’s tools include the Derwent electric eraser and Pasler eraser pencils, both of which suit precise highlights.
Building your own erasing workflow
A reliable order for using erasers in a drawing:
- During shading, use a kneaded eraser to adjust tone and soften edges.
- After the main tone is set, use a pencil or battery eraser to add highlights.
- At the end, use a vinyl eraser to clean edges and remove stray marks, then tidy with a brush.
Combine these with good handling to keep a drawing clean. Read how to avoid smudging pencil drawings for hand position and working order, and how to blend graphite for how blending and erasing work together. Before you finalise, check your highlights with the value study tool to ensure the lights are light enough.
Common mistakes
- Rubbing hard. It damages the paper and burnishes graphite into the surface.
- Using a dirty eraser. It smears rather than lifts.
- Erasing too early. Rather than correct a faint mistake, draw over it; only remove what you have to.
- Erasing large areas with a small tool. Use the right size of tool.
- Neglecting the crumbs. Loose eraser dust smears; brush it away.
Erasers earn their keep in the shadows and light lesson and when drawing clouds and skies, and beginners can pair them with the best drawing pencils for beginners.
The short version
Keep a kneaded eraser for lifting and soft highlights, a vinyl eraser for clean removal, and a pencil-style or battery eraser for fine detail. Lift before you erase, use light pressure, keep erasers clean and protect the paper. Treat the eraser as a drawing tool as well as a corrector. To see how everything fits together, return to the graphite and charcoal guide.
Where to buy
Recommended products
Affiliate links. We may earn a small commission if you buy, at no extra cost to you. Why?
Tool · Derwent
Derwent Electric Eraser
A battery eraser for precise highlights and clean lifting of pigment.
Buy on AmazonAffiliate link · opens Amazon
Tool · Pasler
Pasler Eraser Pencils
Pencil-style erasers for pin-point corrections and crisp highlights.
Buy on AmazonAffiliate link · opens Amazon
Quick answers
Frequently asked questions
What is the best eraser for graphite pencil?+
A kneaded eraser is the best all-round choice, since it lifts graphite gently and can be shaped to a point. A soft vinyl or plastic eraser removes it more completely, and an eraser pencil handles fine details. Most artists keep two or three types, because each does a different job.
What is the difference between lifting and erasing?+
Lifting presses an eraser, usually a kneaded one, onto the drawing to pull up some graphite without rubbing, so a trace of tone remains. Erasing rubs the surface to remove graphite completely. Lifting is gentler and better for soft highlights and corrections; erasing is for clean removal.
Do erasers damage paper?+
They can. Rubbing hard, especially with a rough or abrasive eraser, can scuff the paper surface, remove its tooth and leave shiny or fluffy patches that will not take graphite well afterwards. Use the softest eraser that works, light pressure and short strokes, and lift rather than rub whenever possible.
How do you clean a kneaded eraser?+
Stretch it and fold it over so the dirty surface goes inside, then knead it until the surface is clean. Kneading warms and softens it. When it becomes grey all the way through, or shiny, greasy or hard to shape, it has reached the end of its life and should be replaced.