How to Draw
How to Draw Wrinkles and Older Faces in Pencil
Learn how to draw wrinkles and older faces in graphite or coloured (colored) pencil: skin structure, wrinkle directions, light and shadow, soft edges, hair and eyes.
Key takeaways
- ◆Wrinkles are folds and planes of skin, so draw them as soft shadow shapes with a light edge beside them, not as dark lines.
- ◆Wrinkles follow the structure of the face and the direction the muscles pull, which means they run across the forehead, radiate from the eyes and curve around the mouth.
- ◆Build the underlying structure first (skull, eye sockets, cheekbones, jaw), because older faces show that structure more strongly.
- ◆Keep the softest, lowest-contrast handling for most wrinkles and save the crisp darks for the deepest folds.
- ◆Hair, eyes and clothing help describe age as much as wrinkles do, so treat them with the same care.
To draw wrinkles and older faces, build the structure of the head first, then add wrinkles as soft folds of skin with a shadow on one side and a light edge on the other. Follow the direction of each fold, vary the darkness along its length, and keep most edges soft. Hair, eyes and value contrast carry as much of the age as the lines do.
Older faces are some of the most rewarding subjects for pencil artists. They are full of character, and they teach careful observation. They are also easy to spoil by overdrawing every line. This lesson covers how skin changes with age, how wrinkles form and run, how to handle light and shadow, and how to draw hair and eyes, in graphite and coloured pencil (colored pencil in the US).
What you need
- Graphite: an HB for layout, 2B and 4B for tone and a 6B for the deepest accents. See graphite pencil grades explained.
- A kneaded eraser for lifting soft highlights and a blending stump for smooth gradients. Use the stump lightly, since too much blending smooths away useful texture.
- Coloured pencils: a warm skin base, pinks and reds, yellow ochre, browns, cool greys and violets, and a dark for the deepest accents. Swatch them on your paper before you start.
- Paper: a fine tooth allows many layers. The best paper for realistic drawing covers options.
- A reference with strong side light. Raking light exposes every fold, and flat light hides them.
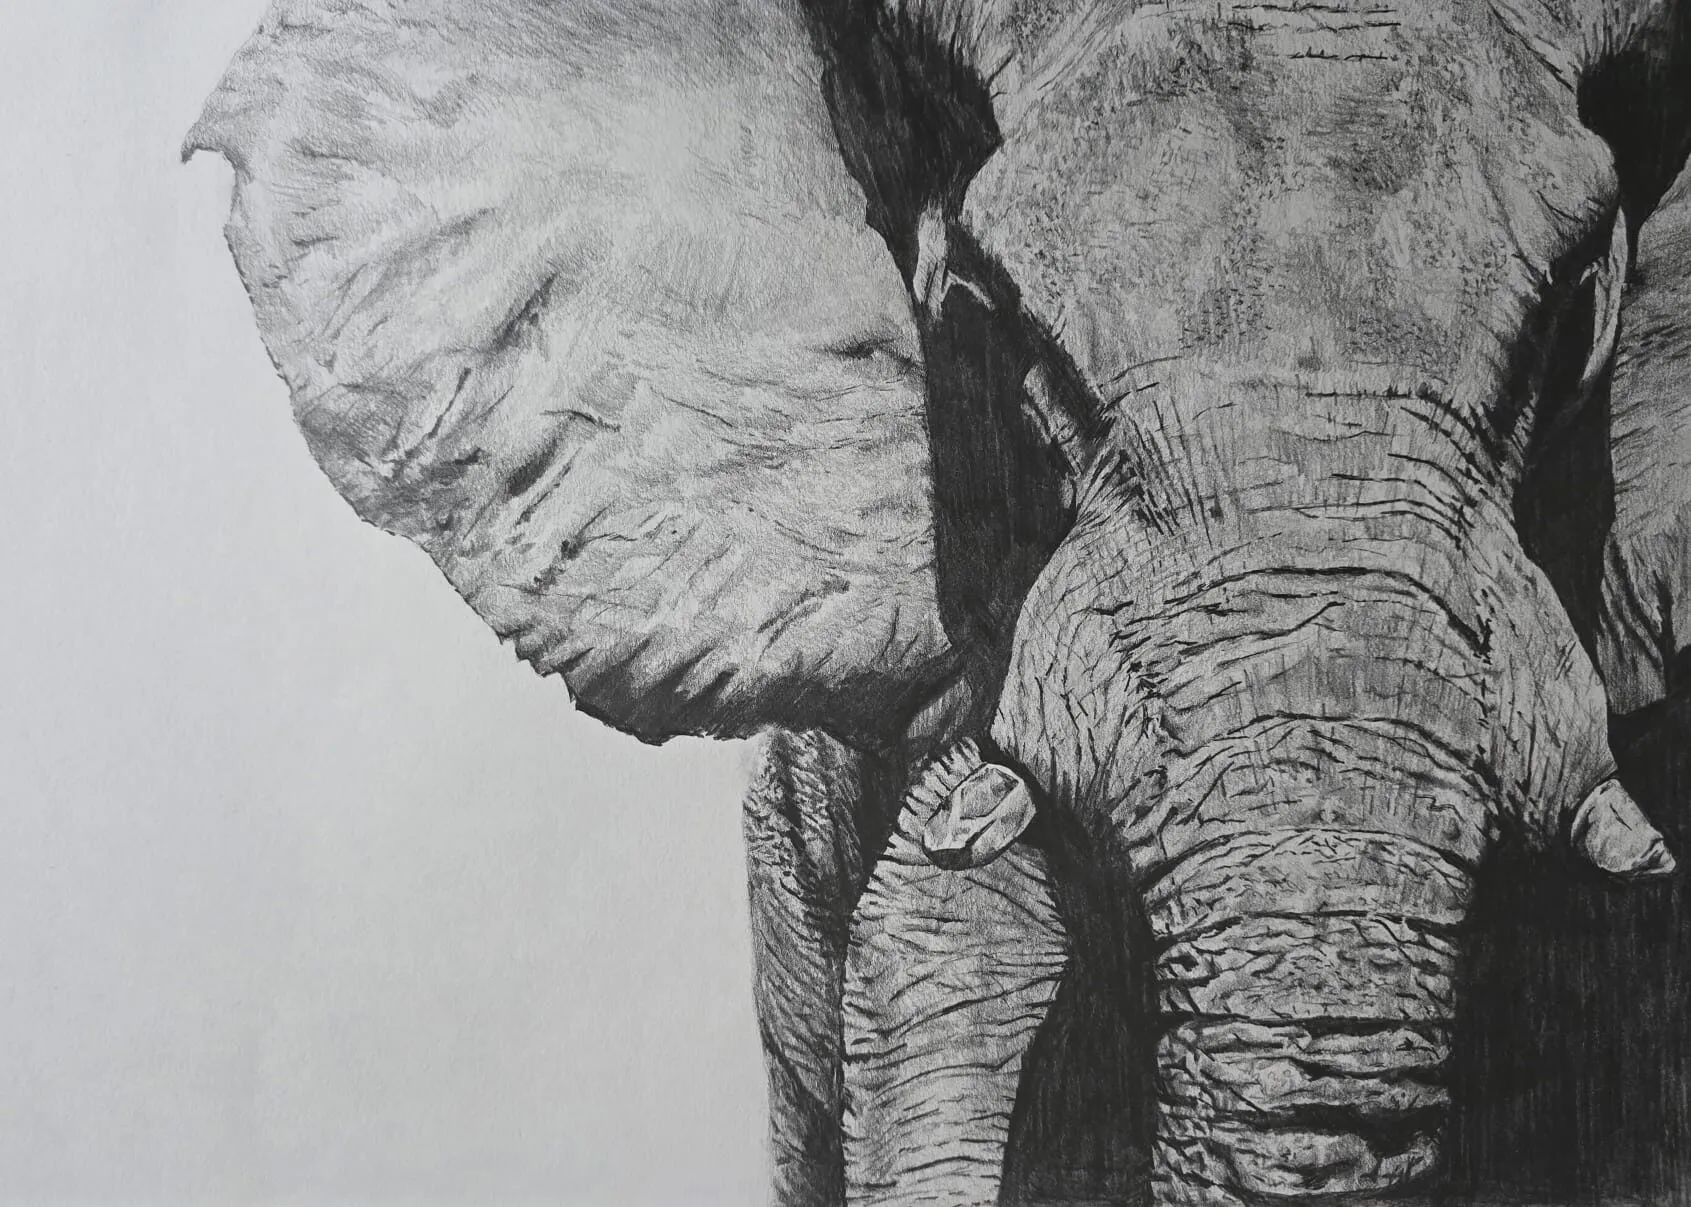
A close-up of an elephant’s ear, trunk and skin drawn in graphite pencil. Drawing by Michael Brace.
How skin and structure change with age
Age is not just lines. Several things change together.
- The skull shows more. The eye sockets look deeper, the cheekbones and the brow more defined and the jaw more visible as fat and skin thin.
- Skin loosens. It can sag at the jowls, under the chin and around the eyes, forming folds and pouches.
- Fine texture appears. Crow’s feet, lip lines and forehead creases develop in the direction of repeated expressions.
- Color varies. Older skin often shows more redness, yellow, blue-grey veins, and patches of pigmentation.
- Hair changes. It can turn grey or white, thin out, and show a wider range of tones and directions.
Proportions stay the same, so start with the guides in how to draw a face: proportions and then add age on top of a solid structure.
Wrinkle directions
Wrinkles run across the direction the muscles pull, which gives a reliable map.
- Forehead: long horizontal folds, often curved gently upward in the middle, and a pair of vertical or angled lines between the brows.
- Outer eyes: a fan of lines spreading out and slightly downward from the corners, plus folds in the upper lid.
- Under the eyes: soft bags and fine creases that follow the lower rim of the eye socket.
- Cheeks and nose-to-mouth folds: strong curved lines from the wings of the nose down and around the corners of the mouth, with softer folds running outward to the jaw.
- Mouth: small vertical lines above and below the lips, and curved lines from the corners of the mouth down the chin.
- Neck: horizontal folds that curve around the neck and tend to be softer than facial lines.
Use this as a guide, but follow your reference. Every face ages differently, and the most convincing drawings pick out a handful of important folds rather than copying all of them.
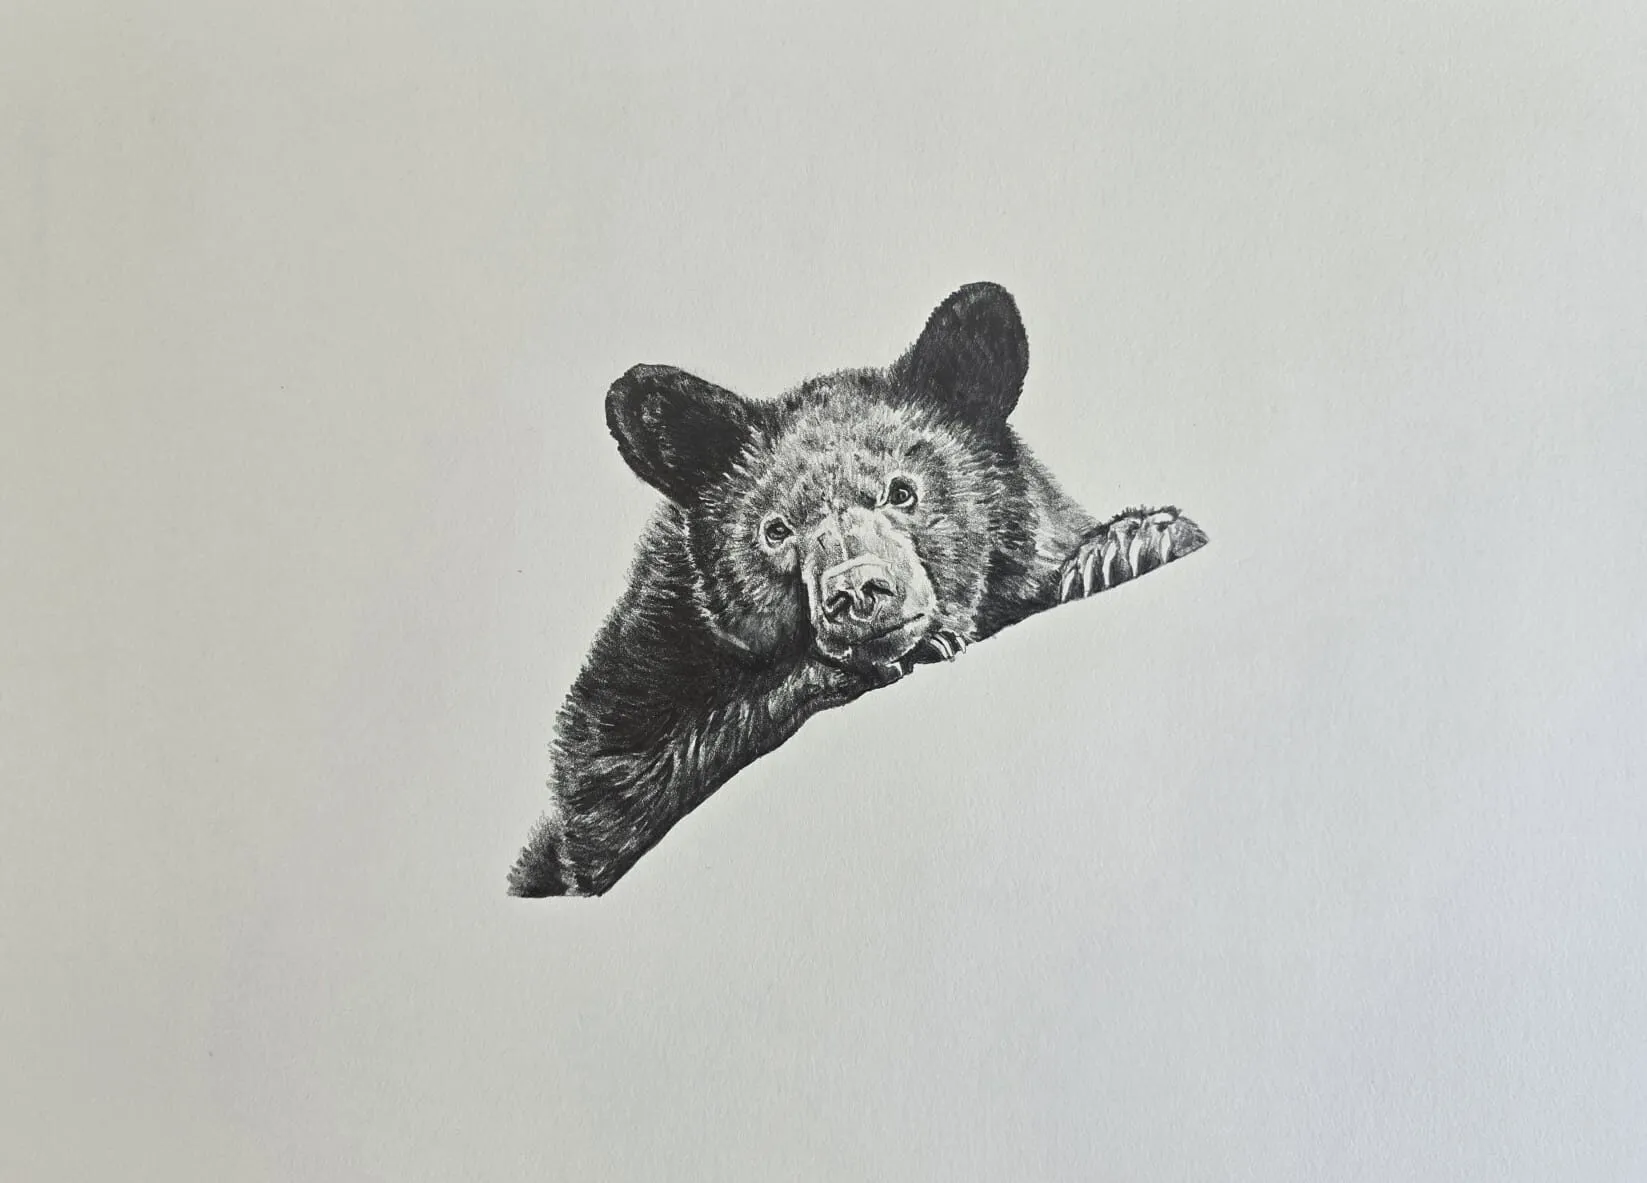
A bear cub resting on a branch drawn in graphite pencil. Drawing by Michael Brace.
Step-by-step: drawing an older face
- Build the structure. Draw the head shape, the eye line, the nose base and the mouth line lightly, then mark the brow ridge, the eye sockets, the cheekbones and the jaw. Older faces rely on this structure, so check it before you add anything else.
- Block in the big shadows. Squint to find the major shadow shapes: the eye sockets, under the brow, under the nose, beside the nose, under the lower lip, along the jaw and on the neck. Lay these in lightly with the side of a 2B, or with a cool brown in colour.
- Establish the main planes. Add a mid-tone to the areas of the face turned away from the light, and leave the forehead, cheekbones, nose bridge and chin lightest. Keep transitions soft.
- Map the major folds. Lightly mark the deepest wrinkles: the forehead creases, the lines beside the nose and mouth, and the folds under the eyes. Draw them as positions, not as dark lines.
- Shade each fold as a shadow and a light edge. On the side of each fold away from the light, add a soft, narrow shadow. On the side toward the light, leave a slightly lighter strip or lift a soft highlight. This is what gives a wrinkle its form.
- Vary the depth. Make the deepest folds darkest and sharpest in the middle and let them fade at the ends. Minor wrinkles should be much lighter, and some can be implied by texture alone.
- Add skin texture. Use the tooth of the paper and a light touch to add subtle texture on cheeks, the forehead and around the eyes. In coloured pencil, use small circular strokes or light hatching in a couple of close colours.
- Work on the eyes and mouth. Draw the eyelids, hooded lids and the bags beneath the eyes as forms, then add the eyes themselves. See how to draw realistic eyes and how to draw lips for feature details.
- Add the hair. Block in the mass of the hair first with a mid-tone, then add direction strokes and highlights. See the hair section below.
- Unify and adjust. Step back, squint and compare the value pattern to your reference. Soften any wrinkle that looks too harsh, strengthen the key folds and refine the edges.
Light and shadow on wrinkled skin
A wrinkle is a tiny landscape of ridges and valleys, and light does the descriptive work.
- Direction of light. Raking side light produces the clearest folds. Decide where your light comes from and keep it consistent, so that each fold has its shadow on the same side.
- Soft versus hard. A shallow wrinkle has a soft shadow and almost no highlight. A deep crease has a dark core, a soft penumbra and a bright edge. Do not make every wrinkle the same.
- Squint test. If you blur your eyes and the wrinkles still read as lines, they are too dark. They should fade into the larger planes of the face.
- Value range. Keep the wrinkle tones within the value of the surrounding plane, and only let the deepest crevices drop much darker. The value study tool is handy for checking this on your reference.
For shading methods, read how to shade with pencil, and for coloured pencil layering see how to layer coloured pencils.
Softness and skin colour in coloured pencil
Older skin is rarely a single flesh tone. In coloured pencil:
- Start with a light warm base, such as a pale peach or ochre, over the whole face.
- Add pinks and reds to the cheeks, nose and ears, and a hint of blue-grey or violet in the shadows and under the eyes.
- Use browns and deep reds in the deepest folds instead of black.
- Keep pressure light, so the layers stay soft and the paper’s tooth remains available for later adjustment.
- Check color choices with the palette from photo tool, and read how to mix skin tones with coloured pencils for layering ideas.
Eyes, hair and clothing
Wrinkles are only part of what tells the viewer a face is older.
Eyes. Older eyes often have heavier lids, a visible crease and softer contrast between the iris and the white of the eye. The whites may be slightly warm or grey, never pure white. Draw the lids as forms, because the folds above and below the eye frame it.
Hair. Grey and white hair is made of many tones, from pale grey to near-black shadows. Block in the mass first, leave the lightest areas as bare paper or as very light tone, and add strokes that follow the flow of growth. Thinner hair lets the scalp show through, so soften the edge between hair and skin. How to draw hair goes into the strand and mass methods.
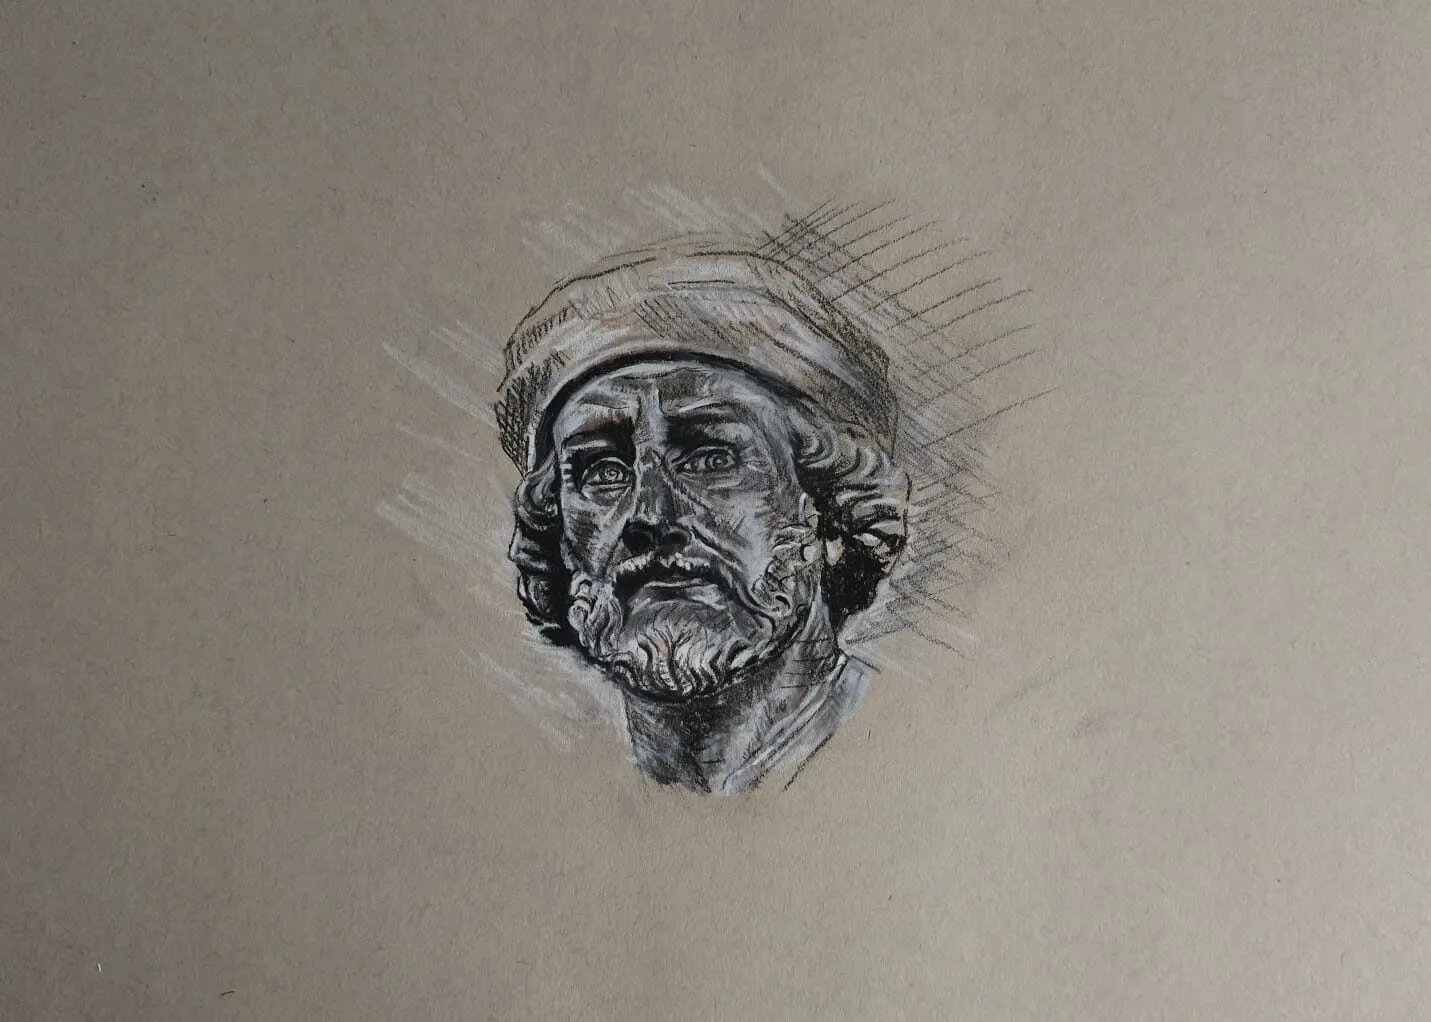
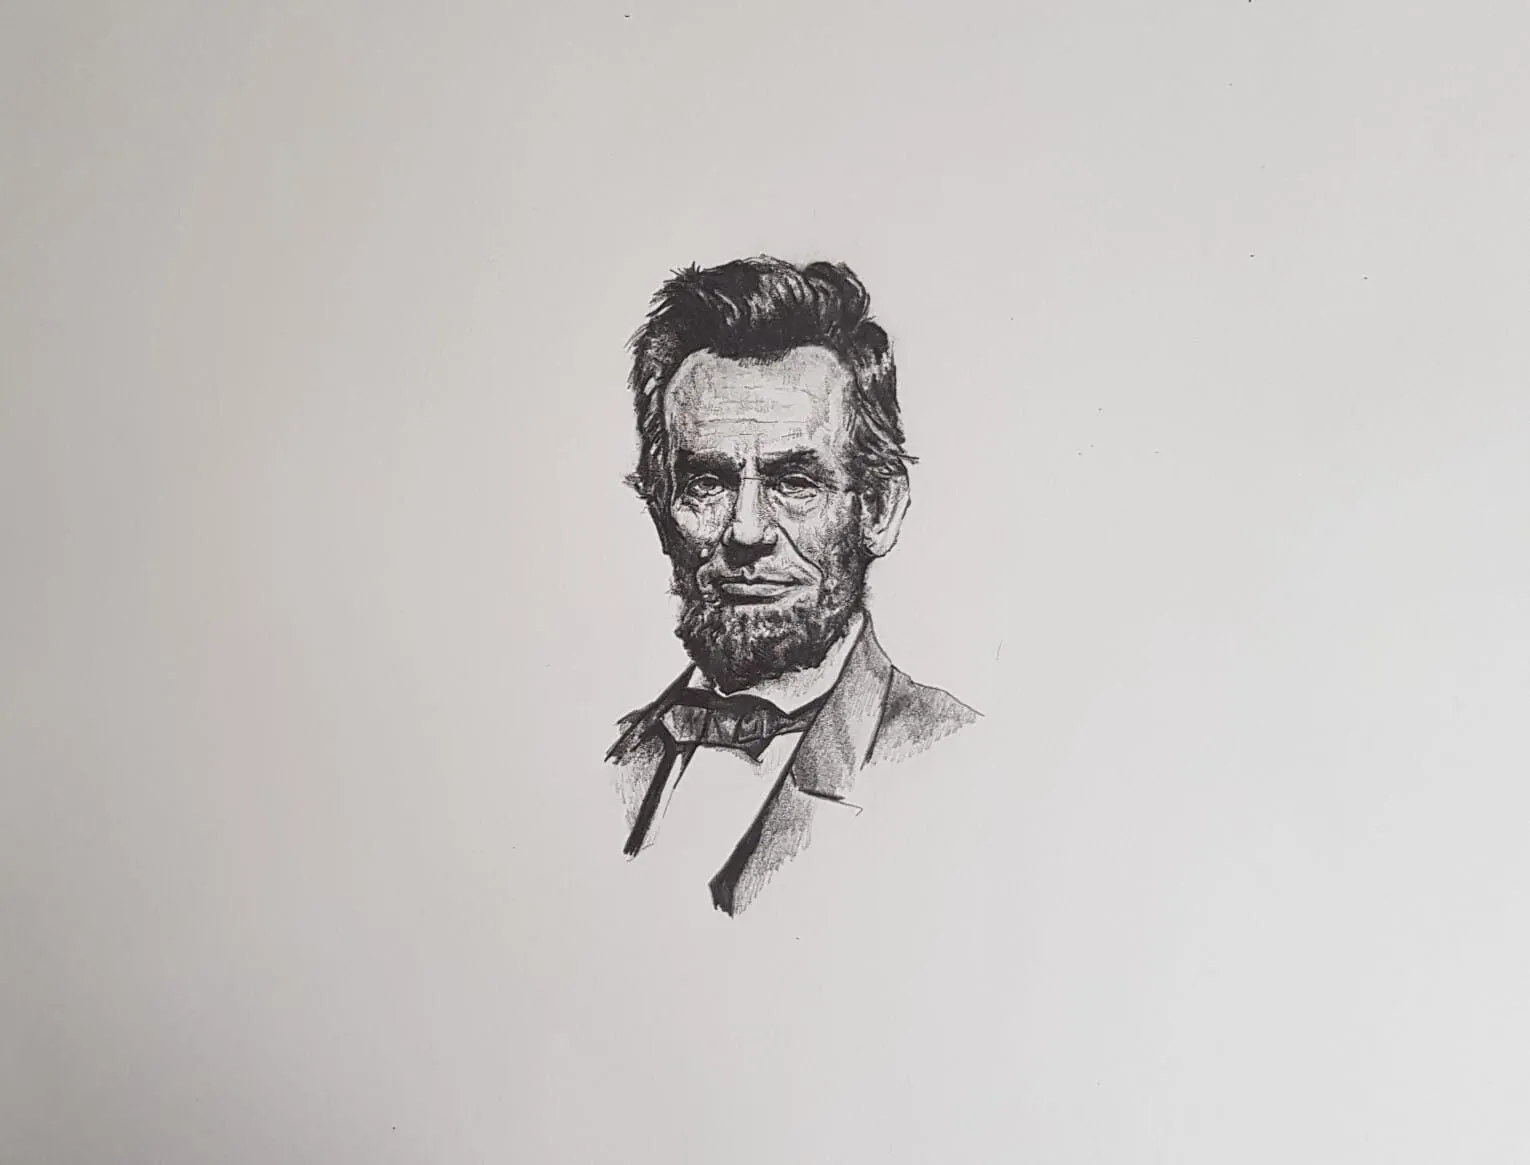
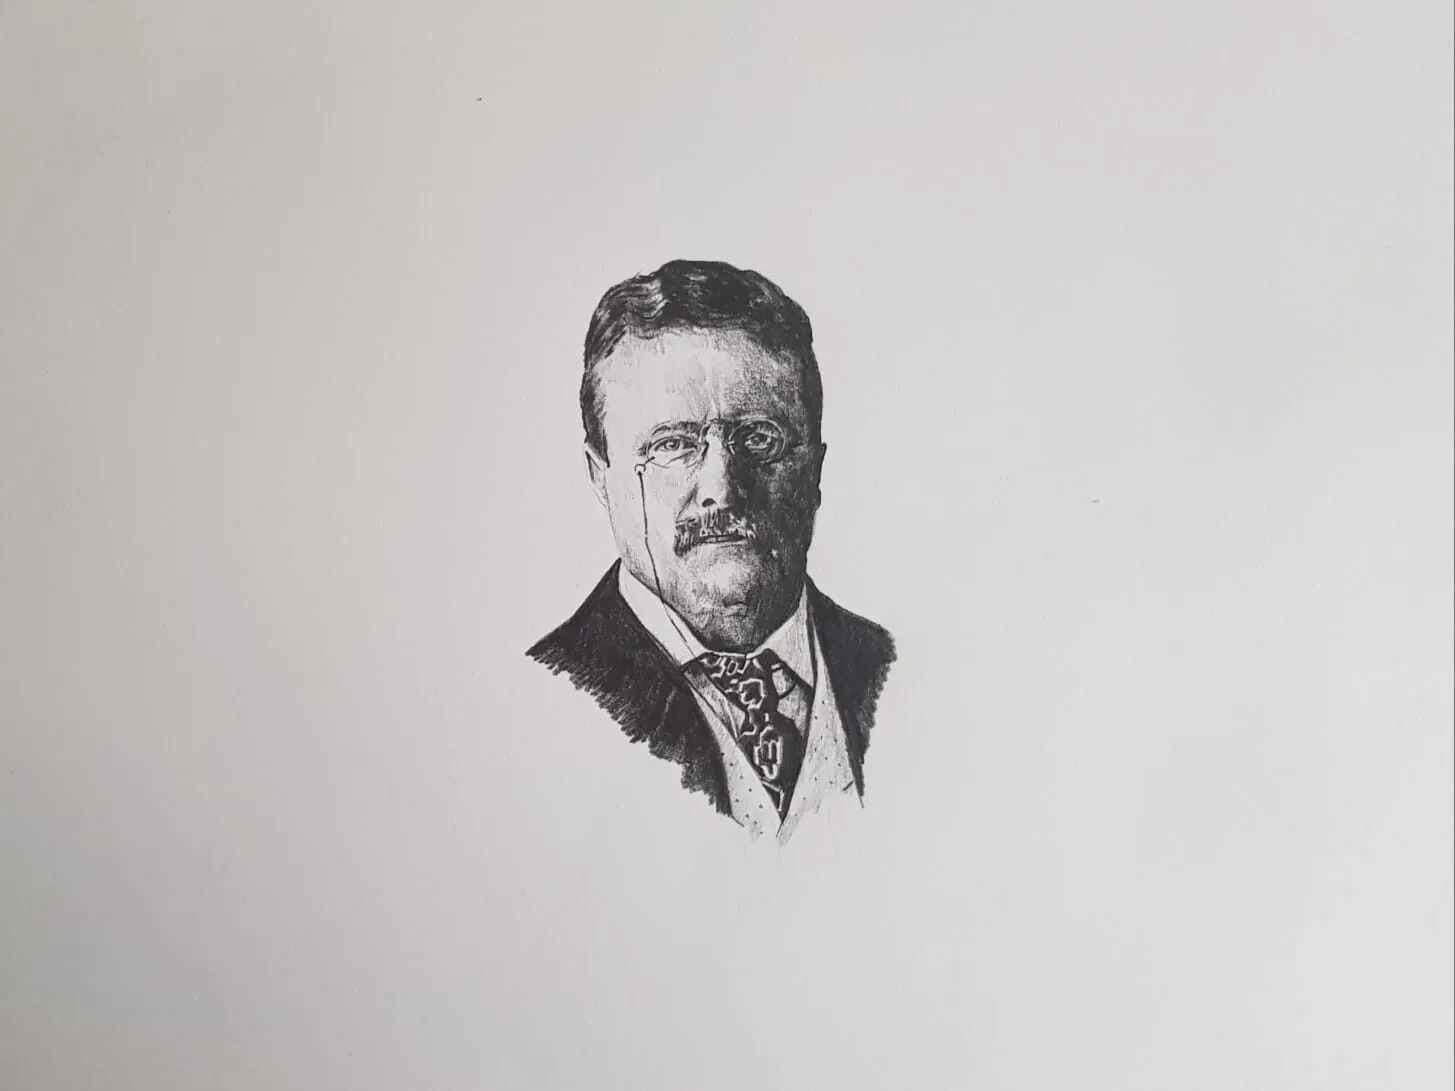
Clothing and background. A knit garment, a scarf or a pair of glasses supplies texture and contrast that let you keep the skin softer. Michael’s portraits show how a textured garment and a simple background can support the face without competing with it. Both are explored in more detail in how to draw portraits in coloured pencil.
Common mistakes and how to fix them
- Wrinkles as dark lines. Fix: draw them as shadow and light edges, and let them fade out at the ends.
- Every wrinkle the same. Fix: vary length, width, depth and softness, and pick out only the important folds.
- No structure beneath. Fix: block in the skull, sockets, cheekbones and jaw before adding any wrinkles.
- Wrinkles that ignore direction. Fix: follow the map of forehead, eye, cheek and mouth folds, and check against the reference.
- Flat skin color. Fix: add warm and cool variation, redness on the cheeks and nose, and cool greys in the shadows.
- Overblended skin. Fix: keep a little paper texture and some edge variety so the skin feels alive.
- Forgetting the rest of the face. Fix: give the eyes, hair and clothing the same care as the wrinkles.
Practice exercises
- Wrinkle swatches. Draw ten short folds, each with a different depth, using a shadow side and a light edge.
- Forehead study. Draw just a forehead from a reference in a rectangular frame, focusing on horizontal folds and how they fade.
- Eye area study. Draw one eye with its lids, bags and crow’s feet in graphite.
- Mouth area study. Draw the nose-to-mouth folds and the lips together, paying attention to edges.
- Hair and skin contrast. Draw a section where grey hair meets the forehead, working on the difference in edge quality.
- Full older face. Combine all of these in a full head, using the step-by-step sequence above.
Next steps
Read how to draw portraits in coloured pencil for a whole-portrait workflow, then how to draw realistic eyes and how to draw hair to strengthen the features that matter most. The how to draw pillar lists the wider series.
The short version
Build the skull structure first, then add wrinkles as soft folds with a shadow on one side and a light edge on the other. Follow the natural direction of each fold, vary the depth, and keep most edges soft. Let hair, eyes and clothing support the age of the face, and check the overall value pattern by squinting at your reference.
Quick answers
Frequently asked questions
How do you draw wrinkles without making them look harsh?+
Draw each wrinkle as a soft shadow on one side and a soft highlight on the other, rather than a single dark line. Use light layers, vary the width and darkness along each fold, and let most of them fade out at the ends. Keep the darkest marks for the deepest creases only, and blend the rest into the surrounding skin.
Where do wrinkles form on the face?+
Common places are horizontal across the forehead, between the brows, in a fan at the outer corners of the eyes, under the eyes, along the nose-to-mouth folds and around the lips, and in the neck. They follow the direction the skin folds when the muscles move, so they run at right angles to the muscle's pull.
How do you draw an older face in colored pencil?+
Build the skin in thin layers of warm base tones, then add cooler greys, violets and browns in the shadows. Use small, careful darks in the deepest folds, and keep highlights on the forehead, cheekbones and nose. Older skin often shows more variation, such as redness, blue-grey veins and pigmentation, so look for subtle color shifts.
What is the difference between drawing young and old faces?+
Older faces show the skull and muscle structure more, with deeper eye sockets, more defined cheekbones and jaw, looser skin and creases. The value range across the face is usually wider, and edges vary more. The proportions are the same, so build the structure first and then add age.