How to Draw
How to Draw Hair: Masses, Flow and Highlights
Learn how to draw realistic hair in pencil: masses first, flow, highlights and value, for straight, curly and grey hair in graphite or coloured (colored) pencil.
Key takeaways
- ◆Draw hair as a few large masses of light and shadow first. Individual strands come last, and only a few of them.
- ◆Hair has flow: it grows from a parting or crown and falls in clumps, so every stroke should follow its direction.
- ◆Highlights sit on the curve of each mass, and are made by leaving gaps or lifting tone, not by drawing white lines.
- ◆Straight, curly and grey hair need different strokes, but all rely on the same value structure.
- ◆Graphite is easy to build and lift, while coloured pencil needs a layered underlayer of colour before final strands.
To draw hair, do not draw hairs. Block in the large shapes of light and shadow, follow the direction the hair grows and falls, and use darker tone between clumps so the lighter areas stand out. Add a few crisp strands at the edges and a soft highlight along the curve of each mass, and stop while it still looks like a whole head of hair.
This lesson covers masses, flow, value and highlights, then gives strokes for straight, curly and grey hair, compares graphite with coloured pencil (colored pencil in the US), and lists the mistakes that make hair look like wire.
What you need
- Graphite: a 2B and 4B for masses, a sharp HB for fine strands, and a 6B for the deepest shadows. The pencil grade chart helps you choose.
- A kneaded eraser and an eraser pencil for lifting highlights and making light strands.
- A blending stump or tissue for softening large areas of tone.
- Coloured pencils in a few browns, greys, ochres or the colours of your subject’s hair, and a white or cream pencil if using toned paper.
- Paper with some tooth, because hair needs many layers. See the best paper for coloured pencils and the best paper for graphite drawing.
- A reference with clear light. Hair shows its structure best with side or back lighting.
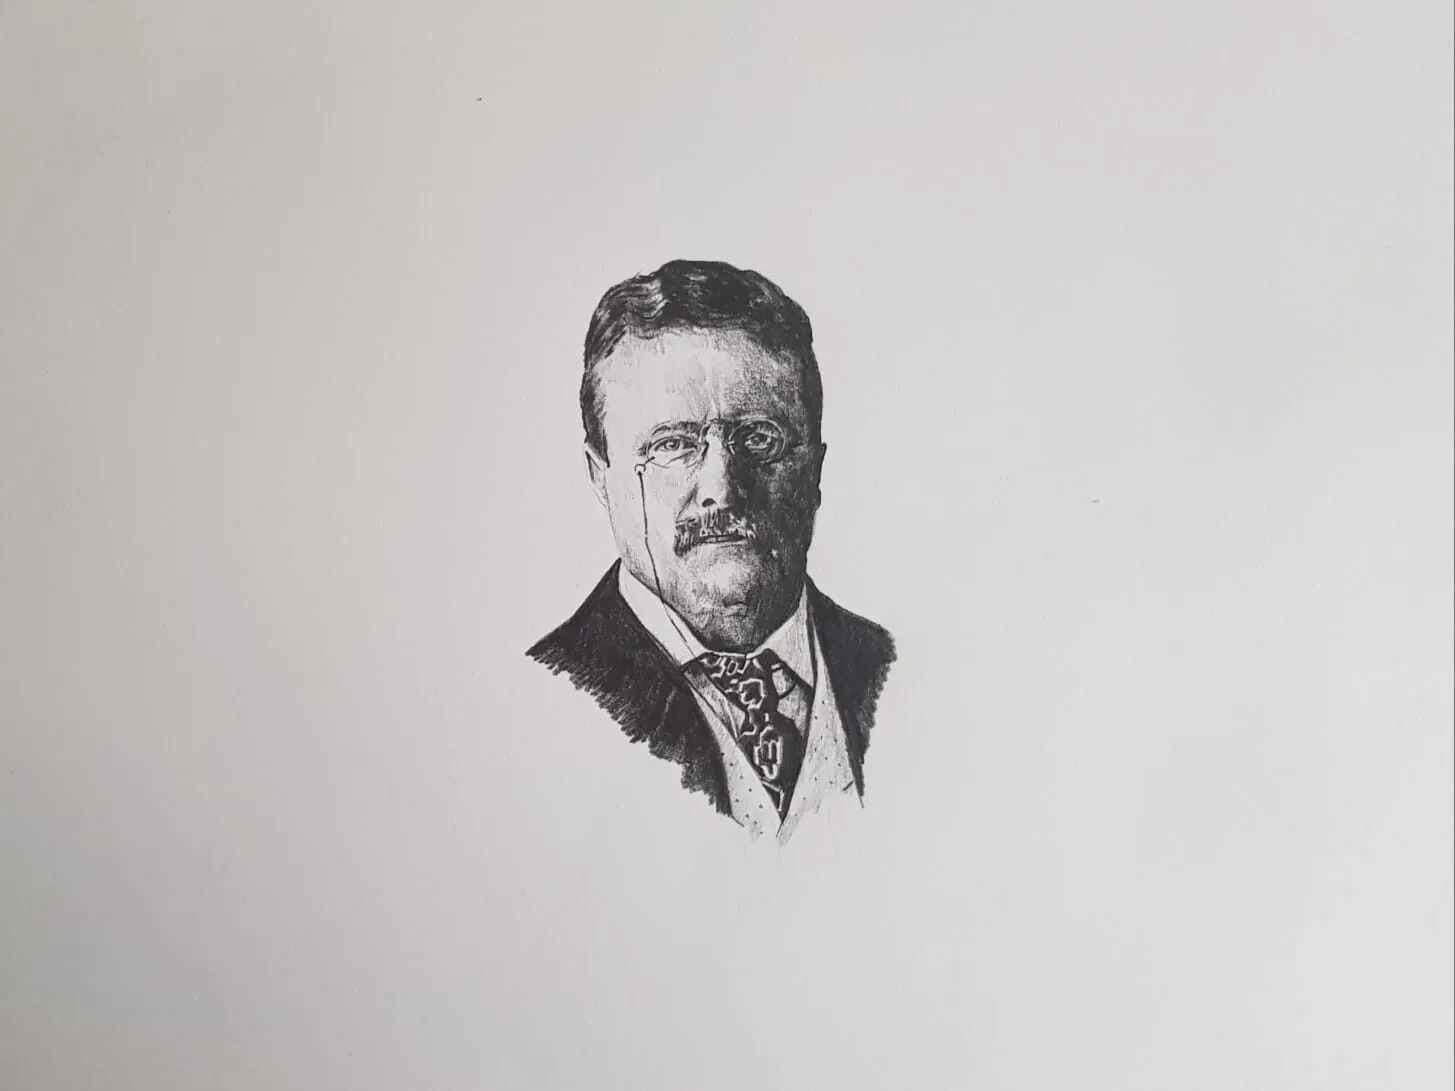
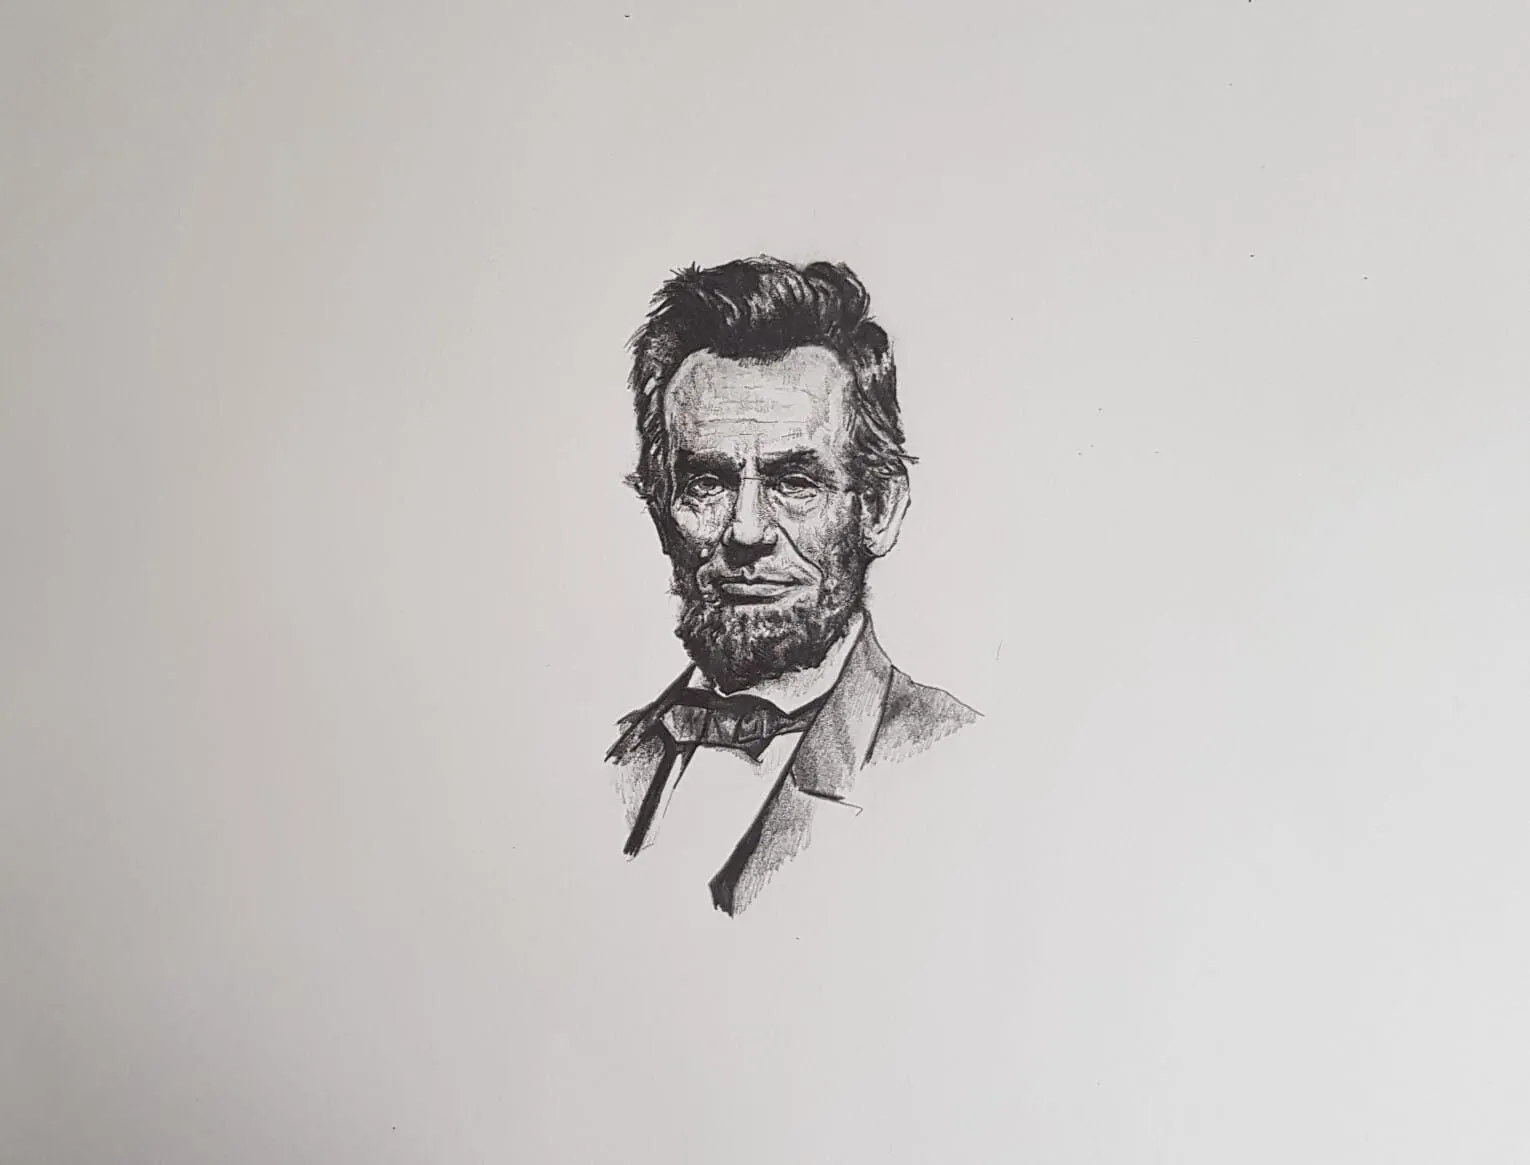
A graphite portrait of Theodore Roosevelt. Drawing by Michael Brace.
Think in masses, not strands
Hair is a huge number of tiny elements, so it is impossible to draw literally. Your eye reads it as a small number of connected masses. Squint at the reference and you will see them: a light area across the top of the head, darker areas beneath and behind, and a few large clumps with shadows between.
Draw those first. Outline the overall shape of the hair, then divide it into three to six masses that follow the flow. Shade the shadows between them, then the mid-tone of each mass. Only then think about texture. A quick value study reduces the reference to its main tones and shows the masses clearly.
Flow and direction
Hair does not fall randomly. It grows from a parting, crown or hairline and follows gravity and the shape of the head.
- Start at the growth point. Find the parting or the crown and note the direction the hair leaves it.
- Follow the curve of the skull. Near the head, hair curves around the cranium before it falls away.
- Group in clumps. Strands form clumps, which taper at the ends. Draw the flow lines of each clump before shading.
- Let strokes follow the flow. Every pencil stroke should go the way the hair goes. Cross-strokes look like scribbles.
- Show weight and movement. Long hair hangs in S-curves or falls in layers, while short hair often points outward. Check where clumps overlap, because those overlaps cast the darkest shadows.
Test your flow by drawing the direction lines without any shading. If they look right, the shaded hair will too.
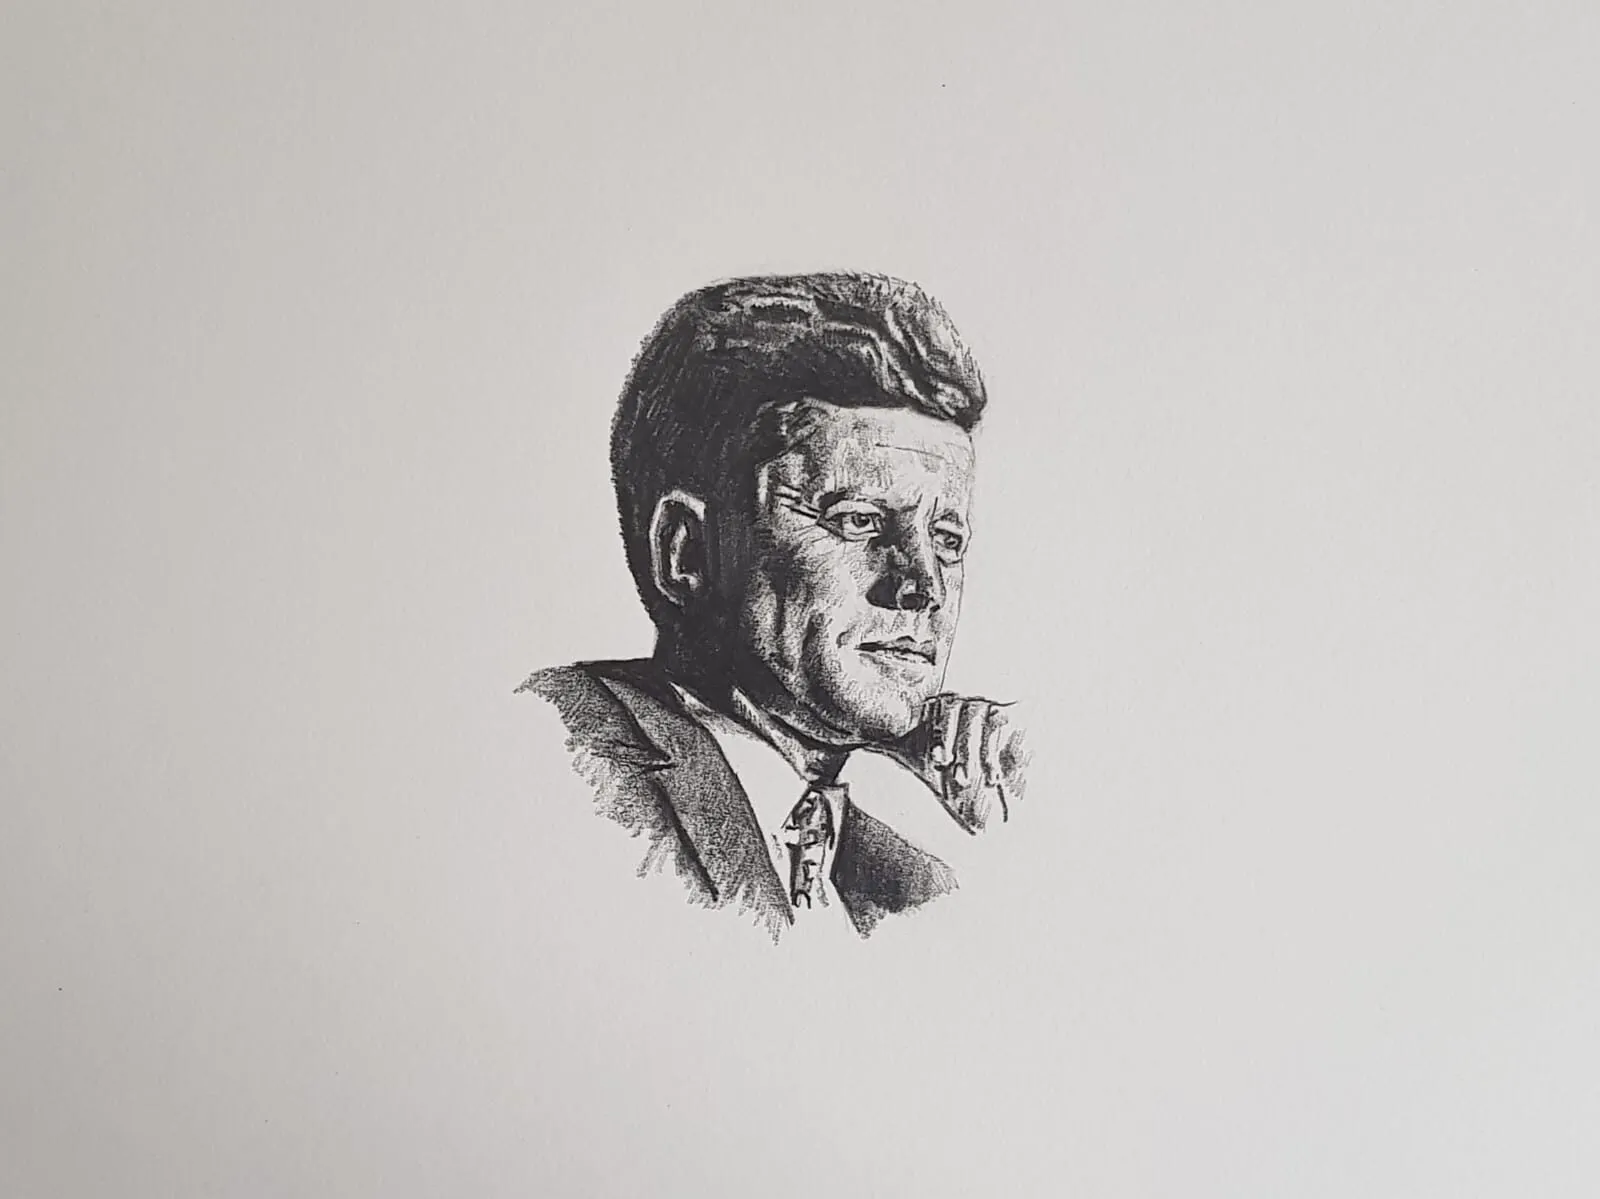
A graphite portrait of John F. Kennedy. Drawing by Michael Brace.
Step-by-step method (graphite)
- Draw the overall shape. Sketch the outline of the hair mass lightly, including the hairline and parting. Check the width and height against the head, using the guides in how to draw a face: proportions.
- Map the flow. Add a few light lines showing the direction of the main clumps, from the parting outward.
- Divide it into masses. Mark the boundaries between the main light and dark areas, usually three to six shapes.
- Block in the shadows. With a 2B, lay tone in the darkest gaps between clumps and beneath the hair, using strokes that follow the flow.
- Add the mid-tones. Shade each mass with light, directional strokes, leaving the highlight areas bare or lighter.
- Deepen the darks. Use a 4B or 6B in the deepest shadows near the scalp, under layers and between clumps.
- Lift the highlights. Use a kneaded eraser or eraser pencil to lift soft highlights along the curves of the masses, following the flow.
- Add strand detail at the edges. With a sharp pencil, add a few fine strands and flyaways where the hair meets the background or face. Let them cross the masses in places.
- Vary the edges. Some edges should dissolve softly into the background, and others should be crisp. Uniform edges look like a wig.
- Step back and adjust. Check the value pattern from a distance, and darken or lighten whole masses as needed.
Strokes for different hair types
Straight hair
Use long, smooth strokes in one direction, with light pressure and a sharp point. Straight hair shows bands of light that follow the curve of the head, so leave a soft highlight band and darken on either side. Add a few long strands crossing the masses at the end.
Curly hair
Curly hair is a set of overlapping spirals. Do not draw every curl. Block in the mass, then shade the shadows between the main curls, using small curved strokes that follow each spiral. Leave highlights on the curve of the curls facing the light, and use very dark tone in the deep gaps. The impression of curls comes from the pattern of light and dark, so work in shadow shapes.
Grey and white hair
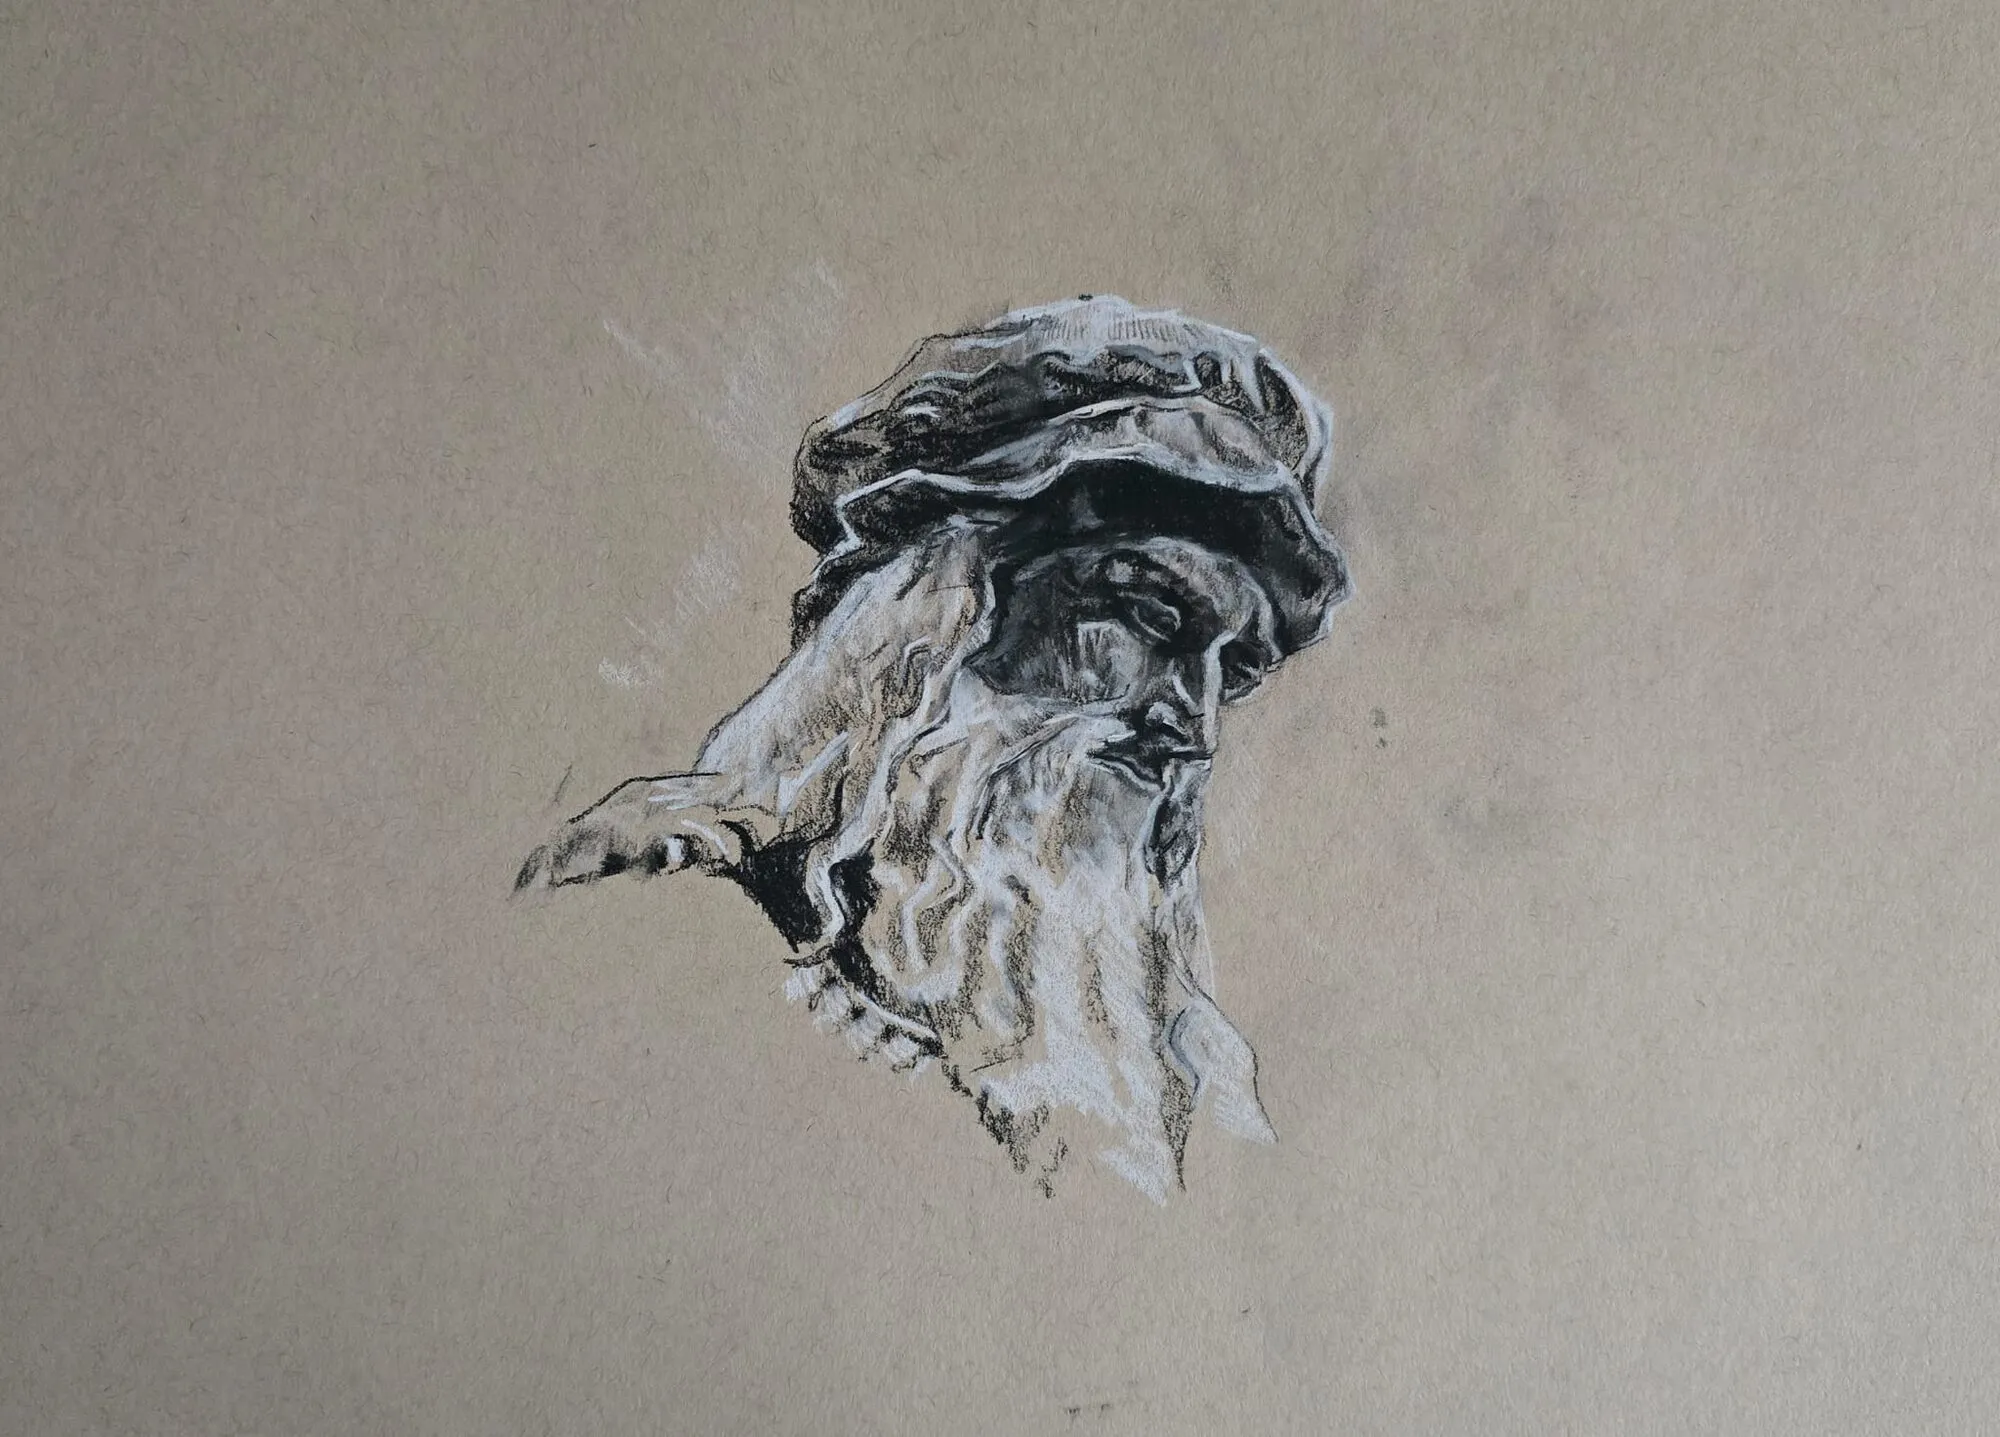
Grey and white hair often look “empty” because the tonal range is narrow. Use light greys, with soft darker shadows between clumps and the lightest tone on the curves. Warm and cool greys give life, and a hint of the surrounding colour reflects in it. On toned paper, a white pencil creates the final highlights. The older portraits in this section show grey hair built from soft tone.
Dark hair
Black and very dark hair is rarely one flat tone. It has soft highlights that reflect the light source, often with a cool or warm tint, and deep shadows. Leave a wide highlight band, and keep the darks rich but not solid. Avoid using the darkest pencil everywhere, or the form disappears.
Graphite versus coloured pencil
| Aspect | Graphite | Coloured pencil |
|---|---|---|
| Building tone | Easy to build and blend | Needs layered colours and gentle pressure |
| Highlights | Lift with an eraser | Leave paper, lift lightly or add pale colour |
| Detail | Sharp points make crisp strands | Firm pencils hold a fine point; wax pencils dull quicker |
| Colour | Values only | Undertones, reflected colour and warm or cool shifts |
In coloured pencil, hair is rarely one colour. Brown hair contains ochre, orange, red-brown and dark umber, blonde hair has yellow, warm grey and cream, and black hair has blue or purple reflections. Lay a base tone in the main colour, add the shadows in a darker or complementary colour, then add lighter colours and highlights. See how to layer coloured pencils for the technique. The palette from photo tool helps you choose colours from a reference. For a similar texture study, how to draw animal fur uses the same mass-first approach.
Common mistakes and how to fix them
- Drawing individual strands too early. This produces wiry, stiff hair. Fix: block in the masses and shadows first, and add strands last.
- Strokes that ignore the flow. Random marks look like scribbles. Fix: follow the direction of growth, and draw flow lines first.
- No dark accents. Without deep shadows between clumps, hair looks flat. Fix: darken the gaps and the area near the scalp.
- A hard, uniform outline. This makes hair look like a helmet. Fix: soften some edges, and add flyaways.
- Highlights drawn as white lines. These look artificial. Fix: leave or lift soft bands of light along the curve of the masses.
- Too much detail everywhere. Fix: keep detail at the focal edges and simplify the rest.
Practice exercises
- Three-mass hair. Draw a head of hair using only three tones and three masses, then compare it with a reference.
- Flow only. Draw the direction lines of ten different hairstyles, without shading.
- Lift a highlight. Shade a rectangle of graphite evenly, then lift a curved highlight with an eraser to show how it forms.
- Four types. Draw straight, wavy, curly and grey hair in small squares, each in five minutes.
Next steps
Hair completes the face, so revisit how to draw a face: proportions and place it on a head. To deepen shading skill, read how to shade with pencil. For a full portrait, see how to draw portraits in coloured pencil, and return to the how to draw pillar for more lessons.
The short version
Block hair in as a few masses, follow the flow from the parting, shade the gaps between clumps, and lift soft highlights along each curve. Add a few strands at the edges last. For colour, layer several tones rather than one flat brown, and keep contrast between the masses high.
Quick answers
Frequently asked questions
How do I draw realistic hair?+
Block the hair in as large masses of tone, following its flow from the parting or crown. Add shadows between clumps, then darker accents, and lift or leave highlights along the curve of each mass. Add a few individual strands at the edges last. Drawing every strand from the start makes hair look stiff and wiry.
How do I draw hair in pencil without it looking messy?+
Work in a consistent direction, using strokes that follow each clump, and control pressure so the darkest areas sit between the masses. Keep the edges varied, with some soft and some distinct. Use a sharp pencil for detail only at the end, and step back often to judge the overall shapes.
How do I draw grey or white hair?+
Do not leave the paper blank. Grey hair is a range of mid to light greys, with darker shadows between the clumps and the lightest lights on the curves. Use light pressure, cool and warm greys, and leave or lift highlights. On toned paper, a white pencil works well for the lightest strands.
What is the best pencil for drawing hair?+
For graphite, use a range from HB to 6B, with sharper points for fine strands. For colour, firm pencils hold a point for detail and softer ones lay down smooth base tone. Coloured pencils and colored pencils are the same thing. A kneaded eraser or eraser pencil helps lift highlights.