How to Draw
How to Draw a Face: Proportions Step by Step
Learn how to draw a face with reliable proportion guides: head shape, midline, feature placement, three-quarter view, and how age and variation change the rules.
Key takeaways
- ◆Start with the whole head shape and a midline, then place features with simple guides before drawing any detail.
- ◆The eyes sit about halfway down the head, and roughly one eye-width separates them. These are guides, not laws.
- ◆The nose base, mouth and ears fit into predictable zones, but every real face varies, so always measure against your reference.
- ◆In a three-quarter view the midline curves and the far side of the face shortens, so guides must follow the turn of the head.
- ◆Age and individual variation change the proportions, so use the guides to check your drawing, not to replace observation.
To draw a face, start with the overall head shape and a vertical midline, add a horizontal line for the eyes about halfway down, then use simple spacing guides to place the nose, mouth and ears. Work light and general first, compare against your reference constantly, and only add detail when the placement feels right.
Proportion is where most beginner portraits go wrong, long before shading or colour. This lesson gives you reliable guides for the front and three-quarter view, explains how age and individual variation change them, and shows how to check your drawing. It works in graphite or coloured pencil (colored pencil in the US).
What you need
- A 2H or HB pencil for light construction lines, and a 2B to 4B for later tone.
- A kneaded eraser, so you can lighten guides without smudging them.
- Paper with a little tooth; see the best paper for realistic drawing.
- A reference photo with clear, even light. The grid drawing tool helps you transfer proportions accurately.
- A ruler, or a pencil held at arm’s length, for measuring.
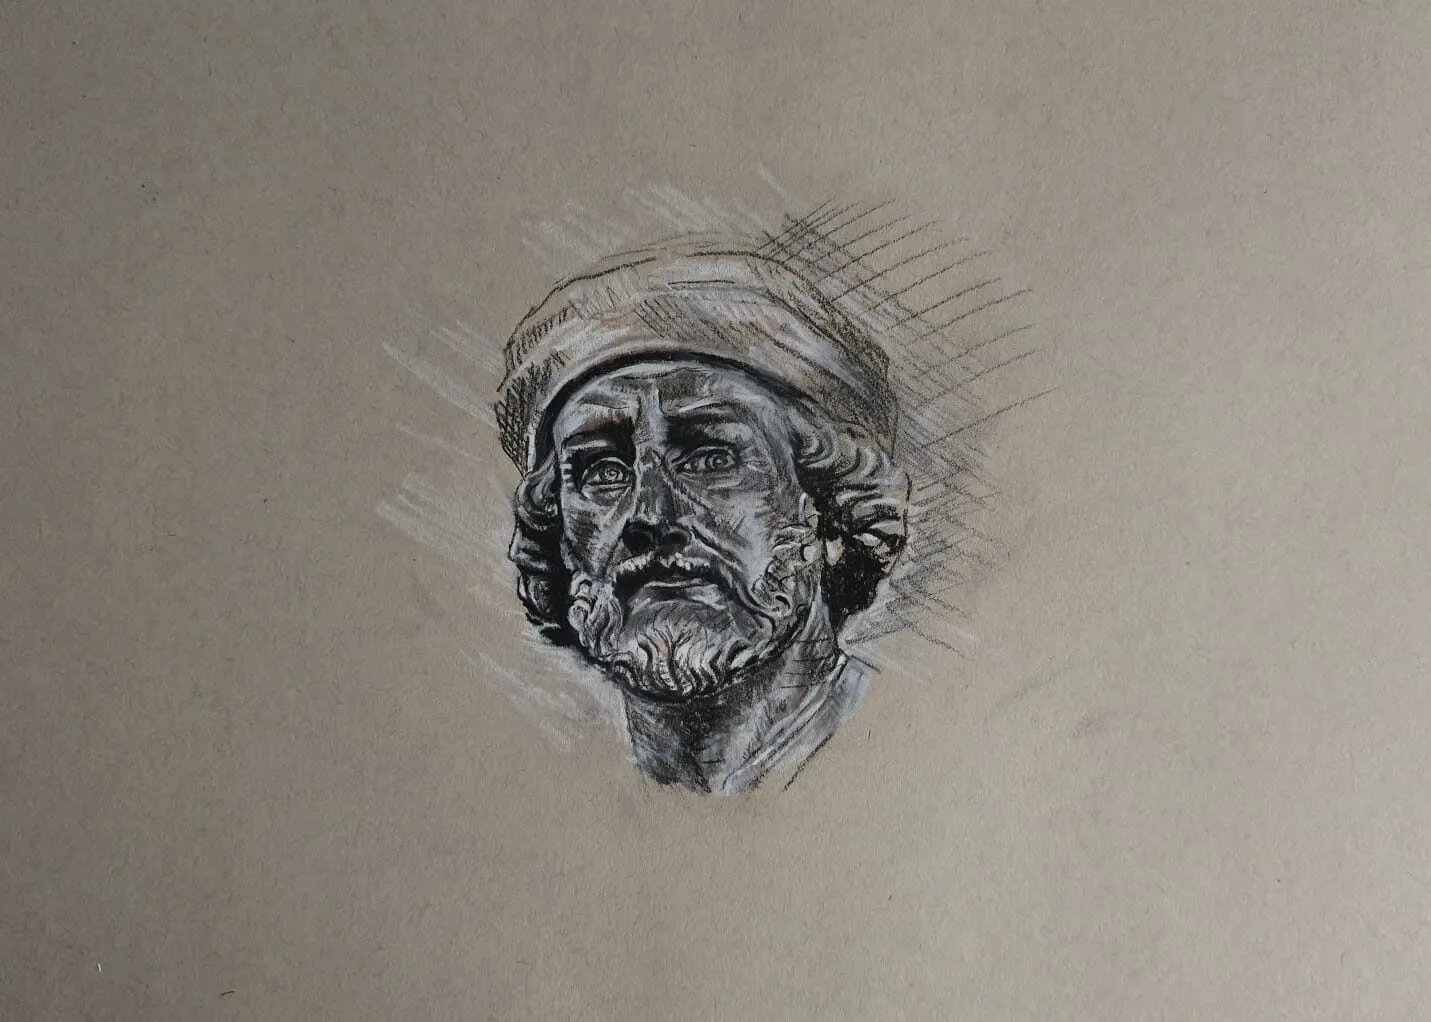
A head study of a bearded man wearing a cap in dark and white pencil on toned paper. Drawing by Michael Brace.
The guides, in one place
These are widely used rules of thumb for an adult face seen from the front. Treat them as guides, because real faces depart from them all the time.
| Feature | Guide |
|---|---|
| Eyes | About halfway down the head, top of skull to chin |
| Eye spacing | Roughly one eye-width between the eyes |
| Face width at the eyes | About five eye-widths |
| Nose base | About halfway between the eye line and the chin |
| Mouth line | About one third of the way from the nose base to the chin |
| Ears | Top near the brow line, bottom near the nose base |
| Hairline | Roughly one third down from the top of the skull to the brow |
Use them to check, not to build. If your reference disagrees with a guide, the reference wins.
Step-by-step: the front view
- Draw the head shape. Start with a wide, slightly egg-shaped oval for the cranium, then taper it into the jaw. The skull is deeper than most people expect, so leave room above the eyes for the forehead and hair.
- Add the midline and eye line. Draw a vertical line down the centre and a horizontal line halfway down the whole head, chin to top of skull. The eyes sit on this line.
- Place the eyes. Divide the eye line into five equal parts. The eyes occupy the second and fourth parts, leaving one eye-width between them. Sketch the almond shapes lightly. See how to draw realistic eyes for the detail.
- Mark the nose base. Divide the space from the eye line to the chin in half. The bottom of the nose sits about there. The nostrils are usually about as wide as the distance between the inner corners of the eyes, which is a helpful check.
- Place the mouth. Divide the space from the nose base to the chin into thirds. The line where the lips meet sits about a third of the way down from the nose. The corners of the mouth usually sit below the pupils, so drop a vertical from each pupil as a check.
- Add the ears. Draw them between the brow line and the nose base, at the sides of the head. Check the angle: they tilt back slightly.
- Shape the jaw and chin. Connect the cheekbones to the chin with a soft angle. A wide, square jaw and a narrow, pointed one both follow the same guides, but the outline changes the character of the face a lot.
- Add the hairline and hair mass. Mark the hairline roughly a third of the way down from the skull top and block in the hair as a large shape. Follow how to draw hair for the next stage.
- Check everything against the reference. Compare widths and heights by measuring. Flip the drawing in a mirror or turn it upside down to spot errors.
- Start tone only when placement is right. Fix errors while the lines are light. Once the shading begins, corrections get much harder. A quick value study shows where tone will fall before you commit.
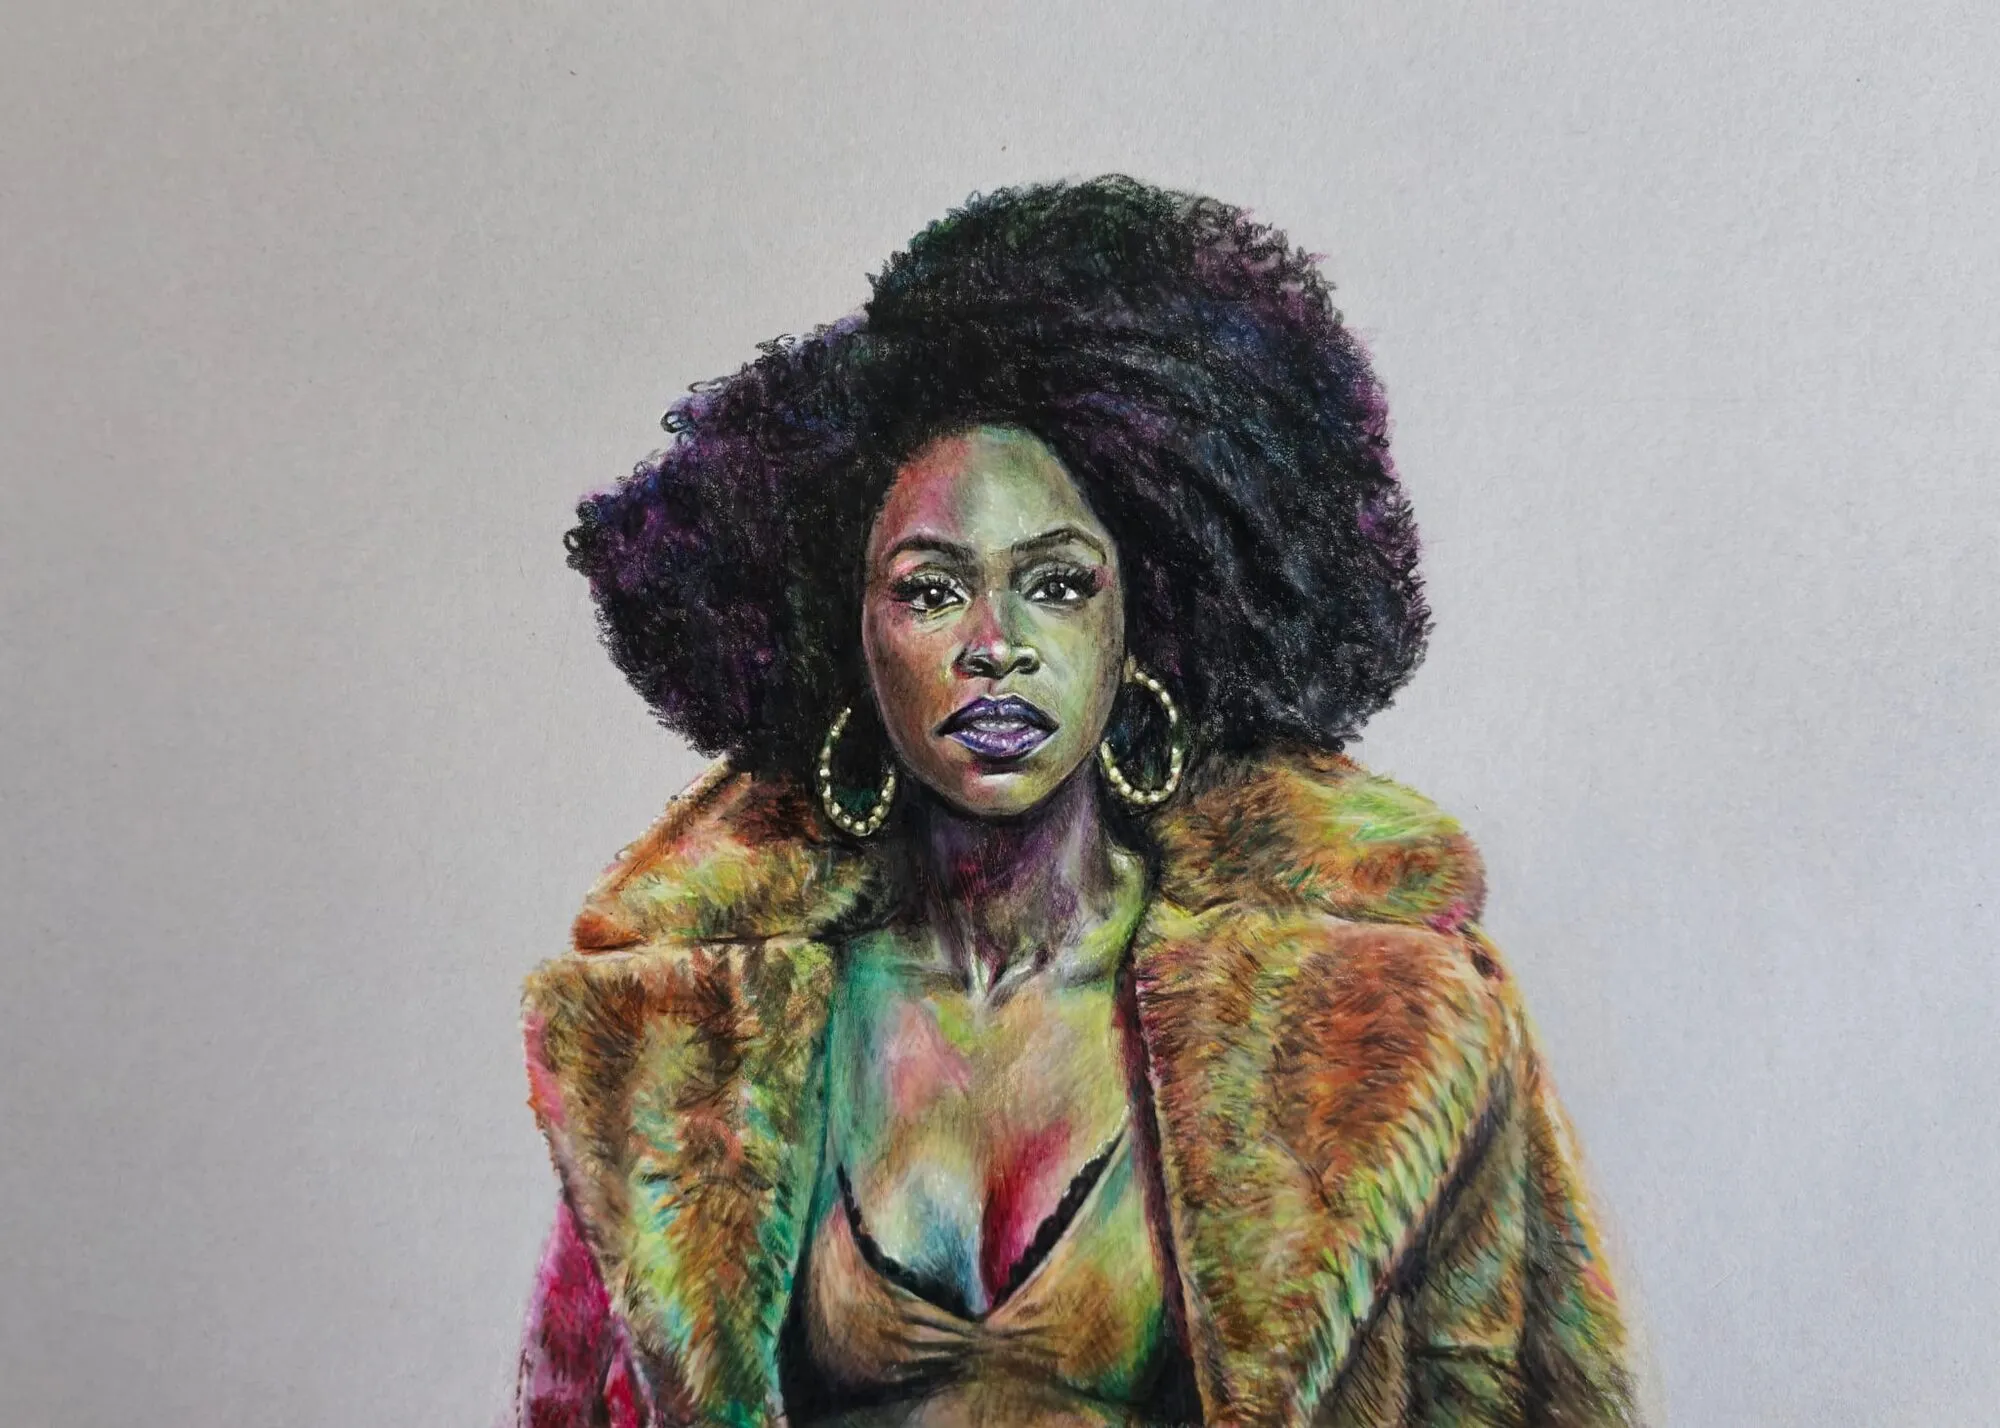
A portrait of a woman in a multicoloured fur coat drawn in coloured pencil. Drawing by Michael Brace.
The three-quarter view
A three-quarter view is where the head turns about halfway between facing you and full profile. It is more natural-looking than a front view but needs a bit more thought.
- The midline curves. Think of the head as a ball. The vertical centre line wraps around it, so it bows toward the side the face turns to. Draw it as a curve.
- The eye line curves too. It follows the round form of the head and tilts slightly with the angle of the head.
- The far side is compressed. The far eye looks narrower, the far cheek shows less, and the far ear is often hidden. The near side shows more of the cheek and jaw.
- The nose overlaps the far cheek. The nose’s shadow shape and the bridge often break the outline of the far cheek, depending on the angle.
- The eye-width rule changes. The gap between the eyes looks smaller on the far side, so measure rather than assume one eye-width.
Draw a ball with the midline and the horizontal guides wrapped around it and you will find the three-quarter view starts to make sense. Then attach the jaw and ears. The how to draw in perspective lesson explains the same idea for boxes.
Age and variation
The guides describe an average adult, and averages hide a lot.
- Children have a larger cranium and smaller lower face, so the eyes sit lower than halfway down the head and the features cluster in the lower half. The face looks rounder, with a smaller nose and jaw.
- Older adults often have deeper eye sockets, lower eyelids, softer jaw lines, larger ears and noses, and thinner lips. Shadows shift, so value matters even more; see how to draw hair for greying hair.
- Individual differences matter most. Eye spacing, nose length, lip fullness and jaw shape all vary hugely, and those variations create likeness. If every face you draw uses the same guides without checking, they start to look alike.
Use the rules to notice differences. Ask where your subject departs from the guide: eyes closer together, a longer nose, a higher hairline. Those departures are the person.
Common mistakes and how to fix them
- Eyes too high. Most people put them near the top third. Measure from the top of the skull, not the hairline, and remember the eyes sit about halfway.
- A head that is too narrow. Draw the skull as a full oval and leave space for the back of the head. Faces look thin when the cranium is cut short.
- Features that are too large and too central. The face is smaller than you think inside the head. Leave more forehead, hair and ear space.
- Symmetry that is too perfect. Real faces are not symmetrical. Small differences in eye height, mouth angle and eyebrow shape make a face look alive.
- Detail before placement. Starting with a finished eye and building around it usually leads to errors. Work from big shapes down to small ones.
Adding tone and colour
Once the placement is right, add tone in broad shapes rather than outlining features. Start with the large shadow shape down one side of the face, then the eye sockets, under the nose and under the lower lip. In colour, build skin from thin layers rather than a single peach pencil; how to mix skin tones with coloured pencils and how to draw portraits in coloured pencil explain the method. The palette from photo tool is a quick way to pull a limited palette from a reference.
Practice exercises
- Ten quick ovals. Draw ten heads with guides in ten minutes. Speed teaches you the pattern without the pressure to be perfect.
- Measure a real face photo. Draw the grid lines on a photo and see how closely the guides match. Note where they do not.
- Turn the head. Draw the same head from the front, three-quarter and profile using a ball with wrapped guides.
- One feature per day. Practise the nose and lips on their own, then place them into a face.
Next steps
Continue with how to draw a nose and how to draw lips. When you are ready for a full drawing, follow how to draw a portrait from a photo, and return to the how to draw pillar for the rest. For observation habits that improve every proportion check, read how to draw what you see.
The short version
Draw a head oval and a midline. Put the eyes about halfway down, with roughly an eye-width between them, then place the nose base, mouth and ears using the simple guides above. In a three-quarter view, curve the guides around the head. Treat every rule as a guide, measure against your reference, and only start shading when the placement looks right.
Quick answers
Frequently asked questions
Where do the eyes go on a face?+
As a guide, the eyes sit about halfway down the head, measured from the top of the skull to the chin. Most beginners place them too high because they forget the height of the hair and skull. Measure your reference to confirm, since individual faces and angles vary.
How far apart should the eyes be?+
A common guide is one eye-width between the eyes, so the face is roughly five eye-widths across at the eye line. It is a starting point for checking your drawing. Real faces vary, and the gap changes when the head turns, so always compare with your reference.
How do I draw a face from the front?+
Draw an oval for the head, add a vertical midline and a horizontal eye line halfway down, then divide the lower half to place the nose base and mouth. Place the eyes along the eye line, add the ears between brow and nose base, and refine the jaw. Check each guide against your reference before adding detail.
How do proportions change in a three-quarter view?+
The midline curves around the head, the far side of the face looks narrower, and the features on that side are foreshortened. The eye line and other horizontals also tilt slightly with the head angle. Draw the guides as curves that wrap around a rounded form rather than as flat straight lines.