How to Draw
How to Draw Teeth and Smiles Without Making Them Look Fake
Learn how to draw teeth and smiles in graphite or coloured (colored) pencil: treat teeth as a mass, control edges and values, and avoid the white-blocks look.
Key takeaways
- ◆Draw teeth as one curved mass that recedes toward the corners of the mouth, not as a row of separate white blocks.
- ◆Teeth are rarely pure white: they carry warm and cool tones, and they darken toward the back of the mouth.
- ◆Soft edges between teeth and a few crisp edges near the front are what make a smile look natural.
- ◆The smile is a whole-face event, so the cheeks, the lines beside the mouth and the lips matter as much as the teeth.
- ◆Keep the lips, gum line and dark mouth interior carefully observed, because they frame the teeth and set their value.
To draw teeth, treat them as one curved mass that turns away from the viewer, not as a row of separate white shapes. Block in the overall shape, add a light tone across all the teeth, suggest the gaps with soft shadows, and darken the teeth gradually toward the corners of the mouth. Keep only a few edges crisp, mostly at the front.
Teeth and smiles are where many good portraits go wrong. A single over-defined tooth, or a mouth full of white paper, can ruin an otherwise convincing face. This lesson covers how to see teeth as a value shape, how to handle edges, the gum line and the lips, how a smile shapes the rest of the face, and how to work in graphite and coloured pencil (colored pencil in the US).
What you need
- Graphite: an HB for layout, a 2B and 4B for tone, and a 6B for the dark interior of the mouth. Graphite pencil grades explained shows what each grade gives you.
- A kneaded eraser for lifting soft highlights, and a blending stump or tissue for smooth transitions.
- Coloured pencils in cream, pale yellow, light grey, violet-grey, a warm pink or red, brown and a deep dark. Check the swatch on your own paper first.
- Smooth paper that lets you build very light tone without a grainy look; see the best paper for realistic drawing.
- A sharp reference in which the smile is clear and the light is not blown out.
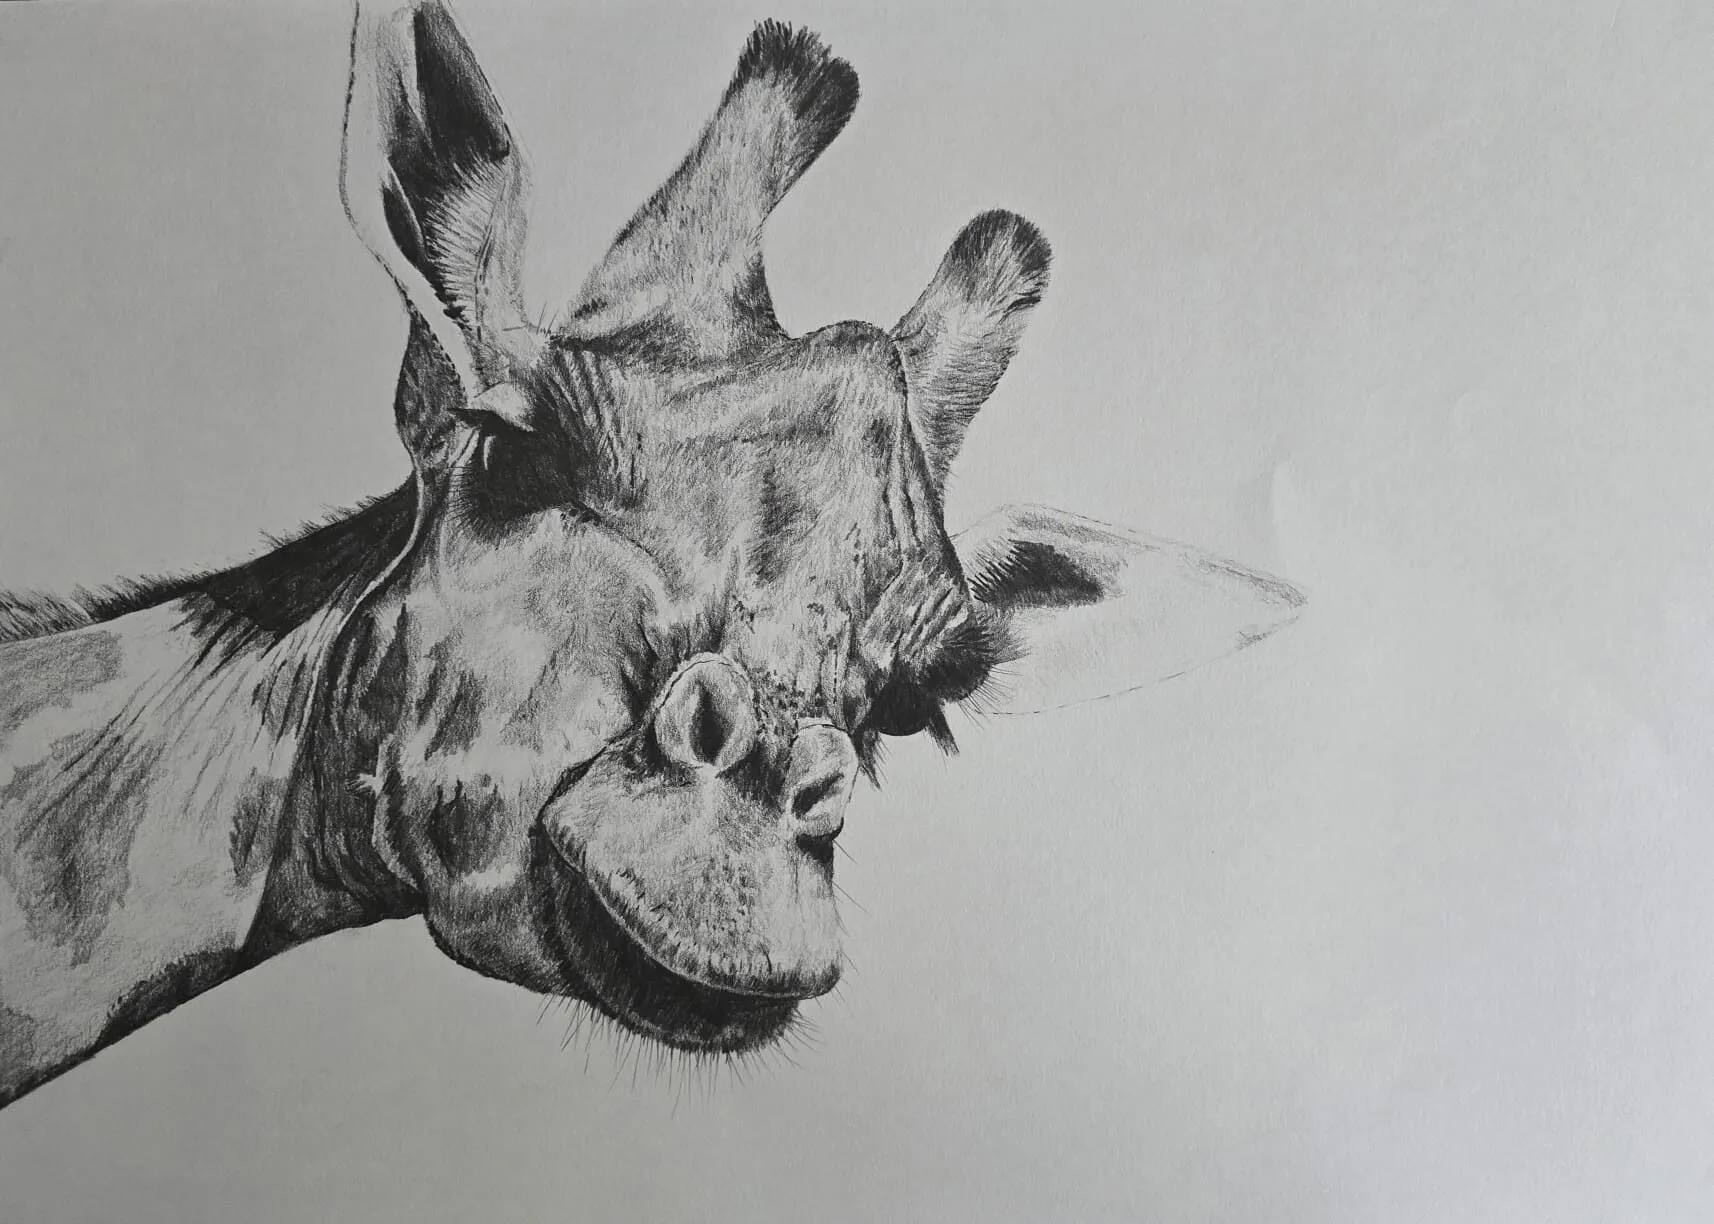
A giraffe’s head drawn in graphite pencil. Drawing by Michael Brace.
Direct answer: see teeth as a mass
The habit that fixes most teeth is to stop looking at individual teeth. Squint at your reference. You will see one lighter band, curved like a shallow arch, with slightly darker patches at the corners and only faint vertical divisions between teeth. That band is what you draw first.
- The arch: the upper teeth follow a curve that bends back from the viewer. Teeth at the center are nearest and biggest, and those toward the corners are smaller, narrower and darker.
- The edges: the upper edge of the teeth follows the lower edge of the upper lip or the gum line. The lower edge follows a gentler curve, and on the lower teeth it reverses.
- The interior: the mouth behind the teeth is dark. That darkness is what makes the teeth look bright, so get it right.
Understanding the anatomy of a smile
A smile is more than teeth and lips, and the surrounding structure is what makes it look genuine.
- Lips: in a smile the lips stretch and thin, and the corners pull back and up. Their shape is explained in how to draw lips.
- Teeth: usually the upper front teeth show, sometimes the lower ones too. The central incisors are the widest, with the lateral incisors and canines receding on each side.
- Gums: in some smiles a strip of gum shows above the teeth. The gum line is scalloped, following the tooth necks, and is a soft pink or red.
- Cheeks and nasolabial folds: the cheeks lift into rounded forms, and the lines from the nose to the corners of the mouth deepen.
- Eyes: a genuine smile narrows the eyes, raises the lower lids and creates creases at the outer corners.
If the smile feels wrong, the problem is often in the cheeks and eyes rather than the teeth.
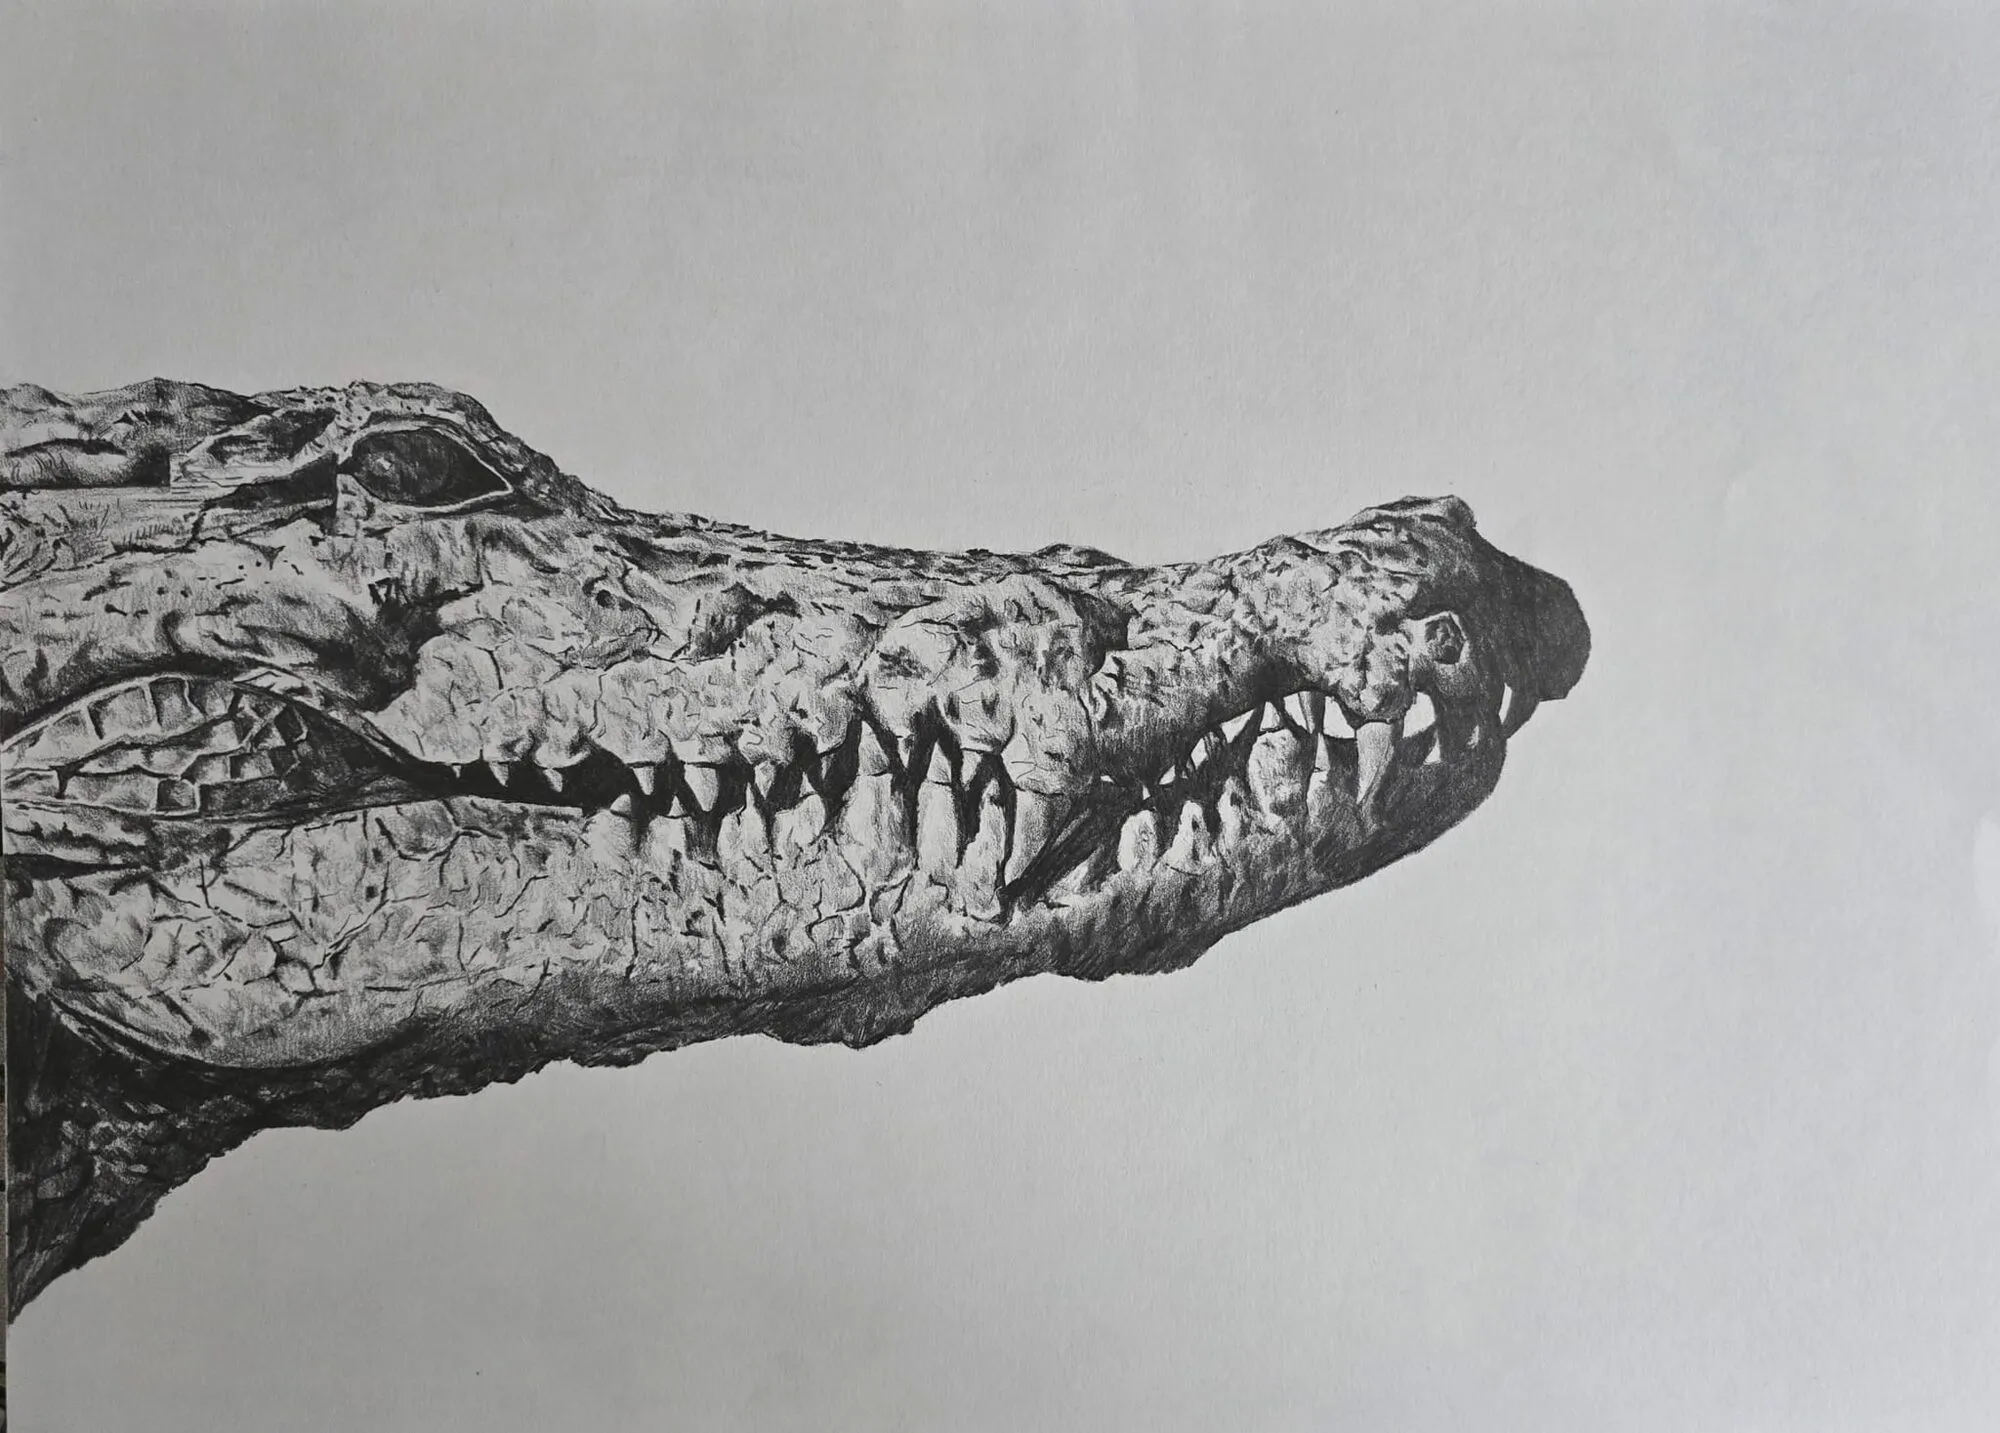
A crocodile’s head and teeth drawn in graphite pencil. Drawing by Michael Brace.
Step-by-step: drawing teeth and a smile
- Place the mouth. Mark the mouth line, the corners and the center using the guides in how to draw a face: proportions. As a guide, the corners of the mouth often sit roughly under the pupils in a neutral front view, but a smile pulls them wider, so check your reference.
- Draw the lips. Outline the upper and lower lips lightly, including the space where the teeth show. Keep the shape open, since you are only defining the boundary for the teeth.
- Block in the dental arch. Within that opening, draw the teeth as one mass with a gentle curve along the top and bottom. Do not add any divisions yet.
- Add the dark interior. Shade the dark space behind the teeth and at the corners with a soft 4B or 6B, or a dark brown or violet in colour. Keep the edges loose, because this shadow will define the edge of the teeth.
- Lay an overall tone on the teeth. With a 2B or a pale warm colour, add a very light tone over the whole mass. Darken it slightly toward the corners. No tooth should stay pure white paper except tiny highlights.
- Suggest the gaps. Between the front teeth, add soft, narrow shadows that follow the curve of the arch. Use a light touch, and fade the lines before they reach the top and bottom edges. The gaps between front teeth are fainter than those toward the corners.
- Shape each tooth with tone. Add a faint gradient on each visible tooth, darker near its edges and lighter in the center. Teeth are slightly domed, and the tone should follow that shape.
- Add the gum line and cast shadows. If gums show, draw a soft scalloped edge, using a warm pink or light red, and darken where the upper lip casts a shadow. Place a soft shadow from the upper lip across the top edge of the teeth.
- Model the lips and cheeks. Blend the lips into the surrounding skin, add the creases beside the mouth and lift the cheeks with gentle tone. See how to shade with pencil for smooth transitions.
- Refine edges and highlights. Pick out a few crisp edges on the front teeth, lift small highlights with a kneaded eraser and stand back to compare with the reference. Soften anything that draws too much attention.
Value and edges: the heart of the problem
Teeth look right or wrong mostly because of value and edge control.
Value. The lightest tooth should still be slightly darker than the brightest highlight in the eye or on the skin, unless your reference shows otherwise. Use the value study tool to see how your reference reads in a few tones. Keep the teeth in the light-to-middle range, with the darkest values in the mouth interior.
Edges. Use a mixture of edge types.
- Crisp edges: a few on the front teeth, where light hits the biting edge or where one tooth overlaps another.
- Soft edges: most tooth outlines, especially toward the corners of the mouth.
- Lost edges: where the teeth meet the dark interior or the lip shadow, let the tone run together.
The front teeth should have the highest contrast and the most definition. The farther back the tooth, the lower the contrast and the softer the edge.
Light on teeth
Teeth are slightly translucent and glossy, so the light behaves differently from how it does on skin.
- Highlights: small, slightly soft highlights sit on the front surface of the central teeth, following their curve.
- Translucency: near the biting edge, teeth can appear slightly grey or blue as light passes through them. Near the gums they are warmer.
- Reflected light: the lower lip can bounce a warm glow onto the lower teeth.
- Shadow from the upper lip: a soft shadow usually falls across the top of the upper teeth.
- Colour: teeth are warmer and more yellow or cream near the gums and cooler or greyer near the edges. In coloured pencil, mix a pale cream with a hint of cool grey or violet rather than using a single yellow.
For colour choices and layering ideas, see how to layer coloured pencils and the palette from photo tool.
Graphite and coloured pencil versions
In graphite, work from light to dark with a 2B and build the dark interior last. Lift highlights with a kneaded eraser, and use a stump sparingly, because over-blending can make teeth look like plastic. Keep the paper’s white for the brightest highlights only.
In coloured pencil, start with a pale cream over the whole mass, then add cool grey or light violet in the shadows, then a touch of warm pink near the gum line. Use a warm brown or a deep violet for the mouth interior instead of pure black, which can look flat. Leave the smallest highlights as bare paper or lift them gently, and finish by adding a few crisp edges.
Common mistakes and how to fix them
- White blocks. Fix: tone every tooth lightly and let the arch recede toward the corners.
- Outlining each tooth. Fix: replace outlines with soft shadows between teeth, and keep only a few crisp edges.
- Too many teeth. Fix: in most smiles you see about six to eight upper teeth at most, so count them in your reference and do not add extras.
- Flat, straight row. Fix: draw the arch as a curve that bends away, with the center teeth largest.
- No dark mouth interior. Fix: add the dark shadow behind the teeth and at the corners, so the teeth read as light.
- Stiff symmetrical smile. Fix: vary the heights and angles slightly, and check both sides of the mouth against the reference.
- Ignoring the cheeks. Fix: add the lifted cheek forms and the lines beside the mouth so the smile involves the whole face.
Practice exercises
- Teeth mass study. Draw ten mouths from photos using only a simple arch, with no divisions, shaded in three values.
- Gap and edge drill. Take one smile and draw it four times, each time using a different edge style (all hard, all soft, mixed, mostly lost) to see the effect.
- Gum line study. Draw three smiles showing gum, to learn the scalloped edge and colour.
- Smile whole-face sketch. Draw a face with a smile in fifteen minutes, paying attention to the cheeks and eyes.
- Colour swatch. In coloured pencil, create a chart of tooth colors: cream, cool grey, violet-grey, warm pink and a dark mouth brown.
Next steps
Continue with how to draw lips for the forms that frame the teeth, then how to draw a portrait from a photo to place a smile in a complete portrait. For skin and lip colour, read how to mix skin tones with coloured pencils. The how to draw pillar lists the rest of the series.
The short version
Draw teeth as a single curved mass, darken it toward the corners, and suggest the gaps with soft shadows. Keep a dark mouth interior behind them, use a few crisp edges on the front teeth and let the rest fade. Tone every tooth, add a cast shadow from the upper lip, and build the cheeks and eyes so the whole smile feels natural.
Quick answers
Frequently asked questions
How do you draw teeth realistically?+
Draw them as a single curved mass first, then suggest the gaps between teeth with soft, light lines and a little shading. Put the darkest tone in the corners of the mouth, keep front teeth lightest, and vary their edges so only a few are crisp. Never outline every tooth, and never leave them as pure white paper shapes.
Why do my drawn teeth look like white blocks?+
Usually because each tooth is outlined and left the same white. Real teeth curve away from the viewer, so they get darker and cooler toward the corners, and the gaps between them are soft shadows, not lines. Add gentle tone to every tooth, including the front ones, and let the edge of the dental arch fade.
How do you draw a smile?+
Start with the overall shape of the mouth and the curve of the lips, then the teeth as a mass, then the cheeks and the lines beside the mouth. A natural smile lifts the cheeks, creases the lines from nose to mouth and often narrows the eyes. Check that the two sides are not perfectly symmetrical.
What colors should I use for teeth in colored pencil?+
Use a pale warm cream or yellow as a base, then cool grey or light violet in the shadows, and a touch of warm brown or pink near the gums. Avoid pure white paper for the whole tooth and avoid heavy yellow. Layer lightly, and keep the brightest highlights to a few small spots on the front teeth.