How to Draw
How to Draw Lips: Shape, Shading and Colour
Learn how to draw realistic lips in graphite or coloured (colored) pencil: shape, upper and lower lip structure, corners, value, highlights and common mistakes.
Key takeaways
- ◆Lips are soft forms, not shapes with an outline. Define them with tone and colour changes, not a hard line.
- ◆The upper lip is usually darker because it faces downward, while the lower lip catches more light and often carries the highlight.
- ◆The line between the lips is the darkest, sharpest mark, and its corners taper to nothing.
- ◆Keep highlights soft and few. A crisp highlight on the lower lip is enough.
- ◆Colour on lips is layered: warm reds, pinks and browns, with a cooler shadow tone under the lower lip.
To draw lips, begin with the line where they meet, add the light outer shapes of the upper and lower lip, then model each with tone. The upper lip usually sits in shadow, the lower lip catches light, and the edges melt into the surrounding skin. Skip the outline and let value and colour define the shape.
This lesson covers lip shape and structure, the corners of the mouth, value, highlights, colour notes for coloured pencil (colored pencil in the US), and the mistakes that make lips look stuck on. The method uses graphite first, then extends to colour.
What you need
- Graphite: an HB for guides and a 2B to 4B for shading. Keep the point sharp for the centre line.
- A blending stump or tissue for smooth transitions and a kneaded eraser for lifting soft highlights.
- Coloured pencils in pink, red, rose, brown and a warm light tone if you want colour. See best coloured pencils for portraits.
- Smooth paper to support fine, soft transitions; the best paper for realistic drawing covers the options.
- A reference with clear light. Side lighting shows the structure best.
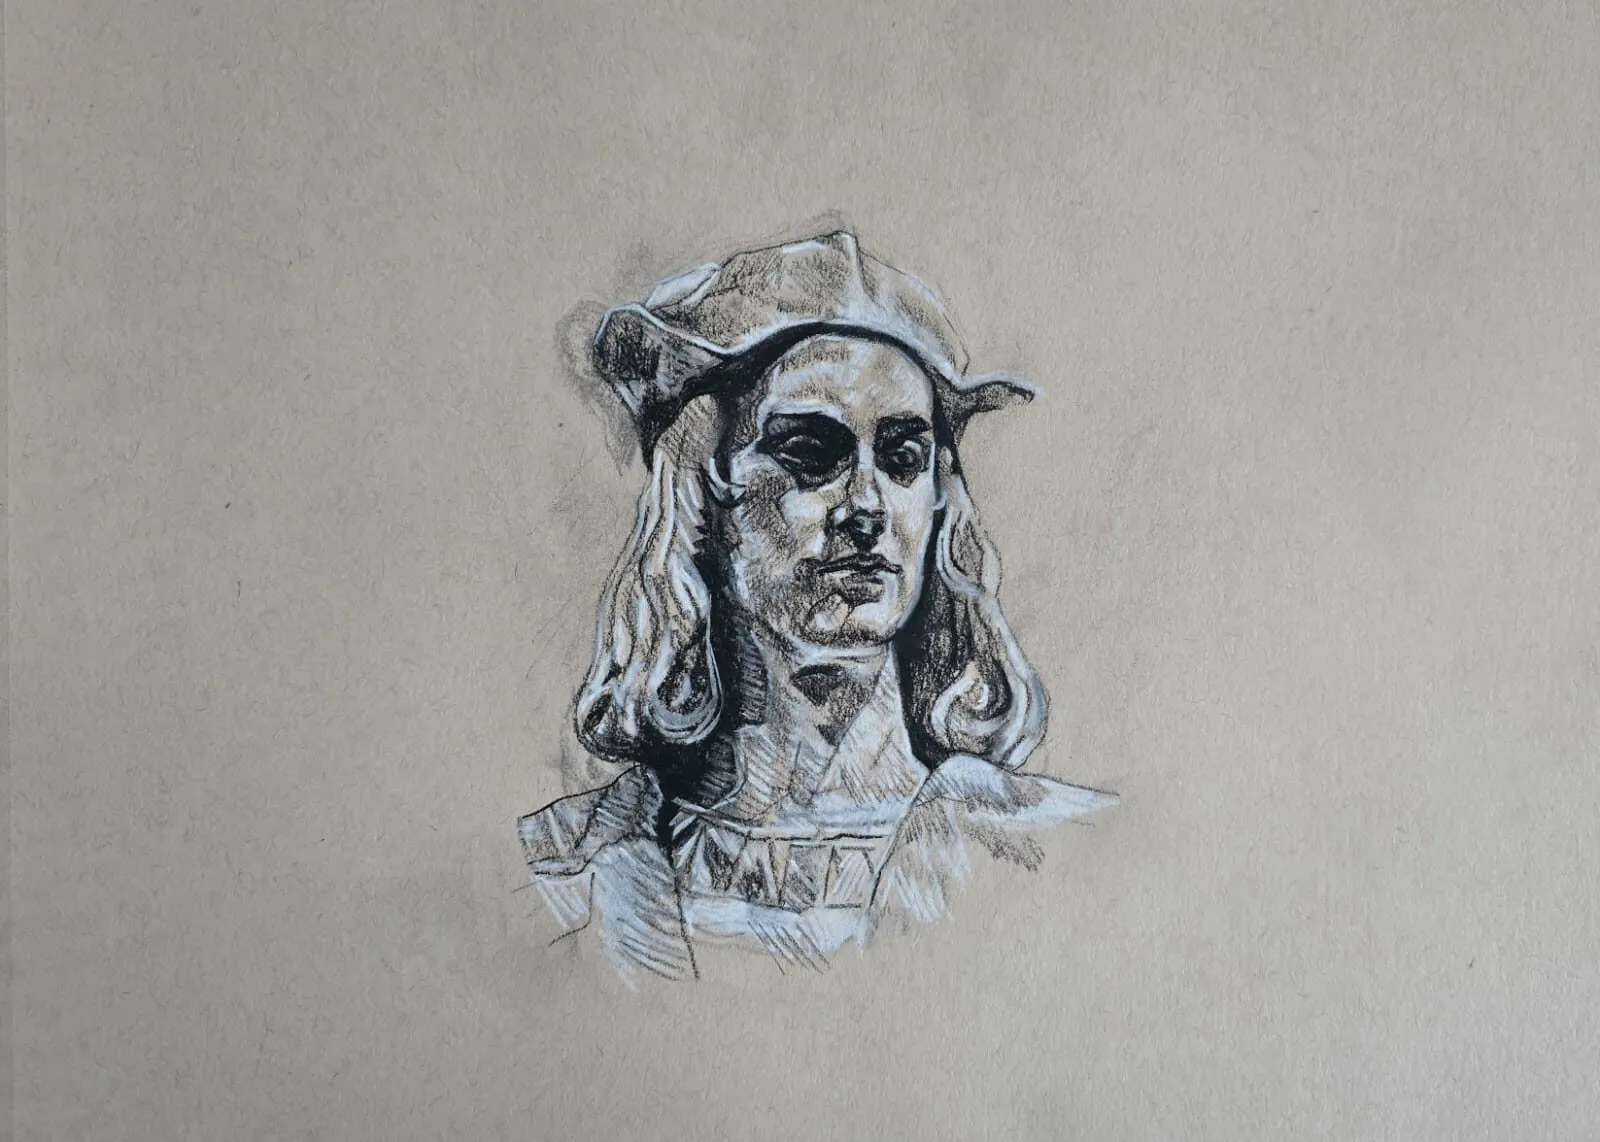
A head study of a figure in a cap in dark and white pencil on toned paper. Drawing by Michael Brace.
Lip structure
Lips have a surprisingly consistent structure, whatever their size.
- The centre line (oral fissure): the line where the lips meet. It is the darkest, most defined mark, and it is not straight. It curves and dips with the shapes above and below.
- Upper lip: usually has a central peak (cupid’s bow) with two lower curves on each side. It tilts downward, so it faces away from an overhead light and is generally darker.
- Lower lip: fuller and rounder, and it tilts upward slightly, catching more light. It often has a soft highlight and a vertical dip in the middle.
- The corners: where the lips meet the cheek. The centre line tapers to a point, and a small shadow or fold often sits just beyond.
- The philtrum: the groove between the nose and upper lip. Its edges create soft ridges that lead into the cupid’s bow.
- The area below the lower lip: a soft dip in shadow that separates the lip from the chin. It is essential for making the lower lip look full.
The mouth’s width, as a guide, roughly matches the distance between the pupils, though this varies with expression and the individual face. See how to draw a face: proportions for how the mouth sits in the head.
Step-by-step method (graphite)
- Place the mouth. Mark the centre line about a third of the way from the nose base to the chin, and note the corners. Lightly check the width against your reference.
- Draw the centre line. Use a sharp 2B, and give it slight curves that follow the shapes above and below. Make it darker in the middle and fade it toward the corners.
- Sketch the upper and lower lip shapes. Use very light marks to show the cupid’s bow and the fullness of the lower lip. Do not draw a continuous outline.
- Tone the upper lip. Shade with the side of the pencil, keeping the strokes following the lip’s shape. It is generally a mid to dark tone, with a slightly lighter area near the top edge.
- Tone the lower lip. Shade a lighter tone, and leave space for the highlight. Darken slightly toward the corners and the bottom edge, where the lip curves away.
- Add the shadow beneath the lip. Shade the soft dip under the lower lip. This shadow makes the lip appear to project.
- Blend the edges into the skin. Soften the outer boundary of both lips with a stump, so it fades into the skin tone. Leave a slightly crisper edge where the upper lip meets the skin at the cupid’s bow if the light shows it.
- Add lip texture. Use the pencil with very light vertical strokes across the lips to show their fine lines, and lift soft highlights with a kneaded eraser.
- Refine the corners. Taper the centre line to a soft point, add a slight shadow beyond, and check the expression against your reference.
- Place the highlight. Lift a small, soft highlight on the lower lip, and a fainter one on the upper if the light is strong. Keep them a few shapes rather than a continuous band.
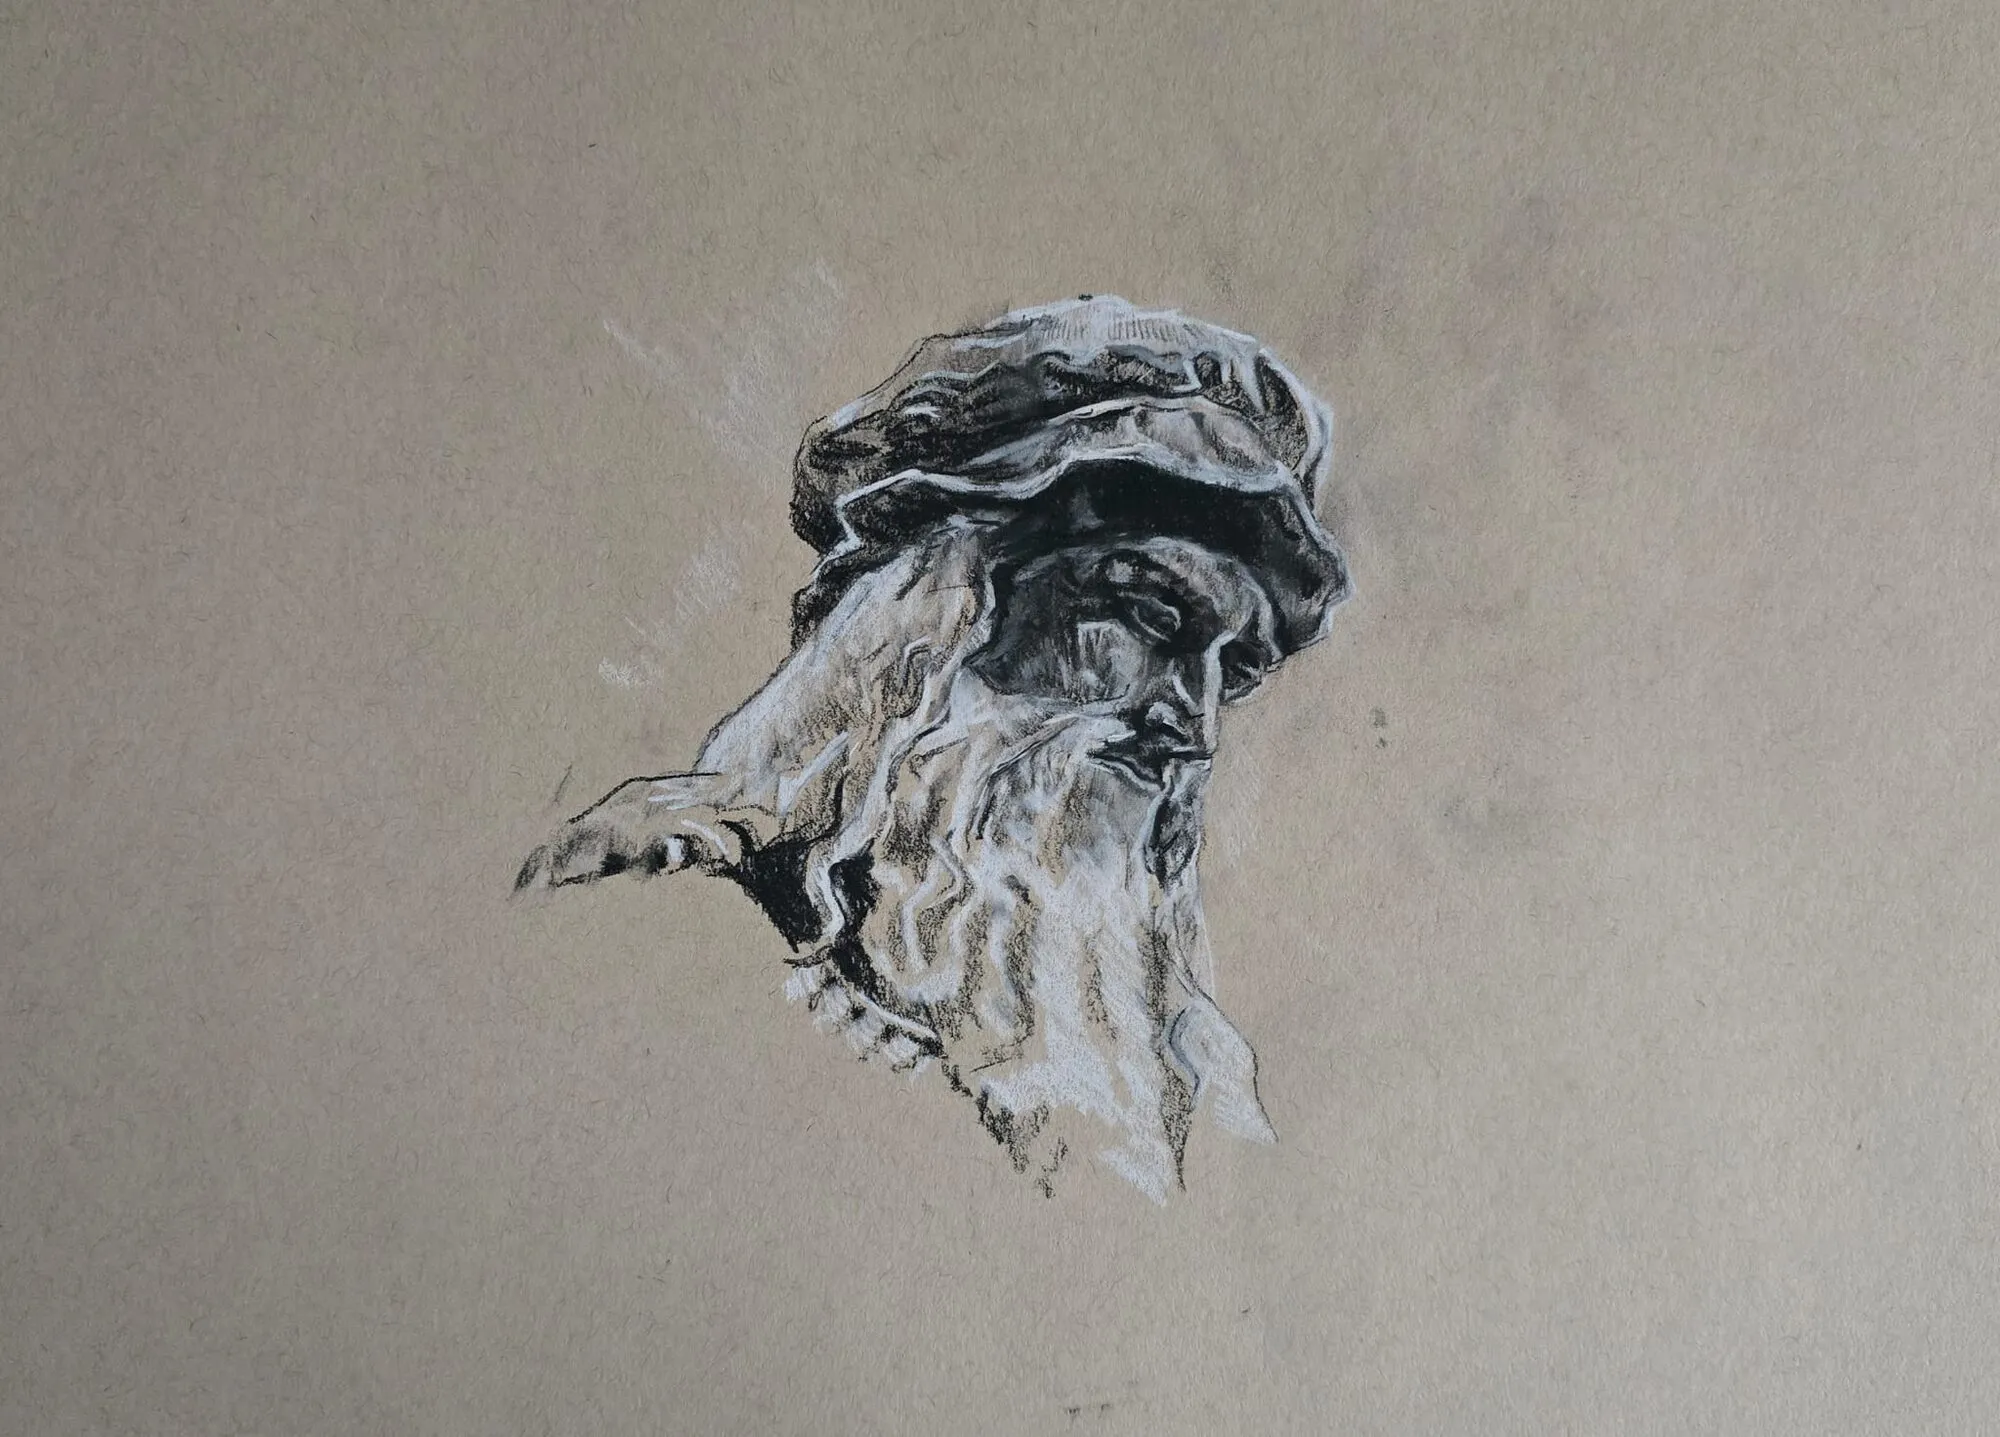
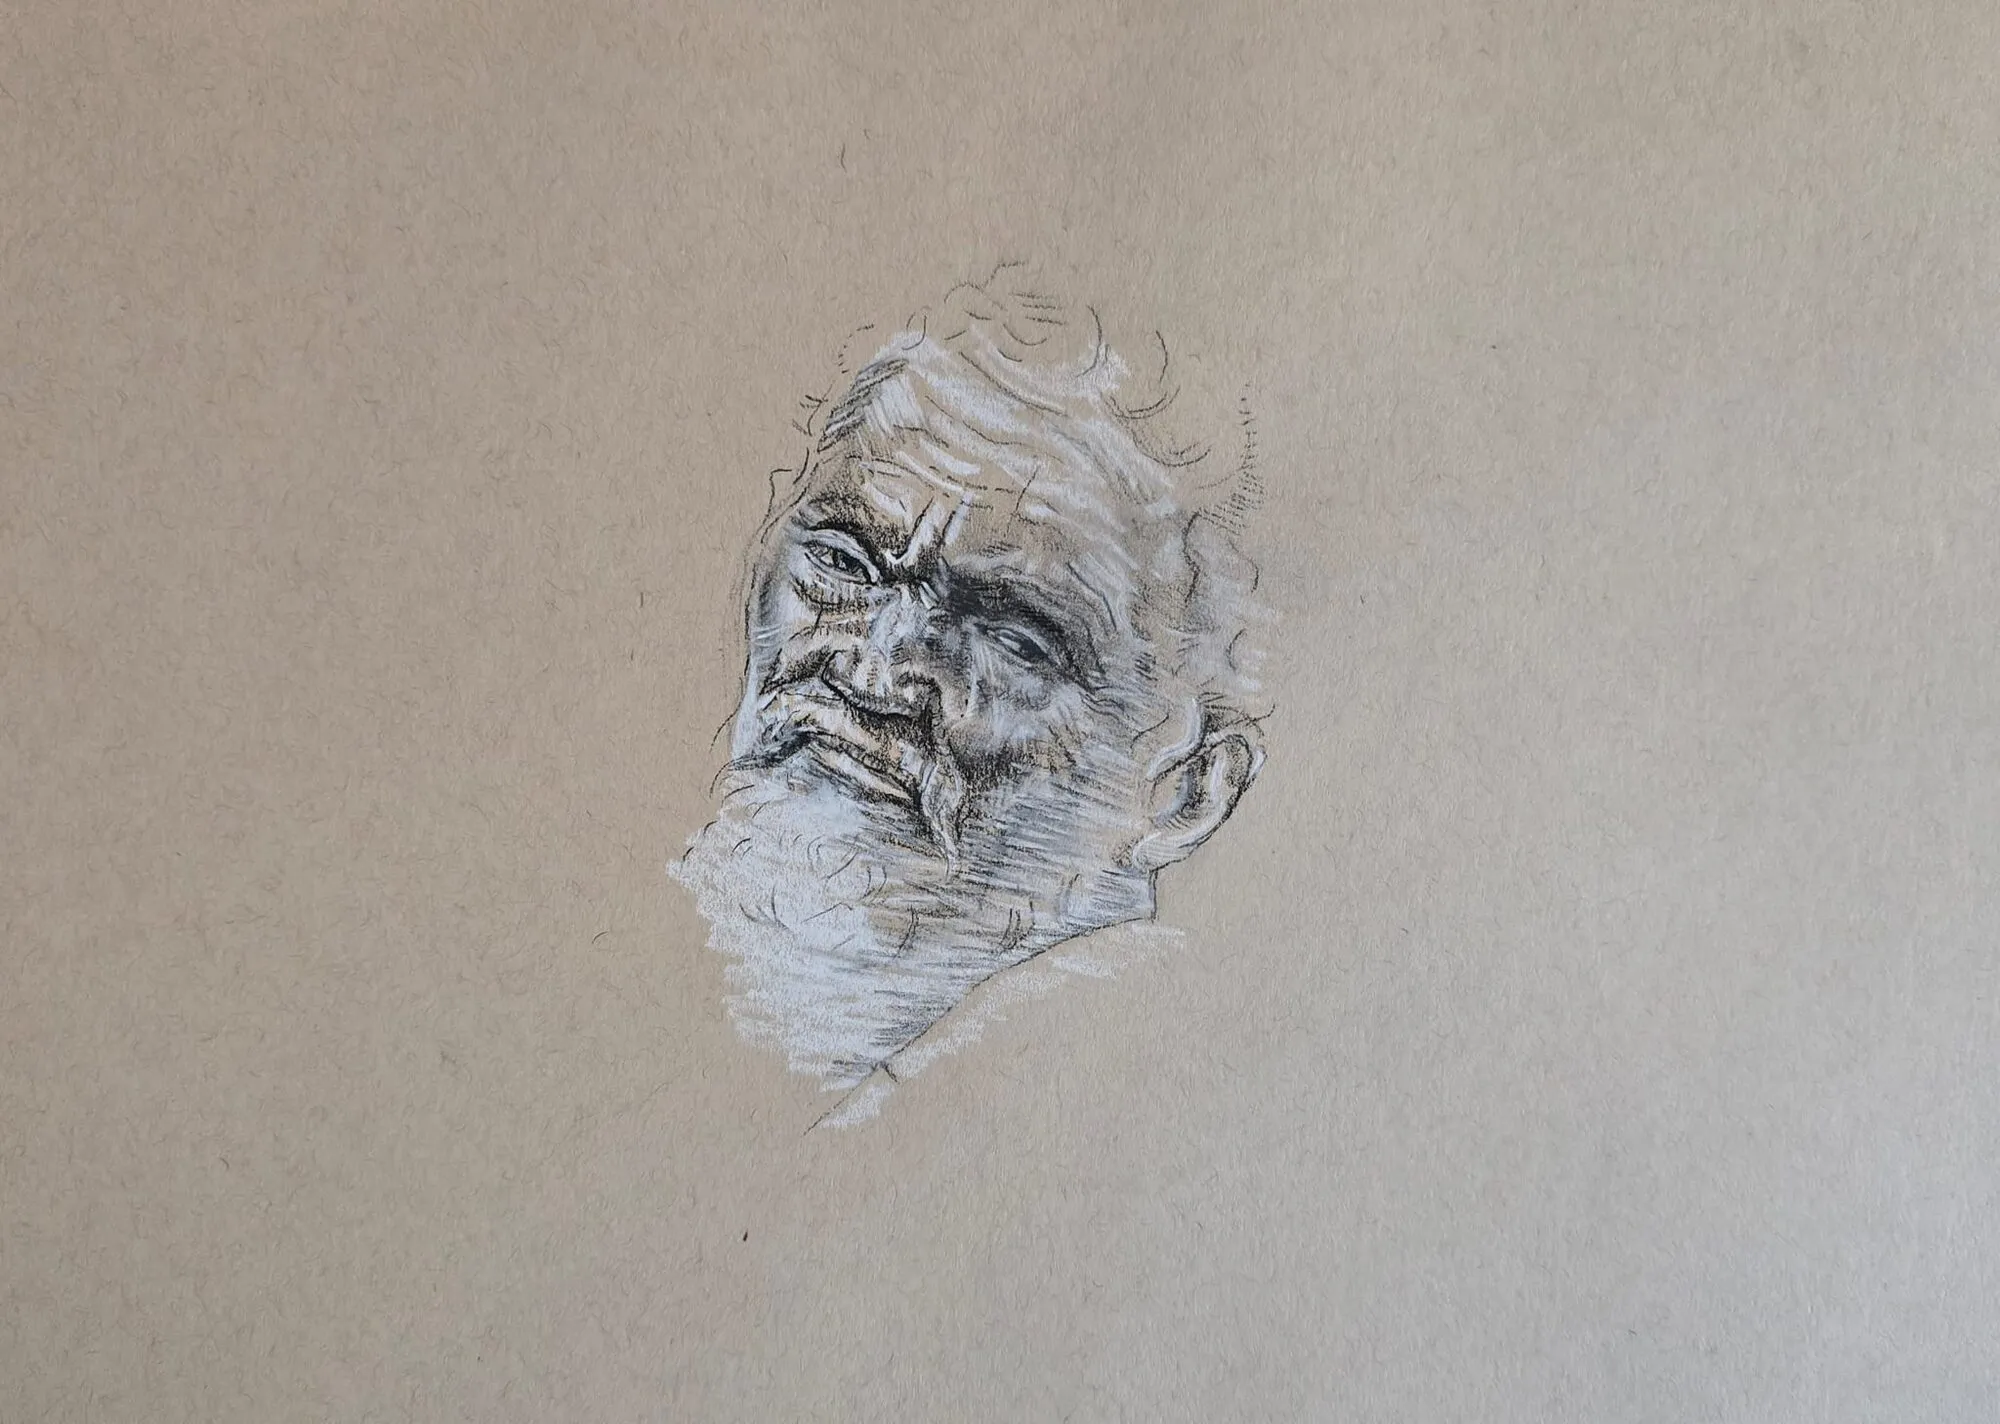
A study of a bearded man in a cap in dark and white pencil on toned paper. Drawing by Michael Brace.
Value on the lips
Value does most of the work. As a rule of thumb, with light coming from above:
- The upper lip is a mid to dark tone.
- The lower lip is a lighter mid-tone with a highlight.
- The centre line is the darkest tone.
- The shadow under the lower lip is a mid-dark.
- The skin around the lips is lighter than the lips themselves, but the difference is subtle.
Avoid using extremes. If the lips are much darker than the rest of the face, they will look like a separate object. A quick value study reveals how close in tone the lips and skin actually are. Read value in drawing for the principle.
Colour notes for coloured pencil
Lips have more colour than the surrounding skin, but they are never a single flat colour.
- Start with a light base. Lay a light pink or warm peach over the whole lip, using gentle pressure.
- Build the mid-tones with rose or red. Layer a soft red or rose over the base, following the curve of the lip. Keep the layers thin, so the colour builds gradually.
- Deepen the shadows with brown, purple or deep red. Use them in the centre line, the corners and under the lower lip. Avoid black, which looks dull against colour.
- Add cool notes. A little blue or purple in the shadow under the lower lip creates a natural cool contrast with the warm lip.
- Keep highlights warm and soft. Lift the highlight with an eraser, or use a light pink or cream pencil rather than pure white, unless you are on toned paper.
- Blend with light pressure. See how to blend coloured pencils for methods that keep the surface smooth.
The lips must match the skin. A palette from photo helps you pick colours that sit together, and how to mix skin tones with coloured pencils explains skin colours.
Common mistakes and how to fix them
- Outlined lips. The most common problem. Remove the outline, and define the shape with tone and soft edges.
- A straight, uniform centre line. Give it curves and vary its darkness, thicker in the middle and thinner toward the corners.
- Too much highlight. A white streak across the whole lower lip looks glossy and false. Use one soft highlight, and break it up.
- Flat, single-colour fill. Add tone variation, layers of colour and vertical texture, so the surface has some life.
- Stiff corners. Let the centre line taper to a soft point, and add a slight shadow beyond it, so the mouth connects to the cheek.
- A lower lip that floats. Add the shadow below it, which anchors the lip to the chin.
Practice exercises
- Lip shapes in shadow. Draw only the dark shapes of a mouth, with no outline, and see how the lips appear.
- Ten mouths. Draw ten mouths from different photos, spending five minutes on each, and compare their shapes and expressions.
- Colour swatches. Layer three lip colours on scrap paper to see how they mix.
- A mouth in a face. Add your lips to a face using how to draw a nose and the guides from the proportions lesson.
Next steps
Continue to how to draw realistic eyes and how to draw hair to complete the face. For the full colour workflow, read how to draw portraits in coloured pencil, and return to the how to draw pillar for the rest of the lessons.
The short version
Draw the centre line first, then shape the upper lip darker and the lower lip lighter, and remove any outline. Soften the edges into the skin, add the shadow under the lower lip, and keep highlights soft and few. In colour, layer light pinks, reds and browns, and check the values against your reference.
Quick answers
Frequently asked questions
How do I draw lips realistically?+
Draw the centre line between the lips first, then the upper and lower lip shapes lightly. Shade with tone rather than outlines, keep the upper lip darker, and leave the lower lip lighter with a soft highlight. Soften the outer edges into the skin so the lips are part of the face.
Why do my drawn lips look like stickers?+
Typically because they are outlined with a dark line and filled with flat colour. Real lips have soft edges that blend into the skin, tone changes across their surface and vertical lines of texture. Remove the outline, blend the edges and add value variation to make them look natural.
What colours should I use for lips in coloured pencil?+
Layer several: a base of light pink or warm red, deeper red or rose in the shadows, a touch of brown or purple in the darkest areas, and a lighter warm tone for highlights. Avoid a single lipstick red. Coloured pencils and colored pencils are the same, and the layering method works in either.
How do I draw the corners of the mouth?+
Let the line between the lips taper to a soft point, with a small shadow just beyond it. Avoid closing the corners with a hard dark dot. A slight dimple of shadow at the corner and a gentle rise or fall of the line gives the mouth its expression.