How to Draw
How to Draw Hands
Learn how to draw hands by building them from simple forms: a palm block, finger segments and a thumb. Proportions, common mistakes and practice exercises.
This guide contains affiliate links. If you buy through them we may earn a small commission at no cost to you. How this works.
Jump to recommended products
Key takeaways
- ◆Draw a hand as a flat block (the palm) with a wedge for the thumb and tapering finger segments, not as five separate sausages.
- ◆The palm is bigger than most beginners expect: the fingers are about as long as the palm, and the middle finger is the longest.
- ◆Knuckles and creases sit at the joints, so mark the joints first and the outline follows.
- ◆Practise one pose at a time, from your own hand, before attempting complex gestures.
- ◆Simplify: a convincing hand needs a few well-placed shadows, not every wrinkle.
Hands go wrong for a simple reason: we try to draw the outline of a complicated shape in one go. The fix is to build the hand from simple forms, in the right proportions, and only then refine the edges. Think of a flat block for the palm, a wedge for the thumb, and four fingers made of three tapered segments each.
This lesson gives you that method step by step, with the proportion guides that keep fingers from looking like sausages or the palm from shrinking. It works in graphite or coloured pencil (colored pencil, if you are in the US), and every exercise can be done with your own hand as the model.
What you need
- A graphite pencil or two. An HB for construction lines and a 2B for shading is plenty. Our pencil grade chart shows what each grade does.
- A kneaded or soft eraser for lifting construction lines.
- Smooth to lightly textured paper. Any sketchbook will do to begin; see the best paper for graphite drawing when you want to upgrade.
- Your own hand. It is free, always available and the best reference you will ever have. Use a mirror or a window for light if you need to.
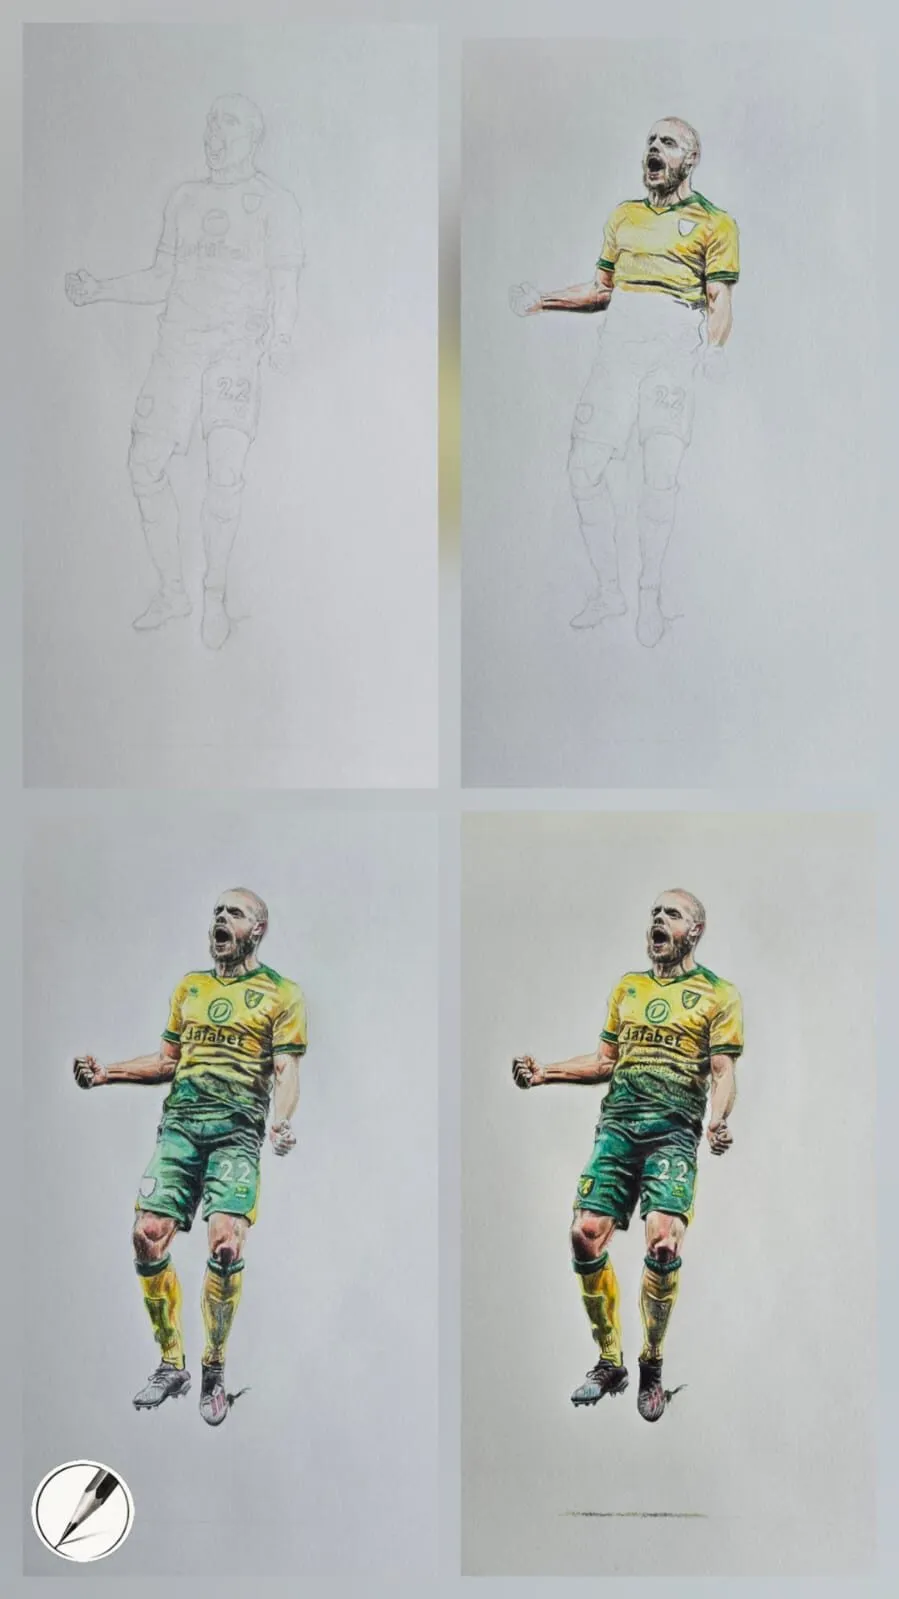
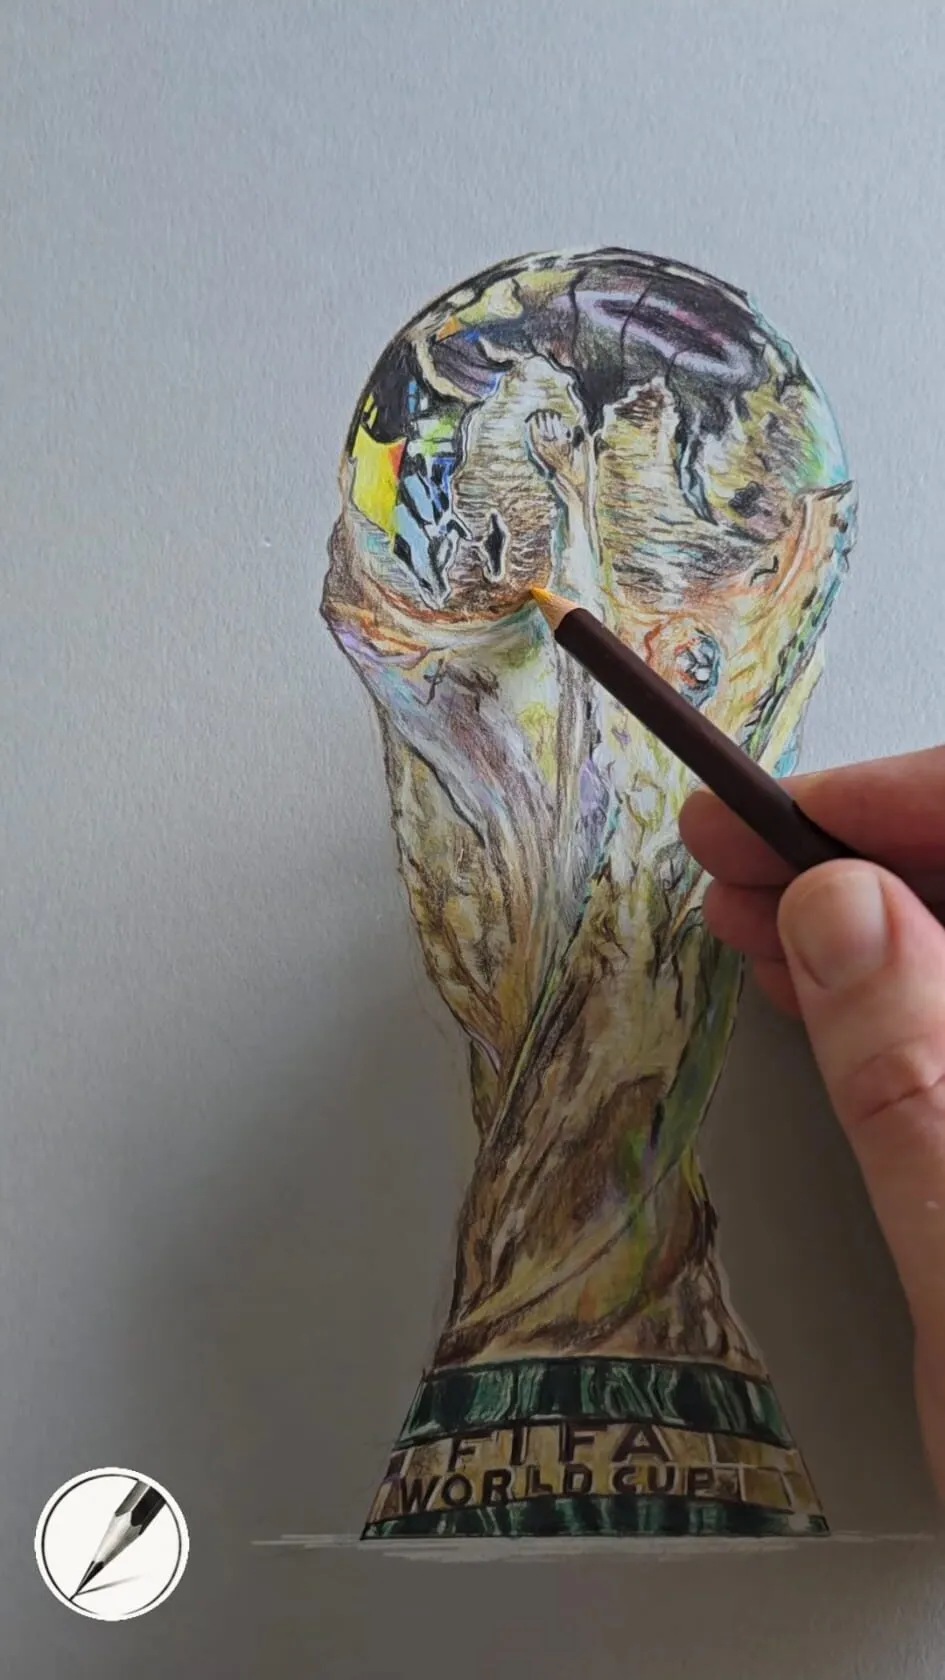
A footballer drawing shown from pencil layout to completed colour in four stages. Drawing by Michael Brace.
Understand the hand as simple forms
Before you draw, look at what a hand actually is. There are only a few big pieces.
- The palm is a slightly curved, roughly square block. It is wider than it is long when the fingers are spread and roughly square when closed.
- The fingers are each three segments joined at knuckles. They taper slightly toward the tips.
- The thumb has two visible segments, but it grows out of a fleshy wedge at the base of the palm. That mound is what makes the thumb look attached rather than stuck on.
- The wrist is narrower than the palm and links to the forearm with a slight bend.
If you can hold these four pieces in your head, you can draw a hand from any angle by adjusting the block.
Proportions that keep you honest
Use these rules of thumb as a checklist, not as laws. Real hands vary, and foreshortening changes everything.
- The middle finger is about as long as the palm.
- The index and ring fingers are a little shorter than the middle finger, and the little finger is shortest. The tip of the little finger usually reaches about the top knuckle of the ring finger.
- The knuckles form a gentle arch, not a straight line, so the fingers begin at different heights.
- The thumb tip reaches about halfway along the first segment of the index finger when the hand is relaxed.
- The back of the hand is about as wide as four finger widths.
Compare these with the hand in front of you. Individual differences are what make a drawing feel like a real hand.
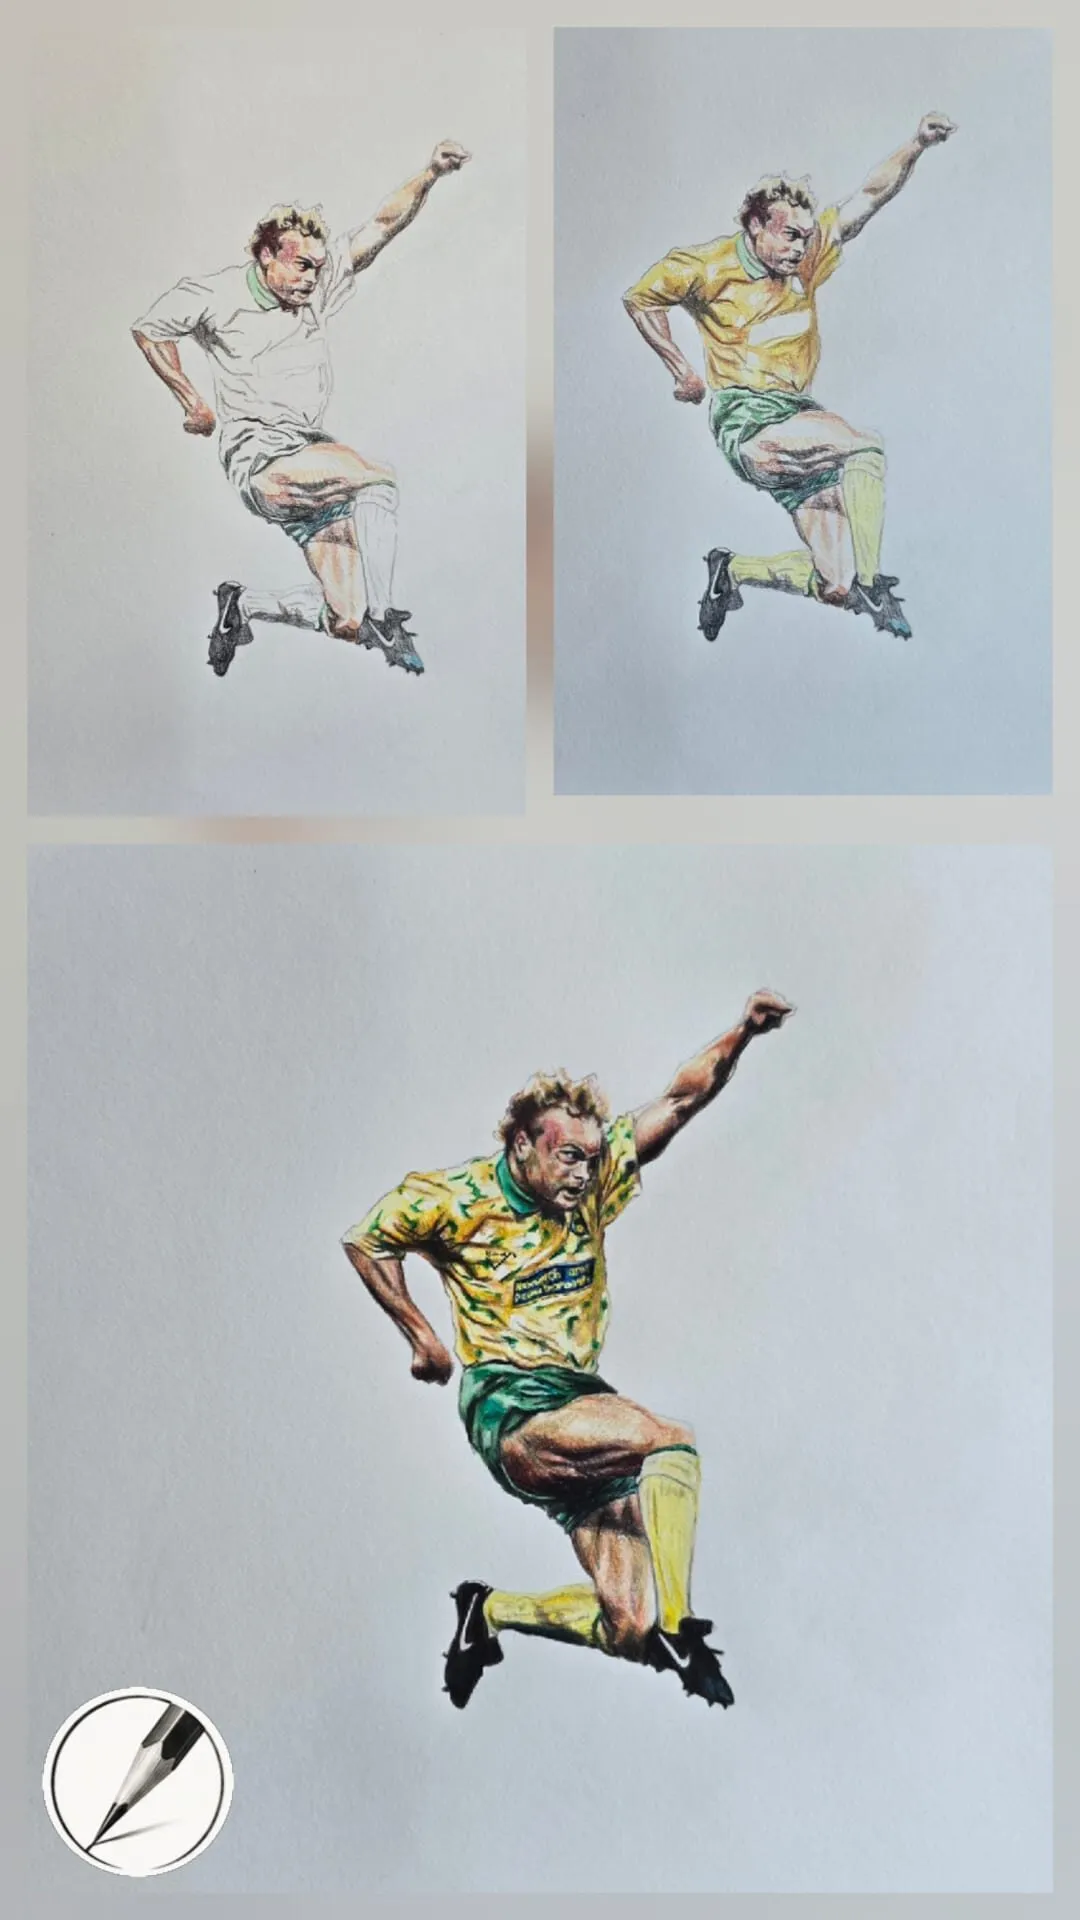
A leaping footballer drawn in coloured pencil, shown in three stages. Drawing by Michael Brace.
Step-by-step: drawing an open hand
- Block in the palm. Draw a light square or rounded rectangle. Tilt it to match your reference. Keep the lines pale so they can disappear later.
- Add the wrist. Extend two lines from the bottom of the palm, slightly narrower than the palm, so the hand has something to connect to.
- Mark the knuckle arch. Draw a gentle curve across the top of the palm where the fingers start. Mark four dots along it.
- Draw each finger as a tapered box. From each dot, draw a long, slim shape that is about as long as the palm for the middle finger, and shorter for the others. Divide each into three segments with small ticks for the joints.
- Add the thumb. Draw a wedge from the base of the palm, then two segments extending out. Check the angle: the thumb rarely points straight up.
- Check proportion. Hold your pencil at arm’s length to compare the length of the middle finger with the palm. Adjust before you draw any detail.
- Refine the contour. Round the tips, soften the boxy corners and let the outline pass through the joints. Erase the construction lines you no longer need.
- Add the creases and knuckles. Draw short, curved lines at the joints, more on the palm side and fewer on the back. Do not outline every wrinkle.
- Shade the form. Decide where the light comes from. Add darker values under the fingers, in the gaps between them and on the underside of the palm. Squint to check that the big shapes read as light and dark.
Draw hands in poses
Open hands are the easiest starting point. Work through the poses below in order, each time from your own hand.
- A fist. A rounded block with four rectangles on the front. It teaches how the fingers curl and overlap.
- A relaxed hand. Fingers slightly curved and uneven, thumb resting. This is the pose most people actually draw in portraits.
- Holding a pencil or cup. Objects force the fingers into curved positions, and the shape of the object gives you a check for accuracy.
- Pointing. One finger extended, the others curled. It teaches foreshortening.
Where hands appear in portraits, keep them simpler than the face so they support the picture rather than steal attention. Our guide to drawing portraits in coloured pencil covers the wider composition.
Common mistakes and how to fix them
- Sausage fingers. Fingers drawn as parallel tubes with no joints. Fix: divide them into three segments, add knuckle bumps and taper them slightly toward the tips.
- A tiny palm. The most common proportion error. Fix: measure the palm against the middle finger and make it about the same length.
- Fingers all the same length. Fix: use the arch of the knuckles and the shorter little finger.
- Stiff, straight lines. Real fingers have gentle curves. Even a “straight” finger bows a little.
- A thumb stuck on the side. Fix: draw the wedge at the base of the palm that the thumb grows out of.
- Too many wrinkles. Adding every line makes the hand look old and tired. Keep to the main creases and a few key shadows.
Add shading and colour
Hands are made of turning forms, so the same shading principles apply as for any cylinder or sphere. Each finger has a light side, a mid-tone and a core shadow, plus a bounce of reflected light along the edge. If you need a refresher, how to shade with a pencil explains the basics.
In coloured pencil, build skin with thin layers rather than one flesh tone. Warm ochres, reds and browns suit the lights and mid-tones, and cooler greys or purples help the shadow sides. Michael’s guides say the same thing about skin in general: it is layers of ochre, rose, grey and brown, not a single peach pencil. Our guide to mixing skin tones with coloured pencils goes further.
Practice exercises
- Ten-minute fists. Draw your fist from five angles, one per two minutes.
- Blind contour. Draw your hand without looking at the paper. It trains your eye to follow real shapes.
- Block only. Draw a hand from photos using only boxes and wedges. No outlines, no shading.
- Value study. Draw a hand in three values only: light, mid, dark. Use the value study tool on a reference photo to see where the values fall.
- Draw a hand holding something. A mug, a pencil or a phone. The object gives you a check on proportion.
- Daily habit. Add a hand sketch to your warm-up. Our guide to practising drawing daily suggests how to make it stick.
What to study next
Hands make sense once you have a grip on structure and shading in general, so how to draw basic forms and shading is the natural next step. If you want to put hands into portraits, start with the face proportions guide, then return to the how-to-draw hub. For deeper anatomy, Andrew Loomis’s Drawing the Head and Hands is a widely used reference that Michael’s reading list recommends.
The short version
Build the hand from a palm block, a thumb wedge and three-segment fingers. Keep the palm and finger proportions honest, place the knuckles on an arch, and add only the creases you need. Practise with your own hand in short sessions, and hands will stop being the part of the drawing you dread.
Where to buy
Recommended products
Affiliate links. We may earn a small commission if you buy, at no extra cost to you. Why?
Book · Andrew Loomis
Drawing the Head and Hands
Focused training on the two hardest parts of the figure.
Buy on AmazonAffiliate link · opens Amazon
Quick answers
Frequently asked questions
Why are hands so hard to draw?+
Hands combine many small moving parts, foreshortening and overlapping shapes, and we know exactly what they should look like, so mistakes stand out. The fix is to stop drawing 'a hand' and start drawing simple forms: a block for the palm, tapered boxes for each finger segment and a wedge for the thumb.
How long should fingers be compared with the palm?+
As a rule of thumb, the middle finger is roughly as long as the palm, measured from the wrist crease to the base of the finger. The other fingers are a little shorter. These are guides, not laws, and foreshortening changes what you see, so always check against your reference.
What is the easiest way to practise drawing hands?+
Draw your own non-drawing hand in a simple pose for five to ten minutes at a time. Start with a fist, then a relaxed open hand, then holding a pencil. Repeat from different angles. Short, frequent sketches teach more than one long, laboured drawing.
Should I draw hands in graphite or coloured pencil?+
Graphite is best for learning because it is easy to correct and lets you focus on form and value. Once the structure feels natural, add colour with thin layers of warm and cool tones. Colored pencils (the US spelling) work beautifully over a light graphite or pale underdrawing.