How to Draw
How to Draw Gesture and Poses: Quick Figure Drawing
Learn gesture drawing and poses: line of action, 30 to 60 second sketches, simple shapes, balance and thumbnails, in graphite or coloured (colored) pencil.
Key takeaways
- ◆Gesture drawing captures the movement of a pose in 30 to 60 seconds with one flowing line of action, before any detail.
- ◆Build the figure from simple shapes (egg-shaped head, bean-shaped ribcage and pelvis, tubes for limbs) so you think in volume rather than outline.
- ◆A pose looks believable when the weight is balanced: the head should usually sit over the supporting foot, or the figure must lean into something.
- ◆Make small thumbnail poses first, then choose the most expressive one to refine.
- ◆Refine in layers, working from the big rhythm to the shapes to the details, and only then add colour or heavy shading.
Gesture is the difference between a figure that stands like a mannequin and one that seems about to move. The short method is this: draw one flowing line of action through the body in a few seconds, hang simple shapes along it for the head, ribcage and pelvis, check the balance, and only then refine. Do this in 30 to 60 seconds and repeat often, and your figures will gain life faster than through any amount of careful outlining.
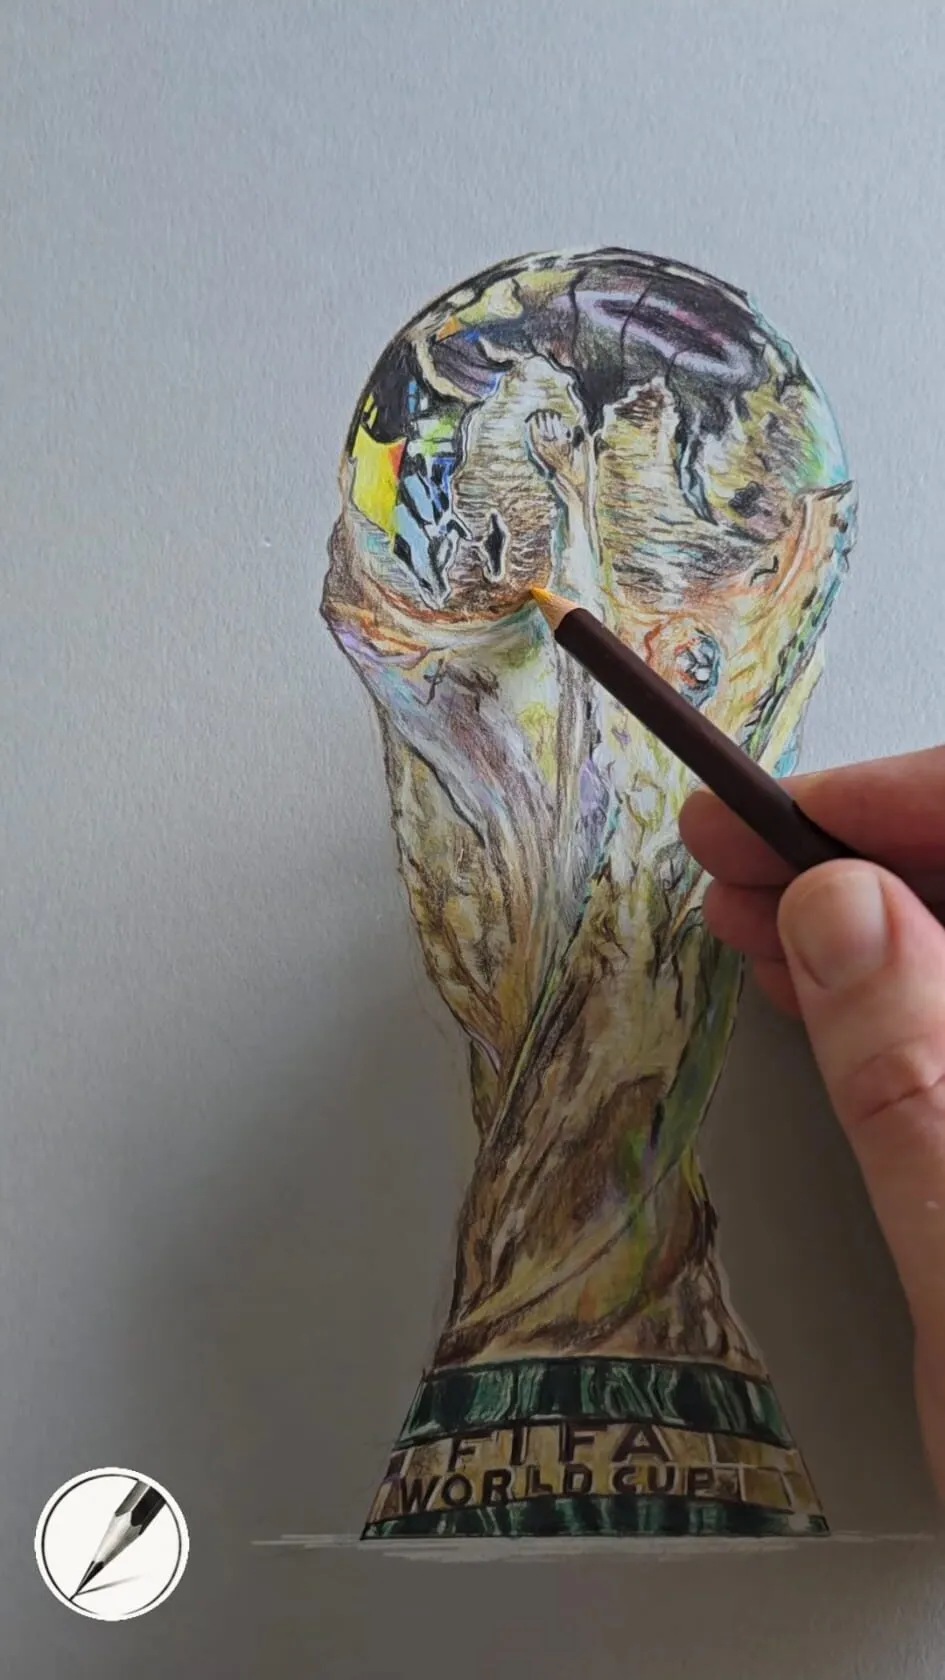
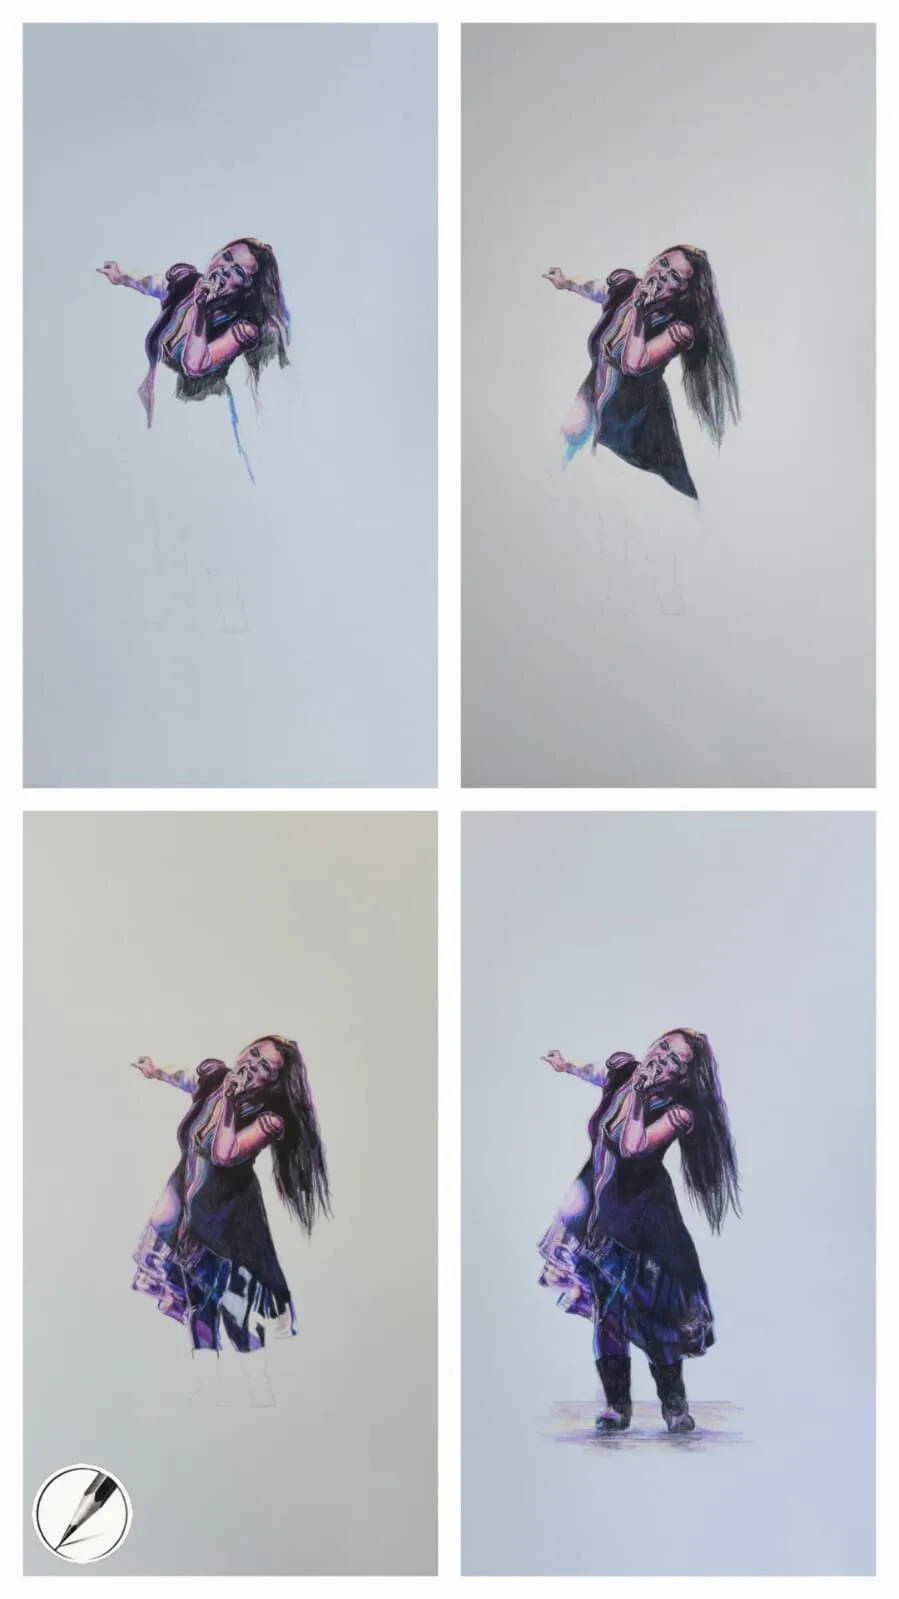
This lesson covers the line of action, how to run a timed gesture session, the simple shapes that turn a line into a body, how balance and weight work, how to plan with thumbnails, and how to refine a chosen pose in graphite or in coloured pencil (colored pencil in the US). The four-stage figure at the top of the page is one of Michael’s progress pieces, worked from the top down while colour is built as the drawing goes.
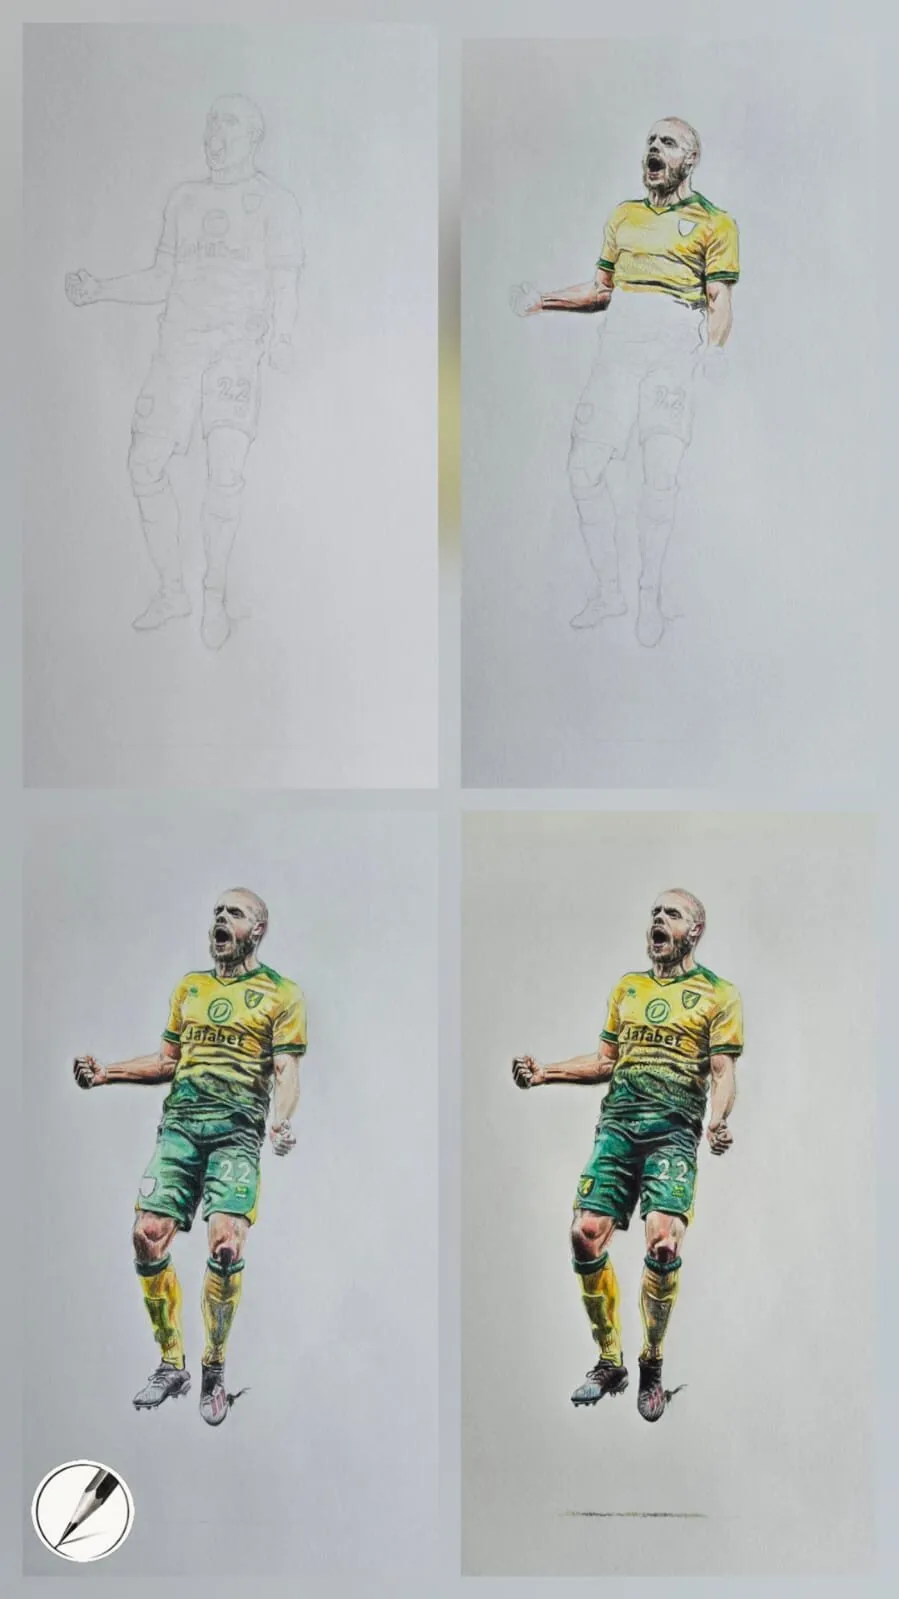
Michael’s footballer from pencil layout to completion, in four stages. It is a useful example of drawing the pose first and adding finish later.
What you need
- A soft graphite pencil: a 2B or 4B makes loose marks without effort. The pencil grade chart shows how grades differ.
- Cheap paper: a newsprint pad or a plain sketchbook is ideal. You will fill a lot of pages, so do not choose precious paper.
- A timer: a phone timer works. Timed rounds are the heart of gesture practice.
- Reference poses: a live model, a friend, or photographs and sketch reference of people in motion. Sport and dance are rich sources.
- Optional colour: one or two coloured pencils, a light one for the first lines and a darker one for refinement.
- For anatomy and proportion: read how to draw the human body proportions alongside this lesson.
How to draw gesture step by step
1. Look before you draw
Spend the first few seconds looking at the whole pose, not at the hands or face. Ask what the body is doing. Is it pushing, pulling, leaning, reaching or resting? Say it to yourself in a single word. That word is the gesture, and everything you draw should serve it.
2. Draw the line of action
Make one continuous, confident line that follows the main movement from the head through the spine to the weight-bearing foot. It is often a C-curve, an S-curve or, for stiff and strong poses, a nearly straight diagonal. Draw it with the whole arm, from the shoulder rather than the wrist, and do not lift the pencil if you can avoid it. A line of action with a clear direction is worth more than any amount of accurate detail.
3. Place the head, ribcage and pelvis
Along the line, drop in three masses. An egg shape for the head, a bean or box shape for the ribcage, and another for the pelvis. The key is their angles. In most natural poses the shoulders and hips tilt in opposite directions, which creates the S-shape in the torso that gives life. Draw the tilt lines across the shoulders and hips first, then the shapes on them.
4. Add limbs as simple tubes
Connect the masses with straight or gently curved tubes for the arms and legs. Mark the joints as small circles at shoulders, elbows, hips and knees, and check that the limbs flow from the line of action rather than fighting it. If one leg is taking the weight, make it straighter and stronger, and let the other leg relax.
5. Check balance and weight
Find the supporting foot or feet and draw a light vertical line up from them. For a standing figure at rest, the centre of the head should sit roughly over that line, because otherwise the figure would fall. In a moving pose, such as a runner or a thrower, the figure leans beyond that line, and the lean should feel as though the body is catching itself. Checking balance takes a couple of seconds and is the quickest way to fix a pose that feels wrong.
6. Work in timed rounds
Set the timer and do a sheet of ten 30 second poses, a sheet of five 1 minute poses, then two or three 2 minute poses. Move on when the timer rings, even if the drawing is unfinished. Stopping early is the point, because it stops you from drifting into detail. The guide to practising drawing daily shows how to fit this into a short routine.
7. Make thumbnails before a finished drawing
When you want a finished figure, draw six to ten tiny poses, no bigger than a matchbox, using the same steps. Give each a line of action and simple shapes. Then choose the one with the clearest rhythm and the most interesting silhouette. Thumbnails cost a minute each and save hours of correcting a weak pose later.
8. Enlarge and refine in layers
Draw the chosen thumbnail larger with light lines, then refine in layers: first the rhythm and big shapes, then the contours of the limbs and clothing, then the features and hands, and finally the shading. Keep the early lines light so you can adjust them. If you are working from a photograph, the grid drawing tool helps you transfer the proportions without losing the gesture.
9. Build value and colour last
Once the drawing is structurally sound, block in the main light and dark pattern. The value study tool helps you see the big shapes. In coloured pencil, work in light layers and build darker colours gradually. Michael’s progression figure shows this approach: the structure is established first, and colour is built as the drawing develops.
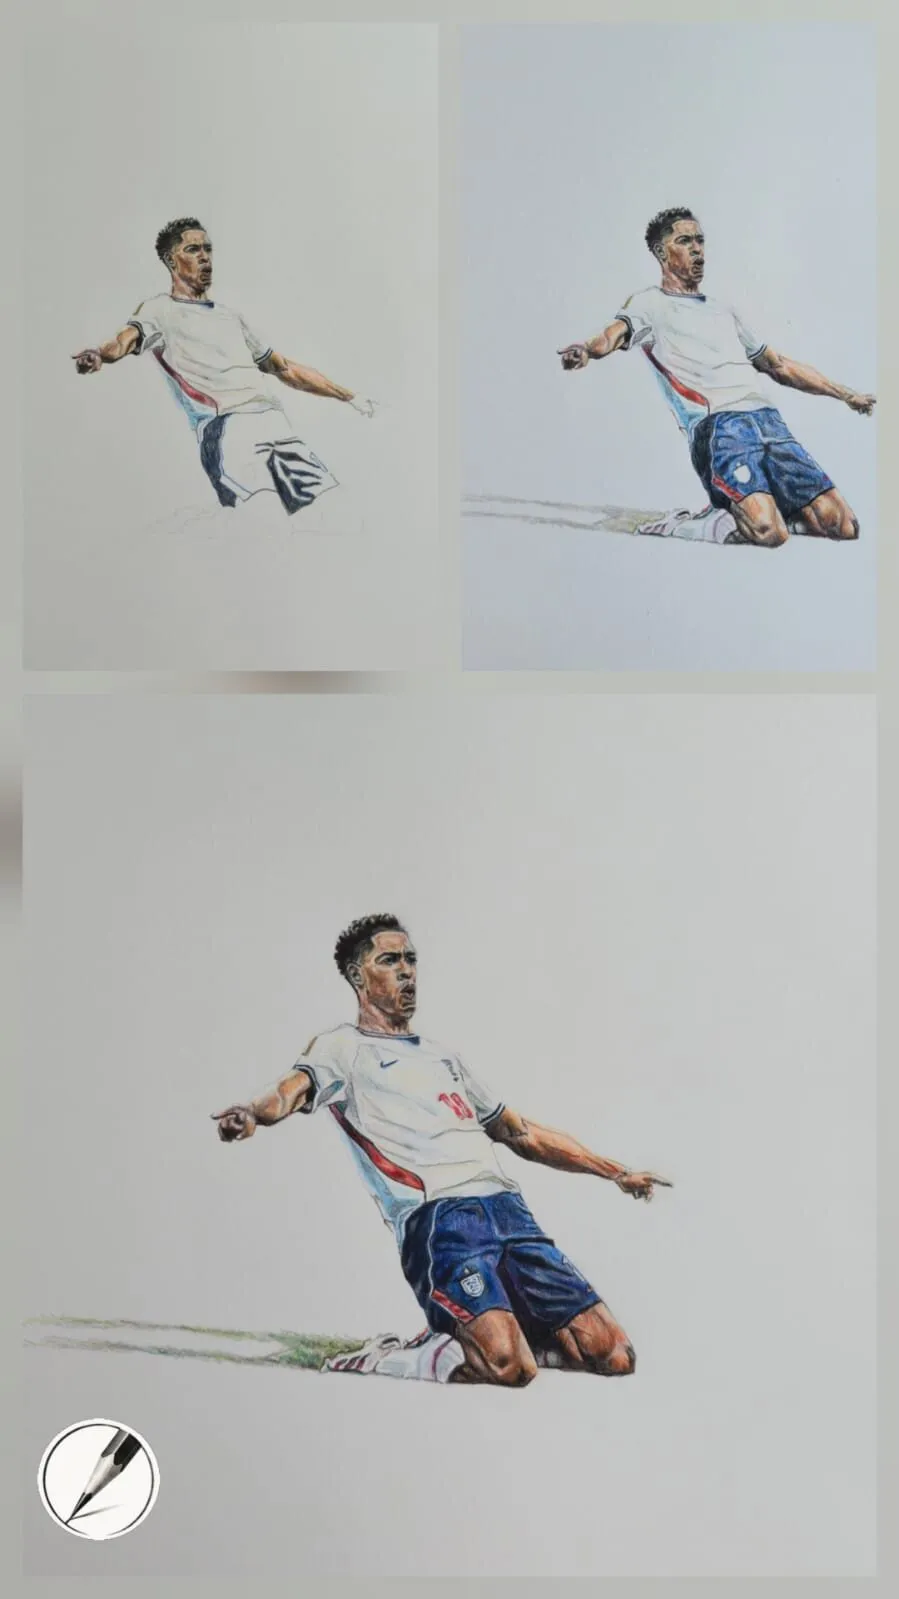
Michael’s footballer in a dynamic pose. Shadow and grass added afterwards help ground the movement that the gesture established.
Simple shapes that make a figure
Gesture becomes easier when you have a small set of shapes in your head.
| Part | Simple shape | What to check |
|---|---|---|
| Head | Egg or sphere | Tilt and direction |
| Ribcage | Bean or rounded box | Angle of the shoulders |
| Pelvis | Smaller box or bowl | Angle opposite the shoulders |
| Limbs | Tubes | Length and flow from the joints |
| Hands and feet | Wedges and mittens | Direction they point |
These are guides, not anatomy. They let you think in volume so the figure turns in space. Once the shapes are right, the basic forms and shading lesson shows how to shade them.
Balance, weight and contrapposto
A figure looks alive when it is balanced but not stiff. Some guides help.
- The plumb line: in a standing pose, drop an imaginary vertical from the pit of the neck. It usually lands near the supporting foot.
- Weight on one leg: the hip on the supporting side is higher and the shoulder on that side is usually lower. This is called contrapposto, and it gives the relaxed S-curve of the torso.
- Two feet, even weight: the pose looks stiff and symmetrical, so use it only when you want stillness.
- Leaning poses: if the figure leans, look for what catches the weight, such as a wall, a chair or the other foot.
These are widely used rules of thumb, not laws, and real poses vary. Use them to check a drawing that feels wrong.
Adding colour to a gesture drawing
Gesture is usually monochrome, but colour can help you see direction and energy.
- Use a light colour, such as a pale blue or warm grey, for the line of action and the first shapes.
- Go over the most important contours with a darker colour, letting some of the first lines show through.
- Warm colours advance and cool colours recede, so a little warm colour on the nearest limb adds depth.
- Keep the layers light. You can build later, but you cannot easily remove heavy colour.
The colour scheme generator is handy if you want a limited palette for a series of quick poses.
Common mistakes
The remedy is speed and repetition. If you notice yourself fixing details in a 30 second pose, reduce the time or use a softer pencil.
Practice exercises
- Ten in five: draw ten 30 second poses from photographs, using only a line of action and three masses.
- Silhouette check: fill in the outline of three of your poses as solid shapes. The clearest silhouette is usually the best pose.
- Balance test: draw a plumb line under five standing poses and check where the head sits.
- Thumbnail to finish: make eight thumbnails of one pose, choose one, and draw it at full size in graphite.
- Colour pass: redraw your best gesture using a light colour for the rhythm and a darker one for the refinement.
- Study the masters: browse the drawings in master draughtsmen to study and find the line of action in each figure.
Next steps
Gesture is the structure, and the next skills are proportion and reading. If you want reliable anatomy, see how to draw the human body proportions, and for books that go deep on the figure, see best books for figure drawing. Then add hands with how to draw hands or return to the how to draw hub.
The short version: draw the line of action first, hang simple shapes along it, check the balance, and work in timed rounds so you practise seeing movement rather than copying outlines.
Quick answers
Frequently asked questions
What is gesture drawing?+
Gesture drawing is a very fast drawing, often 30 seconds to a couple of minutes, that records the movement and energy of a pose rather than its details. You use loose, flowing lines to capture the main direction of the body, the tilt of the shoulders and hips, and where the weight sits.
How long should a gesture drawing take?+
Most artists work in rounds of 30 seconds, 1 minute and 2 minutes, which forces you to look for the big movement rather than the details. There is no fixed rule, so start with 60 seconds if 30 feels frantic, and shorten the time as you get more confident.
What is the line of action?+
The line of action is an imaginary flowing line, usually a curve, that runs through the whole figure from head through the spine to the supporting leg or foot. It is the first mark you make, and it gives the pose its direction and energy before you add anatomy.
Are colored pencils and coloured pencils the same?+
Yes, colored is the US spelling and coloured the UK spelling. For gesture work, a single light colour is useful for the first rhythm lines, and a darker one for the refinement, but graphite works just as well. The approach in this guide is the same for both.