How to Draw
How to Draw an Elephant: Form, Trunk and Skin
Draw an elephant in graphite or coloured (colored) pencil: block in the huge forms, build the head and trunk, add ears, legs, wrinkles and skin texture, then shade.
This guide contains affiliate links. If you buy through them we may earn a small commission at no cost to you. How this works.
Jump to recommended products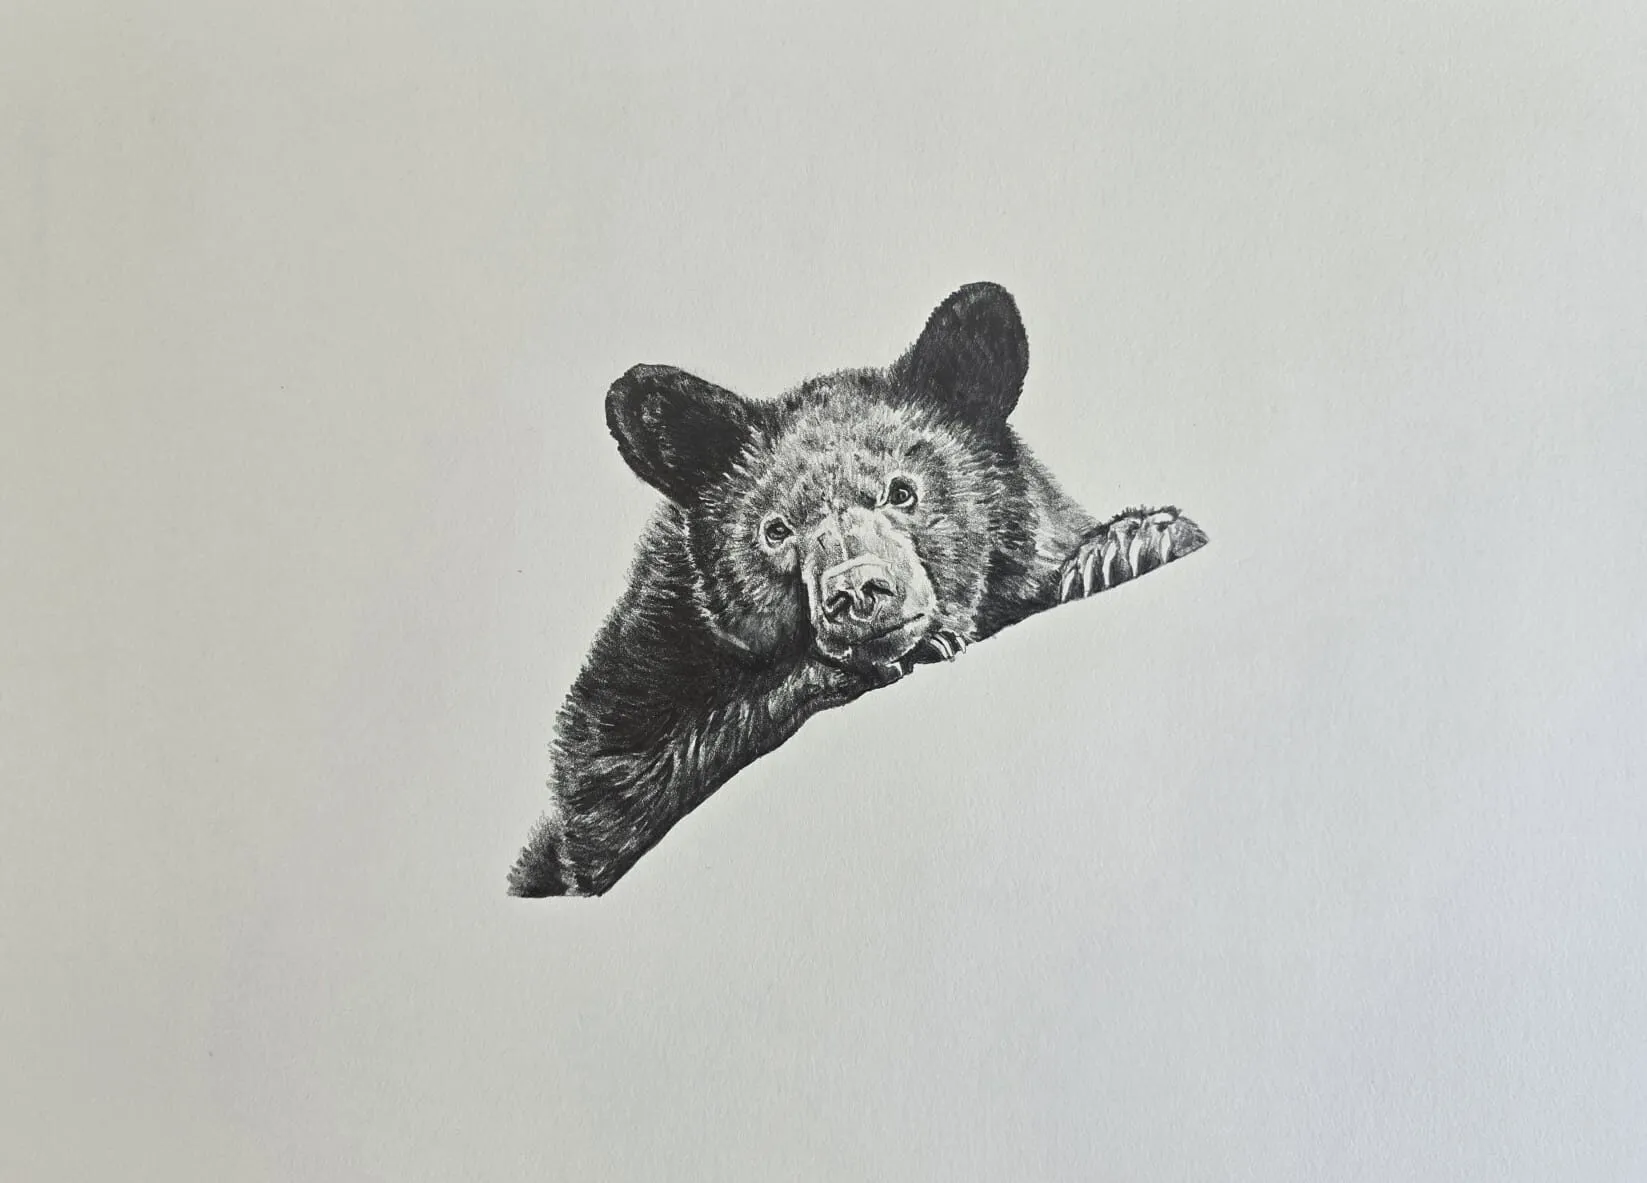
Key takeaways
- ◆Build an elephant from big simple forms: a large rounded body, a domed head and four thick, column-like legs.
- ◆The trunk is a tapering tube that curves and folds, so draw its centre line first and its wrinkles second.
- ◆Ears are large, thin shapes that overlap the neck, and their edges catch light and show the thickness of the skin.
- ◆Wrinkles follow the form: they wrap around the trunk, legs and face, and they get darker where skin folds.
- ◆Shade the large forms first with soft tone, then add wrinkles and texture in the middle and dark values.
An elephant is a set of huge, simple forms covered in wrinkled skin. Block in the domed head, the big rounded body and the thick legs first, draw the trunk as a curved tube, then shade the large forms with soft tone before adding wrinkles that follow the shapes underneath.
This lesson works in graphite, which suits an elephant’s grey skin, and in coloured pencils (colored pencils in the US). It covers proportions, the head and trunk, ears, legs and feet, wrinkles and skin texture, and shading big forms. Michael’s graphite elephant drawings are used as examples of the finished result.
What you need
- Paper: a paper with a little tooth holds layers of graphite and suits skin texture. See the best paper for graphite drawing for choices.
- Pencils: an HB and 2B for layout, a 4B and 6B for shadows and deep creases. The pencil grade chart explains the range. For colour, use warm and cool greys with brown and blue-violet.
- Blending tools: a blending stump or tissue for smooth skin areas, a kneaded eraser for highlights on ridges.
- Reference: a photograph with strong light from one side, which shows the wrinkles and large forms clearly.
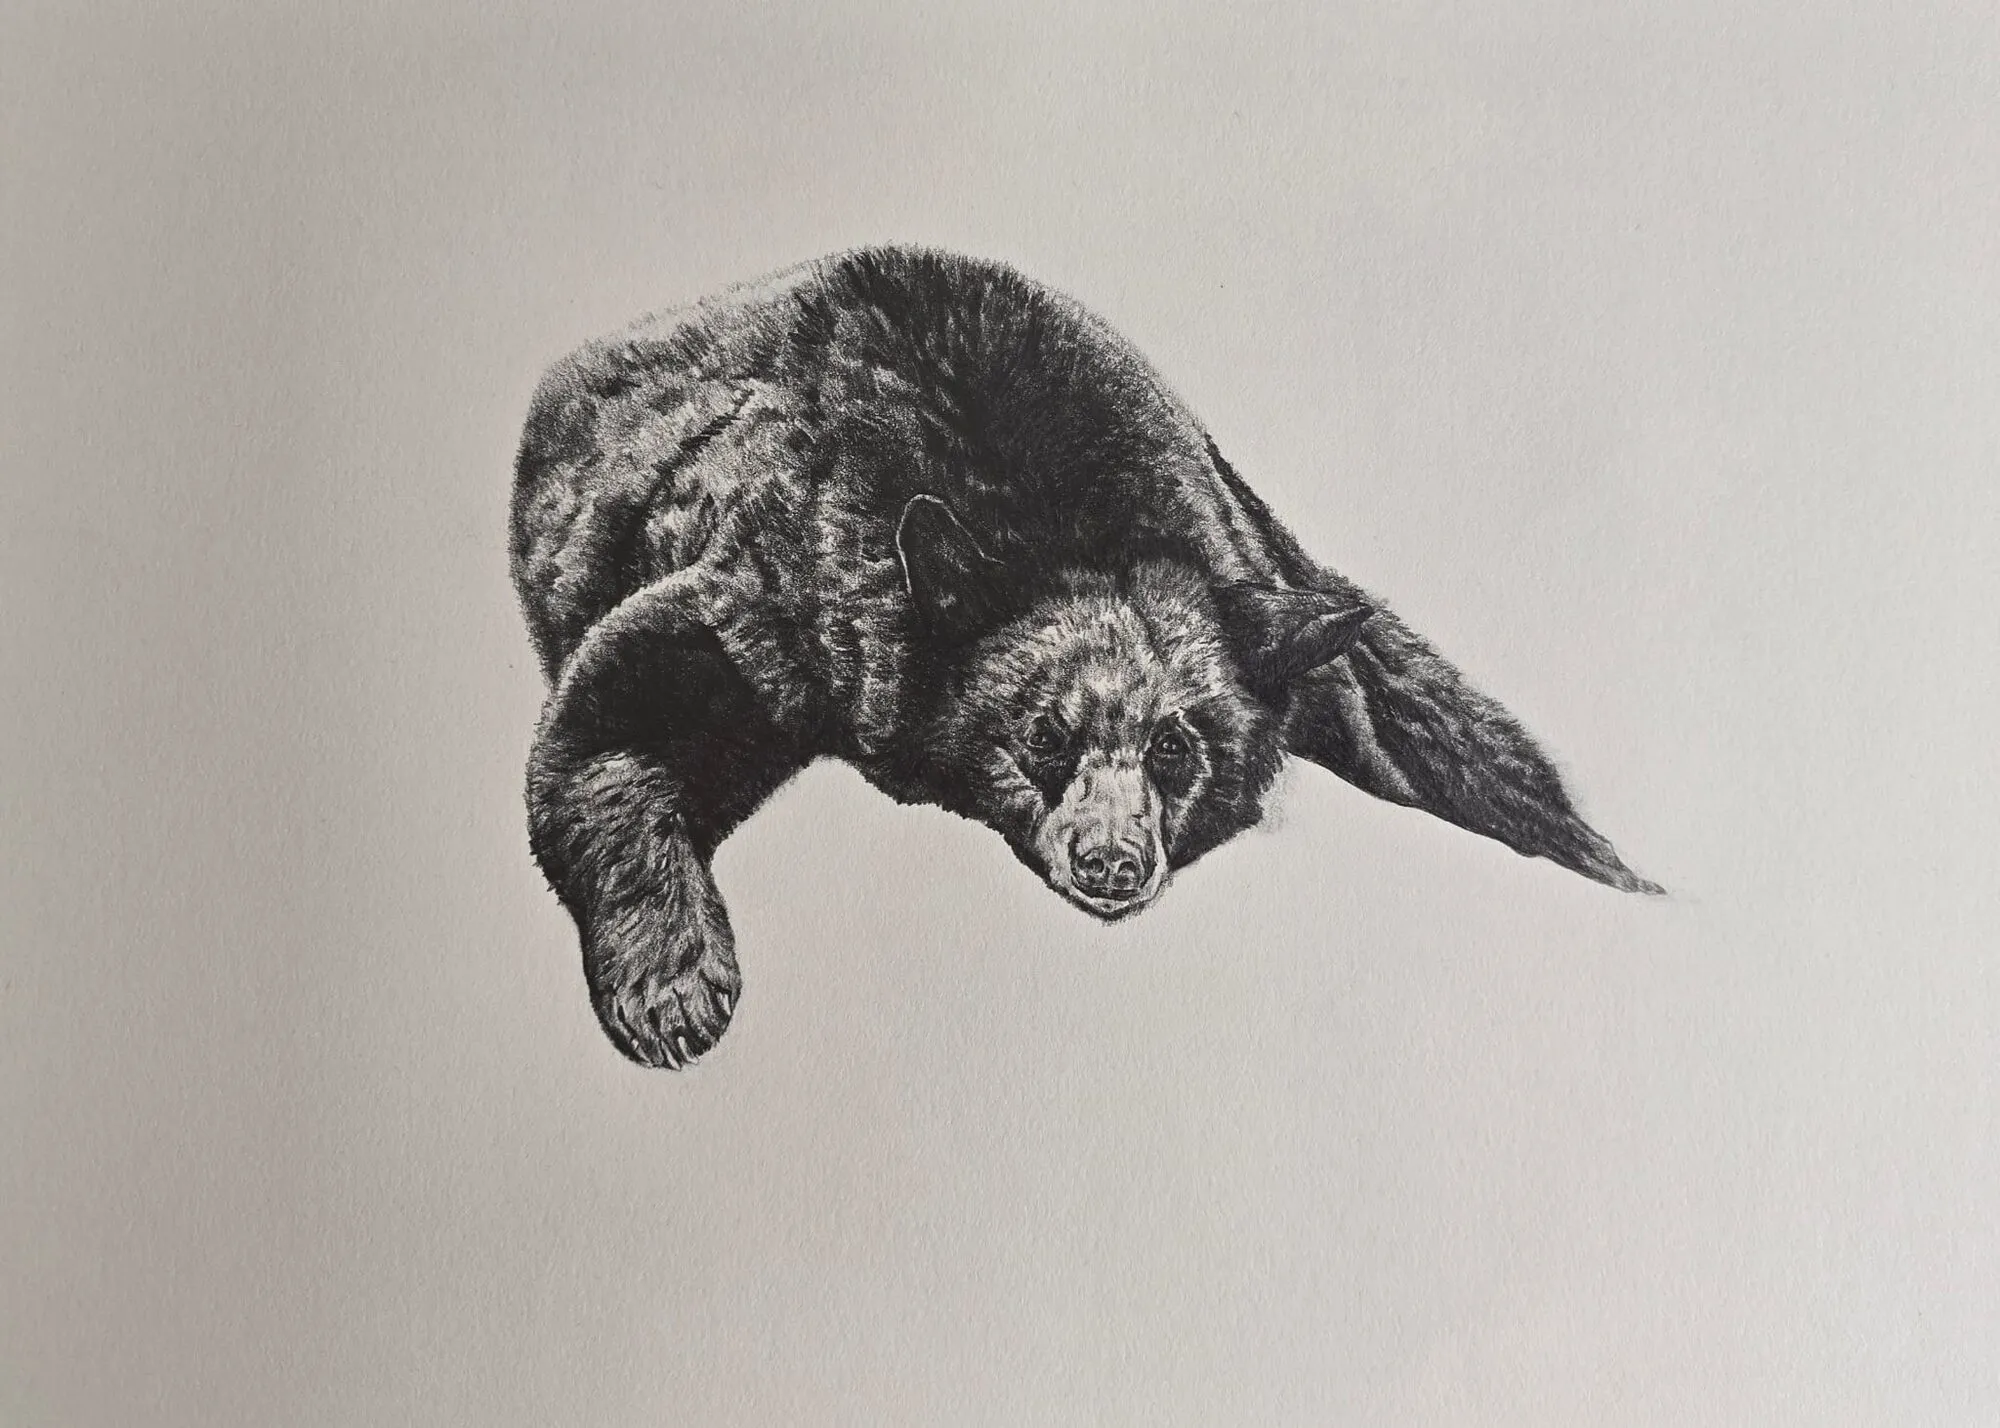
A bear lying down drawn in graphite pencil. Drawing by Michael Brace.
Proportions of an elephant
Elephants are big, so a little proportion error is very visible. Use these as rough guides.
| Check | Rough guide |
|---|---|
| Body | Large and barrel shaped, about as long as it is tall in side view |
| Legs | Thick columns, nearly straight, about as long as the body is deep |
| Head | Domed, with a high forehead, set low in front of the shoulder |
| Trunk | Hangs about to the ground, thick at the base and tapering toward the tip |
| Ears | African elephants have large ears, Asian elephants smaller ones |
Elephants vary by species, age and pose, and photographs distort with perspective, so use these as a starting check. The grid drawing tool helps you transfer a complex pose accurately.
Step by step: drawing an elephant
- Block in the main forms. Draw a large oval for the body, a smaller rounded shape for the head and a thick curve for the back. Add four thick columns for legs, slightly angled. Keep everything light with an HB.
- Add the trunk. Draw a centre line that curves from the forehead down to the tip, then add width either side, thick at the top and narrowing toward the end. Think of it as a tapered tube.
- Place the ears and eyes. Draw each ear as a large fan attached to the side of the head. The eye is small, about halfway down the head, and sits in a fold of skin. Add the tusks if the elephant has them.
- Refine the outline. Correct the curves of the back, belly, forehead and legs. Check the angle of each leg against your reference and look at the gaps between the legs.
- Draw the feet and toenails. Elephant feet are broad and rounded, like a cushion, with a row of toenails at the front. Draw the feet as large ovals, then add the nails as small, slightly curved shapes.
- Lay in the big tones. Squint and mark the main shadows: beneath the belly, inside the legs, under the chin and on the side of the body away from the light. Keep the pressure soft and blend smoothly with a stump or tissue if you wish.
- Add wrinkles. Draw curved lines that wrap around the forms, such as rings around the trunk, folds at the knees and creases around the eyes. Make the lines darker in the creases and lighter on the raised ridges.
- Build texture. Use short strokes and stippling in the middle tones, and vary the pressure. Add a few deeper lines and cracks, and soften others so the skin does not look like a pattern.
- Finish the darks and highlights. Deepen the eye, the inside of the ears, the nostrils and the darkest creases. Lift a few highlights on the ridges of the trunk, the forehead and the top of the back.
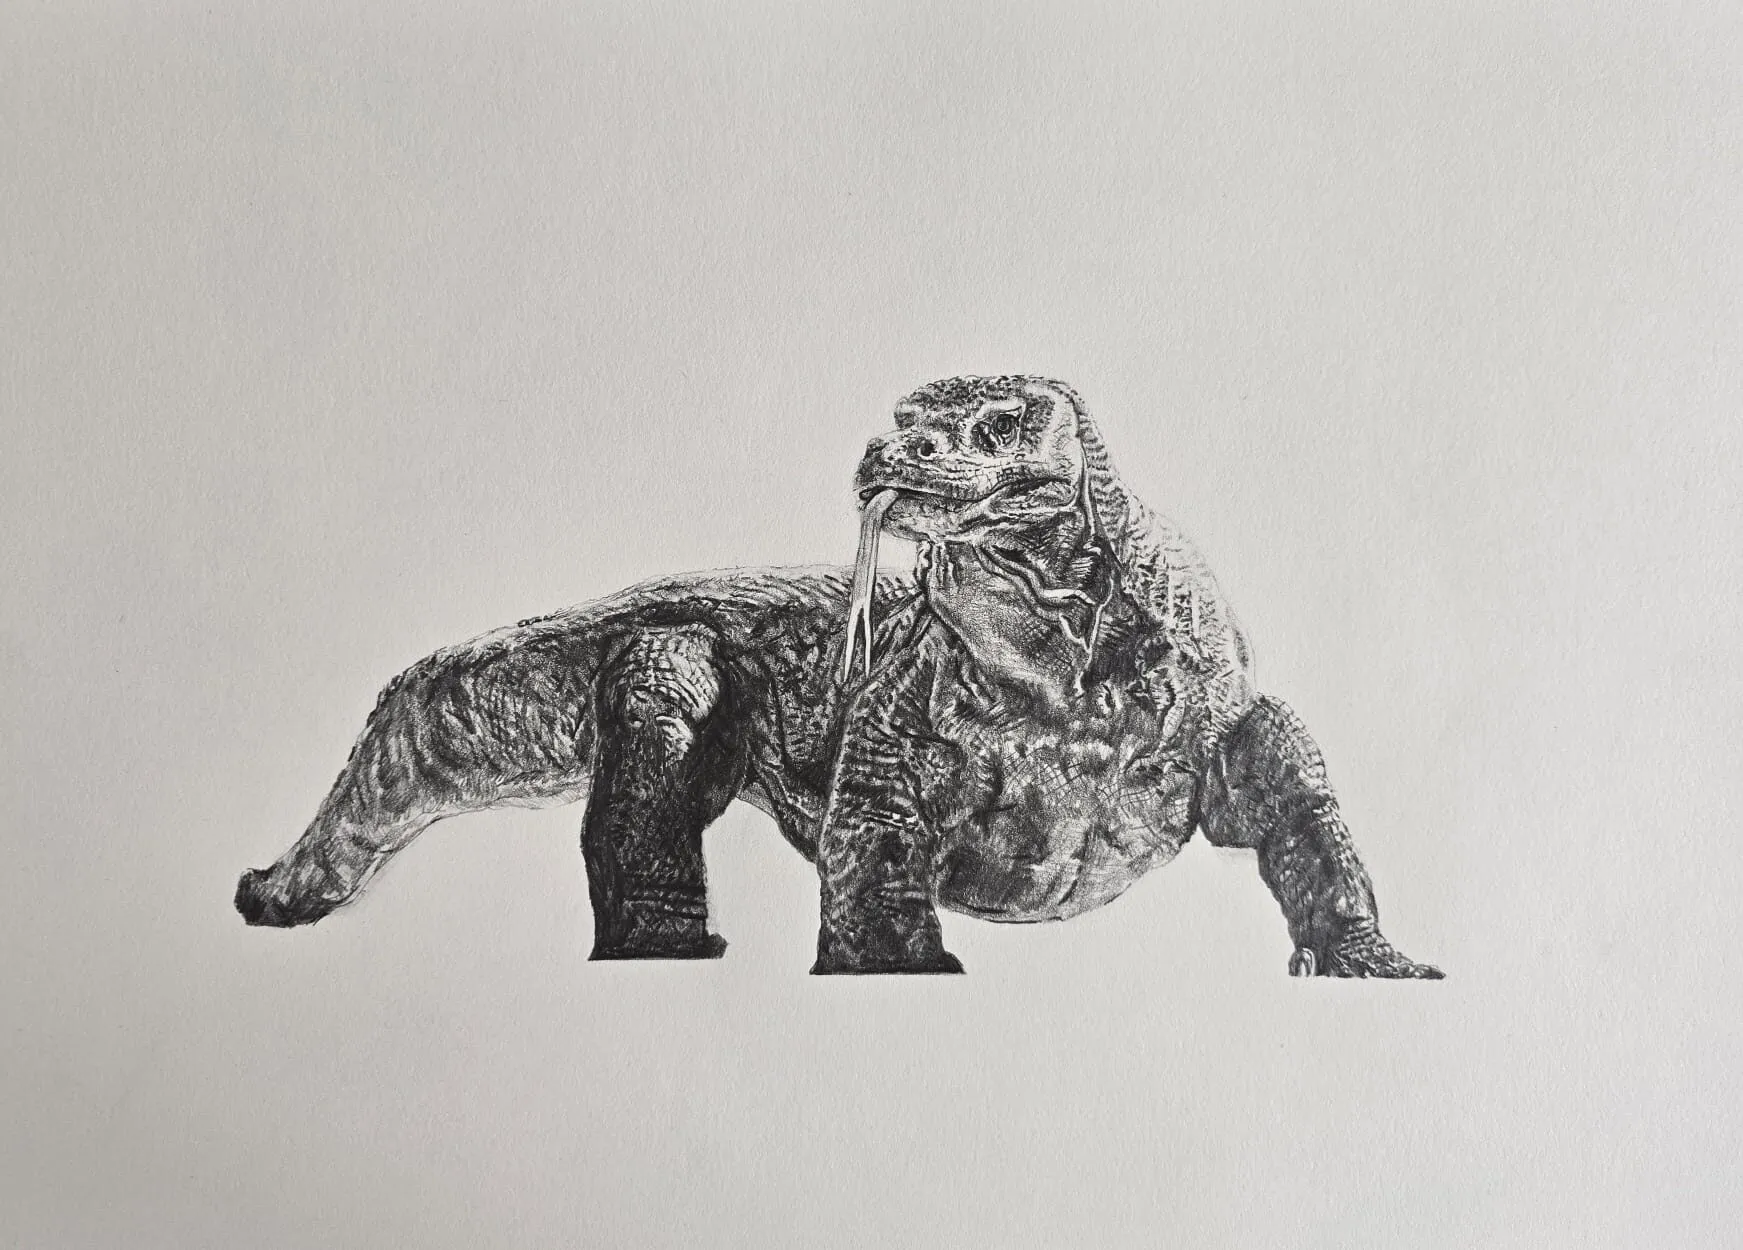
A lizard drawn in graphite pencil. Drawing by Michael Brace.
Head, trunk and ears
The head is a dome above a wide, flat face, with the trunk hanging down the centre. The top of the trunk is thick and muscular, and it narrows toward the tip, which has one or two small finger-like ends. Draw the trunk’s centre line first so it curves naturally, then add the width and the rings of skin that wrap around it.
The eye is small and set in wrinkled skin, so keep it simple: a dark oval with a single highlight and a few fine lines around it. Because the eye is small in a huge head, do not over-draw it.
Ears are thin, leathery and often slightly ragged at the edge. Shade the inner surface with soft tone and add a few veins, and show the thickness of the ear where the edge folds. Darken the shadow where the ear meets the neck.
Legs and feet
Elephant legs are thick, straight columns that carry great weight, so avoid bending them like a horse’s. The knee and elbow are subtle, and the wrinkles around them show the joint. The feet are broad and cushion-like, with a slight bulge at the ankle, so draw them as soft rounded shapes and keep the toenails small.
Cast shadows under the belly and between the legs anchor the animal to the ground. Without them the elephant floats.
Wrinkles and skin texture
Wrinkles are the signature of an elephant, but they need to follow the form to be convincing.
- Wrap around the shape: wrinkles on the trunk are rings, on the legs they are horizontal curves, and on the face they fan out around the eye.
- Vary size and depth: mix long deep creases with short fine lines.
- Shade beside the crease: a dark line with a soft shadow on one side reads as a fold. A dark line alone reads as a scratch.
- Keep some areas smooth: leave some areas smoother, so the texture has somewhere to rest.
For more on this, see how to draw realistic textures in graphite and how to blend graphite.
Shading big forms
An elephant is a collection of cylinders and spheres. Decide on a light direction, then darken the side of each form that faces away from it. The value study tool reduces a photo to a few tones so you can plan the pattern of light and dark. See also how to shade with pencil.
Build the tone gradually in layers, starting with a 2B, then a 4B, and save the 6B for the deepest accents. Keep a clear halo of light on the top of the back and forehead to show the roundness.
Coloured pencil variant
Elephants are rarely a flat grey. Layer a warm brown and a cool blue-violet or green to create a living grey, and add a warm earthy tone where dust or mud has stained the skin. Build the tone in layers with light pressure and save the darkest colours for the creases. The palette from a photo tool is a quick way to see the hues in your reference.
Common mistakes
Fix these by returning to the big forms. Check the body and legs, redraw the trunk’s centre line and build the tone before the wrinkles.
Practice exercises
- Form sketches: draw ten elephants in five minutes using only ovals and columns.
- Trunk studies: draw the trunk in different curves and poses.
- Texture patches: draw small squares of skin with different wrinkle patterns.
- Value thumbnails: make small three-tone sketches of elephants before a full drawing.
Where to go next
Try another large animal in the lion lesson or a smaller one in the horse lesson. The best books for animal drawing list points to anatomy references, and the how to draw hub lists more lessons.
The short version
Block in big forms, draw the trunk as a tapering tube, shade the large shapes first and add wrinkles that follow the form.
Where to buy
Recommended products
Affiliate links. We may earn a small commission if you buy, at no extra cost to you. Why?
Book · Eliot Goldfinger
Animal Anatomy for Artists
The definitive animal anatomy reference for artists.
Buy on AmazonAffiliate link · opens Amazon
Book · J.D. Hillberry
Drawing Realistic Textures in Pencil
A graphite master's guide to wood, metal, fabric, skin and glass.
Buy on AmazonAffiliate link · opens Amazon
Quick answers
Frequently asked questions
How do you start drawing an elephant?+
Start with a large oval for the body, a smaller rounded shape for the head and four thick columns for legs. Add the trunk as a curved tube from the head. Keep the lines light, check the proportions against your reference, then add ears, tusks and feet before any skin texture.
How do you draw elephant skin texture?+
Shade the form first, then add wrinkles as curved lines that wrap around the shape, darker in the creases and lighter on the raised ridges. Vary the length and depth of the lines, and soften some with a blending tool or a finger so the skin does not look like a pattern.
How do you draw an elephant's ears correctly?+
Draw each ear as a large, slightly irregular fan that attaches at the side of the head and overlaps the neck. Shade the inner surface softly, add a few veins and wrinkles, and darken the edge where the ear folds. An African elephant's ears are larger than an Asian elephant's.
Are colored pencils and coloured pencils the same?+
Yes. Colored is the US spelling and coloured the UK spelling of the same pencils. The colour variation in this lesson works with wax or oil-based sets, and the graphite method works with an ordinary HB to 6B set.