How to Draw
How to Draw a Horse: Proportions, Head and Coat
Draw a horse with convincing proportions: block in the body, place the legs and joints, build the head, then add coat colour and shine in graphite or colored pencil.
This guide contains affiliate links. If you buy through them we may earn a small commission at no cost to you. How this works.
Jump to recommended products
Key takeaways
- ◆Start with three simple blocks - chest, barrel and hindquarters - joined by a neck, before you draw any outline.
- ◆Legs are levers with angled joints, not straight tubes, and the hind leg bends the opposite way from the front leg at the hock.
- ◆Draw the head as a long wedge with a big cheek and a small muzzle, and place the eye about halfway along the skull.
- ◆Build a coat with short strokes that follow the hair direction, layering warm and cool colours rather than one flat brown.
- ◆Most bad horses come from proportion errors, so check heights and angles against a grid or plumb line before adding tone.
A horse looks hard to draw because it is big, muscular and made of long curves that all have to agree with each other. The method that works is to ignore the outline at first and build the animal from a few simple blocks, then place the legs and joints, then the head. Get those right and the coat, mane and shine are just careful finishing.
This lesson works in graphite or in coloured pencils (colored pencils in the US). It covers proportions, the leg structure that most beginners get wrong, the head, how to capture the gesture, and how to build a chestnut or bay coat with realistic shine. Michael’s drawing of a chestnut horse in a purple rug shows where you are heading.
What you need
- Paper: smooth to lightly textured paper with a little tooth. White suits a winter scene like the hero drawing, while grey or tan paper helps with dark coats and white markings. See the best paper for coloured pencils if you are choosing.
- Pencils: an HB and a 2B for the layout, plus a 4B to 6B for darks in graphite. For colour, a firm oil-based set such as Faber-Castell Polychromos holds a sharp point for eyes and hooves.
- Reference: a clear photograph of a horse in a simple pose, ideally side-on to begin with. Pause on a photograph with even light so you can see the shapes of the muscles.
- A grid or a ruler: the grid drawing tool helps you transfer proportions accurately.
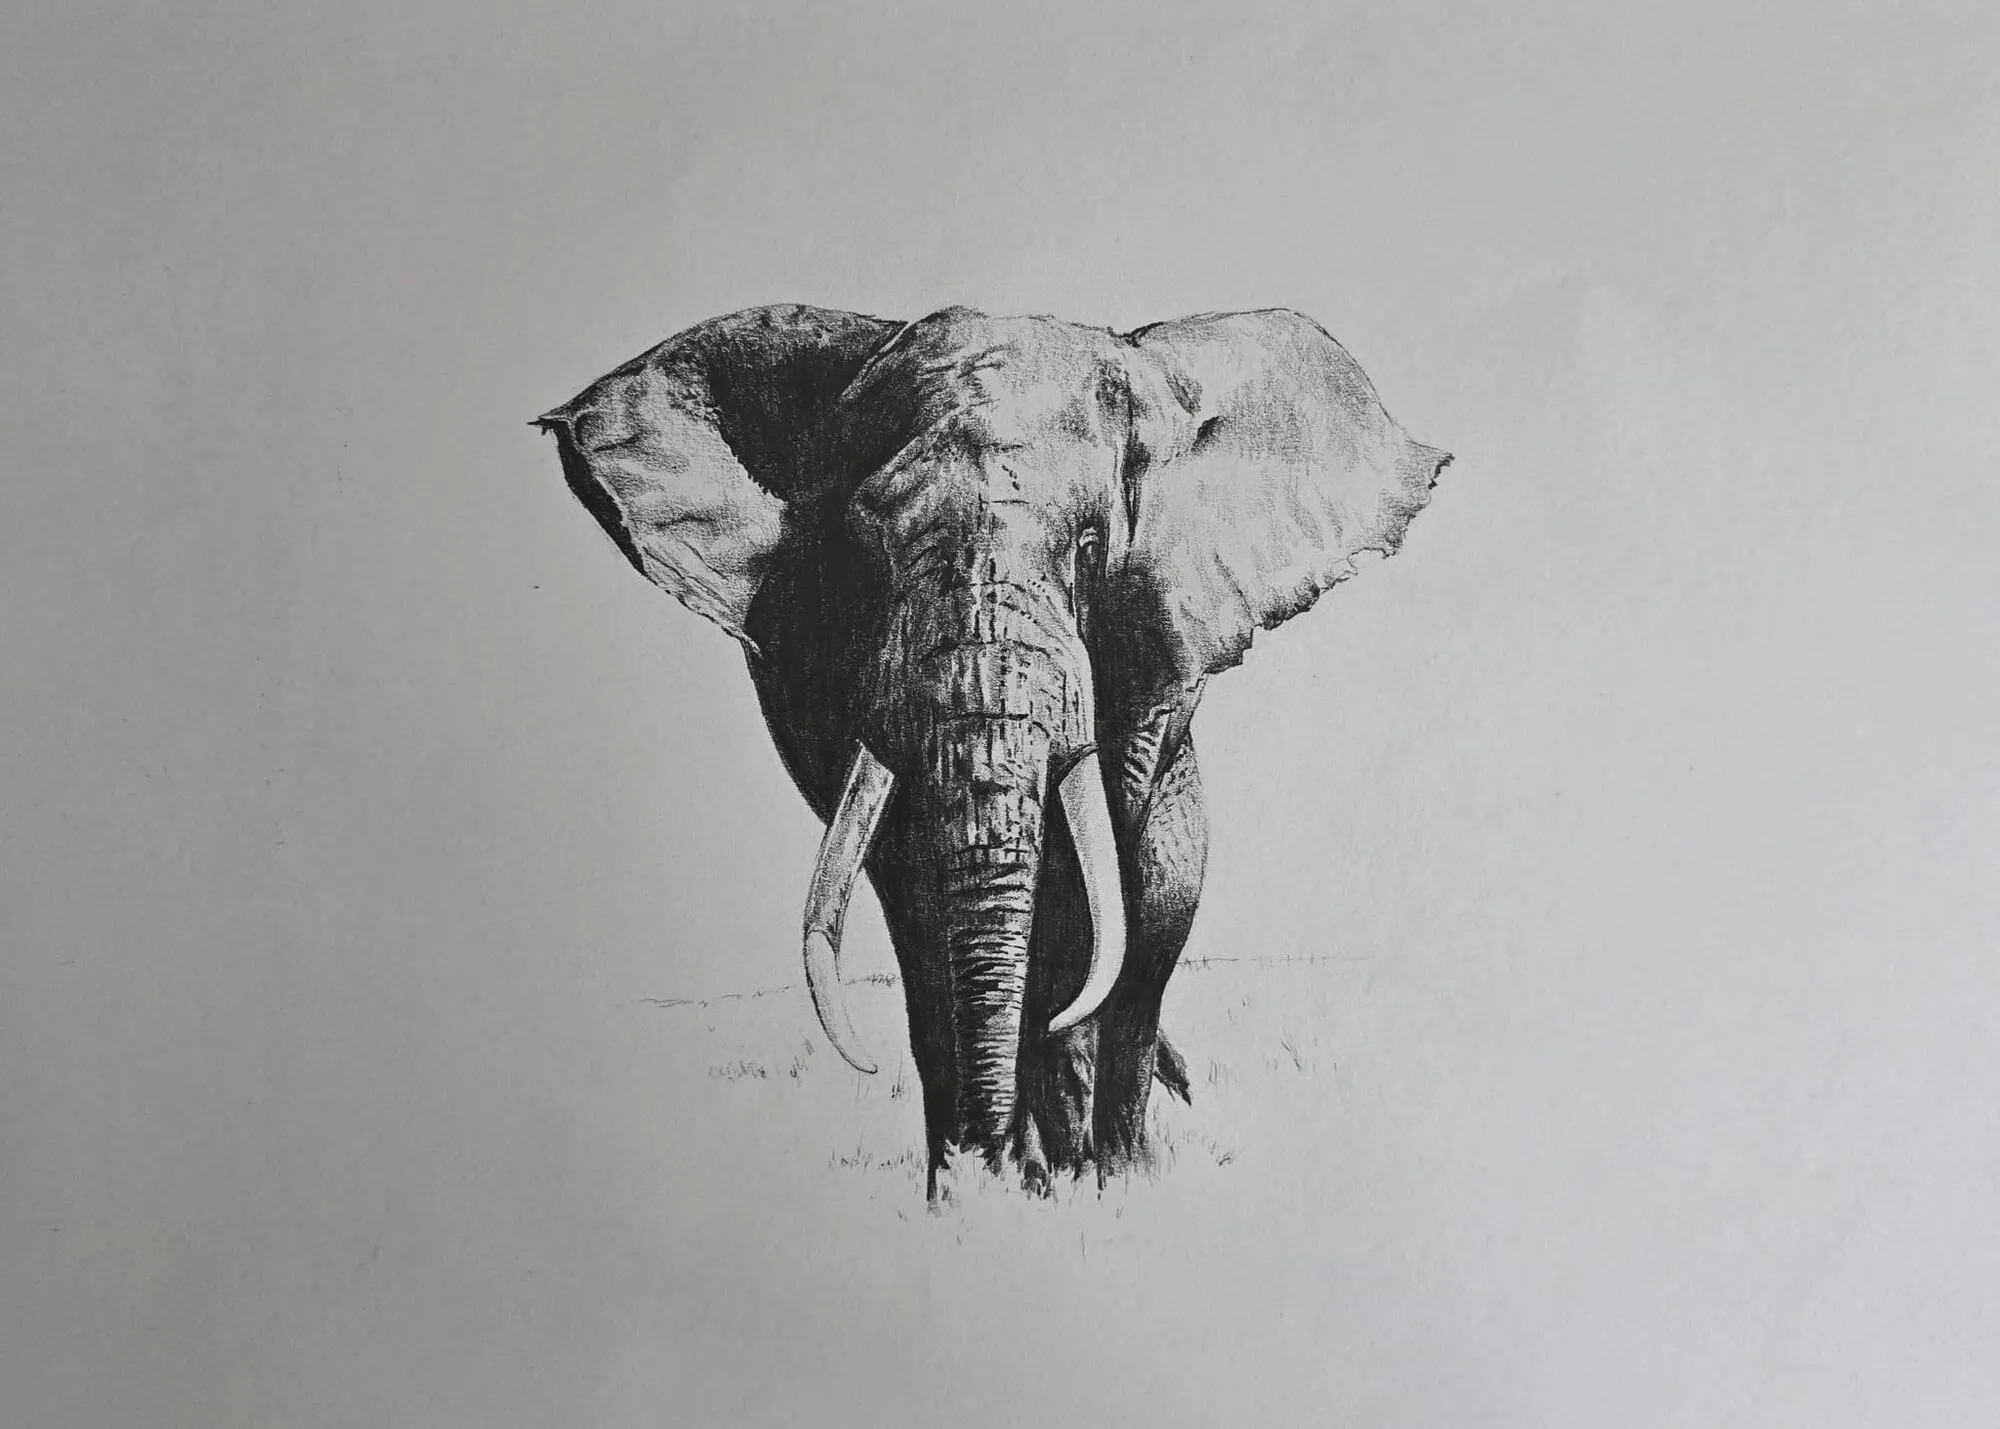
An elephant walking forward drawn in graphite pencil. Drawing by Michael Brace.
The body as blocks
Look at a standing horse from the side and you can see three masses: the chest, the barrel (the ribcage and belly) and the hindquarters. Draw them as three rounded shapes in a row, with the barrel in the middle and slightly lower than the hindquarters.
Some widely used guides for a side view:
| Check | Rough guide |
|---|---|
| Body length vs height | About as long as it is tall, from withers to ground |
| Height at the withers | Roughly two and a half head lengths |
| Legs | The leg below the barrel is about half the total height |
| Neck | About as long as the head, set on at an angle |
Treat these as starting points, not laws. Ponies, draught horses and thoroughbreds all differ, and photographs add distortion. Their value is in catching errors early: if your horse looks like a dachshund, the body is too long or the legs are too short.
Leg structure and joints
Legs are the biggest source of stiff, wrong-looking horses. Think of each leg as a lever with a few angled joints, and draw the angles before the outline.
- Front leg: the shoulder blade slopes back and down, the elbow sits close to the barrel, and the knee (the wrist, anatomically) bends forward. Below the knee the leg is a slim, nearly straight cannon bone to the fetlock and hoof.
- Hind leg: the thigh sits inside the hindquarters, the stifle (knee) points forward, and the hock points back and forms the sharp angle you see halfway down. From the hock to the fetlock the leg is again slim and straight.
- Hooves: draw them as short, slightly tapered blocks angled to the ground, not as balls at the end of sticks.
A useful check is to drop an imaginary vertical line from the point of the shoulder and from the point of the buttock. In a relaxed standing pose the legs sit roughly under those lines, and the front legs sit in front of the hind ones.
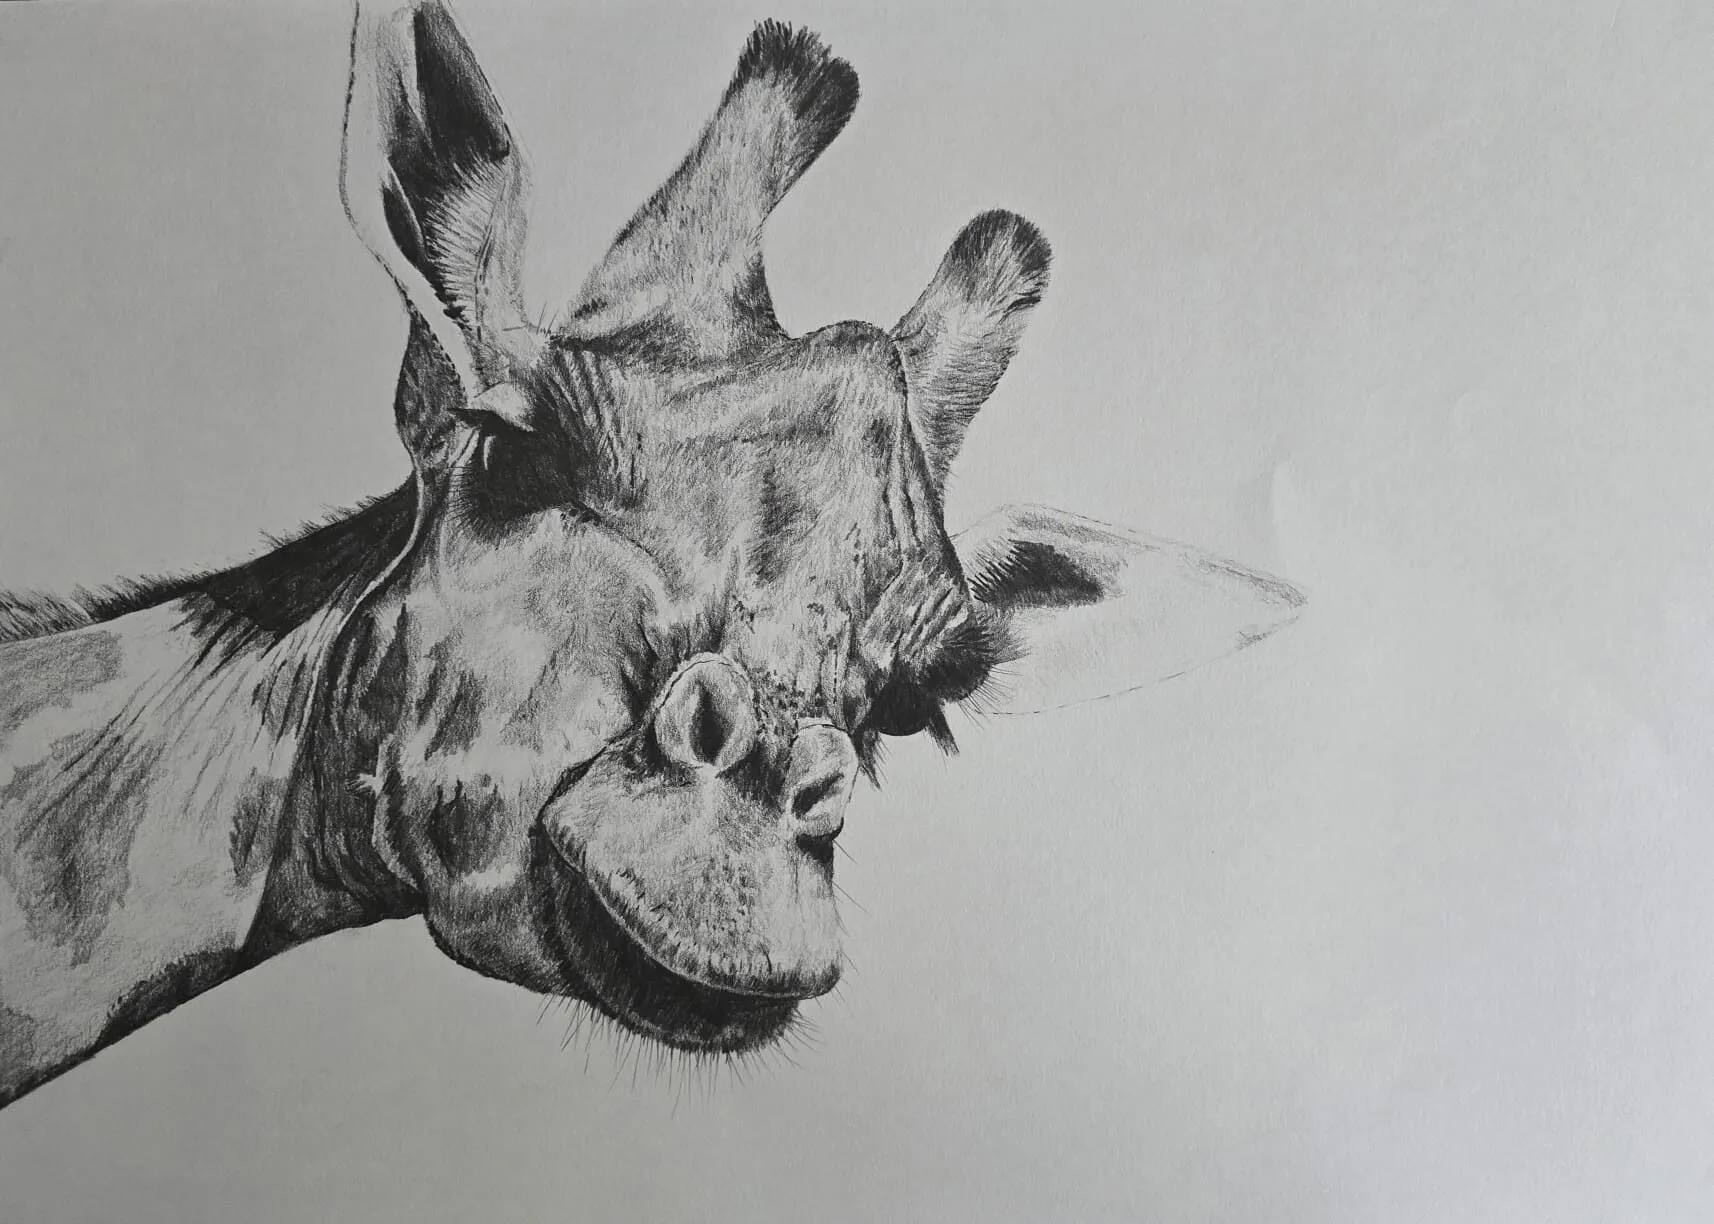
A giraffe’s head drawn in graphite pencil. Drawing by Michael Brace.
Drawing the head
The head is a long, tapering wedge with two clear parts: a big rounded cheek and jaw at the top, and a smaller, boxier muzzle at the bottom.
- Draw a tilted rectangle for the skull and a smaller rectangle for the muzzle, joined by the flat plane of the face.
- Add a large rounded jaw at the back of the lower rectangle. The cheek is bigger than most beginners expect.
- Place the eye about halfway along the skull from the ears to the muzzle and near the top of the head. It sits on the side of the head, so it is not on the front plane.
- Add the nostril as a comma-shaped curve at the muzzle and a small line for the mouth.
- Draw the ears as upright, slightly hollow shapes and check they sit high at the back of the skull.
If you have practised faces, the same logic applies as with people: block in the large planes first, then the features. The dog drawing lesson covers a similar approach for a different head shape.
Capturing gesture
A correct horse can still look dead if the pose is stiff. Gesture is the direction of the main line through the body. Before you place the blocks, draw one flowing line from the back of the head, down the neck, along the back and to the tail. Then draw the balance line of the legs beneath it.
For a beginner, three tips help: use a pose with one leg slightly raised or weight shifted, keep the neck line curved rather than straight, and place the horse off-centre with room in front of the face. The horse in the hero drawing turns its head over its shoulder, which adds life without changing the anatomy.
Building the coat in coloured pencil
Coat colour is never one colour. A chestnut horse has orange, red-brown, dark brown and often a touch of violet in the shadows. The hero drawing works because the warm coat sits against a cool purple rug and a pale winter field.
- Light base layer. Lay down the local colour (orange or yellow ochre for chestnut) with light pressure and short strokes that follow the direction of the hair: flowing down the neck, curving over the ribs, straight down the legs.
- Mid-tones and shadow. Add a deeper red-brown to the underside of the barrel, behind the shoulder and under the jaw. Add a little blue-purple or dark green into the deepest shadow to keep it rich rather than muddy.
- Shine. A healthy coat reflects light in soft bands over the curve of the shoulder, hip and neck. Leave those areas lighter, then add a pale warm highlight on top with a sharp pencil. The same idea appears in drawing glossy surfaces: a few clear highlights on smooth tones, not lots of white.
- Details last. Add whiskers, the eye highlight, hoof edges and any white markings. Darken the nostril and the inside of the ears.
For more on building hair direction and texture, see how to draw animal fur.
The graphite version
You can draw the same horse in graphite, and it is a good way to learn structure without worrying about colour.
- Use an HB for the block layout and light contour lines, and keep them faint so they can be erased.
- Shade with a 2B and 4B, using strokes that follow the hair. Leave the paper white for the brightest coat shine.
- Save 6B for the darkest accents: the eye, nostril, the shadow under the belly and the inside of the legs.
- For a light-toned horse, model form with soft grey rather than lines; for a dark horse, build tone in layers and lift highlights with a kneaded eraser.
The how to shade with pencil guide explains the pressure control this needs.
Common mistakes
The fix for most of these is to go back to the layout. Check the body block against the height, redraw the joints as angles, and compare the head with your reference by holding both up to a mirror or flipping the image. A fresh view exposes errors your eye has learned to ignore.
Step-by-step summary
- Sketch the gesture line from head to tail.
- Block the chest, barrel and hindquarters as three rounded shapes.
- Add the neck and a wedge for the head.
- Draw the legs as jointed lines, then thicken them.
- Refine the outline and check proportions against your reference or a grid.
- Lay in the base colour or light graphite tone following the hair direction.
- Deepen the shadows and add cool accents.
- Add the mane, tail and markings.
- Finish with highlights, eye and hooves.
Practice exercises
- Five-minute gestures: draw ten horses from photos using only the flowing line and three blocks.
- Leg studies: draw a page of front and hind legs in different positions, showing the joint angles.
- Head from three angles: draw a side, three-quarter and front view of the head.
- Colour swatches: make a small chart of the warm and cool colours you would use for chestnut, bay and grey.
The palette from a photo tool is another quick way to pick coat colours, and the best books for animal drawing list points to anatomy references worth owning.
The short version
Build the horse from blocks, get the leg joints and head proportions right, and keep the gesture flowing. In colour, layer warm and cool tones along the hair direction and keep the highlights few and clear. If a drawing feels wrong, the layout is almost always the problem. Next, try a smaller animal in the dog lesson or return to the how to draw hub for the next subject.
Where to buy
Recommended products
Affiliate links. We may earn a small commission if you buy, at no extra cost to you. Why?
Pencils · Faber-Castell
Faber-Castell Polychromos
Firm, oil-based artist pencils that hold a point - a benchmark for detail and clean layering.
Book · Eliot Goldfinger
Animal Anatomy for Artists
The definitive animal anatomy reference for artists.
Buy on AmazonAffiliate link · opens Amazon
Quick answers
Frequently asked questions
What is the easiest way to start drawing a horse?+
Start with a side view. Draw a large oval for the barrel, a smaller oval for the chest and another for the hindquarters, then join them with a curved neck line and add a wedge for the head. Add straight guide lines for the legs and bend them at the joints before refining the outline.
How many head lengths tall is a horse?+
As a rough guide, a standing horse is about two and a half head lengths from the top of the withers to the ground, and the body is roughly as long as it is tall. Breeds and individual horses vary, so use these ratios as a starting check rather than a rule.
How do you draw a horse's legs correctly?+
Treat each leg as a chain of angled segments. The front knee bends forward and the hind hock bends backward, and below those joints the leg is a slim, straight cannon bone down to the fetlock and hoof. Keep the legs slim compared with the heavy barrel above them.
Are colored pencils and coloured pencils the same?+
Yes. Colored is the US spelling and coloured the UK spelling of the same pencils. The methods in this lesson work with wax or oil-based coloured pencils, and the graphite version at the end works with an ordinary HB to 6B set.