How to Draw
How to Draw an Owl: Face, Feathers and Branch
Draw an owl in graphite or coloured (colored) pencil: build the head and facial disc, place eyes and beak, layer feathers, add pattern and a branch, then set values.
This guide contains affiliate links. If you buy through them we may earn a small commission at no cost to you. How this works.
Jump to recommended products
Key takeaways
- ◆Start with an egg-shaped body and a rounded head, then add a facial disc that frames the eyes and beak.
- ◆Place the eyes forward and level, close to the centre of the face, and give them a dark pupil with a clear highlight.
- ◆Draw feathers in overlapping layers that follow the body, small near the face, larger on the wings and tail.
- ◆Patterns such as bars, spots and streaks should wrap around the form instead of lying flat on it.
- ◆Plan the light and dark pattern first, because an owl's soft plumage depends on value, not outline.
An owl is easiest to draw as a soft egg shape with a round head and a flat facial disc, where two large forward-facing eyes and a short hooked beak sit close together. Get those shapes and the eye line right, then layer the feathers in overlapping rows and add the pattern last.
This lesson works in graphite or in coloured pencils (colored pencils in the US). It covers the head and eyes, the beak, feather layers, patterns, branches and values. Saturated colour and layered feathers, as on a rooster, are built up in the same way and apply directly to owl plumage.
What you need
- Paper: smooth to lightly textured paper with a little tooth. A mid-tone grey or tan paper helps with pale feather edges and highlights. See the best paper for coloured pencils.
- Pencils: an HB and 2B for layout, a 4B and 6B for darks in graphite. For colour, a range of warm browns, cream, grey and a cool dark, such as a dark blue or green. The pencil grade chart explains the grades.
- Reference: a sharp photograph showing the face and wing pattern clearly. Even light shows the feather structure.
- Erasers: a kneaded eraser for soft highlights and a precision eraser for fine feather edges.
Proportions of an owl
Owl species differ a lot, so use these as rough guides for a typical perched owl.
| Check | Rough guide |
|---|---|
| Body | A tall egg shape, often upright |
| Head | Large and rounded, with no clear neck |
| Eyes | Big, forward-facing and close together |
| Wings | Folded against the body, reaching near the tail |
| Legs and feet | Feathered legs, short, with strong talons |
A common mistake is to draw a neck. Owls appear to have almost none, because the head sits on the body in a thick ruff of feathers.
Step by step: drawing an owl
- Block in the body and head. Draw an egg shape for the body, tilted slightly if the owl leans forward, and a rounded shape for the head that overlaps the top. Keep the lines light with an HB.
- Add the guidelines. Draw a vertical centre line and a horizontal line across the middle of the head. Curve both if the head turns. The eyes will sit on the horizontal line.
- Draw the facial disc and eyes. Sketch the round or heart-shaped disc around the face, then place two large circles for the eyes on the horizontal line. Leave about one eye-width between them. Add a small dark pupil and leave a highlight as bare paper.
- Place the beak. The beak is short, hooked and set between and slightly below the eyes. Draw it as a small triangle curving downward, partly hidden by feathers. Keep it small.
- Add the ear tufts, if any. Some owls have tufts above the head. Draw them as small angled feather shapes that sit near the top corners of the head, not as horns.
- Outline the wings, tail and feet. Draw the folded wing as a long, slightly curved shape down the side, with the tail extending below. Add the feet as feathered legs ending in strong toes gripping the branch.
- Draw the branch. Add a thick, slightly irregular branch crossing beneath the feet. Draw it with knots and bark lines that follow its direction, and let the feet overlap it.
- Lay in base tone. Squint and shade the large areas: the darker back and wings, the paler chest and the shadow beneath the face. Use light pressure and build in layers.
- Add feathers and pattern. Draw small layered strokes on the face and chest, and larger overlapping shapes on the wings. Add bars, spots or streaks on top, following the curve of the body. Darken the gaps, the eyes and the pupils, then lift highlights.
Head, eyes and beak
The face is the focal point. The eyes are large, often dark or bright yellow or orange depending on species, and they are fixed in their sockets, so the owl turns its whole head. Draw the iris as a ring around a dark pupil, then add a highlight in the same place in both eyes so they look consistent. A soft shadow above each eye gives depth.
The facial disc is made of fine, radiating feathers, which you can suggest with short strokes from the centre of the face outward. Keep them light near the eyes and darker toward the rim of the disc.
The beak is small and partly hidden, so keep it simple: a hooked shape with a dark line for the mouth and a soft shadow underneath.
Feather layers
Owl feathers are soft and layered. Think of them in three zones.
- Face and chest: small, soft feathers that fluff outward. Draw with short, curved strokes and keep edges broken.
- Wings: longer feathers that overlap in rows. Draw each row as a series of rounded shapes, each row overlapping the one below.
- Tail and flight feathers: long, straight feathers with clear edges, often with bars across them.
Build the layers from dark to light. First lay a mid-tone across the area, then darken the gaps between feathers, then add the pattern and finally the light edges of each feather. In saturated colour, each feather is defined by the shadow beneath it and a lit edge above.
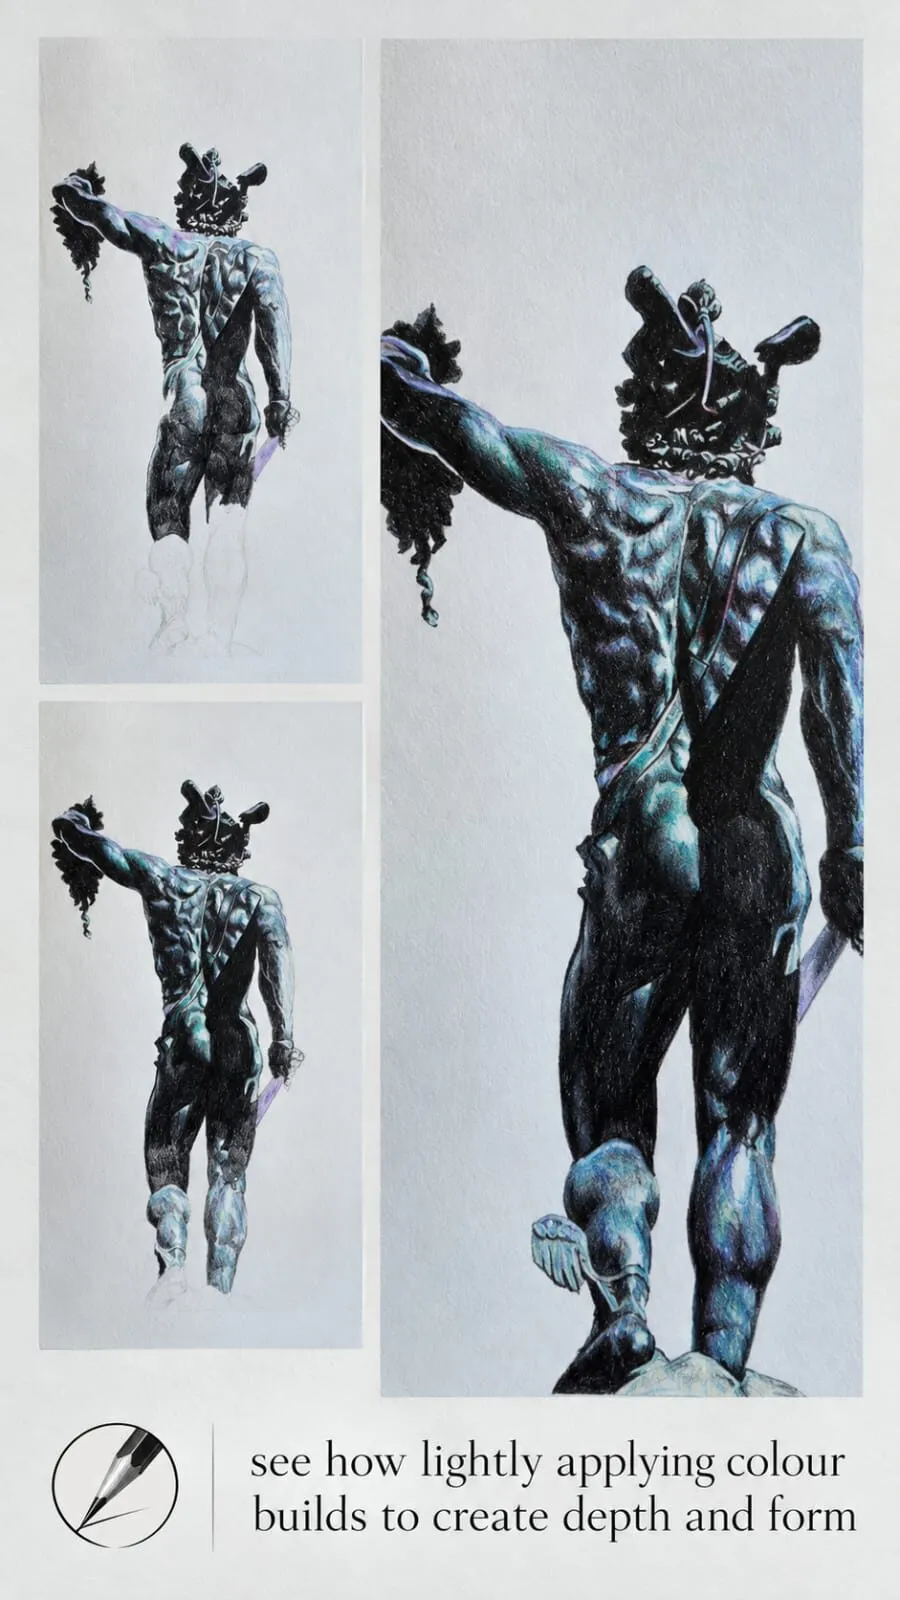
Michael’s three-stage graphic of a statue drawing: light layers of colour build depth and form. Feather plumage is built up in the same patient way.
For more on soft texture, see how to draw animal fur and how to draw a bird.
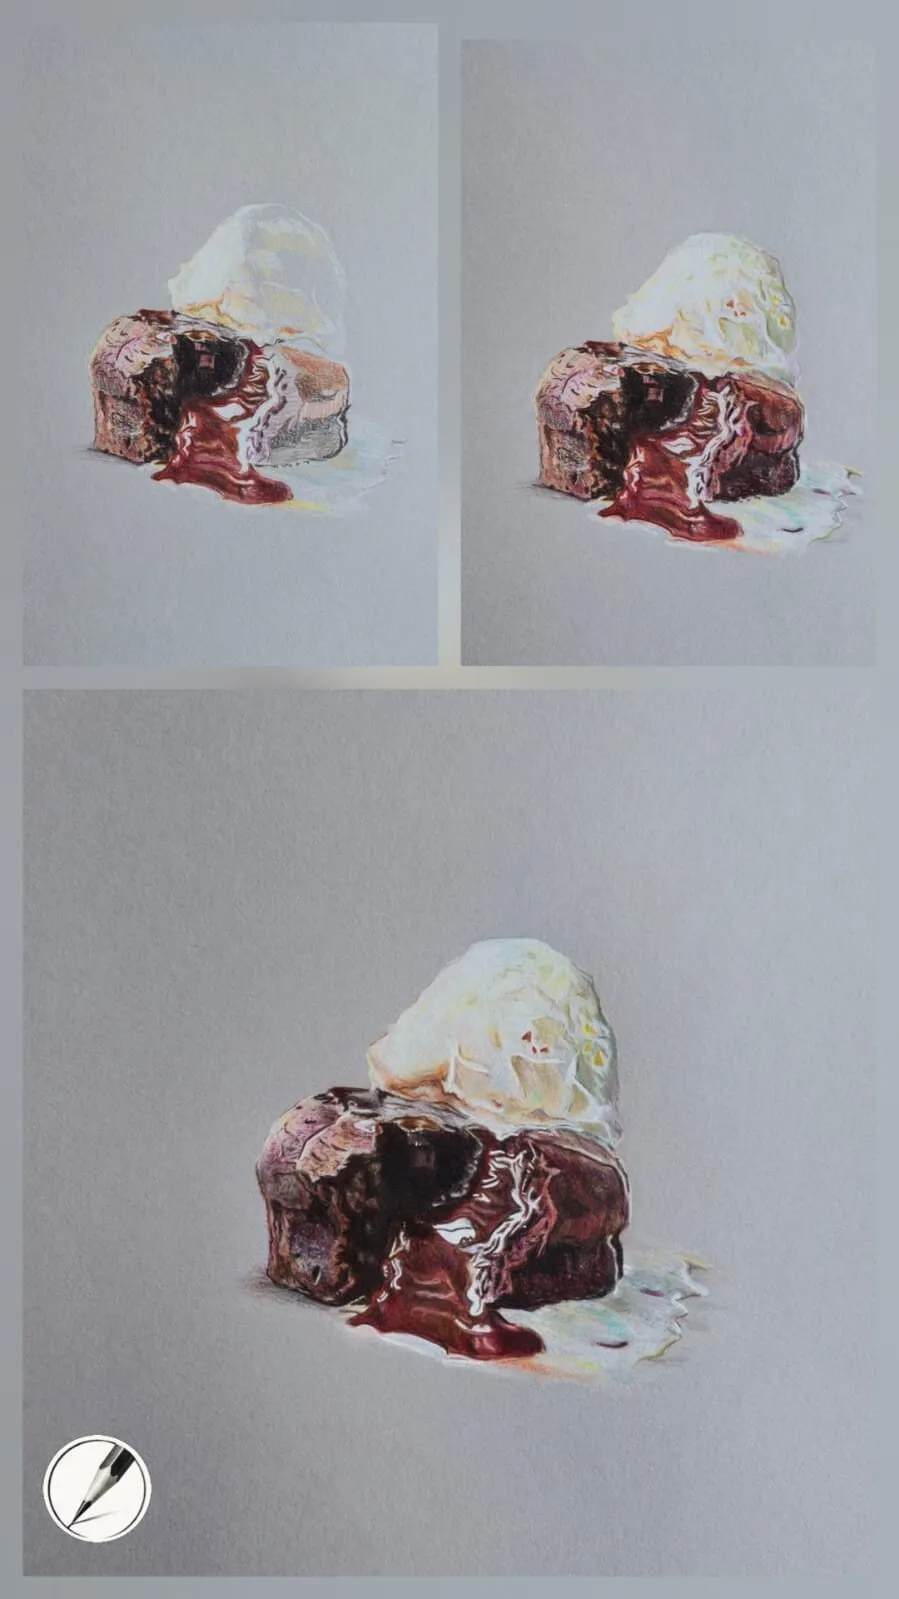
Michael’s three-stage graphic of a dessert: layers build form step by step. The same staging works for feathers.
Patterns and markings
Owls have bars, streaks, spots and mottling that camouflage them against bark. Draw the pattern on top of the base tone, and make it wrap around the body.
- Bars: curved lines across the wing and tail, bending with the feather.
- Streaks: vertical marks down the chest, thicker toward the top and thinner below.
- Spots: small rounded marks, larger and darker on the wings.
Vary the size and darkness so the pattern looks natural, and keep it softer in areas of shadow.
Branches and setting
A branch gives the owl a place to sit and adds weight to the drawing. Draw it with rough bark and a few knots, and make it darker at the underside. Let the talons grip the branch and overlap it. A soft shadow under the feet anchors the bird. If you want a simple background, keep it lighter and quieter than the owl.
Value and plumage
An owl’s soft plumage depends on values, not outline. Decide the light direction and keep it consistent. The value study tool reduces a photo to a few tones so you can plan the light and dark shapes. Darkest values sit in the eyes, under the face, between feather layers and under the branch. The lightest values sit on the chest and the edges of the wing feathers.
In colour, layer a warm brown with a cool grey or blue-violet in the shadows instead of using black. The palette from a photo tool and the colour scheme generator help you choose pencils that work together.
The graphite version
- Use an HB for layout and keep the lines faint.
- Build the plumage with a 2B and 4B, following the direction of the feathers.
- Keep the 6B for the pupils, the gaps between feathers and the darkest pattern marks.
- Leave the paper bare for the brightest feather edges and the eye highlights.
- See how to shade with pencil for pressure control.
Common mistakes
Return to the layout if the drawing looks wrong. Check the eye line, the size of the head and the overall egg shape before adding detail.
Practice exercises
- Head studies: draw the head and face five times, focusing on the eye line.
- Feather patches: fill a page with small, medium and large feather layers.
- Pattern swatches: practise bars, streaks and spots on curved shapes.
- Value thumbnails: make three-tone sketches of an owl before choosing one to finish.
Where to go next
Try more birds in the bird drawing lesson or an animal with soft fur in the cat lesson. The best books for animal drawing list includes references, and the how to draw hub has more lessons.
The short version
Build the egg body and round head, place the eyes on the midline inside the facial disc, draw feathers in overlapping layers and add the pattern last.
Where to buy
Recommended products
Affiliate links. We may earn a small commission if you buy, at no extra cost to you. Why?
Book · Raymond Sheppard
Drawing Birds
Feathers, wings and avian structure.
Buy on AmazonAffiliate link · opens Amazon
Pencils · Faber-Castell
Faber-Castell Polychromos
Firm, oil-based artist pencils that hold a point - a benchmark for detail and clean layering.
Quick answers
Frequently asked questions
How do you start drawing an owl?+
Draw an egg shape for the body and a rounded shape for the head. Add a centre line and a horizontal line across the head, then place two round eyes on the horizontal line and a small hooked beak between them. Outline the facial disc, then add the wings and tail before feathers.
How do you draw owl feathers?+
Draw feathers in layers, like roof tiles, with small soft shapes near the face and chest and longer shapes on the wings and tail. Follow the direction the plumage flows, darken the gaps between layers and keep edges soft. Add the pattern on top of the base tone.
What pencils work best for drawing an owl?+
In graphite, use an HB for layout, a 2B and 4B for feather tone and a 6B for dark eyes and gaps. In colour, use warm browns, greys and cream with a few cool darks. A sharp pencil helps with fine feather edges, and a kneaded eraser lifts soft highlights.
Are colored pencils and coloured pencils the same?+
Yes. Colored is the US spelling and coloured the UK spelling of the same pencils. The method in this lesson works with wax or oil-based sets, and the graphite version works with an ordinary HB to 6B set.