Drawing Techniques
How to Burnish Coloured Pencils
Burnishing is the final polish for coloured pencils (colored pencils): heavy pressure with a light pencil for a glossy finish. Learn when to burnish and when not to.
This guide contains affiliate links. If you buy through them we may earn a small commission at no cost to you. How this works.
Jump to recommended products
Key takeaways
- ◆Burnishing is the final polish: pressing hard with a light pencil to create a smooth, glossy finish.
- ◆It flattens the paper's tooth and locks pigment in place, so you can add very little colour afterwards.
- ◆Burnish only when your layers are complete, and only in the areas that suit a smooth surface.
- ◆It works beautifully on Stonehenge and Arches Hot Press, and gives a bold, dramatic sheen on textured paper such as Canson.
- ◆Avoid burnishing skin, fur and any area you may still want to change.
Burnishing is the last thing you do to a finished area, and it is the technique that most obviously separates a drawing that looks like pencil from one that looks like paint. Done well, it gives smooth, glossy colour with no visible strokes. Done too early, or on the wrong area, it locks in mistakes and leaves the surface too slick to correct.
This guide explains what burnishing does to the paper and pigment, how to do it step by step, how different papers respond, and when to leave it out. It builds on how to layer coloured pencils and sits within our complete guide to coloured pencil techniques.
What burnishing does
Burnishing is pressing hard with a light pencil to create a smooth, glossy finish. Three things happen at once:
- The tooth flattens. The peaks and valleys of the paper are pressed down and filled, so the surface reads as smooth rather than grainy.
- The pigment locks in. Layers are compressed together and bonded to the paper.
- The colour blends. The layers merge into one continuous tone, with a subtle sheen.
That combination is why the technique is the final polish. Because the tooth is now flat, the paper can accept very little more pigment, and this is the reason to burnish only when your layers are complete.
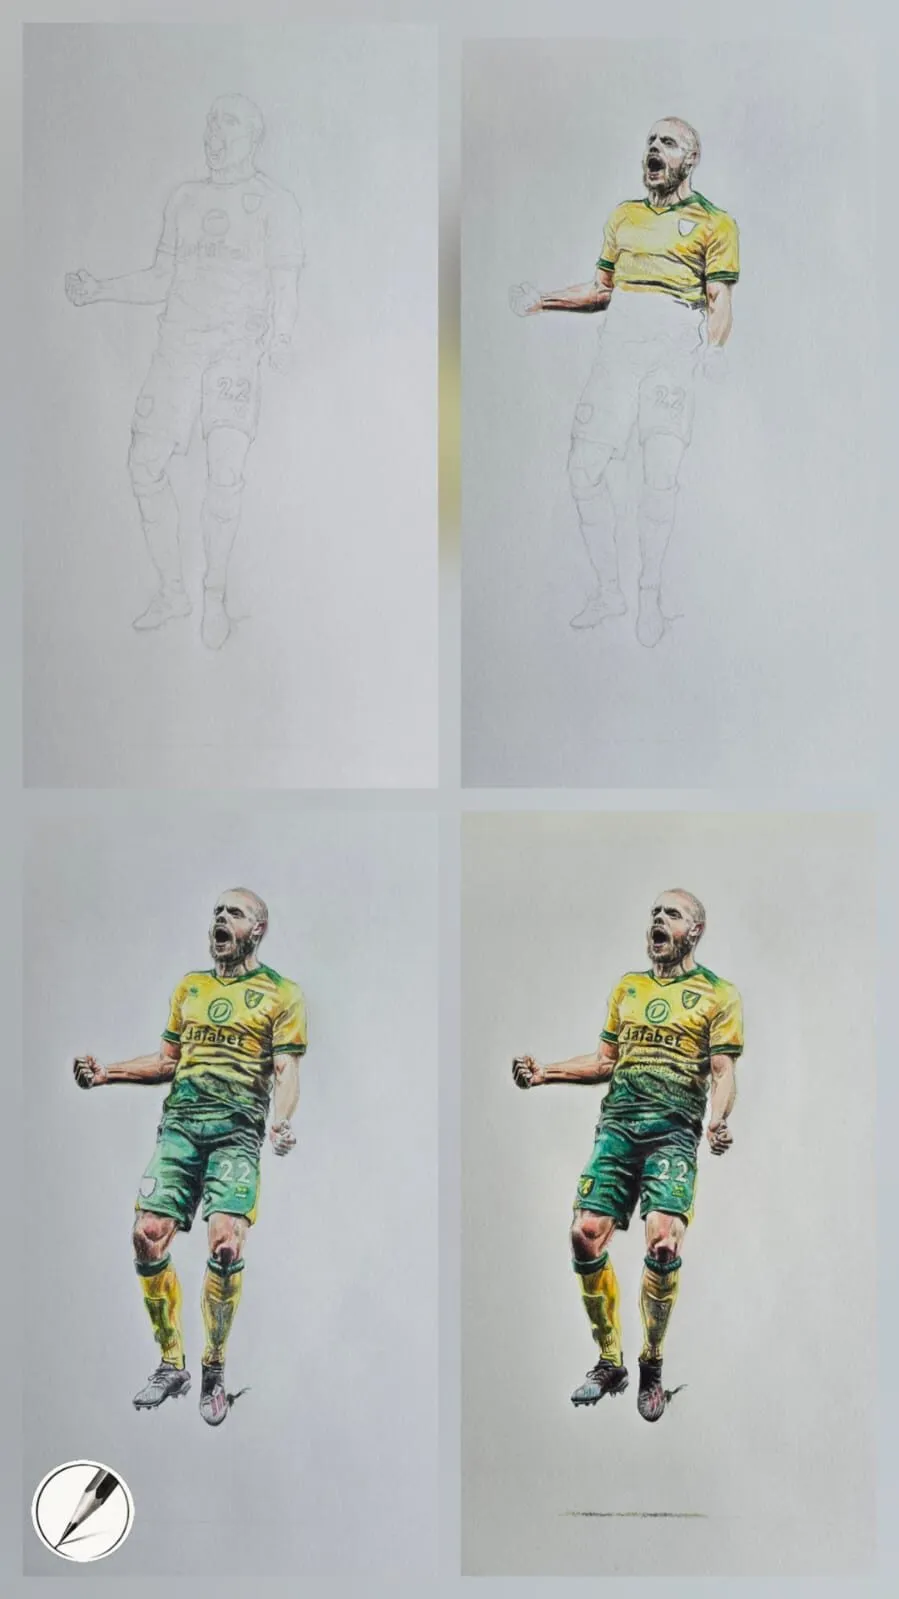
A footballer drawing shown from pencil layout to completed colour in four stages. Drawing by Michael Brace.
When to burnish
Burnish an area when all of these are true:
- The values and colours are exactly where you want them.
- You do not plan to add more layers or detail on top.
- The surface would look better smooth and glossy than textured.
Subjects that suit it include glossy icing and glaze, metal, polished objects, smooth fabric and any soft, out-of-focus background you want to sit calmly behind the subject. Our guides to how to draw glossy surfaces and how to draw shiny metal and reflections show it in context.
How to burnish, step by step
- Finish the layers first. Confirm the colour, value and edges. Look at the drawing from a distance and check it against your reference.
- Choose the burnishing pencil. A light pencil, such as white, cream or a pale version of the area colour, is typical. A colourless blender is an alternative when you do not want any colour shift.
- Sharpen the pencil. A sharp point gets into the tooth; a blunt one skips over it.
- Test on a scrap. Layer a few colours on the same paper and burnish them to see how the pencil shifts the tone.
- Start with moderate pressure and increase. Work in small overlapping strokes or circles. Watch the surface change from grainy to smooth.
- Cover the area evenly. Work section by section and keep the pressure consistent so the sheen looks uniform.
- Stop when the tooth is filled. When strokes glide over the surface without changing it, it is done. Extra pressure risks polishing the paper itself.
- Clean up edges. A sharp pencil or careful lift with putty can define edges afterwards.
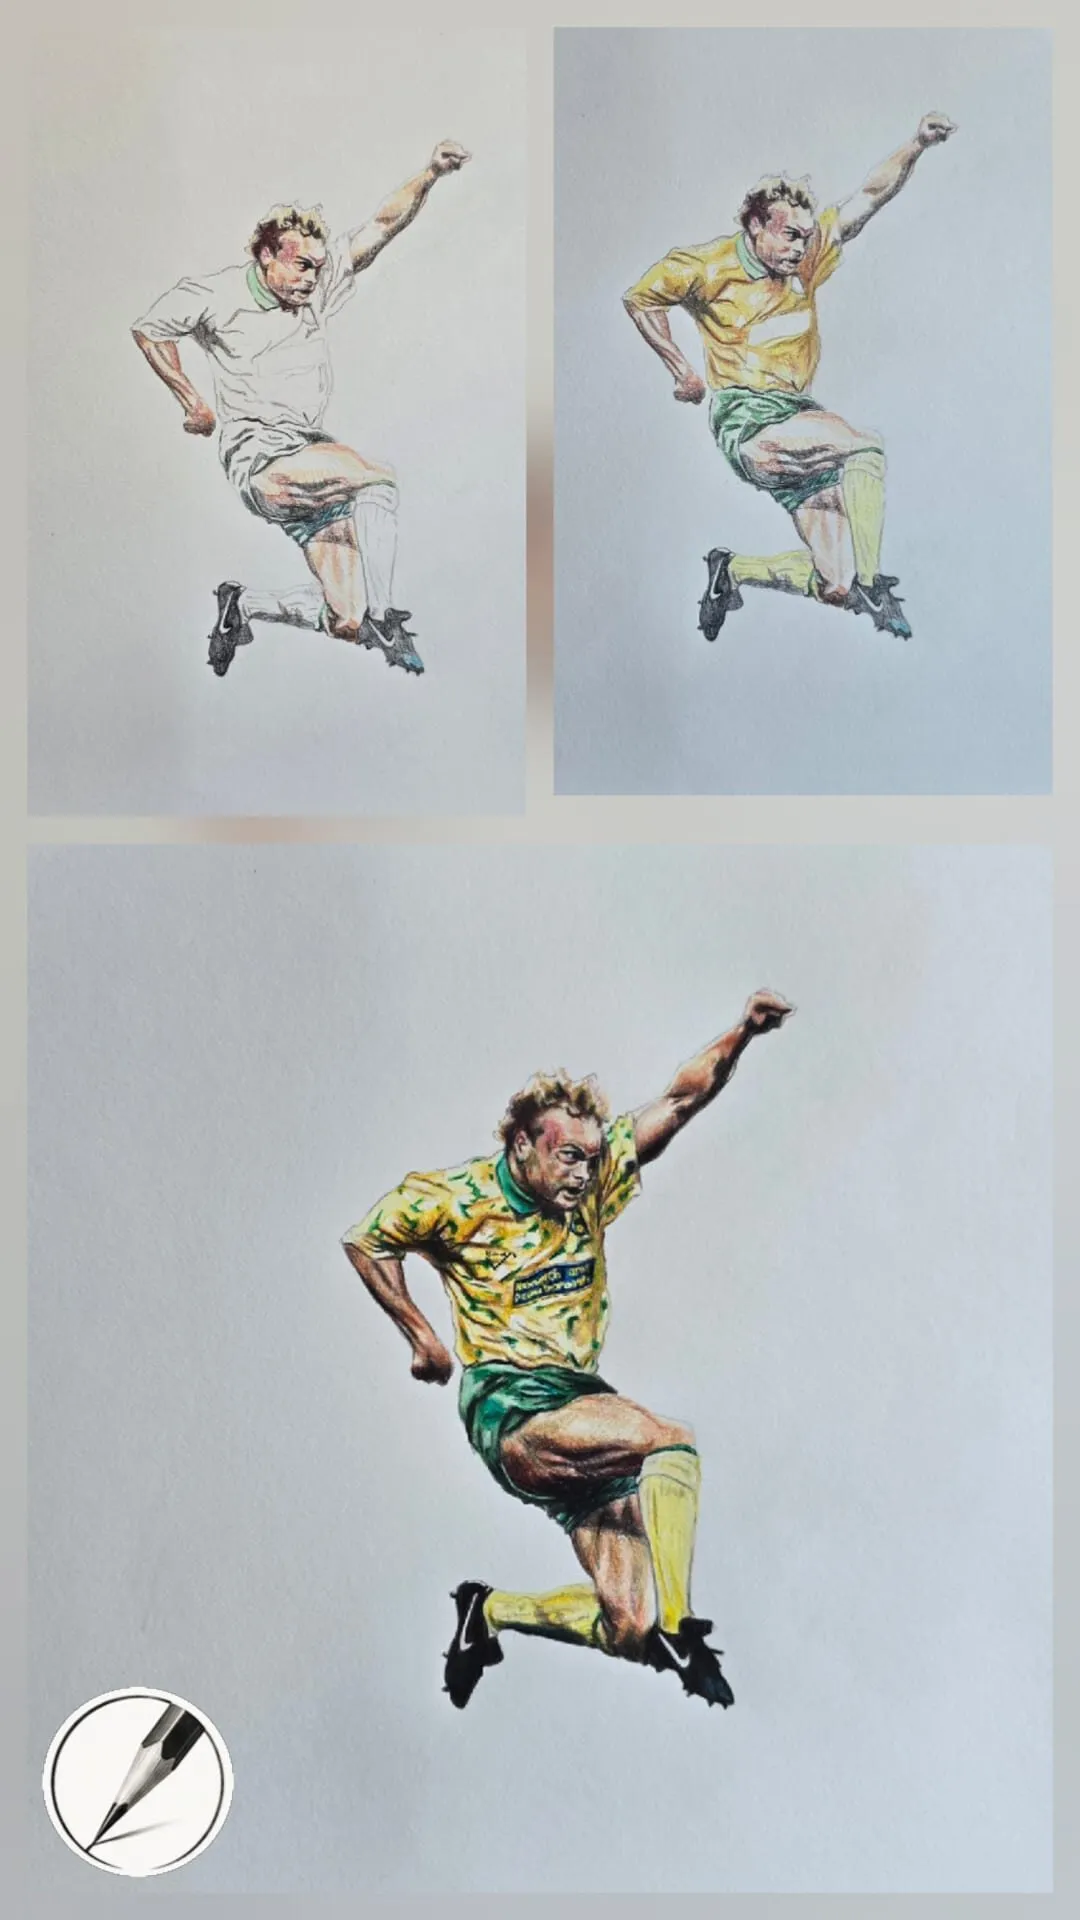
A leaping footballer drawn in coloured pencil, shown in three stages. Drawing by Michael Brace.
How different papers respond
Paper changes what burnishing looks like, so it is worth knowing before you start.
| Paper type | Result when burnished | Notes |
|---|---|---|
| Smooth, heavy paper (Stonehenge, Arches Hot Press) | Seamless, creamy finish with an almost oil-paint depth | Michael’s preferred combination for smooth work |
| Textured paper (Canson Mixed Media) | Bold, dramatic sheen with some grain visible | Works well for glossy subjects on grey |
| Lightweight paper | Can dent, shine or wear through | Avoid heavy burnishing |
On smooth hot press paper, burnishing produces an almost oil-paint depth. On textured papers such as Canson, it creates bold, dramatic sheen. The difference between them is explained in hot press versus cold press paper and paper tooth: smooth versus textured. If you are choosing paper with burnishing in mind, our best paper for coloured pencils has a comparison of the main options. Heavy paper matters, because repeated pressure can dent or wear through a light sheet.
Burnishing with wax and oil-based pencils
Wax-based pencils, such as Derwent Coloursoft, are soft and burnish quickly, but heavy pressure can also bring up wax bloom, a hazy film. Oil-based pencils, such as Faber-Castell Polychromos, are firmer and take more effort to burnish but tend to give a controlled finish. See wax versus oil-based coloured pencils for the differences.
When to avoid burnishing
Burnishing is not always the right finish. Leave it out when:
- The area is skin or fur. Both usually look better with soft texture and gentle transitions. A burnished cheek can look like plastic.
- You may need to change the area. Once tooth is flattened, corrections are hard.
- The drawing needs texture to read. Rough materials such as stone, fabric or bark would look unnatural if polished.
- The paper is thin. Heavy pressure can dent or damage a light sheet.
- Layers are not finished. If you are unsure, wait, and do a test patch first.
Burnishing and highlights
Highlights are the final touch on many glossy subjects. A common sequence is to complete the base colours, burnish the smooth areas, then add crisp highlights on top or lift them out. Sharp, high-contrast highlights on smooth, burnished mid-tones are what create convincing shine. Michael’s approach to glossy subjects is restraint: a few crisp highlights on simple mid-tones, not more and more white.
Burnishing in stages
You do not have to burnish an area in a single sitting. A gentler approach is to burnish lightly once the main layers are down, assess the result, and then add a final few thin layers of colour before a last, firmer burnish. This works because a light burnish smooths the surface but still leaves a little tooth, while a heavy one closes it completely. Treat the first pass as a test of how the area will look, and only commit to heavy pressure when you are sure.
Work from the direction the form travels wherever possible. On a rounded bun or a curved trophy, small strokes that follow the curve keep the sheen looking natural, whereas straight, mechanical strokes across a curve can flatten the volume.
What to do if you burnish too soon
It happens to everyone once. If you find an area is too slick to take more colour, avoid the temptation to press harder, which only polishes it further. Instead, lift a thin layer of pigment gently with a kneaded eraser or putty to reopen a little tooth, then add small, light corrections with a sharp pencil. Accept that the area may not return to its original texture, and plan the next drawing with a firmer rule: no burnishing until the whole drawing is finished and checked.
Common burnishing mistakes
- Burnishing too early. It closes the tooth before the drawing is finished.
- Uneven pressure. Patches of different sheen make the surface look blotchy.
- Using a dark pencil. It can muddy light areas. Use a light pencil or colourless blender.
- Burnishing everything. The drawing loses texture and can look overworked.
- Skipping the test. White or pale pencils can lighten and shift dark areas noticeably.
Burnishing is one of several finishing options, so also see the best blending tools for coloured pencil, and try it on a rose drawing where smooth petals reward it. Coloured pencils are called colored pencils in the US, and everything in this guide applies to both.
Burnishing is one of several finishing options, so also see the best blending tools for coloured pencil, and try it on a rose drawing where smooth petals reward it. Coloured pencils are called colored pencils in the US, and everything in this guide applies to both.
The short version
Finish your layers, then burnish only the areas that should be smooth and glossy, using a light pencil and firm, even pressure. It works best on smooth heavy papers and gives a bold sheen on textured ones. Leave skin, fur and unfinished areas alone. For the wider workflow, see coloured pencil techniques and how to blend coloured pencils.
Where to buy
Recommended products
Affiliate links. We may earn a small commission if you buy, at no extra cost to you. Why?
Paper · Arches
Arches Hot Press Paper
Smooth, archival paper prized for portraits, fine detail and subtle blending.
Paper · Canson
Canson Mixed Media Grey Paper
A toothy mid-tone grey paper that grips pigment and makes highlights glow.
Pencils · Faber-Castell
Faber-Castell Polychromos
Firm, oil-based artist pencils that hold a point - a benchmark for detail and clean layering.
Quick answers
Frequently asked questions
What does burnishing mean in coloured pencil?+
Burnishing is pressing firmly with a pencil, usually a light or colourless one, to crush and smooth the pigment layers into the paper. It flattens the tooth, removes visible strokes and gives a glossy, blended finish. It is normally the last step in an area because little more colour will stick afterwards.
Which pencil should I use to burnish?+
A light pencil such as white, cream or a pale version of the local colour works well, because it pushes the layers below together without adding a strong new hue. A colourless blender does the same job with no colour change. Test on scrap paper first, as white can lighten dark areas.
Can I burnish and then add more colour?+
Only a little. Burnishing fills and flattens the tooth, so later layers slide off rather than stick. Small corrections with a sharp pencil sometimes work, and lifting a little pigment can reopen the surface. It is far better to finish colour work first and burnish last.
Is burnishing the same as blending?+
It is a form of blending but a stronger one. Ordinary blending merges colours while keeping texture; burnishing uses heavy pressure to smooth and gloss the surface as well, flattening the paper's grain. Use blending for soft transitions and burnishing for a final, polished finish.
Does burnishing work on colored pencils as well as coloured pencils?+
Yes, they are the same thing under two spellings. Burnishing works on wax-based and oil-based colored pencils alike, though results vary with the brand and paper.
Does burnishing work on colored pencils as well as coloured pencils?+
Yes, they are the same thing under two spellings. Burnishing works on wax-based and oil-based colored pencils alike, though results vary with the brand and paper.