Drawing Techniques
Best Blending Tools for Coloured Pencil
The best blending tools for coloured (colored) pencil compared: colourless blenders, lighter pencils, stumps, cotton buds, solvents and paper, and how to choose.
This guide contains affiliate links. If you buy through them we may earn a small commission at no cost to you. How this works.
Jump to recommended products
Key takeaways
- ◆The cheapest, most reliable blending tools are already in your pencil case: a lighter pencil and more layers.
- ◆Colourless blenders, stumps and cotton buds smooth tone quickly, but they also fill the paper's tooth, so use them at the right stage.
- ◆Solvents give a paint-like, seamless finish and suit backgrounds and textured paper, but must be used sparingly.
- ◆Soft, wax-based pencils blend easily; firm, oil-based pencils blend cleanly and need more patience.
- ◆Your paper is a blending tool too: smooth paper blends beautifully, and textured paper keeps its grain.
Blending is what turns a drawing of many strokes into a smooth, believable surface, and there are more tools for it than most beginners realise. Some cost nothing. Some are gimmicks for one type of paper. The trick is knowing which does what, and when in the drawing to use it.
This guide compares the main blending tools for coloured pencil - colored pencil in the US - explains how each behaves, and shows how to choose. For the method itself, start with how to blend coloured pencils; this page is about the tools.
Quick comparison
| Tool | What it does | Best for | Main drawback |
|---|---|---|---|
| Lighter pencil (or white) | Pushes pigment together, adds a soft layer | Everyday blending, keeping control | Alters colour slightly |
| Colourless blender | Smooths and polishes without adding colour | Smooth finishes, burnishing | Fills the tooth quickly |
| Paper stump or tortillon | Rubs pigment into a soft blend | Small areas, soft wax pencils | Can smear, needs cleaning |
| Cotton bud | Soft, broad blend | Backgrounds, gradients | Fluffy, can pick up dark pigment |
| Solvent (odourless spirit or similar) | Dissolves wax or oil for a paint-like wash | Seamless backgrounds, textured paper | Fumes, can warp paper |
| Paper choice | Sets how easily pencils blend | Every drawing | Cannot be changed later |
| More layers | Builds smooth tone through stacking | All subjects | Slower |
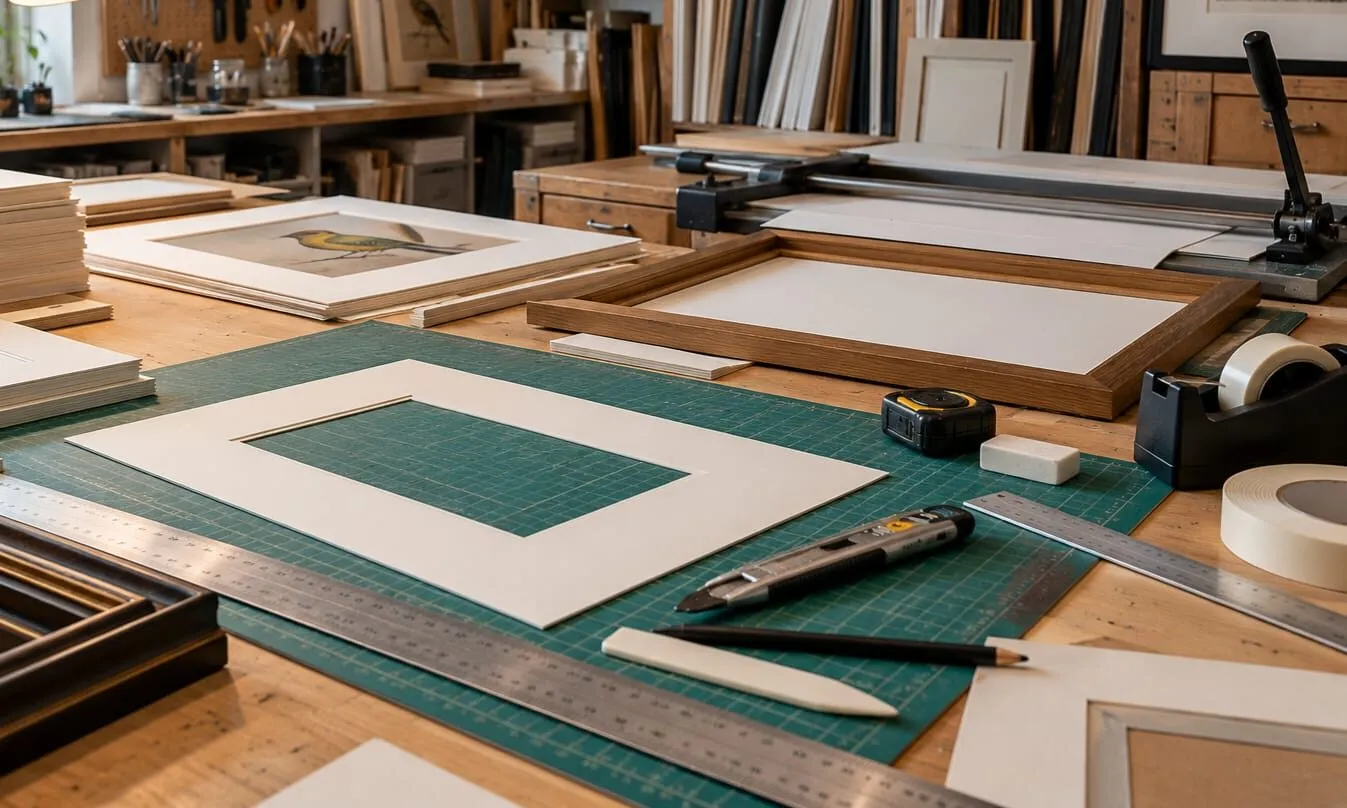
A mount-cutting bench with a cutting mat, ruler, mount board and frame mouldings.
Lighter pencils
The simplest blending tool is a pencil lighter than the colours you are joining. Draw over the boundary between two colours with light pressure, and the light pigment fills the gaps and softens the join. A white or pale cream pencil is the standard choice, and a colour from the same family often looks better than white, which can dull colours.
Because a lighter pencil adds colour, it is the most controllable option. You can build the blend gradually and keep the tooth open. It works with wax-based pencils such as Derwent Coloursoft and with oil-based ones such as Faber-Castell Polychromos.
Best for: nearly everything, especially if you are new. Use it before any other tool.
Colourless blenders
A colourless blender is essentially a pencil with a soft, clear wax or oil core. It merges and polishes existing layers without adding colour. It is most effective when you want a smooth, glossy finish and it shares the job of burnishing: see how to burnish coloured pencils.
Because it fills the paper’s tooth, a colourless blender should go on late. If you use it too early, you will find later layers slide over the top. It works best on smoother papers such as Arches Hot Press, where the tooth is already shallow.
Best for: smooth finishes, polished gradients and soft skin or icing textures.
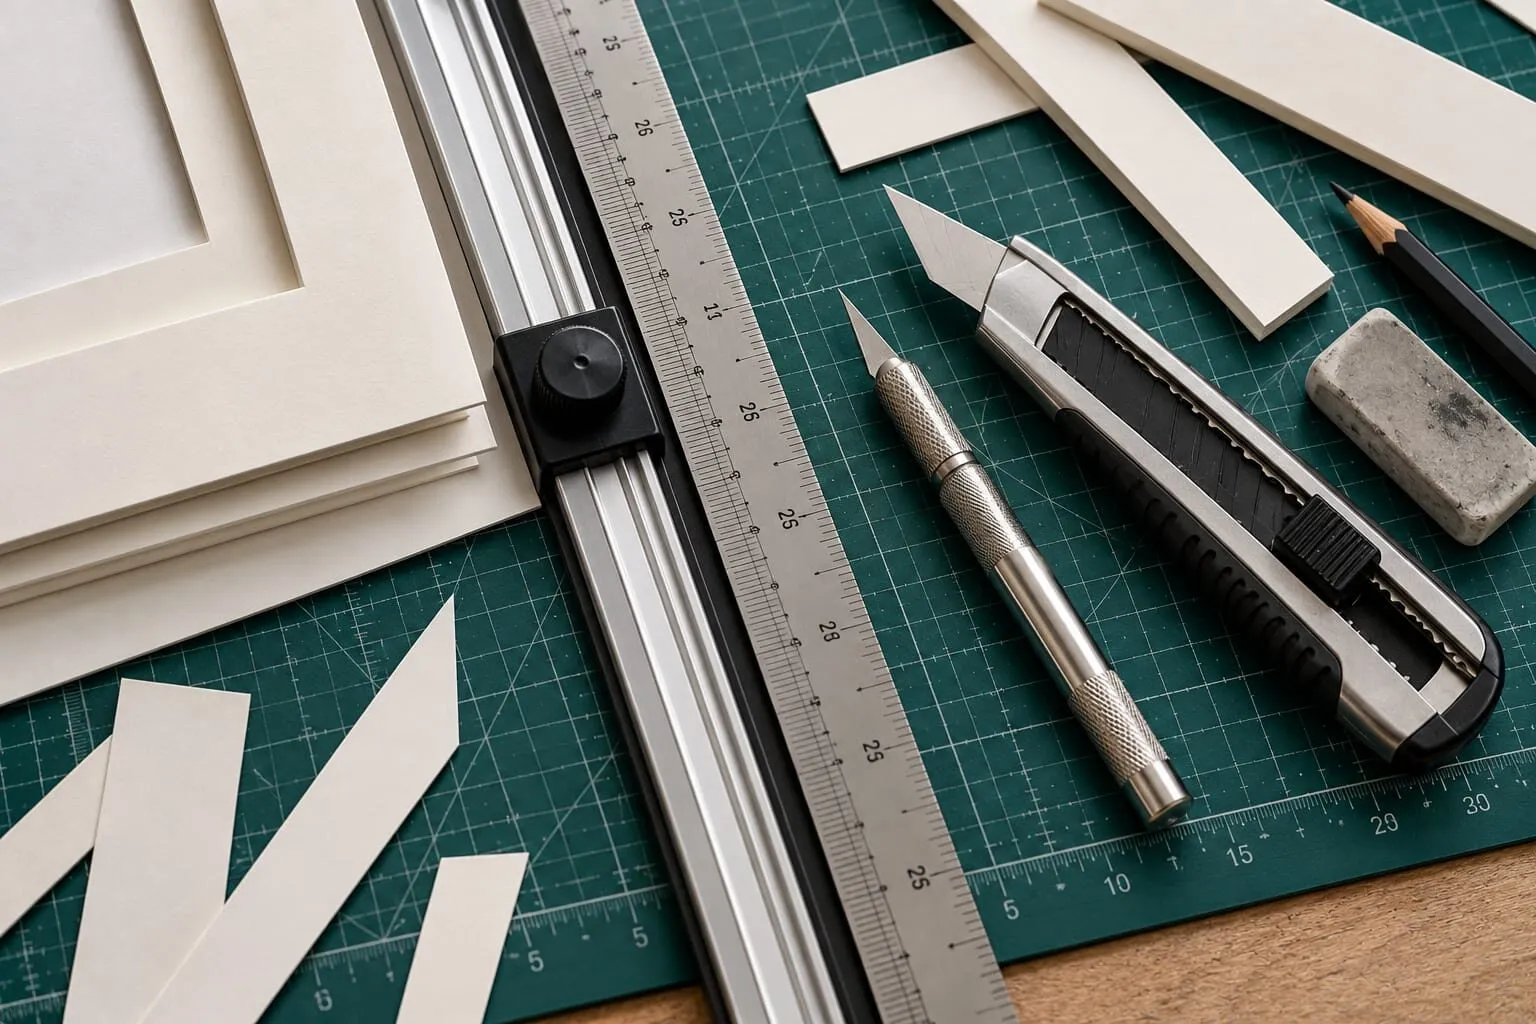
A mount cutter, craft knife and metal ruler on a green cutting mat with mount board offcuts.
Blending stumps and tortillons
Stumps and tortillons are tightly rolled paper tools with a pointed end. You rub them across the pigment to push it into the tooth and smooth transitions. They are well known in graphite, and they work in coloured pencil with soft, wax-based pencils, particularly for small areas where a cotton bud is too big.
Use a clean tip for each colour family, or you will drag dark pigment into pale areas. Use light strokes: rubbing hard can burnish the paper or damage delicate surfaces.
Best for: small, controlled areas, soft edges and gentle gradients.
Cotton buds and soft cloths
A cotton bud (cotton swab) or a soft cloth spreads pigment into a smooth haze. It is useful for large gradients such as a sky or a background, where the tone matters more than the strokes.
The trade-off is that fibres can leave fluff, and the tool picks up pigment from dark areas and carries it into light ones. Keep a supply of fresh buds and work from light to dark.
Best for: backgrounds and soft, atmospheric transitions.
Solvents
Solvents melt the binder in wax or oil pencils and turn layers into a paint-like wash. They give the smoothest, most seamless blends, and they work especially well on textured papers such as Canson Mixed Media, where they push pigment into the grain. They also let you cover large areas quickly.
They are also the tool to use with most care. Too much solvent can warp the paper, oversaturate the pigment and leave a stained look. Work in a ventilated space, use a small amount on a brush or cotton bud, and test on a scrap first. The full method, with cautions, is in using solvents with coloured pencils.
Best for: backgrounds, large areas and expressive effects. Not necessary for beginners.
Your paper is a blending tool
The surface you choose changes how easily pencils blend at all.
- Smooth paper (hot press, such as Arches Hot Press) blends beautifully with little effort, but fills with wax faster.
- Textured paper (such as Canson Mixed Media grey) keeps its grain and takes many layers, but a blend stays slightly textured unless you use solvent.
Read paper tooth: smooth versus textured for detail, and the best paper for coloured pencils to choose a sheet that matches your blending style.
Burnishing as blending
Burnishing is a heavy-pressure blend. Pressing hard with a light pencil or a colourless blender flattens the tooth and fuses the layers into a smooth, glossy surface. It is the last step, and once done, you cannot add much colour on top. It works beautifully on smooth papers and gives bold sheen on textured ones. See how to burnish coloured pencils.
Which tool at which stage
Blending is not one step at the end. Different tools belong at different points, and using them in order keeps the tooth open for as long as possible.
- Early layers: no tools at all. Build the colour with light pressure and let the layers overlap. Smooth tone often appears on its own once enough thin layers are down.
- Middle stage: a lighter pencil or a cotton bud to soften joins and gradients. This is where most of the blending happens, and the paper can still take more colour.
- Late stage: a colourless blender or stump for polish, and solvent for backgrounds if you use it.
- Final stage: burnishing, only where you want a smooth, glossy finish.
If you notice pencils sliding over the paper without leaving colour, the tooth is full. Stop blending, lift a little pigment with a kneaded eraser and read lifting and erasing coloured pencil before adding more.
How to choose
Ask three questions.
- What are your pencils? Soft, wax-based pencils blend readily with almost anything; firm, oil-based pencils blend cleanly and often need only a light pencil or more layers. For more on the difference, see wax versus oil-based coloured pencils.
- What paper are you on? Smooth paper needs little help; textured paper rewards solvents and patience.
- What is the subject? Skin, icing and metal want smooth, polished blends. Fur, foliage and stone want visible texture, so blend less.
If you are unsure, a simple starter kit is a white or pale pencil, a colourless blender and a few cotton buds. Add solvent only if you find you want it.
Tips for cleaner blends
- Blend in the direction of the form so tone follows the object’s shape.
- Work light to dark so you do not drag dark pigment into pale areas.
- Keep tools clean. Wipe stumps and swap cotton buds frequently.
- Do not blend everything. Some visible strokes make a drawing feel alive.
- Keep the tooth in mind. If you cannot add colour after blending, you blended too early.
The short version
Start with a lighter pencil and layered colour, add a colourless blender for polish, use stumps or cotton buds for small or soft areas, and keep solvents for backgrounds and expressive effects. Match the tool to your pencils and paper, and blend later than you think you should. If you are still building your kit, see coloured pencil drawing for beginners.
Where to buy
Recommended products
Affiliate links. We may earn a small commission if you buy, at no extra cost to you. Why?
Pencils · Derwent
Derwent Coloursoft Pencils
Soft, velvety and richly pigmented - excellent for painterly blending and bold colour.
Pencils · Faber-Castell
Faber-Castell Polychromos
Firm, oil-based artist pencils that hold a point - a benchmark for detail and clean layering.
Paper · Arches
Arches Hot Press Paper
Smooth, archival paper prized for portraits, fine detail and subtle blending.
Paper · Canson
Canson Mixed Media Grey Paper
A toothy mid-tone grey paper that grips pigment and makes highlights glow.
Quick answers
Frequently asked questions
What is the best way to blend colored pencils?+
For most beginners, the best method is layering with light pressure and then blending with a lighter pencil or colourless blender. This keeps the tooth open and the colour clean. Solvents and stumps are useful extras. Pick the method that suits your paper and pencils; there is no single best tool for every drawing.
Are colourless blenders worth buying?+
They are useful if you want a smooth, polished finish, especially on smooth paper. They also fill the tooth, so use them near the end, after your colour layers are built. A light-coloured pencil does much of the same job for free, so try that first and buy a blender only if you find a need.
Can I use a cotton bud or tortillon to blend?+
Yes. Cotton buds and paper stumps or tortillons smooth tone and reach small areas. They work best on soft, wax-based pencils and on lightly applied colour. Use a clean one for each colour family so you do not drag dark pigment into light areas, and avoid rubbing hard on delicate paper.
Do I need solvents to blend coloured pencils?+
No. Solvents are optional and are used for a seamless, paint-like blend, often on backgrounds and textured paper. Use them sparingly with good ventilation, and test on scrap paper first, as too much can warp or oversaturate. Layering and burnishing can achieve smooth results without them.