How to Draw
How to Draw Clouds and Skies
Learn how to draw clouds and skies in graphite or coloured (colored) pencil: cloud forms, soft edges, value planning, layered blues, warm light and perspective.
Key takeaways
- ◆Clouds are three-dimensional forms lit from one direction: they have a bright side, a shadow side and soft edges.
- ◆Plan the sky's values first, because the sky sets the light for the whole landscape.
- ◆Soft edges come from light pressure, layering and blending, and from leaving some edges lost in the sky.
- ◆In coloured pencil, build blues in layers and add warm light near the sun, rather than using one flat blue.
- ◆Make clouds smaller, flatter and closer together toward the horizon to create depth.
A sky is not empty space. It is a big gradient with clouds that have form, light and shadow, and it sets the mood for the whole picture. Draw it well and a landscape looks convincing; draw it as a flat blue rectangle and the whole scene falls apart.
This lesson explains cloud forms, soft edges and value planning, then shows a graphite method and a coloured pencil method (colored pencil in the US) with layered blues and warm light. It ends with perspective in skies and the mistakes to avoid.
What you need
- Graphite: 2B and 4B for tone, plus a soft eraser. See the pencil grade chart for choosing grades.
- Blending tools: a tortillon, a blending stump or a soft brush. See how to blend graphite.
- Coloured pencils: two or three blues, a violet, a grey, a warm yellow and a peach or pink. A white pencil helps with soft highlights.
- Paper: smooth to lightly textured. Large sky areas show any grain, so choose a paper that suits your effect. Paper tooth: smooth versus textured explains the differences.
- A photo or a real sky, which teaches you more than any diagram.
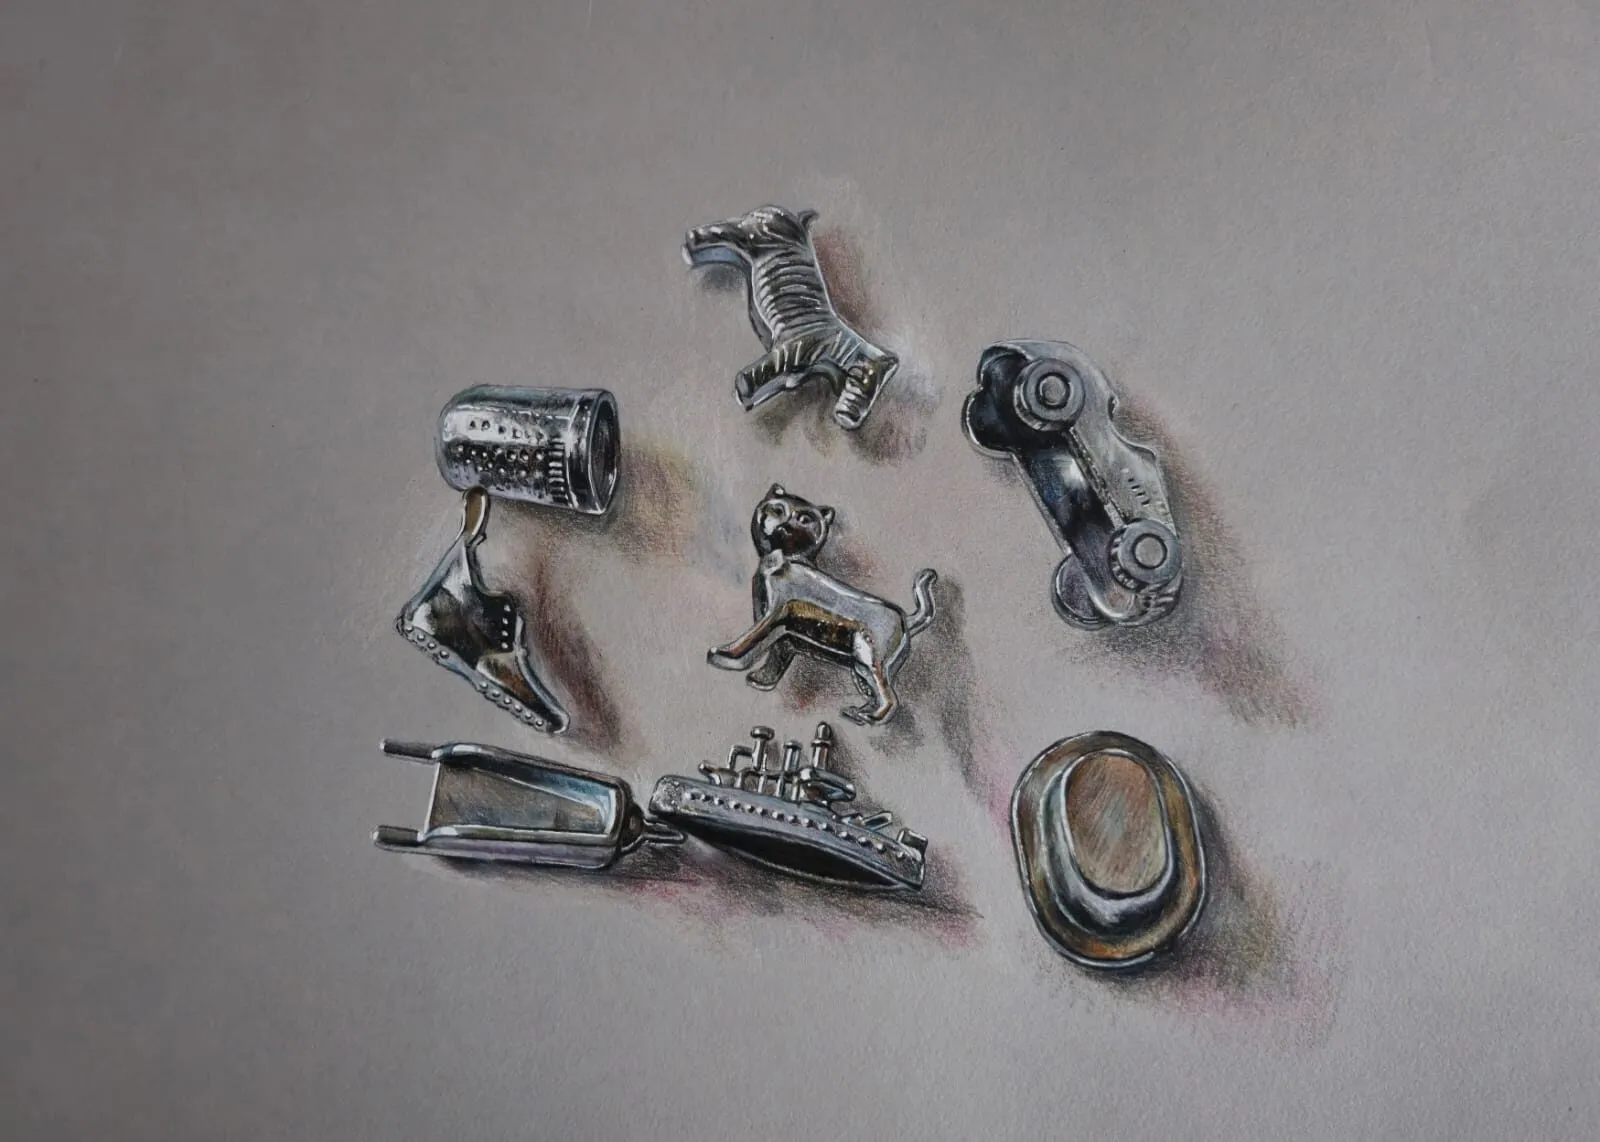
A group of silver metal board-game tokens drawn in coloured pencil on grey paper. Drawing by Michael Brace.
How clouds work
A cloud looks complicated, but it behaves like a soft, irregular sculpture.
- It has a light side. The side facing the sun is the brightest, and at times almost white.
- It has a shadow side. The underside and the side away from the sun are grey, often cooler in colour.
- It has a core. Inside the cloud, tone shifts gradually, with no hard lines.
- Its edges vary. Some edges are crisp, especially on the sunlit tops of towering clouds. Others are wispy and fade into the sky.
The common types read differently. Cumulus clouds are puffy with a flat base. Stratus clouds are flat layers. Cirrus are thin, wispy streaks high up. You do not need the technical names, but noticing the differences helps you choose your marks.
Step-by-step: drawing a sky in graphite
- Decide where the light is. Pick a direction, and keep to it for every cloud.
- Sketch the big cloud shapes. Very lightly, block in the main masses, and vary their size. Leave room for open sky.
- Lay a light tone across the sky. Use the side of a soft pencil, and add a gentle gradient, darker at the top and lighter toward the horizon.
- Shade the cloud shadows. Add tone under and away from the light on each cloud. Use soft, circular strokes.
- Blend. Smooth the tone with a tortillon or a soft brush, always working in the direction of the cloud’s form.
- Lift the highlights. Press a kneaded eraser onto the lit tops to lighten them, or pull out wisps with a pointed eraser.
- Deepen the darks. Add darker tone in the shadows and around the light edges so the clouds pop.
- Soften or sharpen edges. Lose some edges into the sky and keep a few crisp.
- Check the values. Squint. The clouds should read as light and dark shapes. Use the value study tool on a sky photo to see the big shapes.
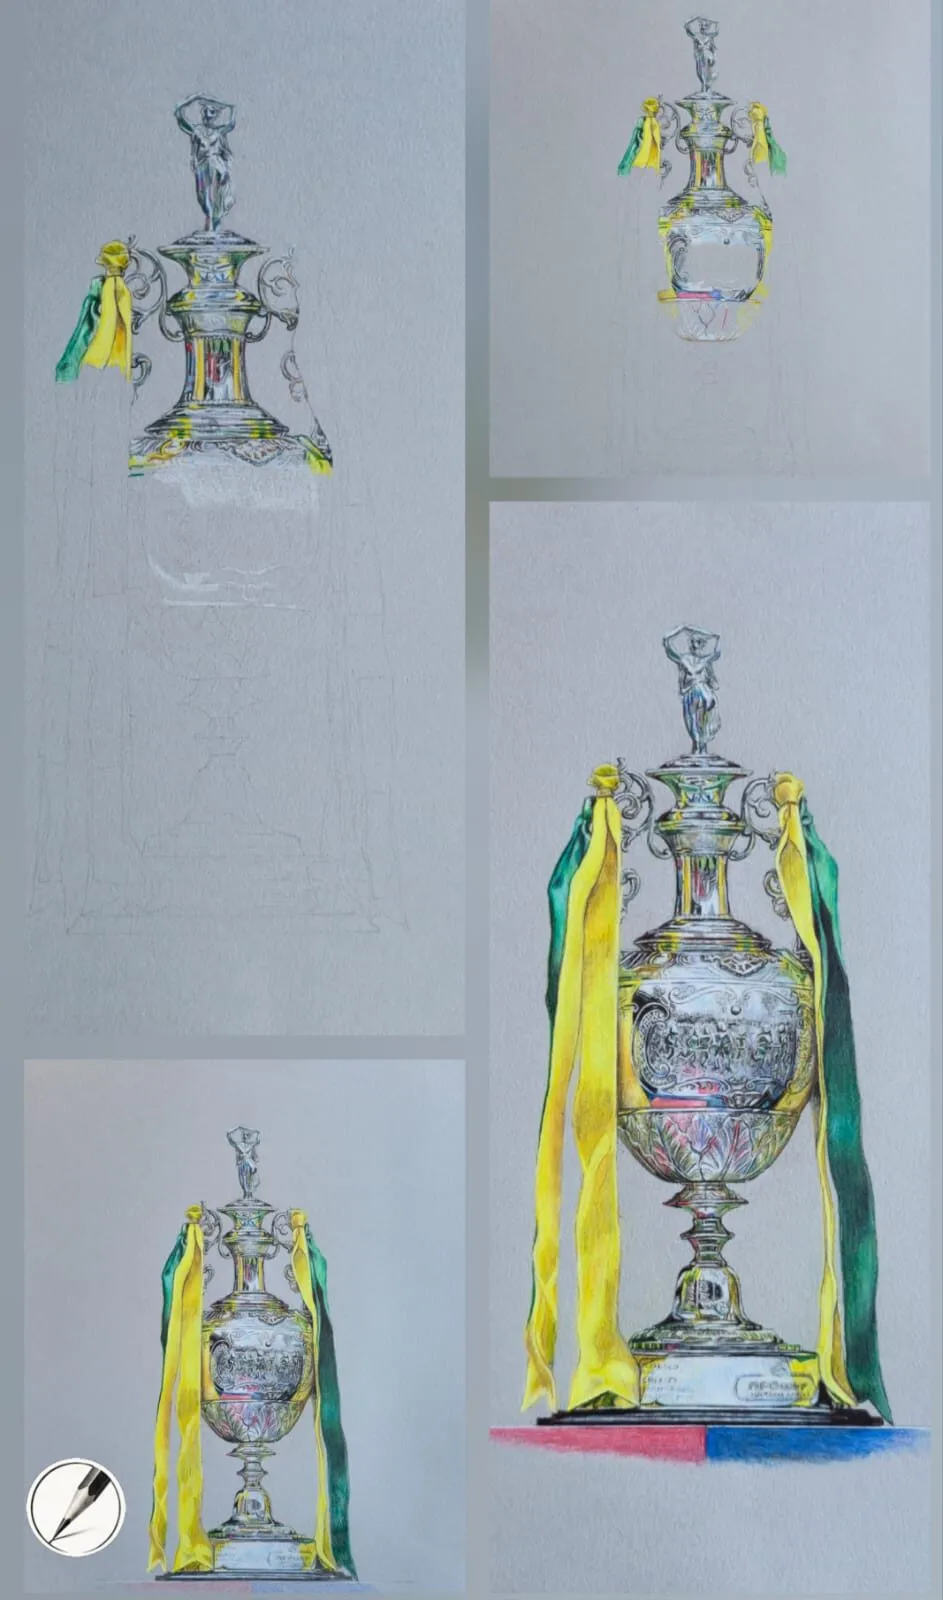
A silver trophy with yellow and green ribbons drawn in coloured pencil on grey paper, shown in four stages. Drawing by Michael Brace.
Soft edges and how to get them
The hardest part of clouds is edges, because pencil naturally makes lines.
- Use light pressure. Heavy pressure makes hard, dark edges.
- Work with the side of the pencil. It leaves a broad, soft tone, not a line.
- Blend outward. Smooth from the cloud into the sky so the edge fades.
- Lift, do not outline. Use an eraser to make the light edge, not a drawn line around the cloud.
- Vary hard and soft. A few crisp edges give the cloud shape, and soft edges give it atmosphere.
Value planning
The sky is a value structure. Decide it before you draw.
- Top to horizon. In a clear sky, the tone is darker overhead and lighter near the horizon.
- Sun side to shadow side. The sky near the sun is lighter and warmer, and the opposite side is darker and cooler.
- Cloud contrast. The brightest clouds sit against the darkest sky, so if you want punchy clouds, darken the sky around them.
- Match the ground. Bright sky means bright light on the landscape and vice versa. See shadows and light for how one light source unifies a scene.
For the theory behind value, read value in drawing.
Coloured pencil skies
A coloured sky is many layers, not one blue.
- Warm underlayer. Lightly cover the sky with a pale yellow or peach near the horizon or sun. It gives a glow through the blue.
- Layer blues. Add a light blue over most of the sky, then a deeper blue toward the top, with light, even pressure.
- Add violet and grey. A little violet or grey in the shadow sides and higher sky adds depth and stops it looking childish.
- Draw the clouds. Leave the cloud shapes light, then shade their shadow sides with grey, violet or a cool blue. Do not use black.
- Blend. Use a colourless blender or a pale pencil, or go over the area gently with more layers. See how to blend coloured pencils.
- Add warm light. A little warm yellow or pink on the lit edges of the clouds near the sun.
- Burnish lightly if needed, for a smoother finish. See how to layer coloured pencils.
Skies also respond well to a limited palette. Try a sunset from three or four colours, and see limited palette drawing. The palette from photo tool will pull the colours from a photo.
Perspective in skies
Skies have depth, and you can show it.
- Clouds shrink toward the horizon. Overhead they look large and separated, and near the horizon they get smaller, flatter and packed together.
- Flat bases line up. Cumulus clouds share a base height, so their flat bottoms follow the same perspective lines as the ground.
- Detail fades. Distant clouds are softer, lighter and bluer, and near ones have the strongest contrast.
- Overlap. Put nearer clouds in front of further ones.
Our lesson on drawing in perspective covers the wider principles.
Common mistakes and fixes
- Outlined clouds. A hard line makes them look like cartoons. Fix: lift and blend the edges.
- Flat, uniform blue. Fix: add a gradient, warm light and violet or grey.
- Clouds all the same size. Fix: vary the size and spacing, and shrink them toward the horizon.
- No shadow side. Fix: give every cloud a cool underside.
- Muddy overworking. Fix: build lighter layers and stop earlier.
- A sky that ignores the light. Fix: match the sky’s light to the ground shadows.
- Streaky blending. Fix: blend in small circles, and use a clean tool.
Practice exercises
- Gradient strip. Draw a smooth graphite gradient from dark to light, then repeat in blue pencil.
- Ten thumbnails. Draw ten small cloud studies in five minutes each.
- Lifting drill. Tone a rectangle and lift cloud shapes out with an eraser.
- Sunset in three colours. Layer yellow, pink and blue.
- Sky and tree. Draw a simple tree against a sky. See how to draw a tree.
- Daily sky. Sketch the sky from a window every day for a week.
The short version
Draw clouds as lit forms with a light side, a shadow side and mixed soft and crisp edges. Plan the values, lift highlights rather than outlining, and in coloured pencil layer blues with warm light and cool shadows. Shrink and flatten clouds toward the horizon to build depth. Keep browsing the how-to-draw hub for more lessons.
Quick answers
Frequently asked questions
How do you draw realistic clouds with a pencil?+
Treat each cloud as a lit form. Lightly outline the shape, shade the underside and shadow side with soft strokes, blend gently and lift out highlights with a kneaded eraser. Keep some edges crisp and others soft or lost. Avoid outlining clouds with a hard line, which makes them look like cartoons.
How do you blend clouds in graphite?+
Use light, circular strokes with a soft graphite pencil, then smooth with a tortillon, a blending stump or a soft brush. Lift highlights with a kneaded eraser. Build tone in layers rather than pressing hard, because heavy graphite is difficult to blend and leaves shiny patches.
What colours do I use for a sky in coloured pencil?+
Use several blues, from a pale sky blue near the horizon to a deeper blue or ultramarine higher up, plus greys, violets and warm yellow or peach near the light. Layer them lightly. Colored pencils (US spelling) work best in thin layers on paper with some tooth.
Why does my sky look flat?+
Usually because it has one value and one colour, or because the clouds are the same size and spacing all over. Vary the value from top to horizon, add a warm light source, and make clouds smaller and closer together toward the distance. Shadow sides and soft edges add depth.