How to Draw
How to Draw in Perspective: One-Point and Two-Point
Learn perspective drawing step by step: horizon line, vanishing points, one-point and two-point perspective, boxes into buildings and rooms, and common mistakes.
This guide contains affiliate links. If you buy through them we may earn a small commission at no cost to you. How this works.
Jump to recommended products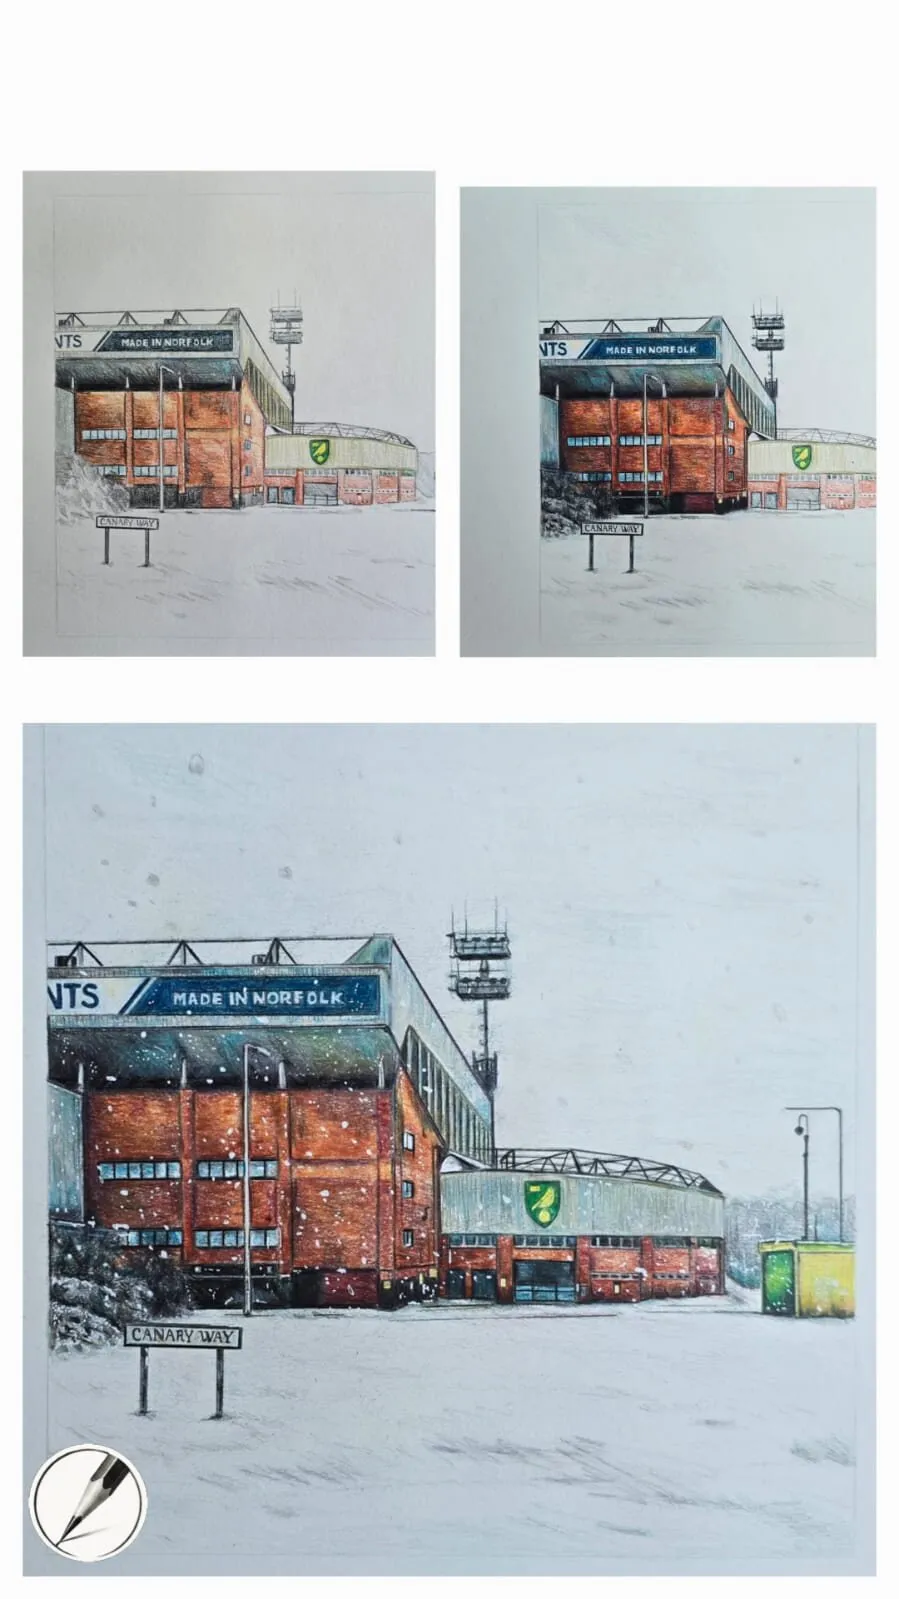
Key takeaways
- ◆Perspective is a set of rules for showing depth: parallel lines that go away from you meet at a vanishing point on the horizon line.
- ◆The horizon line is your eye level, so it moves up when you look from a high position and down when you look from a low one.
- ◆One-point perspective suits straight-on views such as a corridor or the front of a room, while two-point suits objects seen from a corner.
- ◆Draw every object as a box first, then add doors, windows and details by using the same vanishing points.
- ◆Vertical lines stay vertical in simple perspective, and most errors come from lines that do not aim at the correct vanishing point.
Perspective is the reason a drawn box looks like it has a back and a drawn street seems to run into the distance. It looks technical, but the core idea is simple: things get smaller as they move away, and parallel lines that recede toward the horizon appear to meet at a point. Learn a handful of rules and you can draw boxes, buildings, rooms and roads that look convincing.
This lesson explains the horizon line and vanishing points, then walks you through one-point and two-point perspective step by step. It shows how to turn boxes into buildings and rooms, gives a first look at foreshortening, and lists the mistakes that cause most wobbly perspective drawings. The image at the top is not a perspective diagram. It is one of Michael’s drawings of a football stadium in snow, shown in three stages (layout, base colours, then detail), and it is a good reminder that an accurate layout comes before any colour or detail.
What you need
- A ruler or straight edge, ideally a long one, plus a sharp HB or 2H pencil for construction lines.
- Large paper. Vanishing points often sit far off the drawing, so tape a small drawing to a larger board or extend the sheet.
- An eraser. Keep construction lines light so you can lift them later.
- Optional: the grid drawing tool helps you copy proportions from a reference, and a photograph with clear straight lines lets you find its horizon and vanishing points.
A hand drawing a gold trophy in coloured pencil on grey paper. Drawing by Michael Brace.
The horizon line and eye level
Draw a straight horizontal line across your page. This is the horizon line, and it represents your eye level. Everything above it is higher than your eyes, everything below it is lower.
This is why the horizon moves with you:
- Standing on a hill, your eye level is high, so the horizon sits high and you look down on things.
- Lying on the ground, your eye level is low, so the horizon sits low and you look up at things.
- You can only see the top of a table if your eyes are above it, and you only see the underside of a ceiling shelf if your eyes are below it.
Choose your horizon line before you draw anything else, and keep it in mind. Placing it near the top gives a bird’s-eye feel, and placing it low gives a dramatic, monumental feel.
Vanishing points
A vanishing point is a spot on the horizon line where parallel lines going away from you appear to meet. Railway tracks are the classic example: they are parallel, yet they seem to converge in the distance.
Two facts to remember:
- Vanishing points always sit on the horizon line.
- Lines that are parallel in real life share the same vanishing point in the drawing. Lines that are parallel to the picture plane (like the edge of the page) stay parallel.
One-point perspective, step by step
One-point perspective is for straight-on views: a corridor, a road, a room seen from the doorway, or the front of a building.
- Draw the horizon line across the page, then place one vanishing point (VP) on it, near the centre or slightly to one side.
- Draw the front face of your box as a plain square or rectangle. Its top and bottom edges are horizontal, and its sides are vertical.
- Draw guide lines from each corner of the square to the VP, using a ruler.
- Decide the depth. Mark where the back of the box is by drawing a smaller square or a horizontal line between the guide lines. Draw the back vertical lines and the back top edge, both parallel to the front.
- Erase the extra guide lines behind the box, leaving a solid form.
- Check that all horizontals are level and all verticals are upright. Only the lines going into the picture converge.
If the box is above the horizon you see its underside, and if it is below you see its top. If it straddles the horizon you see neither top nor bottom, only the front and sides.
Two-point perspective, step by step
Two-point perspective suits objects seen from a corner, which is how we see most buildings and boxes.
- Draw the horizon line and place two vanishing points on it, one at each side. Put them as far apart as your page allows, as points that are too close together cause distortion.
- Draw the nearest vertical edge of the box, the corner closest to you. This is the only vertical you draw before the guide lines.
- Draw guide lines from the top and bottom of that edge to both vanishing points. You now have four lines forming two wedges.
- Mark the width of each side by drawing two more verticals, one on each side. They set the length of the left and right faces.
- Complete the top and back edges by drawing lines from the tops of those verticals to the opposite vanishing point. Where the lines cross gives you the hidden back corner.
- Erase the construction lines you do not need.
Vertical lines stay vertical, and all other edges aim at one of the two vanishing points. Practise this box until it feels natural, as it is the building block for almost everything else.
From boxes into buildings and rooms
Once you can draw a box, you can turn it into almost anything.
Buildings.
- Draw a two-point box for the main mass.
- Add a roof by finding the centre of the end face (draw diagonals from corner to corner) and raising a vertical at that point. Connect it to the roof corners.
- Use the same vanishing points for doors and windows. Draw their outlines by marking the height on the near edge and drawing lines to the vanishing point.
- Make repeating elements, such as windows along a wall, smaller and closer together as they recede.
Rooms.
- Draw a one-point box from the inside, with the back wall as a rectangle and the floor, ceiling and side walls converging to the vanishing point.
- Add furniture as simple boxes standing on the floor, aiming their edges at the same vanishing point.
- Use diagonal lines across the back wall to find the centre and to draw doors and windows in proportion.
The stadium drawing at the top of the page is a good example of how the same structure supports a complicated subject. The stands, roofs and pitch all sit within one consistent view, and the drawing builds from layout to colour to detail. Michael’s figure of a footballer follows the same order of work, and shows that a clear layout supports the finished drawing.
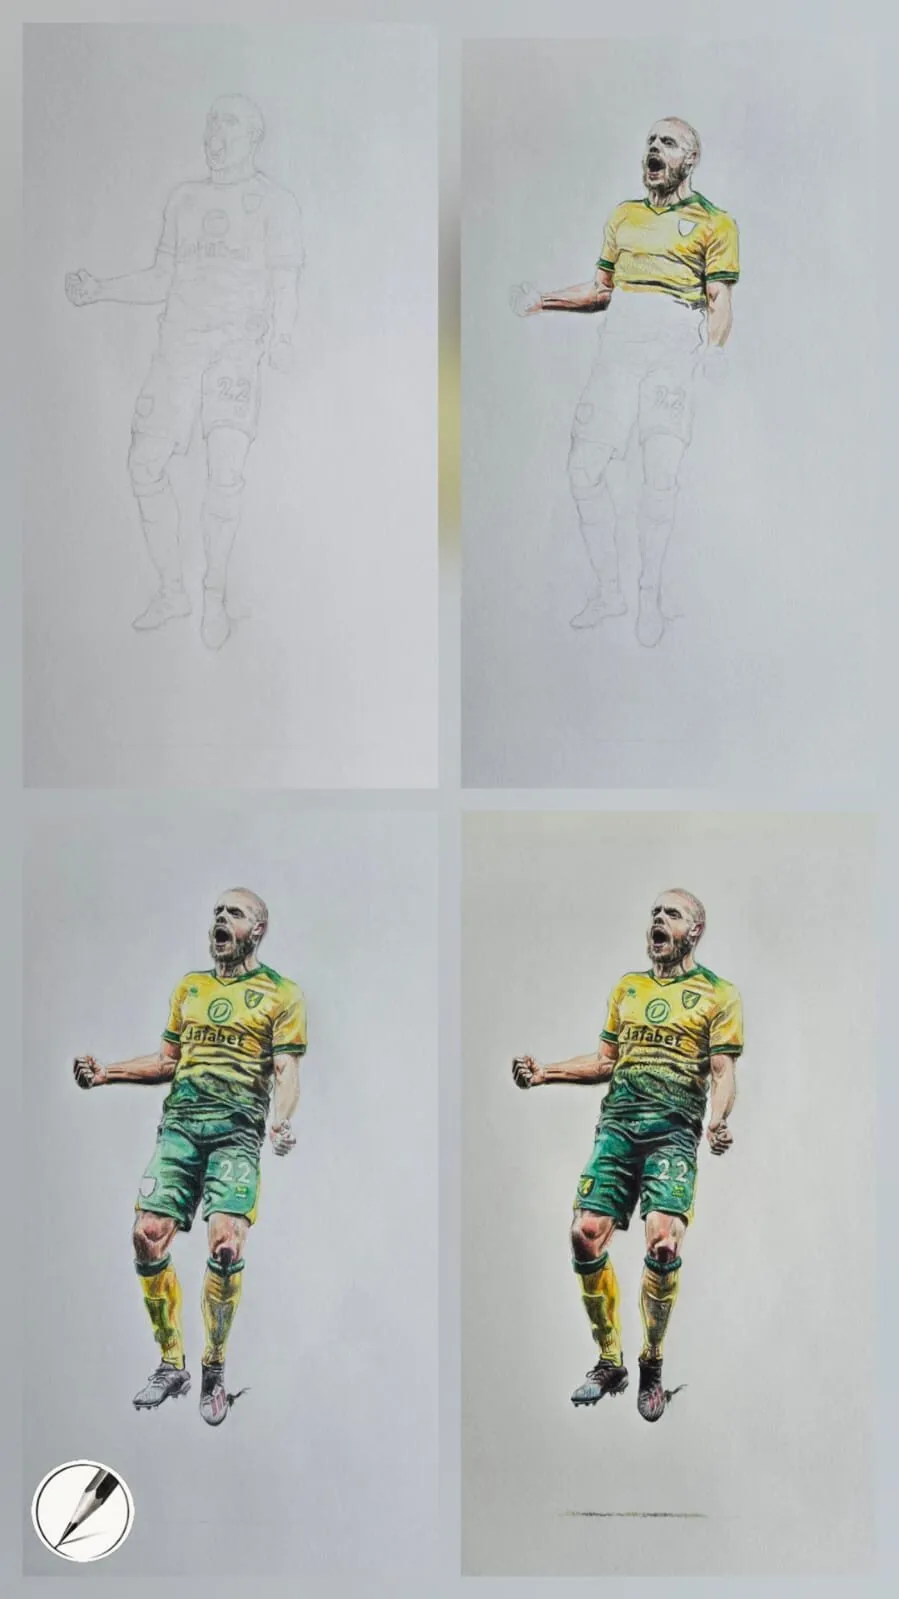
Michael’s footballer, from pencil layout to completion. Whatever the subject, it is the layout that decides whether the final drawing holds together.
Eye level, scale and overlap
Other cues make depth believable alongside converging lines.
- Size: identical objects look smaller with distance. Two windows of the same size are drawn smaller if they are further away.
- Overlap: objects in front hide part of those behind.
- Placement: on a ground plane, objects further away sit higher on the page, closer to the horizon.
- Detail and contrast: distant objects are lighter, softer and less detailed. This is called atmospheric perspective, and it is strong in landscapes.
Combine these with the vanishing point rules and even a simple drawing will feel deep.
A first look at foreshortening
Foreshortening is what happens when a form points toward or away from you and appears shorter than it is. A forearm pointing at you looks like a short, wide shape, and a road running straight away looks compressed.
The trick is to trust what you see, not what you know. Measure proportions with your pencil held at arm’s length, and draw the shape you see rather than the object you think you see. Practise by drawing a box, a cylinder (see basic forms and shading) and your own hand pointing at the page. Foreshortening is a large subject, but the box gives you the principle.
Common mistakes
To check a drawing, hold your ruler along the receding edges and see if they all meet at a common point. If they miss, redraw the line.
Practice exercises
- Ten boxes: draw ten two-point boxes in different positions relative to the horizon line.
- Corridor: draw a one-point corridor with a floor pattern, a row of doors and a light at the end.
- Street: draw a two-point street corner with three buildings of different heights.
- Photograph analysis: print a photo of a building, extend its edges with a ruler and find its horizon and vanishing points.
- Add tone: shade a box with a light source, using how to draw shadows and light for the cast shadow.
To sharpen your observation further, read how to draw what you see.
The short version
Set your horizon line at your eye level, choose one or two vanishing points on it, and draw every object as a box whose receding edges aim at those points. Keep verticals vertical, use a ruler, and add depth with size, overlap and softer distant detail. Once boxes work, buildings and rooms follow. Then return to the how to draw hub for the next lesson.
Where to buy
Recommended products
Affiliate links. We may earn a small commission if you buy, at no extra cost to you. Why?
Book · Bert Dodson
Keys to Drawing
Practical, encouraging exercises for accuracy and confidence.
Buy on AmazonAffiliate link · opens Amazon
Quick answers
Frequently asked questions
What is perspective in drawing?+
Perspective is a system for drawing three-dimensional space on a flat surface. Objects look smaller as they move away, and parallel lines that recede appear to converge at a vanishing point on the horizon line. Using these rules makes buildings, rooms and roads look solid and believable.
What is the difference between one-point and two-point perspective?+
In one-point perspective you look straight at one face of an object, so lines that go away from you meet at a single vanishing point. In two-point perspective you look at a corner, so two sets of lines recede to two vanishing points on the horizon, one on each side. Two-point gives a more dynamic view.
What is the horizon line?+
The horizon line is a level line at your eye height, where the sky meets the ground or sea in an open scene. In an indoor scene it is still at your eye level. Vanishing points sit on this line, so where you place it decides how high or low the viewer seems to be.
How do I stop my perspective drawings looking wrong?+
Use a ruler and check that every receding line points to a vanishing point. Keep vertical lines vertical, draw large boxes first, and keep vanishing points far enough apart to avoid distortion. Compare with a photograph by drawing lines along its edges to find its horizon and vanishing points.