How to Draw
How to Draw a Dog
Draw a realistic dog step by step: proportions and structure, head, eyes and nose, fur direction, shading, and a coloured (colored) pencil fur method.
Key takeaways
- ◆Build a dog from simple shapes first: a chest oval, a hip oval, a head and tapering legs, before any fur or detail.
- ◆Proportions vary by breed, so measure the head against the body and the legs against the chest depth rather than trusting a formula.
- ◆The eyes and nose carry the character. Keep them dark, glossy and precisely placed.
- ◆Fur has direction: draw strokes that follow the growth from the nose outward, over the form, not random scribbles.
- ◆For coloured pencil fur, layer from dark to light and finish with fine light strokes over the top.
Dogs are one of the most popular subjects for a reason: everyone recognises them and everyone loves them. They are also demanding, because a viewer notices immediately when the proportions or the expression are off. The good news is that a dog is a structure first and fur second. Get the underlying shapes right, place the eyes and nose carefully and layer the fur in the direction it grows, and the dog appears.
This lesson covers proportions, the head, fur, shading and a coloured pencil method (colored pencil in the US), with mistakes to avoid and exercises to practise.
What you need
- Graphite pencils from HB to 4B, and a kneaded eraser. The pencil grade chart helps you choose.
- Coloured pencils, with a good range of neutrals, warm and cool browns, greys and a white for highlights. See our guide to the best coloured pencils if you need to buy.
- Paper: smooth enough for detail, with a little tooth for layering. See the best paper for realistic drawing.
- A good reference: a sharp photo with clear light, or a dog who will sit still. Our guide to drawing a portrait from a photo applies to pets too.
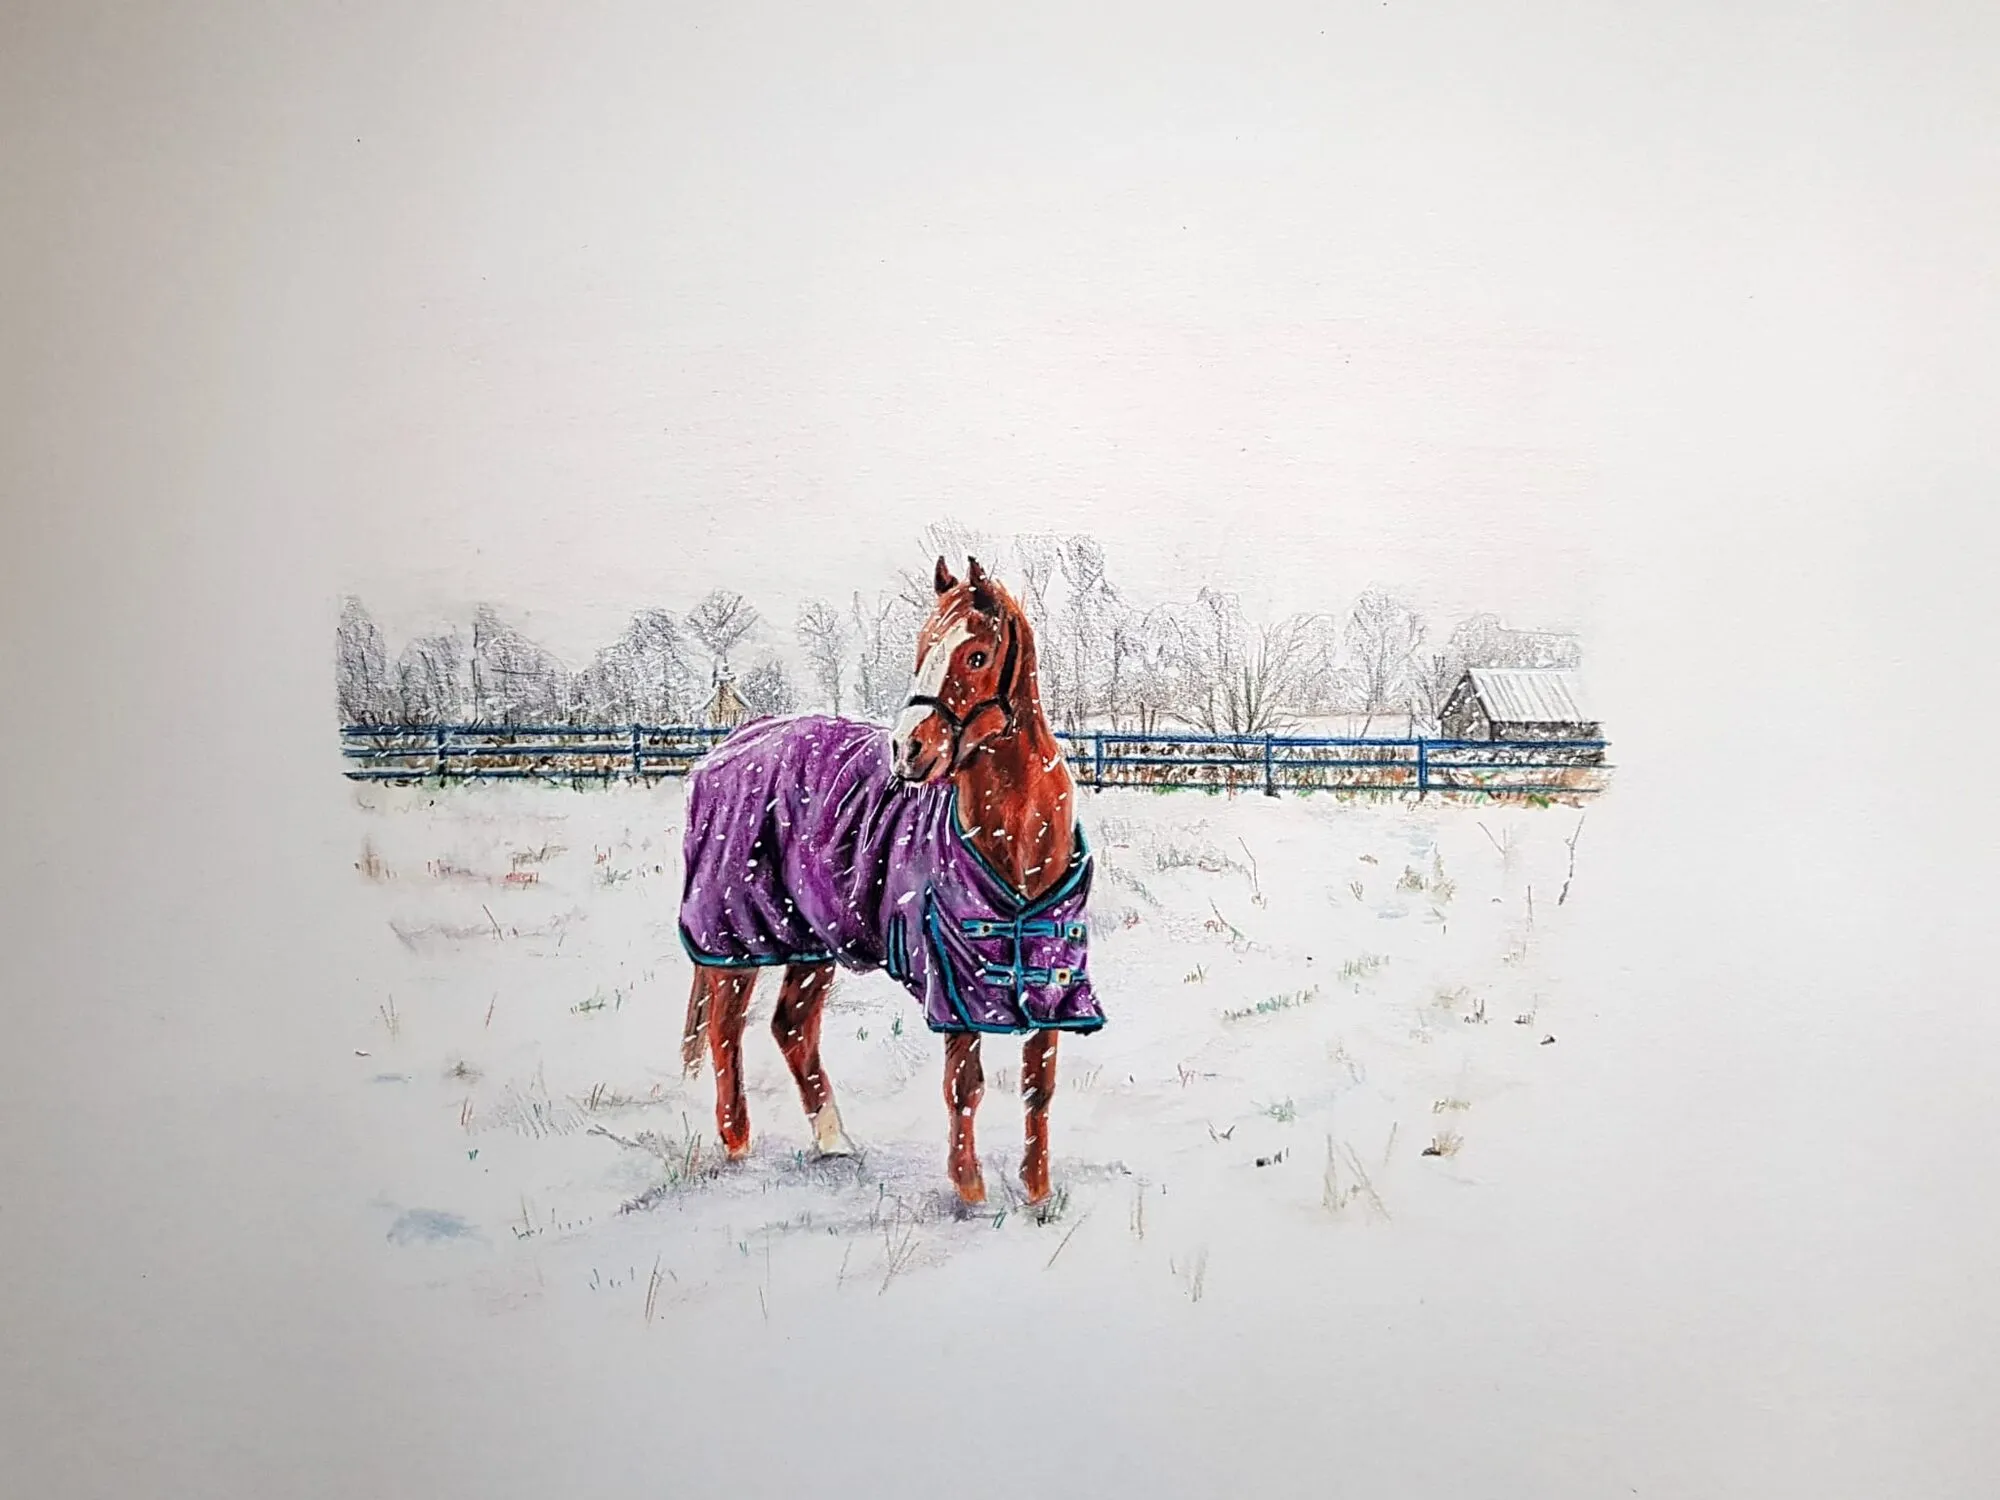
A horse in a purple rug standing in a snowy field, drawn in coloured pencil. Drawing by Michael Brace.
Proportions and structure
Dogs vary from tiny toy breeds to giants, so no single formula fits. These guides help you check your drawing.
- Think in ovals. A large oval for the chest and rib cage, a smaller one for the hips, and a circle or rounded wedge for the head.
- Compare the head to the body. Count how many head lengths fit along the body from chest to rump. It differs by breed, so measure your reference.
- Legs are longer than they look. The elbow sits roughly level with the bottom of the chest, and the front legs go straight down from there.
- The back legs bend. The hind leg has a pronounced angle at the hock, which is the joint that looks like a backward-pointing knee.
- The tail is an extension of the spine. Its base and its curve depend on the breed and the mood.
- Skull, muzzle and ears. The muzzle length and ear shape define the breed, so study them carefully.
For a deeper understanding of anatomy, our list of the best books for animal drawing is a good place to start.
Step-by-step: drawing a dog
- Draw the basic shapes. Lightly sketch the chest oval, hip oval and head circle. Join the ovals along the spine.
- Check the proportions. Compare the head with the body, and the leg lengths with the chest depth. Adjust before you go on.
- Add the legs. Draw tapering tubes for each leg, with joints marked by small circles. Bend the hind legs at the hock.
- Build the head. Add the muzzle as a smaller shape on the head, and place the eyes, nose and ears using guidelines. See below.
- Refine the outline. Round the shapes into the contour of the dog, keeping it loose. Note where fur will make the outline soft.
- Mark the shadows. Map the darkest areas: under the belly, inside the ears, around the eyes and where legs overlap.
- Lay in the fur direction. Add light strokes showing how the fur flows across the head, neck, body and legs.
- Build tone. Start with the shadow areas, then mid-tones. Keep the highlights clean.
- Add fur detail. Use flicked strokes of varied length, darker near shadows and lighter on top. Add a few fine strands at the edges.
- Finish the eyes and nose. Add the darkest darks and clean highlights last, and step back to check the expression.
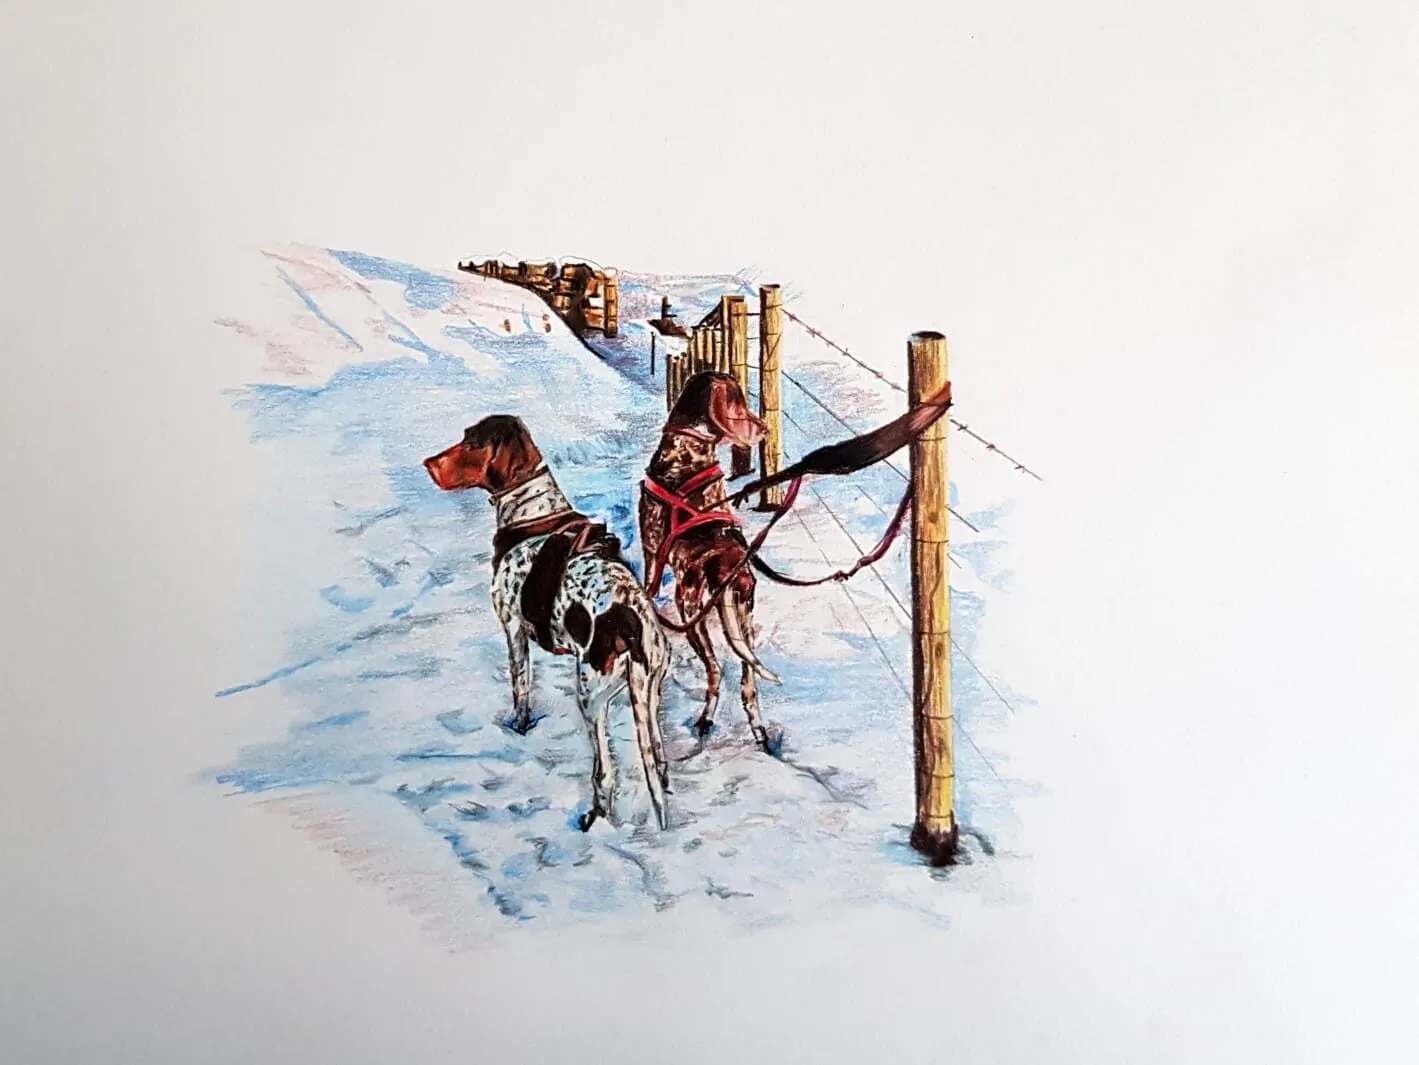
Two dogs in a snowy scene by a fence post, drawn in coloured pencil. Drawing by Michael Brace.
Drawing the head, eyes and nose
The head is where a dog gets its character.
- The eyes. Place them on the head roughly at the midpoint between the nose and the top of the skull, tilted slightly. Draw a dark iris with a clean highlight, and shade the socket softly. Add a slight rim of lid.
- The nose. A dark, glossy shape with two curved nostrils and a light reflection on top. It is usually the darkest, sharpest shape on the head.
- The mouth. A gentle curve running back from the nose, with the lips forming a soft shadow. Avoid drawing a smile like a human.
- The ears. Their position and shape vary by breed. Note how they attach to the skull, and draw the inner shadow.
- The stop. The change in angle between the muzzle and the forehead affects the profile.
Fur: direction, layering and shading
Fur is a set of flowing forms, and it works best when you think about direction and value before texture.
- Follow the growth. Fur radiates from the nose and eyes across the head, flows back over the neck, and runs down the body and legs. Draw a few guide lines first.
- Change with the form. Strokes curve around the body and the legs, not straight across.
- Vary the length. Short strokes on the face and muzzle, longer strokes on the chest, tail and ears.
- Darker underneath. Fur next to the skin and in shadow is darker, and the topmost hairs catch the light.
- Clumps, not strands. Group hairs into clumps, with a few individual hairs at the edges.
Our full guide to drawing animal fur covers the technique in more depth, and how to shade with a pencil helps with the underlying tone.
Coloured pencil fur
Michael’s fluffy dog is a useful reference for how coloured pencil handles soft, pale fur. The method below works for most breeds.
- Underlayer. Lightly map the shadows with a soft grey, violet or brown, depending on the fur.
- Mid-tones. Add warm or cool mid-tones with short, directional strokes. Let the layers overlap.
- Deepen the shadows. Add darker tones in the shadows under the chin, belly and between legs.
- Light strokes on top. Use a sharp light pencil to flick fine strokes over the darker layers, to suggest individual hairs.
- Edges. Leave the outer edge soft, and add a few sharp hairs against the background.
- Eyes and nose last. They need the sharpest and darkest marks.
White or pale fur is never truly white. It contains greys, warm creams and cool violets. Our guide to layering coloured pencils explains the approach, and the palette from photo tool helps you find the colours hiding in the coat.
Common mistakes and fixes
- A flat, cartoon head. Fix: add planes, with a clear muzzle, brow and eye sockets.
- Legs too short or straight. Fix: measure the leg against the chest, and add bends at the hock.
- Outlining fur. Fix: use tone and edge strokes, not a continuous line.
- Fur in the wrong direction. Fix: draw guide lines before adding strokes.
- Eyes too human. Fix: place them further to the sides, with a dark iris and no visible white.
- Uniform texture. Fix: vary the length, direction and tone.
- Losing the structure. Fix: keep checking the underlying shapes as you add fur.
Practice exercises
- Oval dogs. Draw ten dogs from ovals and tubes, two minutes each.
- Eye and nose studies. Draw just the eyes and nose of five dogs.
- Fur patches. Draw squares of short, long, curly and wiry fur.
- Head from the front and side. Compare how the shapes change.
- Value study. Reduce a dog photo to three values with the value study tool, then draw it.
- One full drawing. Draw a complete dog in graphite, then repeat in coloured pencil.
Where to go next
Once you can draw a dog, the same structure-first approach carries over to drawing a horse and to other animals. Browse the whole how-to-draw hub for more lessons.
The short version
Build the dog from ovals, tubes and a head, check the proportions, and place the eyes and nose carefully. Draw fur in the direction it grows, dark first and light last, and keep the outline soft. Practise the parts separately, then bring them together.
Quick answers
Frequently asked questions
How do I draw a dog for beginners?+
Start with basic shapes: a large oval for the chest, a smaller one for the hips, a circle for the head and simple tapering legs. Connect them with the spine and neck, then refine the outline. Add eyes, nose and ears, then fur and shading. Get the shapes and proportions right before adding any texture.
How do you draw dog fur realistically?+
Follow the direction the hair grows: from the nose outward, along the neck and down the body and legs. Use short, flicked strokes of varying length, with darker strokes near the skin and shadows and lighter ones on top. Do not outline each hair. Suggest fur with tone and a few sharp strands at the edges.
How do you draw a dog's eyes and nose?+
Dog eyes are usually dark with a bright highlight, set into softly shaded sockets. Keep the highlight clean and place it consistently with the light. The nose is a dark, slightly glossy shape with two nostrils and a lighter shine on top. Both should be the darkest tones in the head.
What is the best way to draw fluffy fur in coloured pencil?+
Layer colors from darkest to lightest, with sharp points and directional strokes. Build shadows under the fur first, then add mid-tones and finish with pale, fine strokes on top to suggest individual hairs. Colored pencils (the US spelling) suit this layering because each layer keeps its color.