The Art World
How to Photograph Your Drawings
Photograph graphite and coloured pencil drawings with even light, no glare and accurate colour, then prepare the files for competitions, web and print.
Key takeaways
- ◆Use soft, even light from two sides at 45 degrees, or bright indirect daylight, and keep the camera exactly parallel to the drawing.
- ◆Graphite and burnished coloured pencil have a sheen that causes glare, so angle lights to bounce away from the lens and check on screen.
- ◆A grey card and correct white balance give accurate colour, and you should compare your image with the drawing itself.
- ◆Photograph before framing, crop tight, correct perspective and keep a full-size master file.
- ◆Save different versions for competitions, web and print, and always follow each organiser's stated requirements.
A drawing that took weeks can be undone by a photograph taken in ninety seconds. The paper turns yellow, one corner is darker than the other, the edges lean inwards, and a silvery patch of glare sits across the darkest shadows. Judges, buyers and followers see the photograph, not the drawing, so the photograph has to do the work.
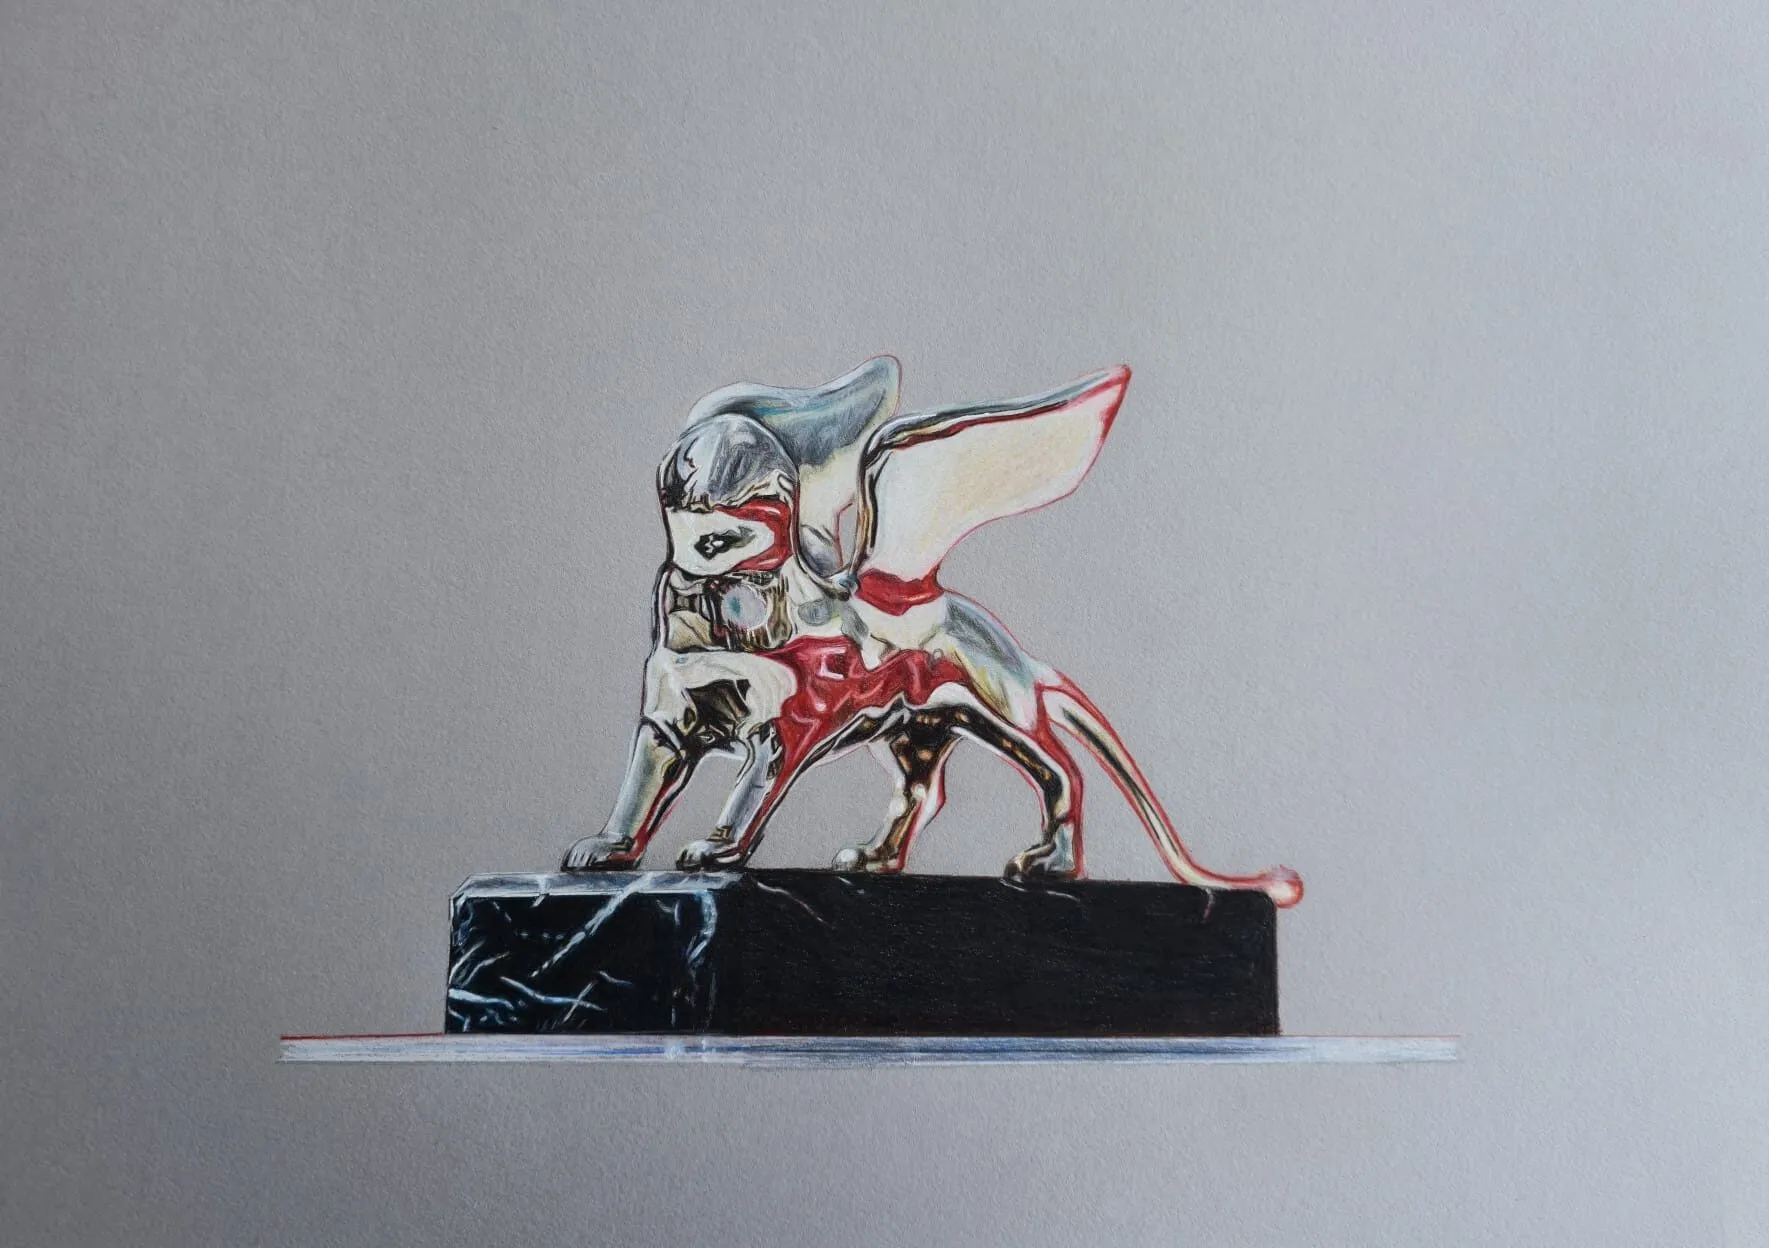
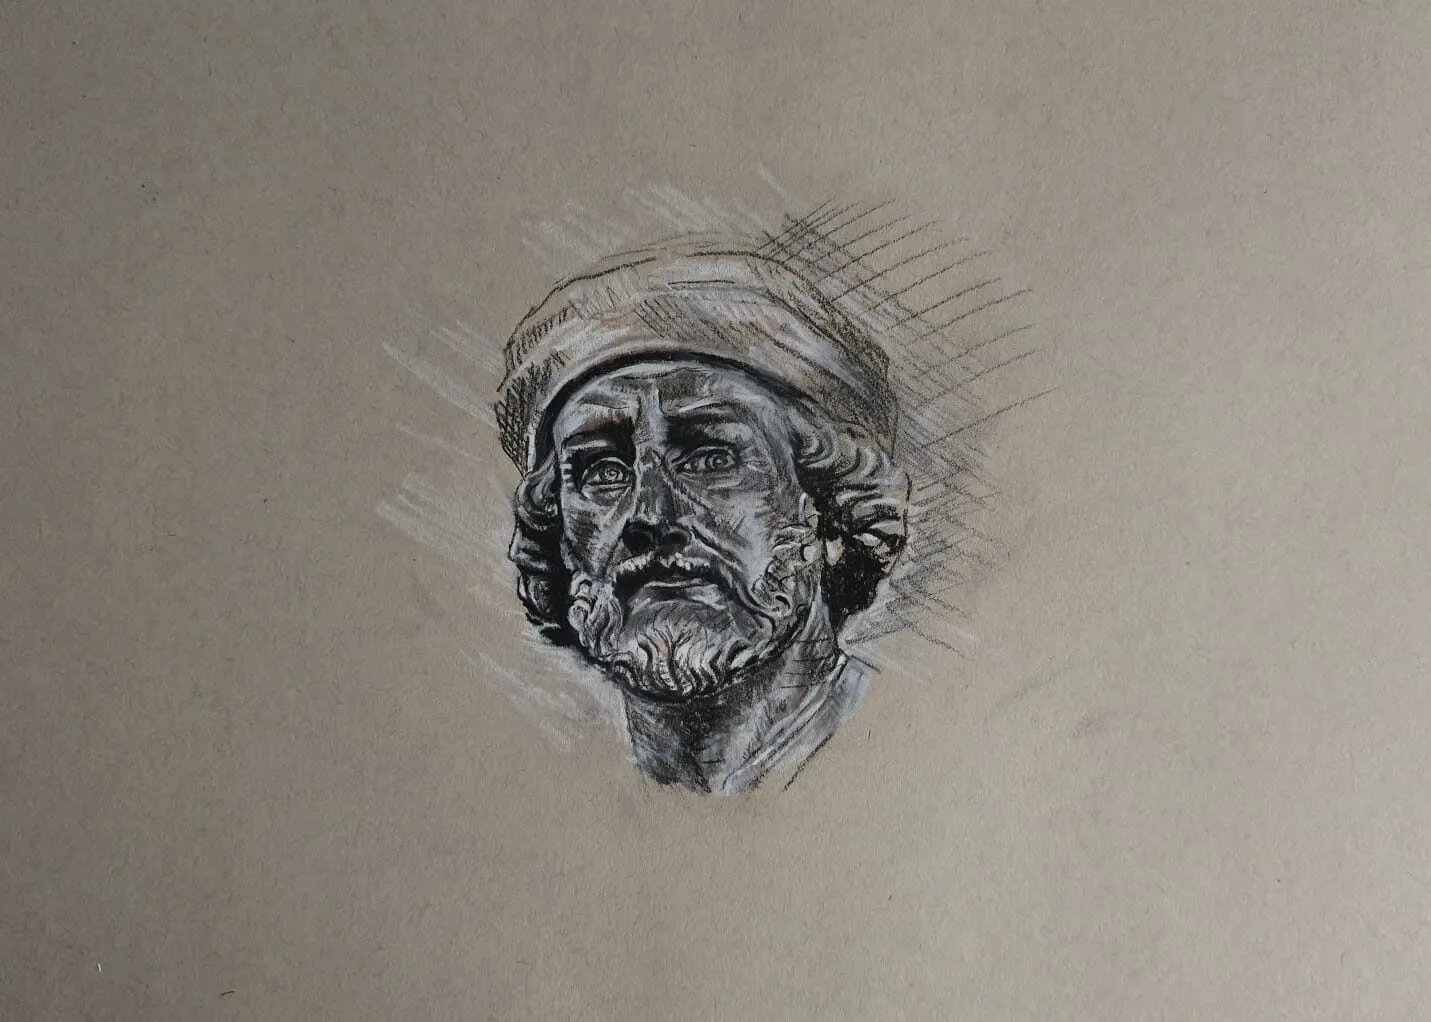
Pencil work is awkward to photograph for one reason above all: sheen. Dense graphite and burnished coloured pencil reflect light like a low-key mirror, so what looks like a rich dark to your eye can turn pale and patchy in a picture. This guide shows how to set up even light, avoid glare, keep colour honest and prepare files for competitions, web and print. It sits within our art world guide and pairs naturally with how to frame and mount a drawing, because you should photograph before the glass goes on.
Colored pencil work needs particular care with colour accuracy, since burnished layers can shift under glare. If you want a reference for matching hues, try the palette from photo tool, and see how to draw a portrait from a photo for working from your own reference images.
What you need
You do not need a studio. A workable setup is:
- A camera or phone with manual or lockable exposure.
- A tripod or copy stand to hold the camera steady and level.
- Two light sources that give soft light, such as daylight-balanced lamps with diffusers, or a bright window with indirect light.
- A grey card for colour and exposure accuracy.
- A flat, neutral wall or board to hold the drawing without shadows.
- A remote shutter or timer to avoid camera shake.
A photographer’s copy stand, where the camera points straight down at a drawing lying flat, is convenient for smaller work. For larger pieces, hanging the drawing on a wall and shooting straight on with a tripod is usually easier.
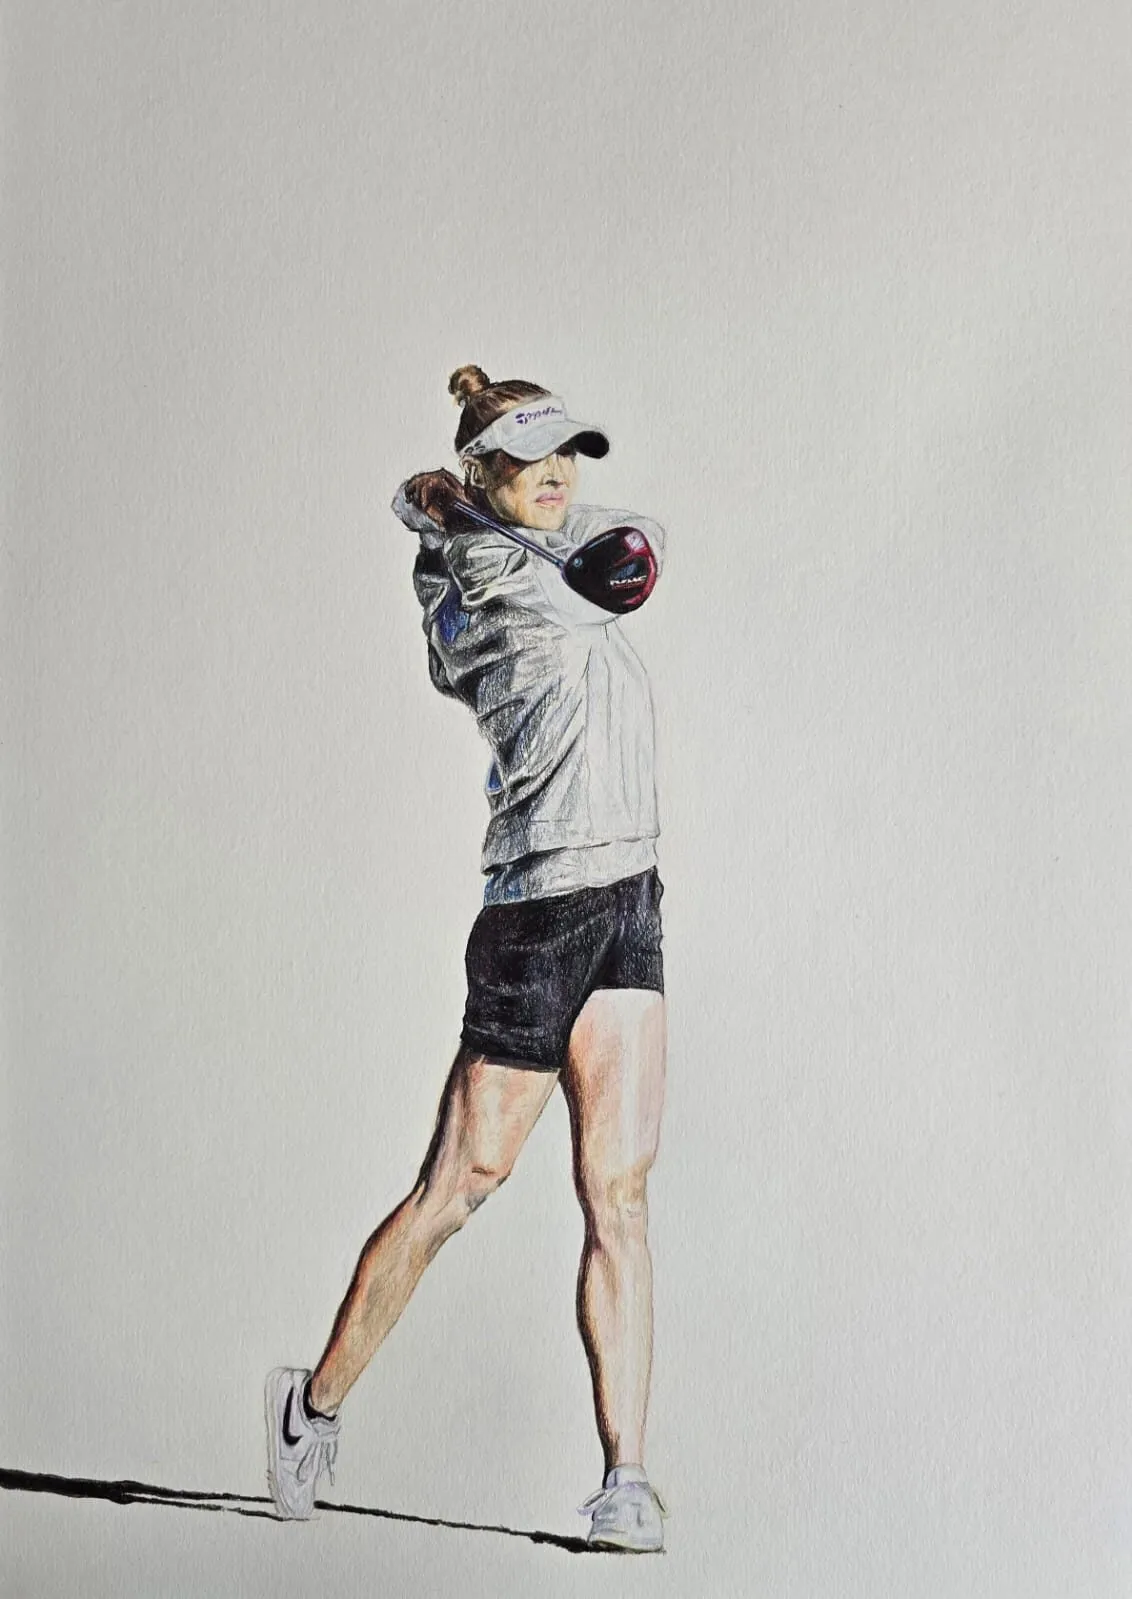
A golfer mid-swing drawn in coloured pencil. Drawing by Michael Brace.
Step 1: Get the light right
The goal is soft, even illumination across the whole sheet, with no hot spots and no shadows.
Diffuse light from two sides
Place one light on each side of the drawing, both at about 45 degrees to the paper and equal distances away. Diffuse each light with a softbox, a sheet of translucent material or by bouncing it off a white surface. Even light means the corners are as bright as the centre. Check by holding a pencil upright on the paper: the shadows should be faint and equal on both sides.
Or use indirect daylight
Bright, overcast daylight is excellent. Set up near a large window with no direct sun striking the paper and no strongly coloured walls or trees reflecting on it. Watch the time of day: the light changes as clouds and sun move, and a drawing photographed at two different times can differ in colour.
Avoid on-camera flash and overhead spotlights
Flash makes a small, harsh source that produces glare and flat colour. Ceiling downlights and spot lamps tend to give hot spots and mixed colour temperatures. If you must use room lights, turn off any that do not match your main lights, because mixing warm and cool sources confuses white balance.
Step 2: Deal with glare and sheen
Graphite and burnished coloured pencil are especially prone to sheen. The wax or graphite forms a smooth, slightly reflective layer, and any light that bounces off it into the lens shows as a pale patch. Dark passages are the worst affected.
To control it:
- Move the lights outwards. The greater the angle between light and lens, the less glare returns to the camera. Try 45 degrees or a little more.
- Look from the camera position. Stand where the lens will be and see where the shine appears. If a light causes a patch, move that light rather than the camera.
- Flag or block stray light. Use black card to stop light from windows or lamps spilling across the paper at an unwanted angle.
- Tilt slightly if needed. For a very glossy piece, a small tilt in the lights (not the drawing) can shift reflections out of the frame. Keep the camera itself parallel to the paper.
- Consider polarisation. A polarising filter on the lens, plus polarised or cross-polarised lighting, cuts glare dramatically for graphite. It is more advanced and not essential for most artists.
- Check on a large screen. Small phone screens hide glare. Review the picture at full size before you take the drawing down.
If you are working with soft, matt surfaces, glare is less of a problem, but unevenness of light is not. Whatever the medium, the same discipline applies.
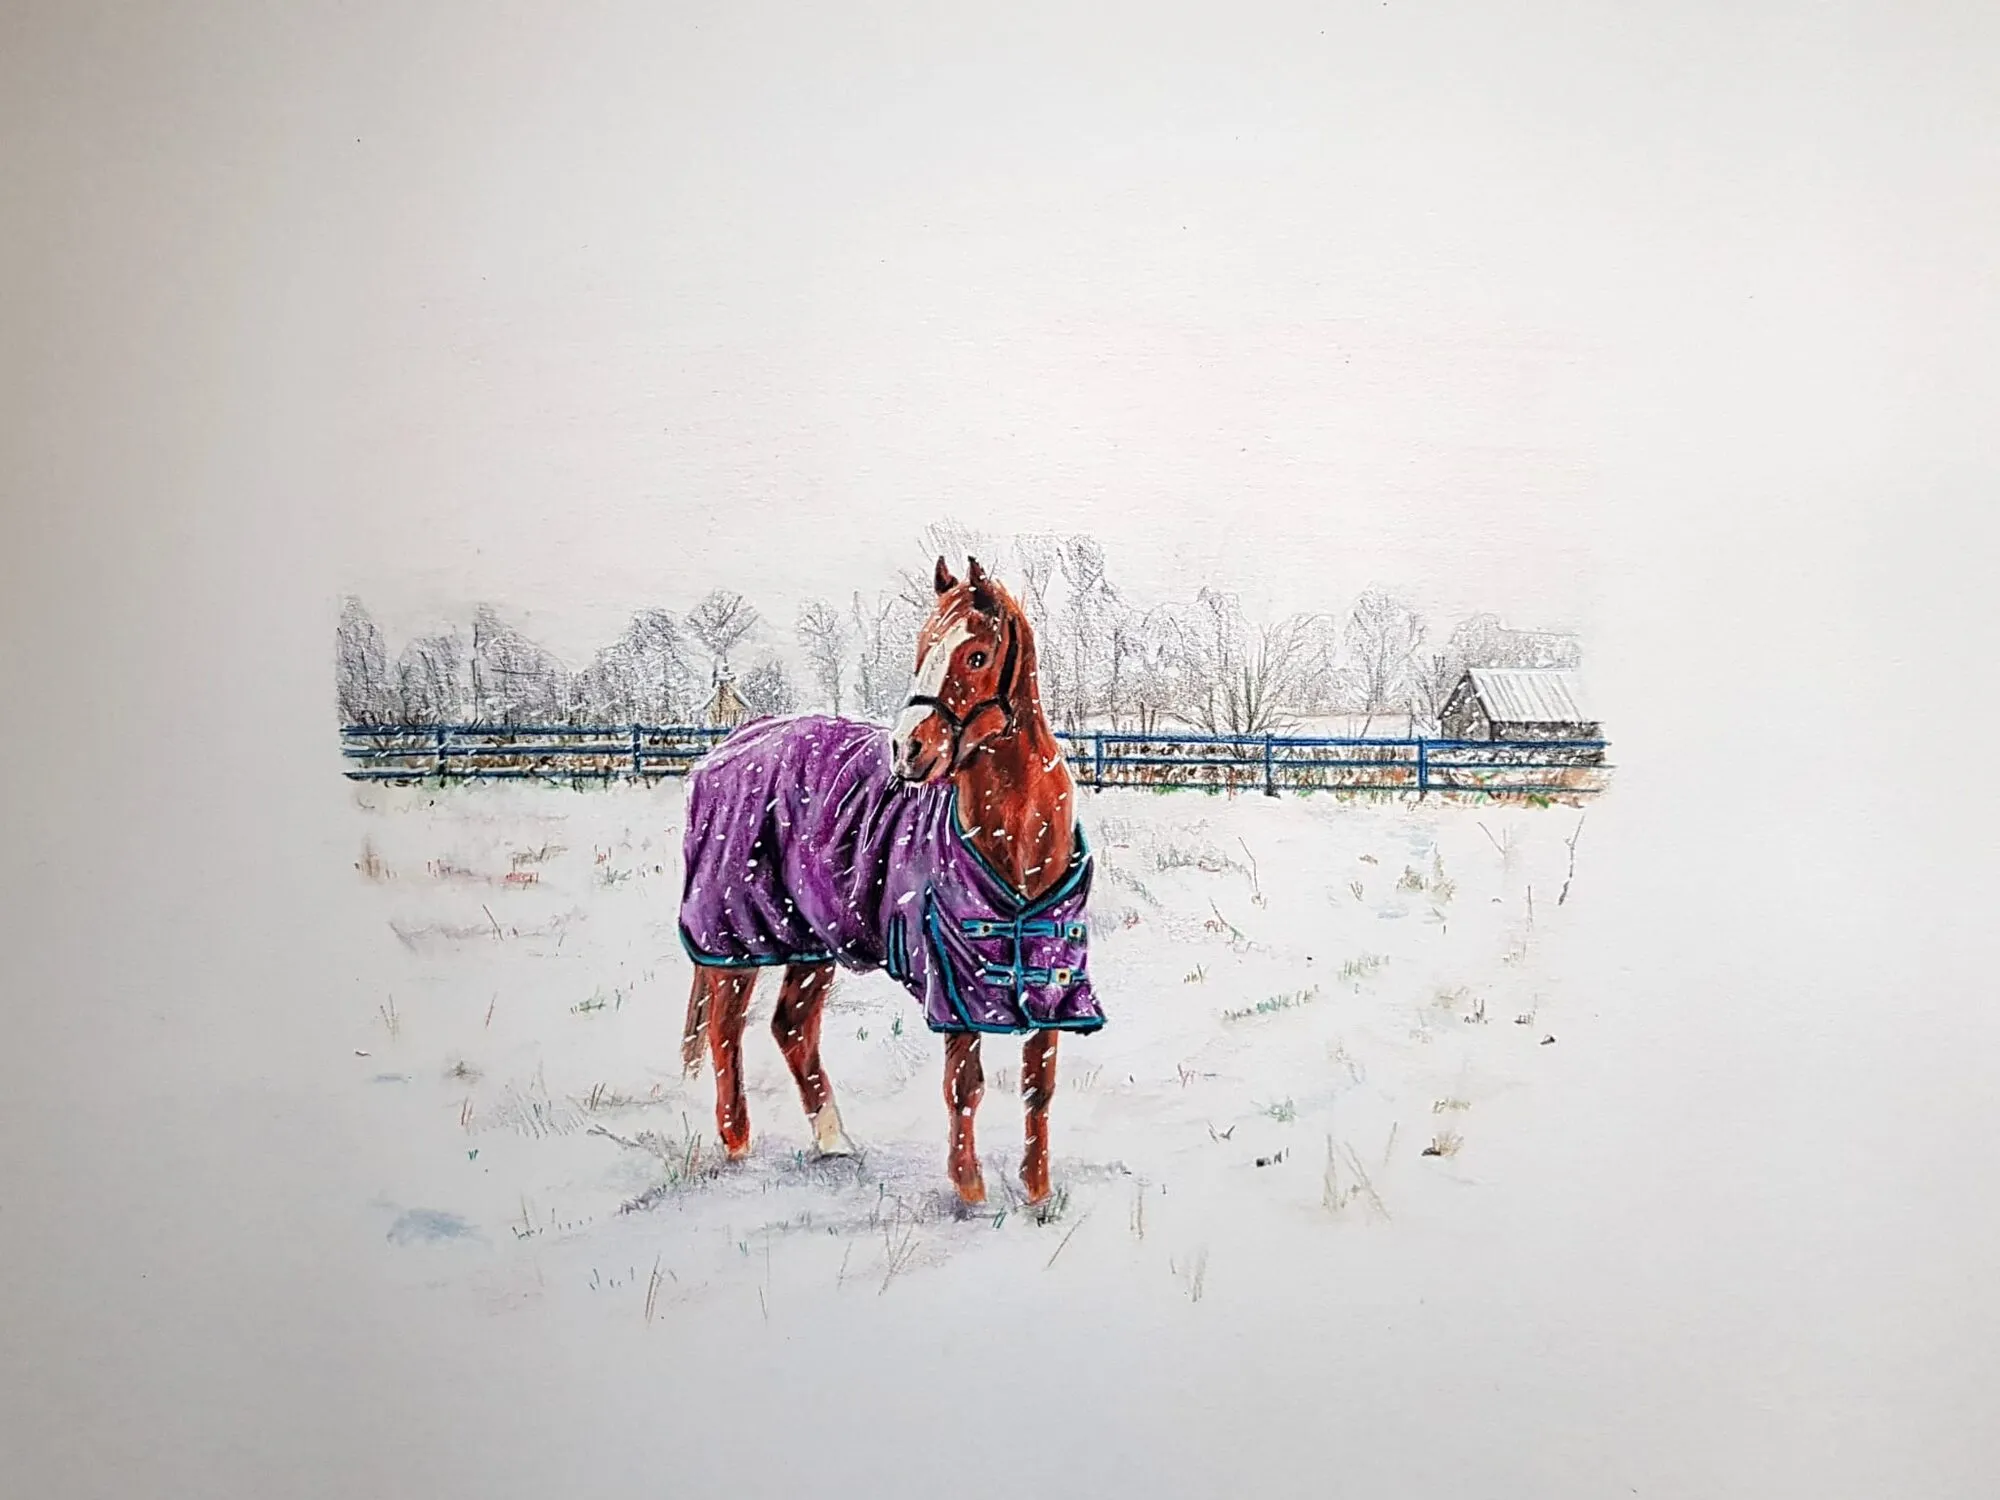
A horse in a purple rug standing in a snowy field, drawn in coloured pencil. Drawing by Michael Brace.
Step 3: Keep the camera parallel
Any tilt between camera and paper creates keystone distortion, where the top of the drawing looks narrower than the bottom. Photographing a rectangle at an angle also means one edge is nearer the lens and therefore slightly out of focus.
- Mount the camera on a tripod or copy stand and set it perpendicular to the paper.
- Use a spirit level or a level app on both the camera and the surface holding the drawing.
- Centre the drawing in the frame, with a small border of background all around.
- Zoom in rather than move the tripod closer, if your camera allows. A longer focal length, well back from the paper, causes less distortion than a wide lens close up.
- Focus on the drawing and use a small aperture, such as f/8, for even sharpness across the sheet.
- Use a timer or remote so pressing the shutter does not move the camera.
If the sheet is curled, weight the edges gently with clean, non-marking supports outside the picture area, or tape it at the corners with a removable tape that will not damage the paper. Never press on the surface of coloured pencil or graphite.
Step 4: Get colour and exposure right
Colour accuracy matters most for coloured pencil, where the difference between a warm brown and a red-brown, or a teal and a blue, can be significant. Toned and grey papers add another challenge because the camera’s automatic settings try to make the average scene neutral.
White balance and a grey card
Take a test shot with a neutral grey card filling the frame under your final lighting, then use it to set a custom white balance in the camera, or correct it later in editing. This removes colour casts from lamps or a coloured wall.
Exposure
Aim for an image where the paper looks like the real paper. A histogram helps: it should not be pushed hard against either edge. Do not expose to make grey paper look white, because you will wash out the drawing. For toned paper, exposure adjustments should keep the tone matching what you see in person.
Shoot in a high-quality format
If your camera allows, shoot in RAW or the highest-quality JPEG, then export what you need. RAW gives you more room to correct white balance without degrading the image.
Compare with the original
Hold the drawing next to your screen and compare. Adjust white balance and exposure until they match, remembering that screens vary. Resist the temptation to boost saturation or contrast. A drawing that looks more vivid than it is can be damaging when a buyer receives the real thing.
Step 5: Crop, straighten and clean up
Once you have a good capture, do minimal, honest editing.
- Crop to the drawing. Remove background, table and any tape unless the competition wants the mount or frame visible. Leave the drawing’s own edges intact.
- Correct perspective. Use the perspective or keystone tools in your editor to square up any slight distortion. Use guides to check that edges are straight.
- Straighten the rotation so horizontals and verticals are true.
- Adjust exposure and white balance to match the original.
- Remove dust and stray marks from the photograph, not from the drawing’s true surface. Do not alter the artwork itself.
- Sharpen lightly for the output size, and stop before halos appear.
Keep an unedited original and an edited master. If you need to check for problems, view the image at 100 per cent on screen, looking for glare, dust and soft focus.
Step 6: File sizes and formats
Different uses need different files. Keep a large master, then export copies.
| Use | Typical approach |
|---|---|
| Master archive | Highest quality you can capture, uncompressed or high-quality; keep the original safe |
| Competitions | The format, pixel dimensions and file size the organiser asks for, most often JPEG; follow the instructions exactly |
| Website and social | Reduced JPEG or modern web format, sized to the layout, with the colour profile embedded for accurate display |
| Print and catalogue | A high-resolution version, as large as the source allows, at the resolution the printer requests |
Requirements differ, so do not rely on general figures. Read the entry guidelines, and check the printer’s specifications before ordering. Use a clear naming pattern, such as artist name, title and version, so you can find the right file later. If you store multiple sizes, label them so you never upload the wrong one.
Common mistakes
- Photographing on the floor or a bed with a hand-held phone, causing distortion and shadows.
- Mixing light sources, giving a yellow half and a blue half.
- Ignoring glare because it looks fine on a small phone screen.
- Over-saturating to look “better”, which misrepresents the drawing.
- Cropping too tightly and cutting off signature or edge detail.
- Photographing after framing, when the glass adds reflections.
- Saving only one version, then resizing a small file upwards later.
- Not documenting detail, when a close-up of texture or a signature is useful for portfolios.
Detail shots and process photographs
Beyond the main image, take two or three close-ups of the areas that show your technique: an eye, a highlight, a texture. These help online galleries and competitions that allow extra images, and they persuade buyers that the drawing rewards a closer look. If you photograph stages as you work, keep the same camera position and light so you can compare them, and see how to build an art portfolio for how process images strengthen a presentation. Competition entries often depend on image quality more than any other part of the submission, which is why how to enter an art competition treats photography as a core step. For technique that survives being photographed, our guide to how to draw glossy surfaces explains how highlights read on paper.
The short version
Use soft light from both sides at about 45 degrees, keep the camera perfectly parallel, watch for sheen on graphite and burnished pencil, set white balance with a grey card, and keep colour honest. Crop and straighten, do not edit the artwork, and save a master file plus the exact versions each competition, website or printer asks for. When you are ready to protect and present the physical piece, move on to framing and mounting, and check sizes with the paper size converter.
Quick answers
Frequently asked questions
How do I photograph a pencil drawing without glare?+
Use soft, diffuse light from two sides at roughly 45 degrees so reflections bounce away from the lens. Avoid direct flash and overhead spotlights. Look at the drawing from the camera position and adjust angles until the sheen disappears. A polarising filter can also help on graphite.
Can I photograph my drawing with a phone?+
Yes. A modern phone can give good results if the light is even and the phone is held parallel to the paper, ideally on a tripod or copy stand. Use a timer to avoid shake and lock exposure. For large prints or competitions, a dedicated camera may offer more detail.
What file format and size should I use for competitions?+
Follow the entry instructions exactly, as requirements vary. JPEG is the common format for online entries, usually with specific pixel dimensions or file size limits. Keep an uncompressed or high-quality master so you can create the correct version for each use.
How do I get accurate colours in photographs of drawings?+
Include a grey card in a test shot to set white balance, shoot in consistent daylight-balanced light, and compare the screen image with the drawing. Small adjustments to white balance and exposure usually fix casts. Avoid heavy saturation boosts, which push colours away from the original.