The Art World
How to Make Prints of Your Drawings
Turn pencil drawings into quality prints: scanning or photographing, resolution, colour management, giclee paper, editions, numbering, storing and shipping.
Key takeaways
- ◆Capture the drawing at a resolution high enough for the largest print you plan to offer, using a flatbed scan for small work or a careful, level photograph for large work.
- ◆Colour management matters more than megapixels: calibrate your screen, work in a consistent colour space and order a proof before you sell.
- ◆Giclee means archival inkjet printing on quality paper with pigment inks, and it is a good match for pencil work when you choose the paper carefully.
- ◆Decide early between open and limited editions, describe them honestly, and never exceed a stated edition size.
- ◆Print-on-demand is convenient and a local print shop gives control, so choose by how much quality control and time you want.
Prints let more people own your work and let one drawing earn more than once. They also ruin reputations when done badly: a dull scan, colours that shifted in printing, a paper that yellows, or an edition described loosely. The quality of a print is decided long before the printer starts, in how you capture the drawing.
This guide follows the path from the finished original to a print in a buyer’s hands: scanning or photographing, resolution, colour, printing and paper, editions and numbering, signing and certificates, and then storing and shipping. It is general information for artists, and it fits into our wider art world guide. If you work in coloured pencil (colored pencil in the US), colour accuracy deserves extra attention, because saturated wax and oil layers are easy to misrepresent.
Scanning or photographing: choose by size
Both can give excellent results. The right choice depends mainly on the size of the drawing.
Scanning suits work that fits a flatbed scanner. The scanner lights the paper evenly and keeps it flat, so there is no perspective distortion and no glare to fight. Scan the sheet with a clean glass, in a high quality mode, and save an uncompressed or lightly compressed master. Pencil work with a sheen, such as dense graphite, can still show differences in a scanner, so check the result at full size. Some scanners cannot hold larger sheets, and stitching several scans together takes care.
Photographing suits larger work. You need a level camera parallel to the drawing, soft and even light from both sides, and a neutral reference for colour. Everything in how to photograph your drawings applies, and you should photograph before framing. Correct perspective and crop tightly, leaving a hint of paper edge if you want the sheet visible.
Professional capture is an option for large, valuable or difficult pieces. Specialist fine-art scanning and copying services exist, and they can provide colour profiles and high-resolution files. Ask what they offer and what formats they deliver.
Whichever route you choose, keep the original capture untouched as a master and work on copies. Clean up dust and paper blemishes carefully, but avoid changing the drawing itself. A print should be an honest reproduction.
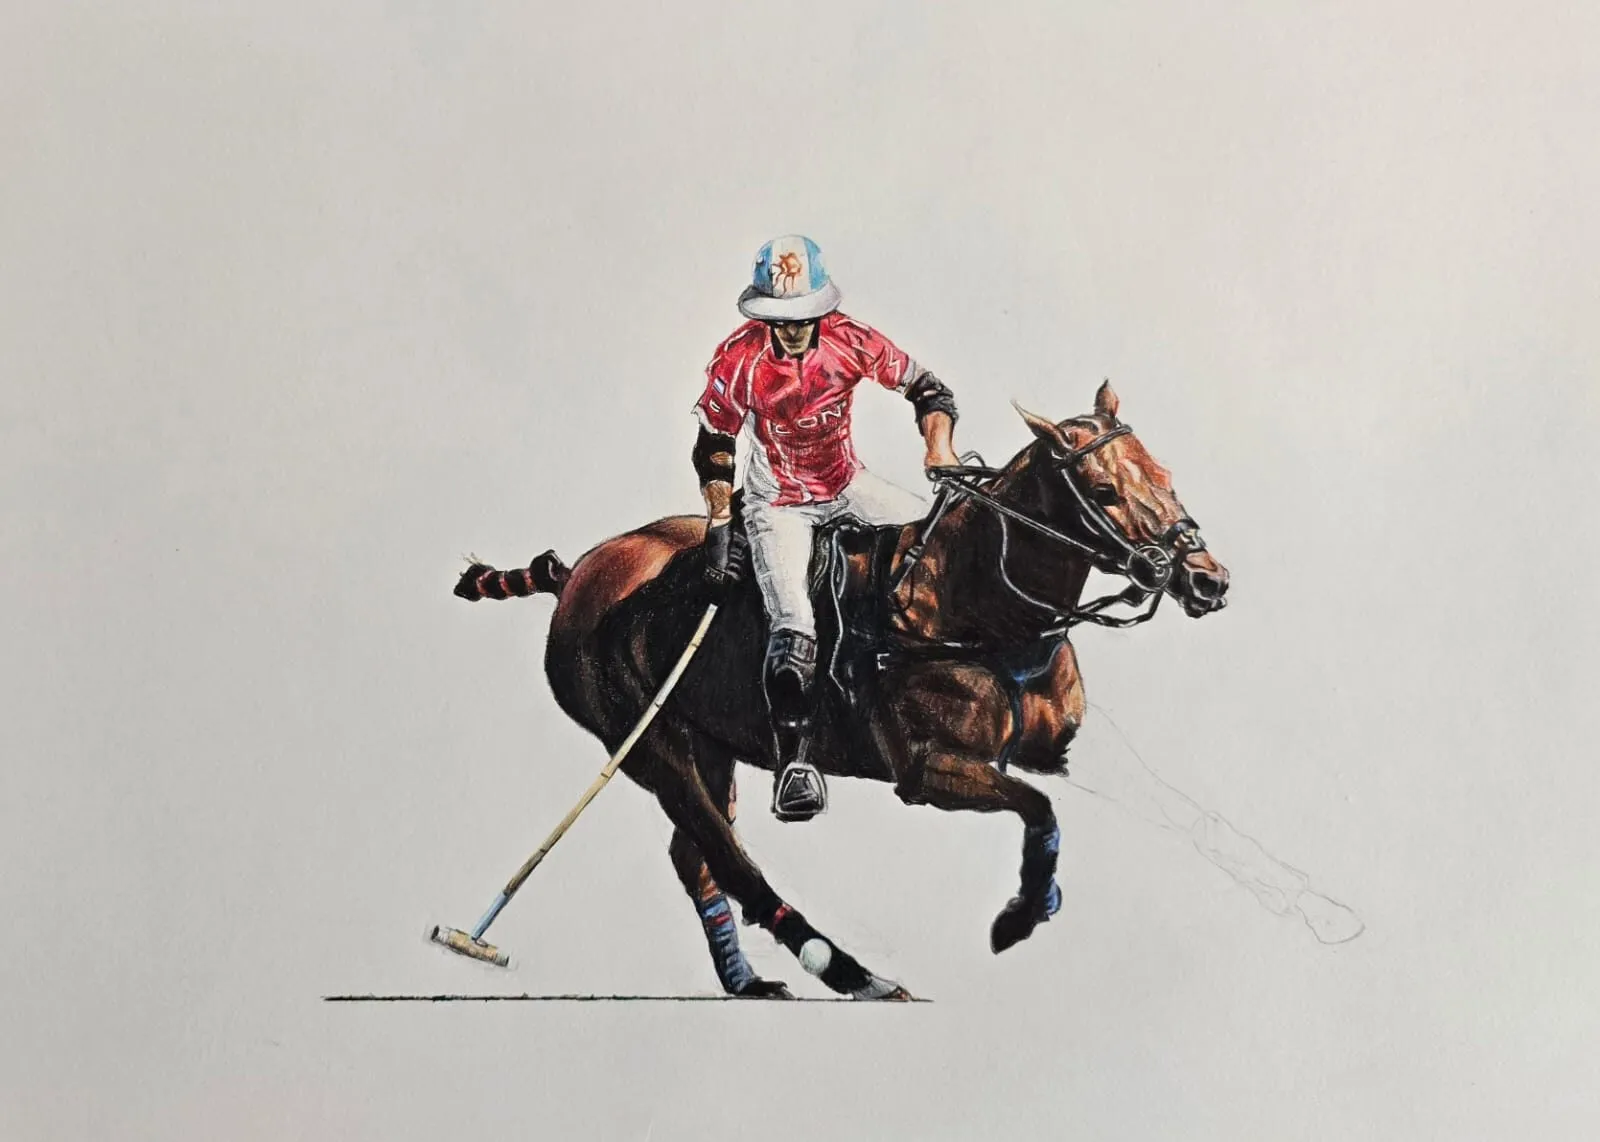
A polo player on a galloping horse drawn in coloured pencil. Drawing by Michael Brace.
Resolution in general terms
Resolution confuses many artists, but the core idea is simple. A print is made of dots, and a file is made of pixels. You need enough pixels across the print so the dots look smooth at normal viewing distance.
A common rule of thumb for quality printing is about 300 dots per inch at the final size. To use it, multiply the print’s width and height in inches by 300. For a standard sheet, the numbers are already worked out on our paper sizes pages, for example the A4 page and the A3 page, and the paper size converter helps you move between metric and inch sizes. Printers sometimes ask for different values, so confirm their current file guidance.
Some practical points:
- Capture at a high enough resolution for your largest planned print. It is easier to shrink a file later than to enlarge it.
- Avoid enlarging small files. Software can add pixels, but it cannot restore detail the capture never recorded.
- Keep a master and make export copies, one per print size or use, rather than repeatedly saving over a single file.
- Use a lossless or high-quality format for masters, and only compress copies for web use.
Fine pencil detail, such as hair, texture and edges, is what shows low resolution first, so judge your file by zooming to full size on your most detailed areas.
Colour management basics
The print must look like the drawing, and that depends on colour control, not just pixels.
- Use a consistent colour space. Work in one recognised space, and ask your printer which one they prefer. Mixing spaces is a common cause of surprises.
- Calibrate your screen. An uncalibrated display can be too bright, too warm or too cool. A basic calibration tool or a calibrated display helps, and so does a neutral room light.
- Set a neutral reference. A grey card in a photograph, or a scanner’s own profile, gives a starting point for white balance.
- Compare with the original. Hold the drawing next to the screen and check key colours, especially saturated ones and deep darks.
- Ask for a colour profile from the printer for the paper you choose, and use it to preview the result.
- Order a proof. Look at it in daylight, next to the original. Adjust and reproof if needed before you sell anything.
Some colours print less vividly than they look on screen, particularly intense pinks, oranges and bright blues, and very deep blacks can behave differently from paper to paper. That is why a proof is not optional. For more on judging hues, the colour harmony schemes guide helps you notice when a colour has drifted.
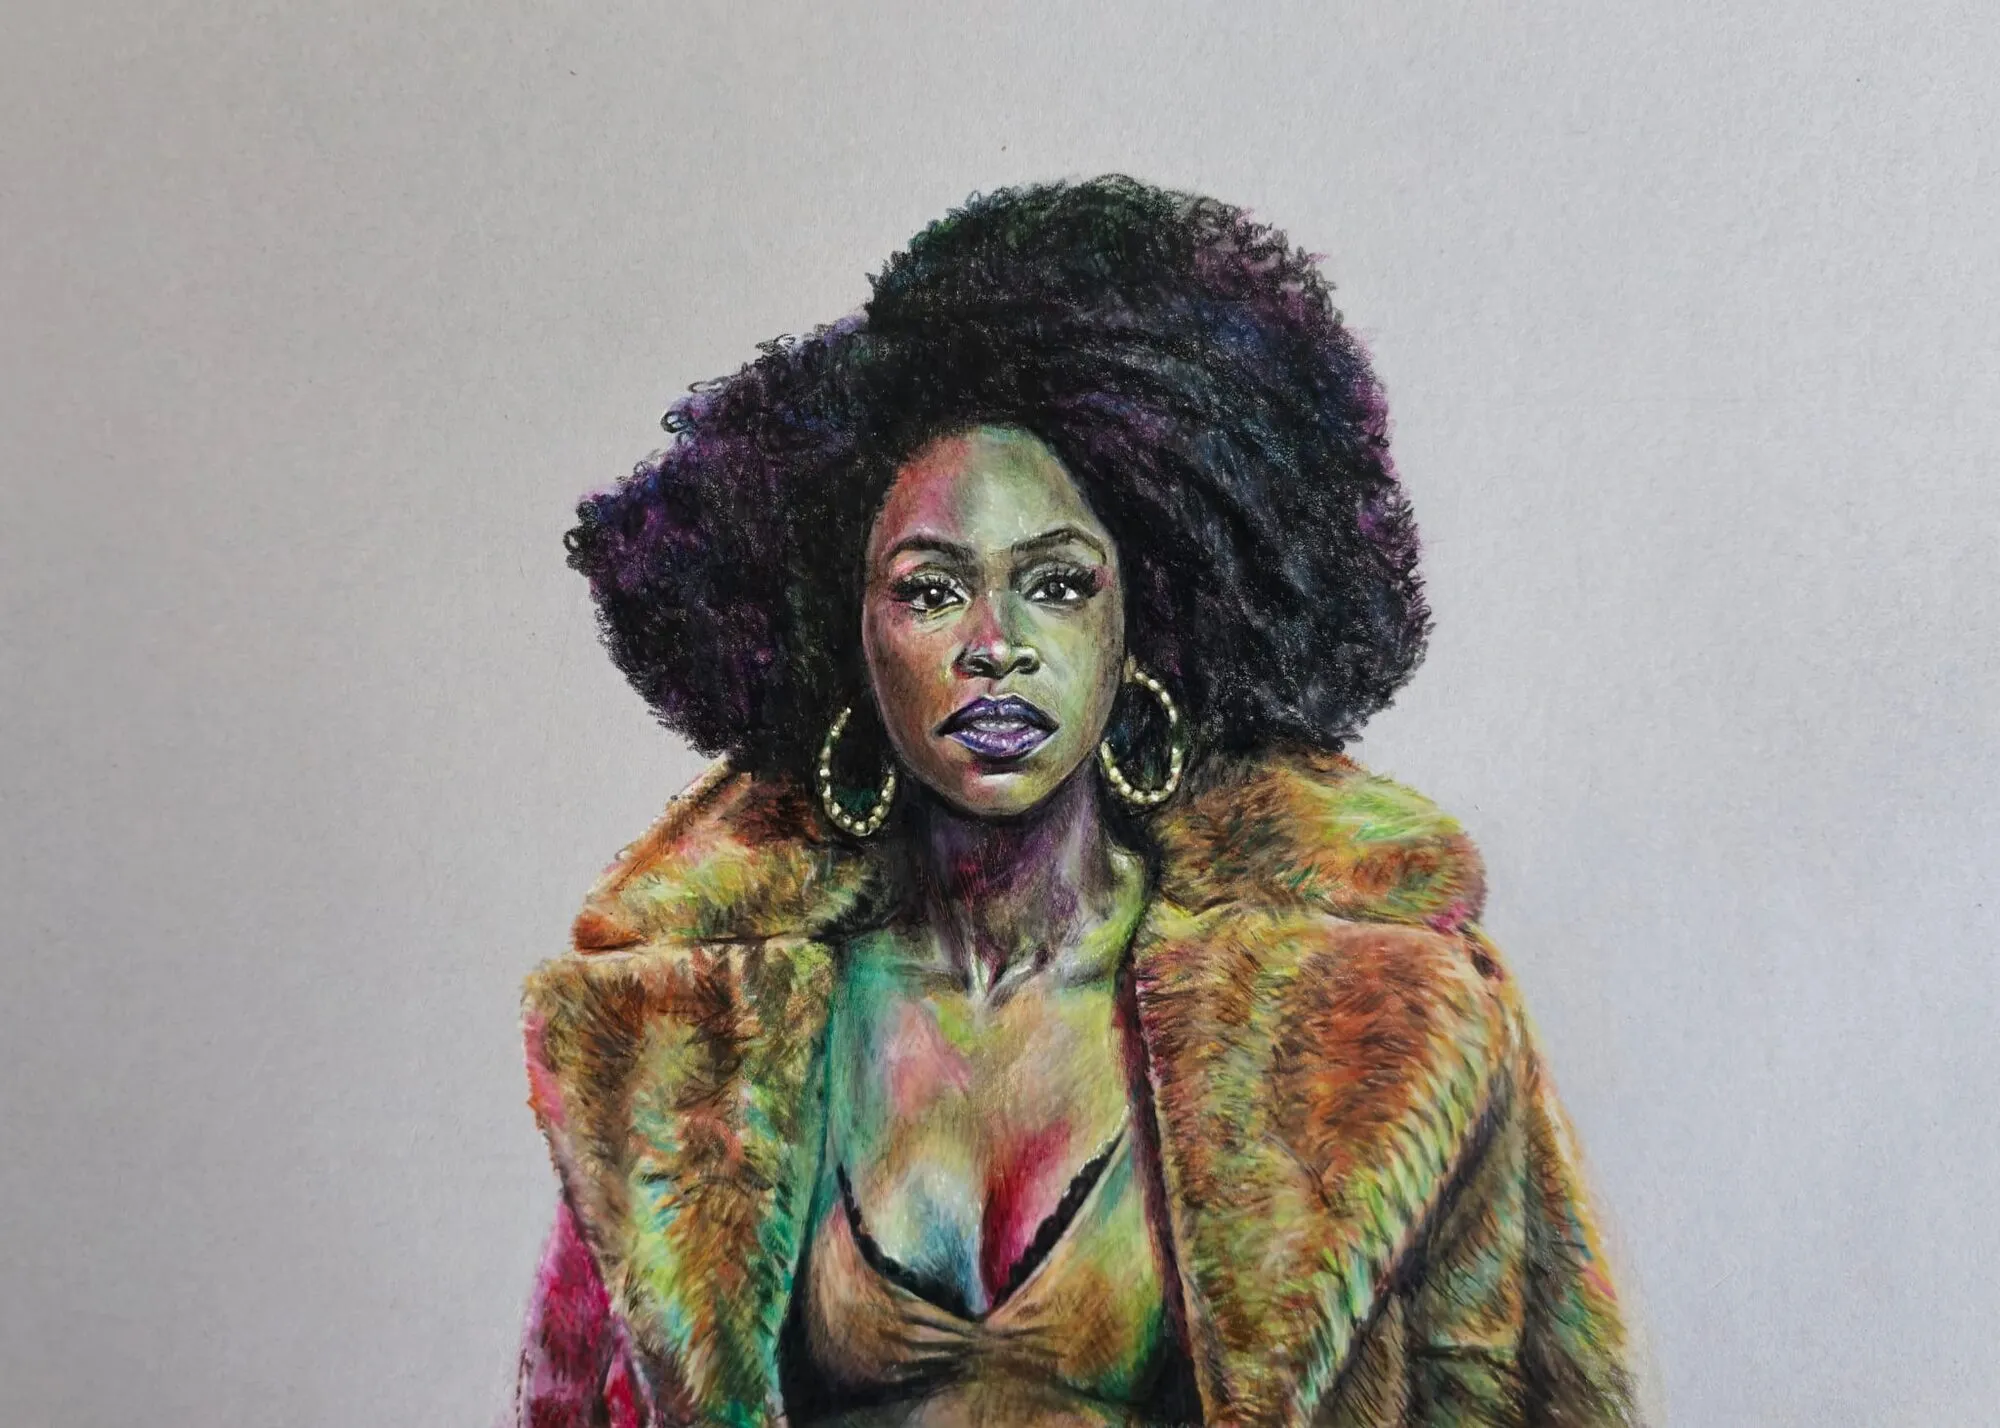
A portrait of a woman in a multicoloured fur coat drawn in coloured pencil. Drawing by Michael Brace.
What giclee means
“Giclee” is a term for high-quality inkjet printing, typically using pigment inks on archival or fine art paper. It has become shorthand in the art world for a careful print made on a professional wide-format printer. It is not a regulated standard, so two prints sold as giclee can differ a lot in quality.
When you choose a printer or service, ask about:
- The inks, and whether they are pigment-based and rated for long-term display by the manufacturer.
- The paper, including its composition and whether it is acid-free or archival.
- Proofing, including whether you can see a test print.
- Colour profiles and file requirements.
- Their finishing, such as trimming and packaging.
Then describe the result honestly. If your print is an archival pigment inkjet print on cotton paper, say so. Do not claim a lifespan or lightfastness rating unless the manufacturer states it, and quote it precisely if they do.
Choosing print paper
Your choice of paper changes how a pencil drawing reads. In general terms:
- Smooth, fine art papers hold fine detail well, which suits precise pencil work.
- Textured papers can look closer to the original drawing paper, but may soften detail.
- Matte finishes reduce glare and suit graphite and coloured pencil, while glossy surfaces can look very different from pencil on paper.
- Weight and feel affect how substantial the print seems in hand.
- Base colour matters. If you draw on grey or toned paper, a print on bright white paper changes the impression unless the drawing’s tone is included in the image.
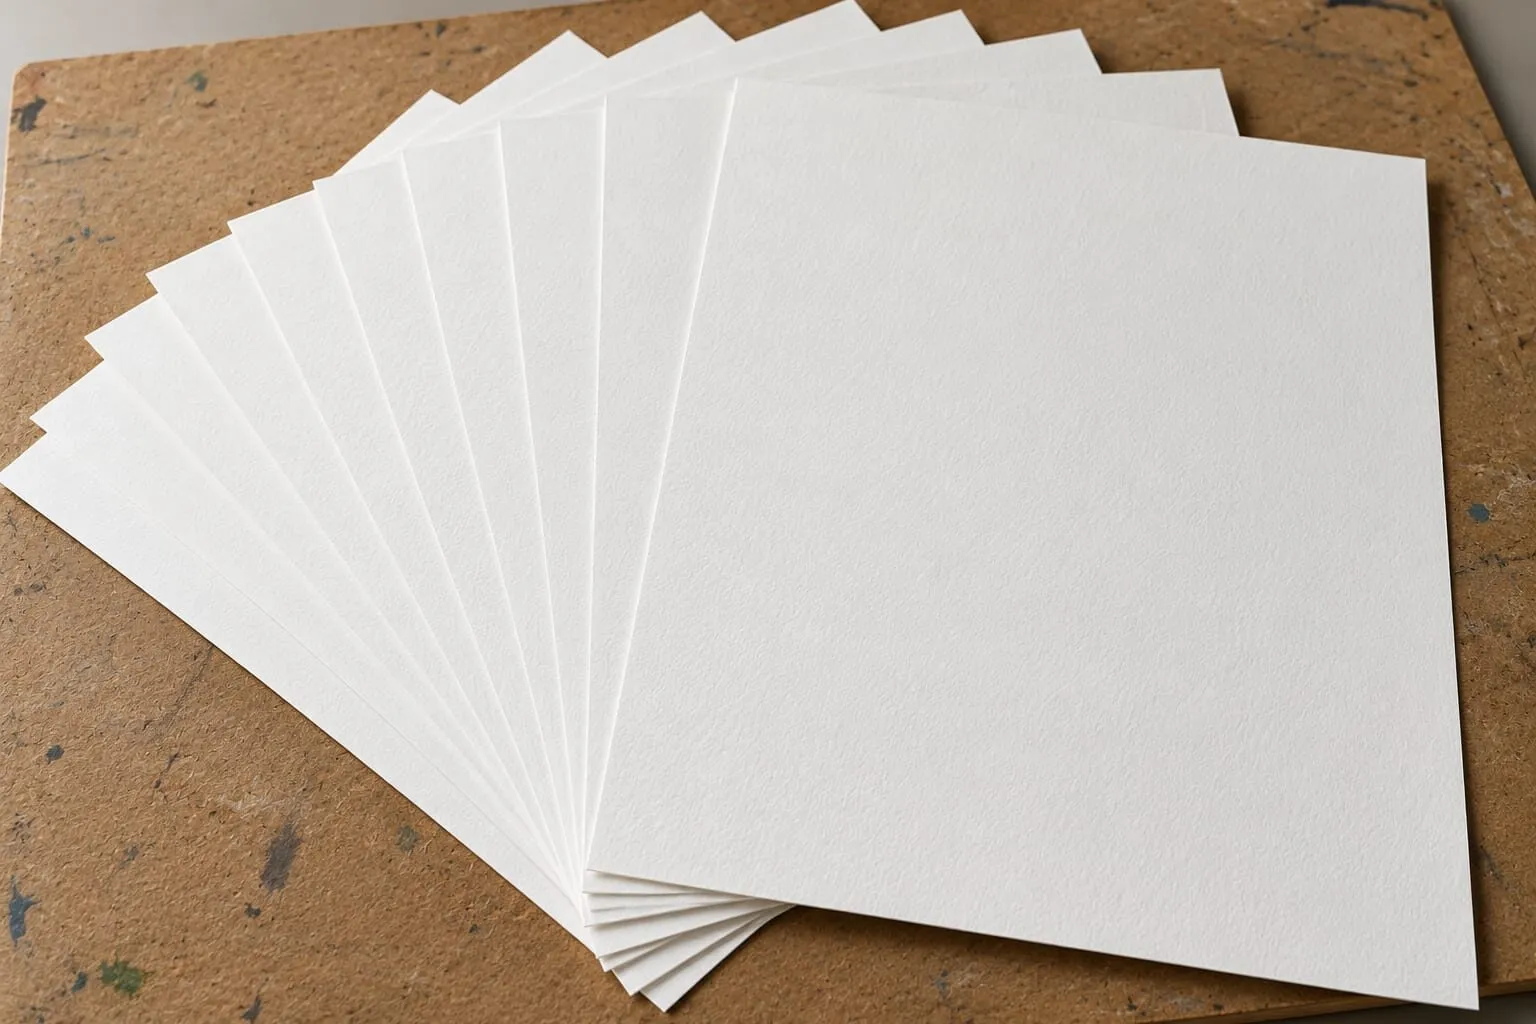
Look for papers described as archival or acid-free, and check the manufacturer’s current information. Our guides to archival paper for selling your drawings and paper weight and gsm explain the terms. Always proof on your chosen paper, because the same file can look quite different on two stocks.
Open editions or limited editions
An open edition has no fixed number of prints. You can make more whenever needed. A limited edition has a fixed number, declared in advance, after which no more are printed from that image in that size and format.
| Open edition | Limited edition | |
|---|---|---|
| Number of prints | Unlimited | Fixed and stated |
| Buyer appeal | Accessible, flexible | Scarcity and collectability |
| Workload | Print as orders arrive | Plan, sign and number up front |
| Risk | Less perceived rarity | Must never exceed the stated number |
Limited means limited. If you say an edition is fifty, never print a fifty-first, in any size or medium that could be taken as the same edition. Decide your edition size and rules before you start, and write them down. Many artists keep the original out of the edition and sell it separately, with prints priced well below it, as described in how to price your drawings.
Numbering, signing and certificates
Conventions help buyers understand what they own.
- Numbering. Limited editions are commonly marked as the print number over the edition size, for example 3 of a stated total, in pencil on the margin.
- Signing. Sign and, if you wish, title and date the print, usually on the margin in pencil. Signing every print, even open ones, is a personal choice; be clear in the listing whether prints are signed.
- Certificates of authenticity. A simple sheet recording the title, edition number, date, paper, printing method and your signature gives buyers a record and helps if the print is resold.
- Keep your own register. List each edition number, buyer and date, so you can answer questions years later.
These are conventions, not legal requirements, and expectations vary by market. If you have questions about what a certificate means legally, ask a qualified professional.
Print-on-demand or a local print shop
| Print-on-demand | Local or specialist print shop | |
|---|---|---|
| Stock | None, printed per order | You hold stock or order batches |
| Control | Limited by the service | Higher, with proofs and conversation |
| Effort | Low once set up | More handling and packing |
| Quality | Varies by provider | Varies, but you can inspect |
Print-on-demand services are convenient and avoid upfront stock, but you rely on their paper choices, colour handling and packaging, and you should order test prints before listing anything. A local or specialist fine art printer lets you talk through paper, see proofs and sign prints you hold, at the cost of more handling. Many artists use both: on-demand for open editions, a specialist shop for limited runs. Check each provider’s current terms, file requirements and policies before you commit.
Storing and shipping prints
Prints are easy to damage and easy to protect.
- Store flat in a clean, dry place, away from direct sunlight, with acid-free tissue or sleeves between sheets.
- Handle by the edges, with clean hands or cotton gloves, to avoid fingermarks.
- Protect each print in a clear sleeve with a stiff backing board so it cannot bend.
- Ship flat where you can. Rolled prints in tubes are an option for larger sheets, but flat is safer for most. Keep the package dry.
- Include the paperwork, such as the certificate and a thank-you note.
- Check carrier rules on size, weight and tracking, and on international customs.
If you plan to sell framed, use the frame and mount calculator and the frame sizes hub to match prints to standard frames, and read how to frame and mount a drawing for conservation-minded methods. Standard print sizes are cheaper for buyers to frame than unusual ones.
The short version
Capture at a resolution that covers your largest print, scan when you can and photograph carefully when you cannot. Manage colour with a calibrated screen and a proof. Choose an archival inkjet printer and a paper that suits pencil, describe it accurately, and decide on open or limited editions before you start. Sign, number and record honestly, then store and ship with care. When you are ready to sell, see how to sell your drawings online.
Quick answers
Frequently asked questions
Should I scan or photograph my drawing for prints?+
Scan if the drawing fits on your scanner bed, because scanners give even light and consistent detail. For larger work, photograph it with even light, a level camera and correct colour, or use a professional scanning or copying service. Whichever you choose, keep a full-size master file and check it against the original.
What resolution do I need to print a drawing?+
Print shops commonly work to about 300 dots per inch at the final print size, so multiply the print's width and height in inches by 300 to find the pixel dimensions. Our paper size pages list these figures. Scan or photograph with some headroom, and always ask your printer for their current file requirements.
What is a giclee print?+
Giclee is a term for high-quality inkjet printing, usually with pigment inks on archival or fine art paper. It is not a legal or regulated standard, so the quality depends on the printer, inks and paper. Ask what inks and paper are used, and describe your prints accurately to buyers.
Do I need a certificate of authenticity for prints?+
It is not compulsory, but many artists include one for limited editions because it records the title, edition number, date, paper and printing method, with a signature. It helps buyers trust what they own. Keep a record of each edition yourself, and seek qualified advice if you have legal questions.