The Art World
How to Frame and Mount a Drawing
Mount board, aperture, hinges, glazing and spacers explained, so your graphite or coloured pencil drawing is protected, flattering and ready to hang.
Key takeaways
- ◆A mount with a generous border, a slightly heavier bottom margin and an aperture that overlaps the drawing edge makes a drawing look finished.
- ◆Use acid-free, conservation-grade mount board and backing, and hinge the drawing with reversible tape or paper, never permanent adhesive.
- ◆A spacer or a deep mount keeps the drawing from touching the glass, which matters for coloured pencil and graphite.
- ◆UV-filtering glazing helps protect against fading, but nothing replaces keeping work out of direct sunlight.
- ◆Keep frames simple so the drawing leads, and store unframed work flat, interleaved and away from light and damp.
A drawing that is beautifully made can still look unfinished in a cheap frame, or worse, be damaged by one. Coloured pencil and graphite are unusually vulnerable: the surface can smudge, wax can transfer to glass, paper can ripple or discolour, and light exposure can fade some pigments over time. Good framing protects all of that, and it is also the difference between “a drawing” and “a piece ready to sell or hang in an exhibition”.
This guide explains each component of a proper frame: mount board, aperture, overlap and borders, hinges, acid-free materials, glazing, spacers, and the frame itself. It also covers sizing, with links to our frame and mount calculator and paper size converter, and how to store unframed work. It belongs with the rest of our art world guides, and pairs with photographing your drawings, because you should photograph before the glass goes on.
Frame sizes follow paper sizes, so check the standard formats on our paper sizes pages, such as A4, A3 and 11x14 inch. The same care applies to colored pencil work, where wax can transfer to glass without a spacer.
The parts of a framed drawing
From the back to the front, a properly framed drawing usually has:
- Backing board, ideally acid-free, that supports the sheet.
- The drawing, hinged to the backing board.
- The mount (or mat), a window-cut board that sits in front of the drawing.
- A spacer, if the mount itself is not thick enough, to hold the glazing away from the surface.
- The glazing, glass or acrylic.
- The frame, holding everything together.
- A dust cover and fixings on the back.
Each layer has a job. Removing one to save money usually costs more in the long run.
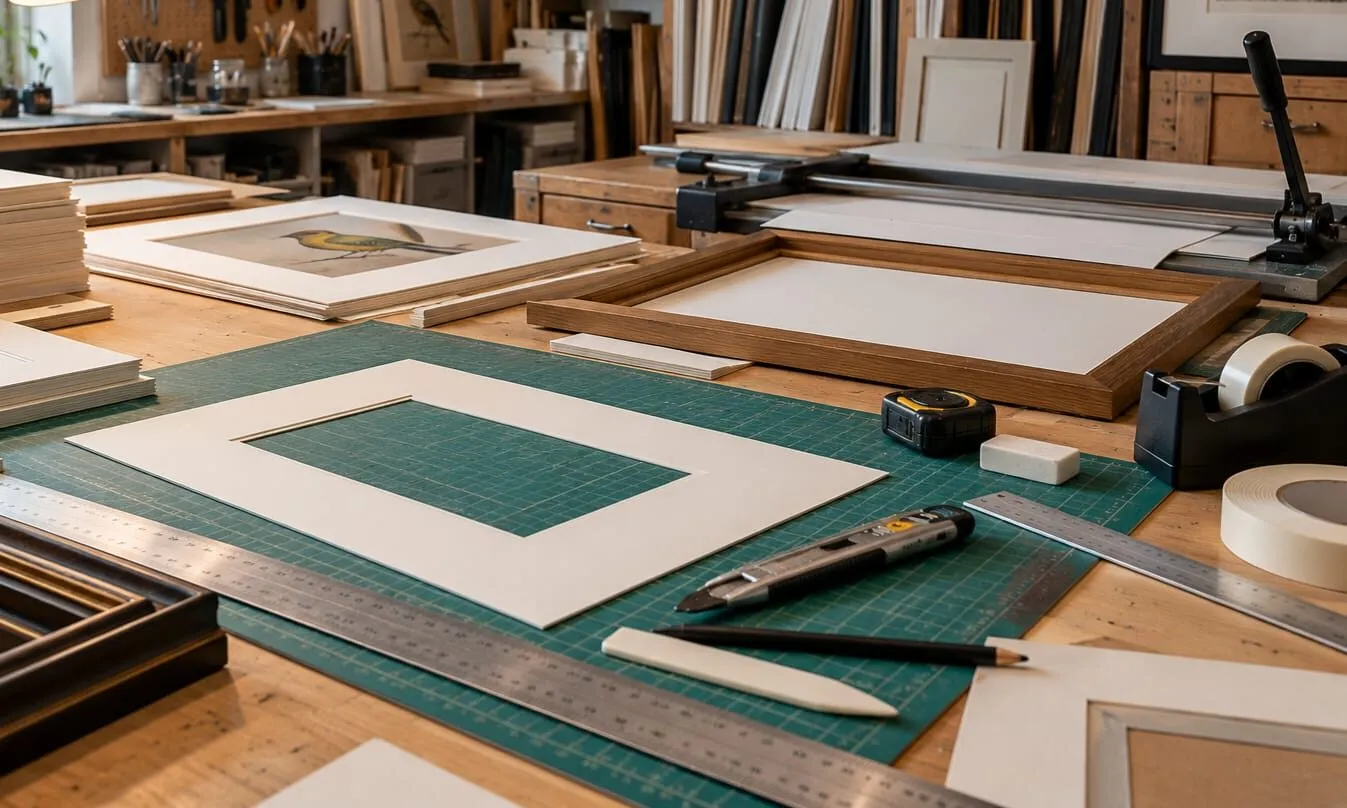
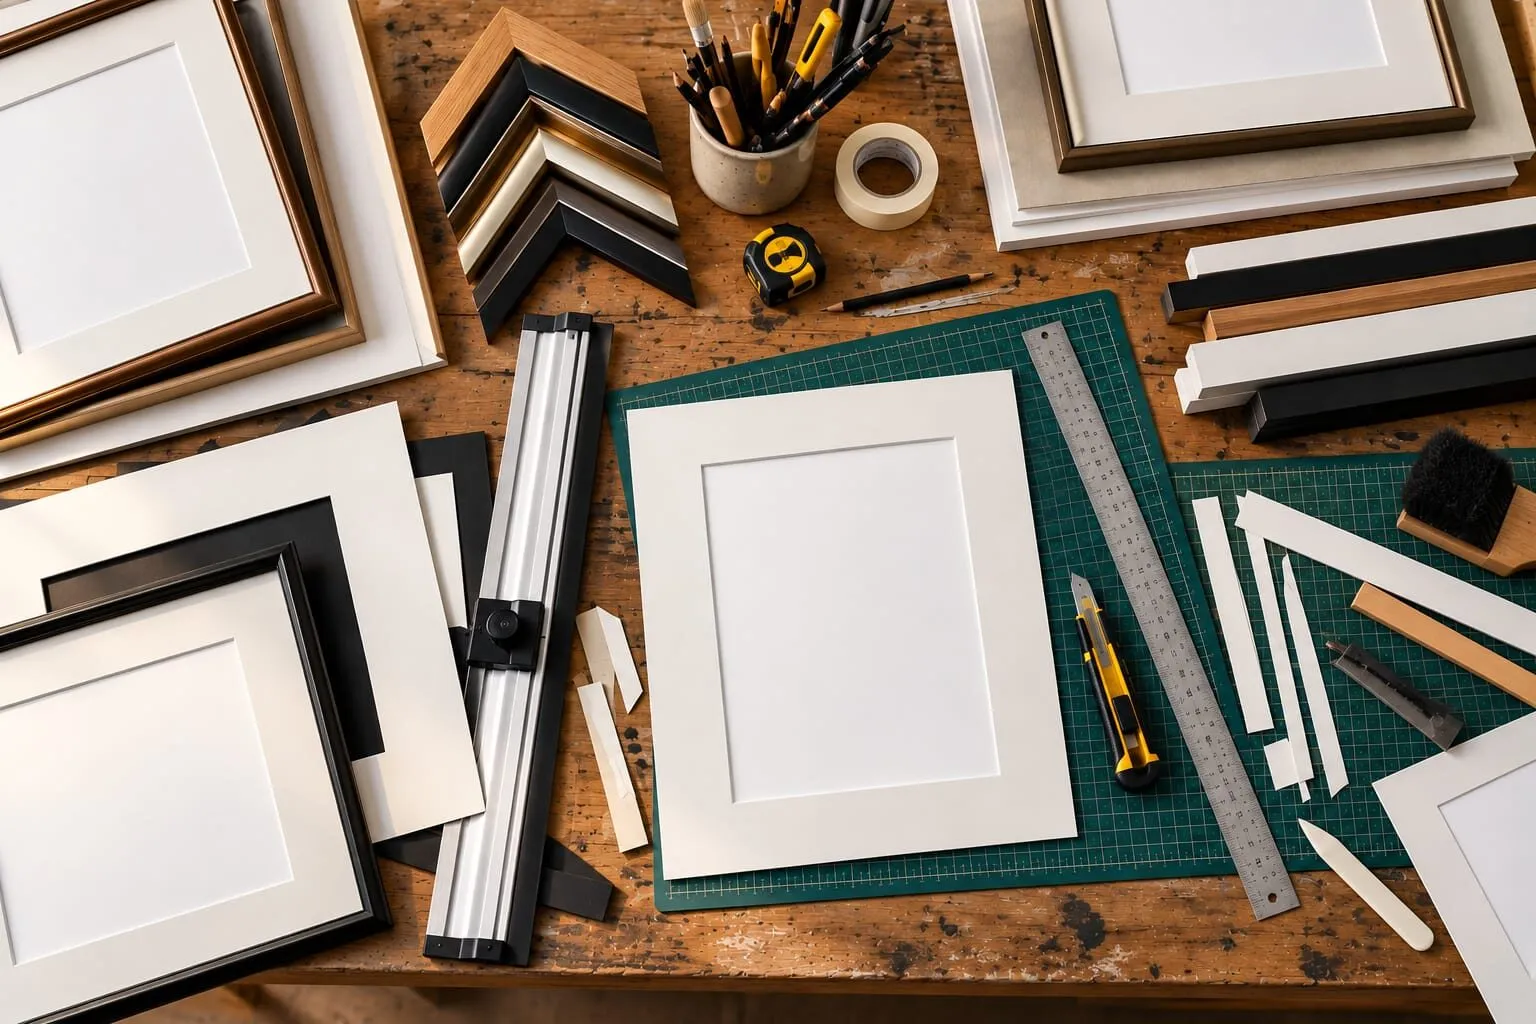
A mount-cutting bench with a cutting mat, ruler, mount board and frame mouldings.
Mount board: choosing and cutting
What mount board does
The mount separates the drawing from the glazing, creates a border of neutral space around the image, and directs the eye inwards. It also protects the edges of the paper from handling and lets you display a sheet without trimming it.
Materials
Choose acid-free or conservation-grade mount board. Ordinary card contains acids that can discolour paper and cause brown stains, called mat burn, along the edges of the aperture over time. Higher grades, such as cotton-based museum board, are made to avoid this, and are worth using for anything you plan to sell. Ask your framer what grade they use, and see our guide to archival paper for selling your drawings for why the paper itself matters too.
Colour matters: white and off-white are the safest choices, allowing the drawing to lead. Very strong colours can compete with subtle coloured pencil work. If a drawing is on grey or toned paper, a neutral white or soft off-white mount often makes the grey look richer.
Aperture and overlap
The aperture is the window cut in the mount. It should be slightly smaller than the drawing so the mount overlaps the edges of the image. Common practice is an overlap of a few millimetres on each side, enough to hold the drawing in position and hide the paper edge, but not enough to crop the composition. Decide whether you are showing the whole sheet, including a deliberate margin of paper, or just the image, and make that consistent across a series.
Borders and weighted bottom
A wide border gives a drawing space. A traditional approach is to make the bottom border slightly deeper than the top and sides, which counters an optical illusion that makes an evenly spaced mount look as though the picture is sliding down. Keep borders proportionate: a small drawing in a huge mount can look lost, and a crowded mount can look cheap. Use the frame and mount calculator to try border widths and see the outer sizes before ordering.
Hinging: how to attach the drawing
Never glue the whole back of a drawing to a board. Paper expands and contracts with humidity, and a drawing fixed on all sides will buckle. Instead:
- Use hinges at the top edge only. Small strips of Japanese paper with reversible paste, or purpose-made archival hinging tape, hold the sheet so it hangs freely.
- Avoid ordinary sticky tape, masking tape or double-sided tape on the drawing. These can stain and are difficult to remove.
- Position hinges under the mount overlap, so they are hidden.
- Keep the drawing flat and clean while you work. Clean hands or cotton gloves help, and place a clean sheet of paper over the surface to protect the drawing when you smooth things down.
Alternatives include photo corners or polyester pockets that hold the sheet without adhesive, which are useful for work you may want to reframe. If a drawing is valuable or fragile, ask a professional framer to hinge it.
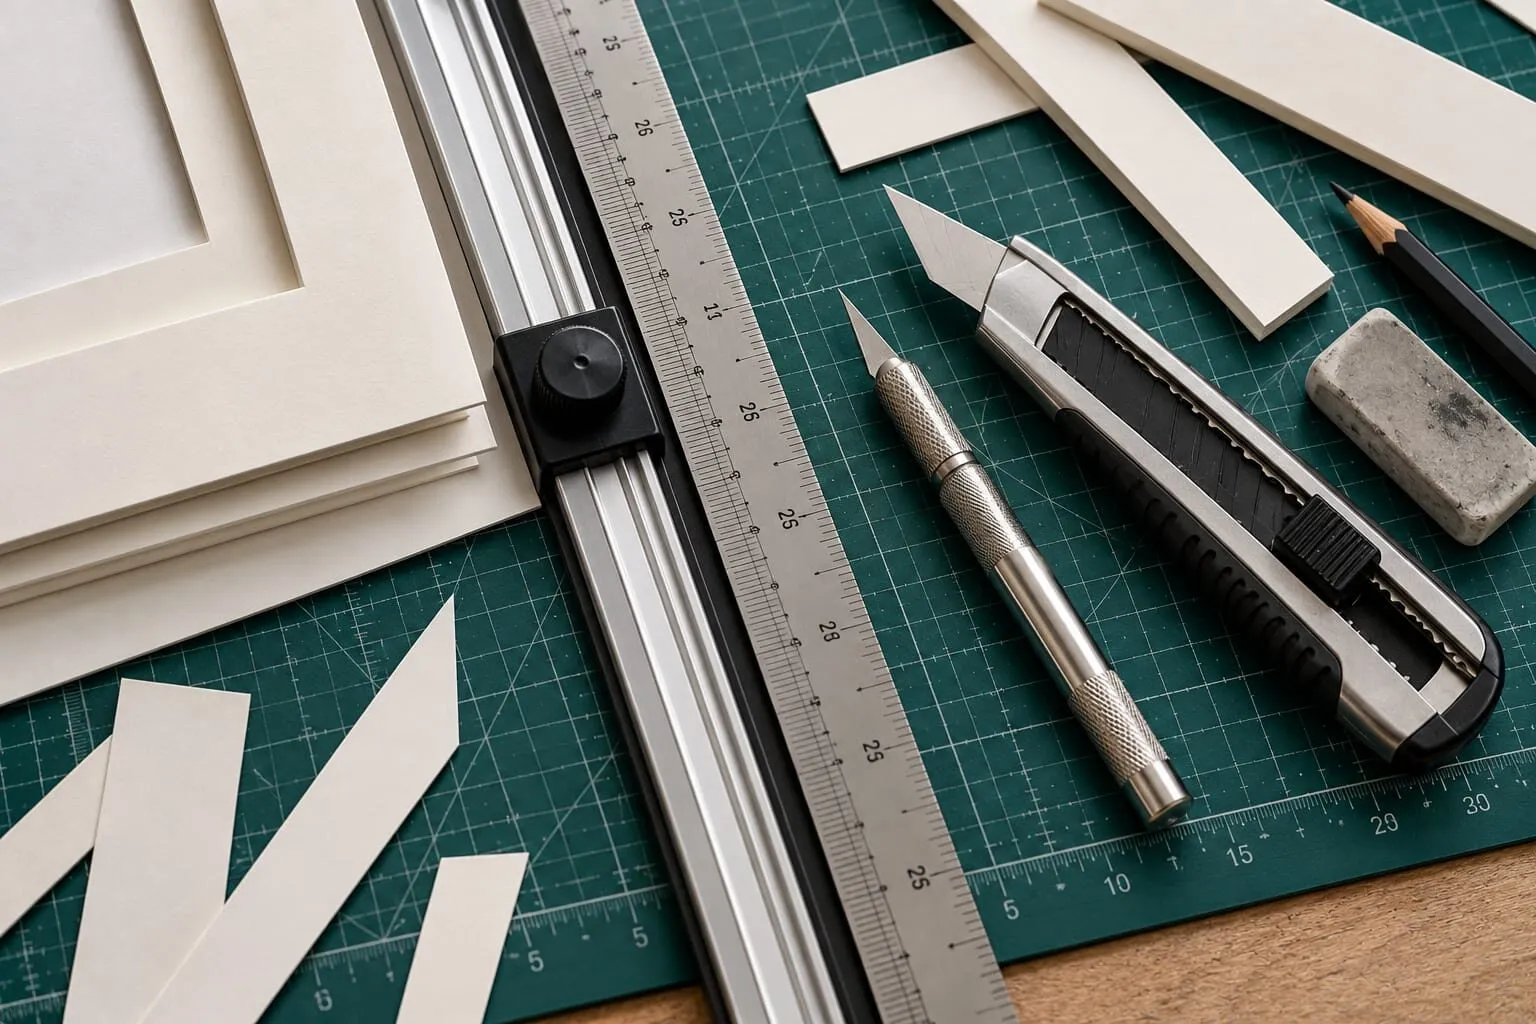
A mount cutter, craft knife and metal ruler on a green cutting mat with mount board offcuts.
Acid-free everything
Acid-free applies to more than the mount. The backing board, hinging materials and any tapes used to seal the back should also be conservation-grade. Wood-pulp card such as the cardboard in cheap frames can release acids into a drawing over the years. Ask specifically about acid-free backing, and about the tape used on the back of the frame. This is one of the cheapest upgrades you can make to protect a piece.
Glazing: glass, acrylic and UV protection
Glazing keeps dust and fingers off the drawing. It also affects how the drawing looks and how long it lasts.
| Glazing | What to know |
|---|---|
| Standard glass | Cheap and clear, but reflective and heavy, and gives little UV protection |
| UV-filtering glass or acrylic | Filters a large part of ultraviolet light, which reduces the risk of fading over time |
| Anti-reflective or low-reflection | Cuts glare so the drawing is easier to see, at a higher price |
| Acrylic (Perspex) | Lighter and safer to ship, but scratches more easily and can hold static that attracts loose pigment |
For a drawing you plan to keep or sell, UV-filtering glazing is a sensible choice. It reduces, but does not eliminate, light damage. Lightfastness varies between pencil ranges, so read our guide to coloured pencil lightfastness, and hang all works away from direct sunlight regardless of glazing.
If you use acrylic, ask about anti-static versions, because static can lift loose graphite or pigment from the surface of a drawing. Glass is often preferred for heavily layered coloured pencil or graphite for that reason, though shipping favours acrylic. Some competitions specify the glazing type, so check the rules before you buy.
Spacers and depth
A spacer, sometimes called a fillet or slip, is a thin strip that sits between the glazing and the mount or drawing. It creates an air gap so the surface is not pressed against the glass. In many cases, a double-thickness mount or a thicker board does the same job. Whichever you choose:
- Ensure the gap is enough to avoid contact even if the paper ripples slightly.
- Choose the depth of the frame rebate (the recess) so that everything fits without forcing.
- Make sure the frame is sealed at the back so dust does not enter the gap.
Spacers are especially important for drawings with heavy build-up, because layers of coloured pencil and dense graphite are more likely to mark the glazing than a light sketch.
Choosing the frame
The frame is the last decision and the simplest: it should support the drawing, not compete with it.
- Simple profiles work best. A slim, plain wooden or metal frame in black, white, natural wood or a neutral finish suits most pencil work.
- Match the drawing’s tone and weight. Delicate graphite suits a thin frame, while a bold coloured pencil piece can carry a heavier profile.
- Think about the room and the competition. Galleries and competitions often prefer plain, uniform frames, so check their rules before you invest in a decorative style.
- Check quality of joins and backing. A well-made frame keeps the drawing square and secure.
- Ask about sealing. A dust cover and sealed back help protect the piece from dust and pests.
Buying ready-made frames in standard sizes can be economical, especially if you plan your paper sizes around them. If you buy paper in odd sizes, custom framing costs more. Our paper size converter helps you compare paper sizes and the frames they suit.
Sizing: how to work it out
Getting sizes right avoids expensive re-cuts.
- Measure the drawing sheet and the image area. Note both.
- Decide the aperture. This is the image size minus the overlap.
- Choose border widths. Include a slightly heavier bottom margin.
- Calculate the mount board size. That is the aperture plus the borders on each side.
- Check the frame’s internal (rebate) size matches the mount board.
- Add depth for spacers and glazing.
The frame and mount calculator does this arithmetic for you, and the paper size converter helps if you are working between metric and imperial or between standard sheet formats. If you are drawing something for a particular competition, work out the framed size limit before you start the drawing, not after. How to enter an art competition explains why.
Professional or DIY?
Custom framing from a reputable framer costs more but brings expertise, conservation materials and tidy finishing. DIY framing can be cost-effective, particularly for standard sizes, if you use conservation materials and take care with hinging and sealing. A mixed approach also works: buy a quality frame and glazing, then cut and hinge the mount yourself once you have practised on spare board.
If you are not sure, frame your first significant pieces professionally and watch what the framer does. Ask about materials and reversibility, and check that they understand pencil and graphite work needs a gap from the glazing.
Storing unframed work
Not every drawing needs a frame straight away. Storing work properly protects both quality and value.
- Store flat, in a portfolio, box or plan chest, rather than rolled or standing on edge.
- Interleave drawings with clean, acid-free tissue or glassine, especially for soft graphite or heavily layered coloured pencil that can transfer.
- Keep away from light, heat and damp. Attics, garages and sunny walls are poor places.
- Handle by the edges, with clean, dry hands.
- Label carefully on the back or in a log with title, date, size and medium.
- Fixative is optional. Some artists use workable or final fixative for graphite, but it can change the surface and colour of coloured pencil, so test on scrap paper and read the manufacturer’s advice first.
For graphite work, our guide to avoiding smudging in pencil drawings covers handling and protection before framing.
The short version
Use acid-free mount board with a border that is a little heavier at the bottom, hinge the drawing at the top with reversible materials, and make sure it never touches the glass. Choose UV-filtering glazing if the piece matters, keep the frame simple, and work out sizes with the calculator before you cut anything. Store unframed work flat, interleaved and away from light. When you are ready to sell, move on to how to price your drawings.
Quick answers
Frequently asked questions
Should a drawing touch the glass?+
No. Coloured pencil and graphite can smudge or transfer, and moisture can cause the paper to stick to the glass. Use a mount with enough thickness, or add a spacer, so there is a small air gap between the drawing and the glazing.
What is a mount and why do I need one?+
A mount, or mat, is a board with a window cut in it that sits between the drawing and the glazing. It keeps the drawing away from the glass, gives it visual breathing room and frames the image. Use acid-free board for anything you want to last.
How should I attach a drawing to the backing board?+
Use hinges, not all-over adhesive. Small strips of reversible archival tape or Japanese paper attached at the top edge let the sheet hang and expand or contract without buckling. Never use ordinary sticky tape or glue directly on the drawing.
Is museum glass worth it for a drawing?+
It depends on the value of the work and where it will hang. UV-filtering glazing reduces fading risk and anti-reflective options make viewing easier, but they cost more. For valuable pieces, or drawings in bright rooms, the extra protection is often worthwhile. Never hang in direct sun.