How to Draw
How to Draw a Rose
Draw a rose step by step: the spiral centre, layered petals, shading, leaves and a coloured (colored) pencil version with deep, warm and cool reds.
This guide contains affiliate links. If you buy through them we may earn a small commission at no cost to you. How this works.
Jump to recommended products
Key takeaways
- ◆A rose is a spiral of overlapping petals: start with a small tight centre and wrap larger petals around it.
- ◆Each petal is a curved shape with a rolled edge, and a dark gap under it separates it from the petal behind.
- ◆Shade from the inside out: the centre and the spaces between petals are darkest, the outer edges catch the light.
- ◆In coloured pencil, build red from layers of deep red, warm red and cool red rather than one bright pencil.
- ◆Draw fewer, better-placed petals rather than hundreds of identical ones.
A rose looks intimidating because it seems to be all petals. It is easier than it looks: a rose is one spiral, with layers of curved petals wrapping around a tight centre. Draw that structure first, shade the gaps between petals, and the flower appears almost by itself.
This lesson gives the shape method, a graphite version and a coloured pencil version (colored pencil in the US) built from layered reds, plus leaves and the mistakes that make roses look like cabbages.
What you need
- Graphite pencils: HB for the outline, 2B and 4B for shading. The pencil grade chart explains the grades.
- Coloured pencils: at least a deep red, a warm red, a cool red or pink, a dark green, a light green and a touch of purple or brown for shadows.
- Smooth paper with a little tooth. See the best paper for coloured pencils for options.
- A real rose or a good photo to look at. Roses vary enormously, so look at a real flower whenever you can.
A sugared jam doughnut drawn in coloured pencil on grey paper. Drawing by Michael Brace.
How a rose is built
Think of the bloom in three zones.
- The centre. Small, tightly wrapped petals that look almost like a swirl. It is the darkest and most complex part, but it is small.
- The middle ring. Larger petals that wrap around the centre, each overlapping the one before. Their edges curl slightly outward.
- The outer petals. The largest and most open, often turning back at the edges and showing the underside.
Each petal is a curved, cup-like shape. Its top edge is thin and often rolled, and the space beneath it is a dark, curved shadow. Those shadows are what make a rose look like a rose.
Step-by-step: drawing the rose
- Sketch the overall shape. Draw a light circle or slightly flattened oval for the bloom. It is a loose guide for where the outer edge will fall.
- Draw the centre spiral. Near the middle, draw a small, tight spiral, like a comma wrapped around itself. Keep it small. Do not draw a perfect circle.
- Wrap the first petals. Add a curved shape that starts at one side of the spiral, sweeps around it and ends by tucking behind the next petal. Overlap them so no two edges match.
- Add the middle ring. Draw larger, curved petals around the centre. Each one is a rounded triangle, with its top edge dipping and rising slightly, never straight.
- Add the outer petals. Draw the largest petals last, curling back at the top edge. Vary their sizes and let some overlap the outline.
- Erase the guides. Lighten the circle and any spiral lines you no longer need.
- Mark the shadows. Under each petal edge, draw the dark curved shape where the petal in front covers the one behind.
- Shade the form. Start with the darkest darks at the centre and under the petals, then add mid-tones on the petal surfaces. Leave the tops of the petals light.
- Add stem, sepals and leaves. Draw the cup of green sepals under the bloom, a thorny stem and two or three pointed leaves with serrated edges.
An iced bun topped with a cherry drawn in coloured pencil on grey paper. Drawing by Michael Brace.
The graphite version
Graphite is a good place to learn the structure, because it lets you focus on value.
- Use curved strokes. Shade with lines that follow each petal, not straight hatching that cuts across them. See how to shade with a pencil.
- Build up slowly. Start with a light tone across the whole rose, then darken the shadows in stages. It is easier to add than to remove.
- Keep highlights clean. Lift out light areas with a kneaded eraser, or leave the paper white on the tops of the petals.
- Blend the soft parts. A tortillon or a soft brush smooths petal surfaces. Our guide to blending graphite has the tools and technique.
Use a limited value range first: light, mid and dark. Once those are right, add details.
The coloured pencil version
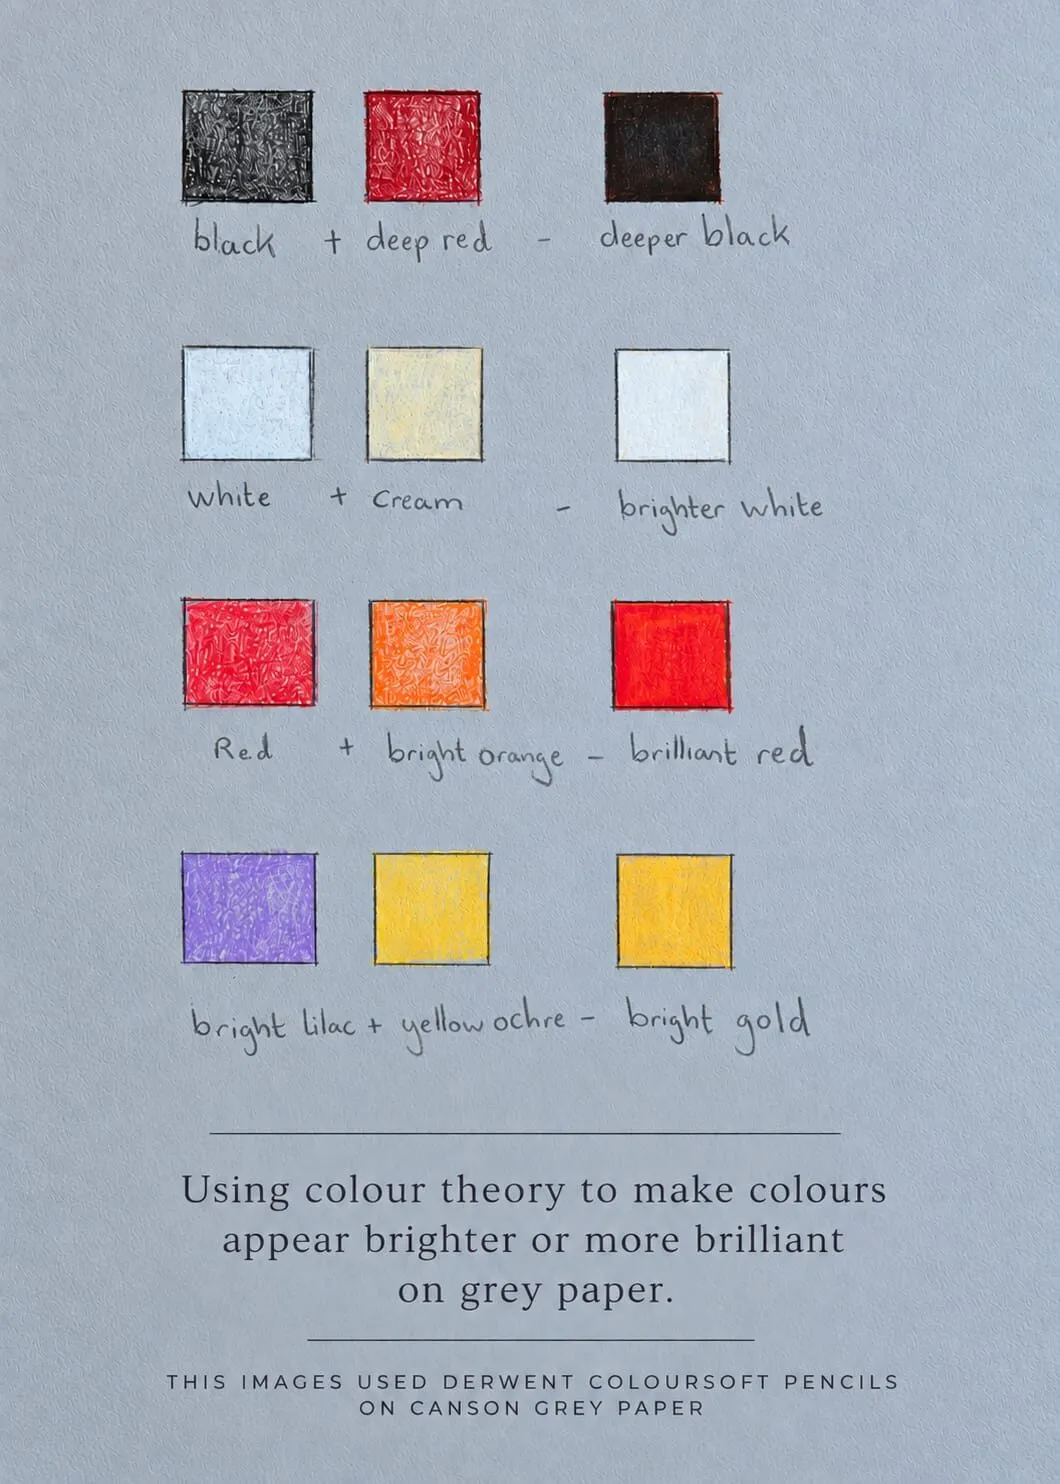
A red rose is not one red. It is a stack of reds and near-reds that shift with light and shadow.
- Lay a light underlayer. A soft warm red or pink over the petal shapes, with very light pressure.
- Build the mid-tones. Add warm red where petals catch light and turn, following the curve.
- Deepen the shadows. Layer a deep red or crimson in the gaps under petals and at the centre, and if needed a touch of purple or brown to make it richer.
- Add cool notes. A cool red or pink on the edges of petals, and in reflected light, stops the flower going flat and orange.
- Blend and burnish. Smooth transitions with light pressure and a pale pencil, then burnish the darkest parts for depth. See how to burnish coloured pencils.
- Add the highlights. Lift or leave a few petal edges very light, or add a pale pink. Do not use white on every edge.
For the principle behind warm and cool reds, see colour temperature: warm and cool. For the layering technique, read how to layer coloured pencils. You can also pull a palette from a rose photo with the palette from photo tool.
Lighting and composition
Place your light source before you shade, and stick to it. A rose lit from one side has a clear light-to-shadow gradient across the bloom, and that gradient is what gives it volume. Backlit roses glow at the petal edges, and side-lit roses show the most texture.
Think about the pose too. A rose seen from above shows the spiral clearly, while one seen from the side is dominated by layers of overlapping petals and the cup of sepals below. Three-quarter views are the most forgiving, because they show both the spiral and the layered edges. Leave breathing room around the bloom, and consider a simple, slightly darker background so the light petals stand out.
Leaves and stem
Leaves give a rose its context and help it feel real.
- Shape. A pointed oval with a serrated edge and a central vein. Add a slight curve so it does not look flat.
- Colour. A mix of dark green, yellow-green and a touch of brown or blue. Avoid one flat green.
- Light. Make leaves slightly darker than the flower so they support it. Keep the vein lighter than the surface.
- The stem. A gentle curve, not a ruler line. Add a few thorns with a light sweep and a small shadow.
Common mistakes and fixes
- The cabbage rose. Too many petals of the same size, so the flower looks like a head of cabbage. Fix: draw fewer petals and vary sizes.
- A flat centre. A big dark hole or a perfect circle. Fix: draw a small tight spiral with a soft shadow.
- Straight petal edges. Petals look like triangles. Fix: give every edge a gentle wave or roll.
- One flat red. Fix: layer deep, warm and cool reds.
- Heavy dark outlines. Fix: let shadow describe the edge.
- Skipping the shadows. Without the dark gaps under petals, the layers merge. Fix: draw the shadow shapes before the mid-tones.
Practice exercises
- Spirals. Fill a page with small spirals and wrapped petals. Just the centre, ten times.
- Single petal study. Draw one petal from three angles, with shading.
- Graphite rose in three values. Keep it simple: light, mid and dark. Use the value study tool on a rose photo to check.
- Red swatch page. Layer three reds in different orders and see what changes.
- Rose with leaves. Finish a complete drawing, with a light background.
Where to go next
Roses are an exercise in shading curved forms, so basic forms and shading will improve every petal. Then explore the rest of the how-to-draw lessons. For more advanced botanical work, our list of the best books for botanical drawing is a good place to look.
The short version
Draw a small spiral, wrap larger curved petals around it, and shade the shadows under each petal edge. In graphite, follow the curves and keep highlights clean. In coloured pencil, layer deep, warm and cool reds. Vary the petals, and resist outlining them.
Where to buy
Recommended products
Affiliate links. We may earn a small commission if you buy, at no extra cost to you. Why?
Book · Wendy Hollender
Botanical Drawing in Color
Colour mixing and layering through botanical subjects.
Buy on AmazonAffiliate link · opens Amazon
Quick answers
Frequently asked questions
What is the easiest way to draw a rose for beginners?+
Draw a small spiral for the centre, then add curved petals wrapping around it, each one slightly larger and overlapping the last. Finish with a few outer petals that curl open, then shade the gaps between petals. Simple shapes drawn in order look better than a detailed outline drawn all at once.
How do I shade a rose realistically?+
Work from a light source. Darken the very centre and the shadow under each petal's edge, keep the tops of the petals light and let the outer petals turn gradually from mid-tone to shadow. Use smooth, curved strokes that follow the petal shape rather than straight hatching.
What colours do I need for a red rose in coloured pencil?+
Use at least three reds: a deep red or crimson for shadows, a warm red for the middle tones and a cooler red or pink for light or cool reflections. Add a touch of purple or dark brown to deepen shadows. Layer them lightly and gradually. Colored pencils (US spelling) build reds best in thin layers.
How many petals should a rose have in a drawing?+
There is no fixed number. Real roses have many, but a drawing reads best when you show the main spiral, a ring of middle petals and a few outer petals. Suggest the rest with soft shading. Count roughly and vary the sizes so it feels natural.