Drawing Techniques
How to Sharpen Coloured Pencils Without Breaking Them
Stop snapped cores and ragged points. How to sharpen coloured (colored) pencils with a sharpener, knife or sandpaper, how long to make the point and when to resharpen.
This guide contains affiliate links. If you buy through them we may earn a small commission at no cost to you. How this works.
Jump to recommended products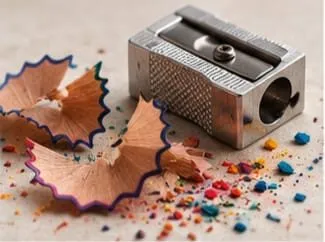
Key takeaways
- ◆A snapping core is usually a sharpener problem, not a pencil problem: a sharp blade and a gentle, steady turn matter most.
- ◆A long, fine point suits detail such as fur and eyes; a shorter, sturdier point suits broad shading and soft pencils.
- ◆Sharpen by hand, with a knife or with sandpaper when you want control; a good sharpener is fastest and cleanest.
- ◆Sharpen little and often. A blunt point skips the paper's tooth and leaves speckled gaps.
- ◆Soft, wax-based cores break more readily than firm, oil-based ones, so treat them more gently.
Nothing wastes a good coloured pencil - colored pencil in the US - like a bad sharpener. A core that snaps every time you turn the pencil, a ragged tip that scratches the paper and a stub that is half its original length after a week are all common, and they are mostly avoidable.
This guide covers the main sharpener types, how long to make a point, three methods (sharpener, knife and sandpaper), how to protect soft cores and how to deal with the dust. If you are choosing a sharpener rather than learning to use one, our list of the best pencil sharpeners for coloured pencils has recommendations.
Why sharpening matters more than you think
Coloured pencil is built from light layers laid onto the paper’s tooth. A sharp point reaches into that texture and deposits colour evenly. A blunt point skips across the tops and leaves speckled gaps, and it tempts you to press harder to compensate, which fills the tooth and limits your layering. So a sharp point supports the whole technique described in how to layer coloured pencils.
Sharpening is also where soft, expensive pencils are lost. A clean cut wastes little; a crushing cut wastes a lot.
A framing workbench with mount boards, frame corners, a cutting mat and a metal ruler.
Types of sharpener
| Type | Point it makes | Good for | Watch out for |
|---|---|---|---|
| Handheld single-hole | Short to medium | Everyday use, travel | Blade dulls; can crush soft cores |
| Long-point handheld | Long, fine | Detail work | A fragile tip that breaks under pressure |
| Brass or metal bladed | Clean, precise | Frequent sharpening, careful control | Small; not always long point |
| Hand-cranked desk | Consistent, adjustable | Sharpening many pencils quickly | Bulky; check the mechanism suits soft cores |
| Electric or battery | Fast, uniform | Volume work | Can chew soft cores; heat and speed |
| Craft knife | Any shape | Full control | Takes practice; slower |
| Sandpaper block | Fine, custom point | Refining tips | Messy; needs a block or board |
Many artists keep two tools: a good sharpener for the main shape and a fine sandpaper block for refining the tip. Derwent’s Super Point, M&R brass sharpeners and KUM long-point sharpeners are widely used in this role; our sharpener guide explains how they differ.
Long point or short point?
The length of the point changes what the pencil does.
- A long, fine point is delicate. It suits detail: eyelashes, fur, wood grain and small highlights. It breaks easily, so use light pressure.
- A short, sturdy point is stronger and holds up to firmer strokes. It suits broad shading, burnishing and soft pencils that would otherwise snap.
- A slightly rounded, worn point is useful for smooth, even tone, because it deposits colour more broadly without scratching.
You do not have to stay with one. A common approach is to start with a medium point, sharpen longer for details and let the tip wear into a broader edge for shading. When you draw fine subjects such as the fur on a small dog, sharpen often; when you fill a background, work with a blunter tip.
A mount-cutting bench with a cutting mat, ruler, mount board and frame mouldings.
Method 1: a sharpener
- Check the blade. A blade that is nicked or dull will tear the wood and crush the core. Replace the blade or the sharpener when the pencil starts to feel rough.
- Hold the sharpener still and turn the pencil, or hold the pencil still and turn the sharpener. Either way, keep the turn slow, smooth and steady.
- Use a light touch. Do not push the pencil into the sharpener. Let the blade do the work.
- Stop and check often. As soon as you see a clean, even cone of core, stop.
- Blow off the dust and wipe the tip on scrap paper to remove loose crumbs that might smudge.
With a hand-cranked sharpener, adjust the point length if the model allows it, and clear the shavings regularly so the mechanism does not jam.
Method 2: a knife
A craft knife gives you a choice of point shape, and it never crushes a core the way a dull sharpener can.
- Hold the pencil in your non-dominant hand with the thumb near the tip and away from the blade.
- Cut away from your body, shaving thin slices of wood in a long, shallow angle.
- Rotate the pencil a little after each cut to keep the cone even.
- Expose the core, then shape it lightly with a few gentle strokes on sandpaper.
Use a sharp blade and take your time. This is not a fast method, but it keeps the core protected and gives a long taper.
Method 3: sandpaper
A sandpaper block, or a piece of fine sandpaper glued to a stick, shapes the core after the wood is trimmed.
- Sharpen or trim the wood first, so the core is exposed.
- Rub the tip on the sandpaper, rolling the pencil as you go, until the point is even.
- Wipe the dust off with a tissue before you draw.
Sandpaper is excellent for a very fine point and for refining a slightly worn tip without losing more pencil. Keep it well away from your drawing, since the dust is fine and can settle on the paper.
Keeping soft cores from breaking
Soft, wax-based cores, such as those in creamy premium pencils, are the most breakable. Some habits help:
- Sharpen with less pressure and a shorter point. A long, fine point is often too fragile for soft pencils.
- Do not drop pencils. A drop can crack the core inside the wood, and a cracked core will snap repeatedly however good the sharpener is.
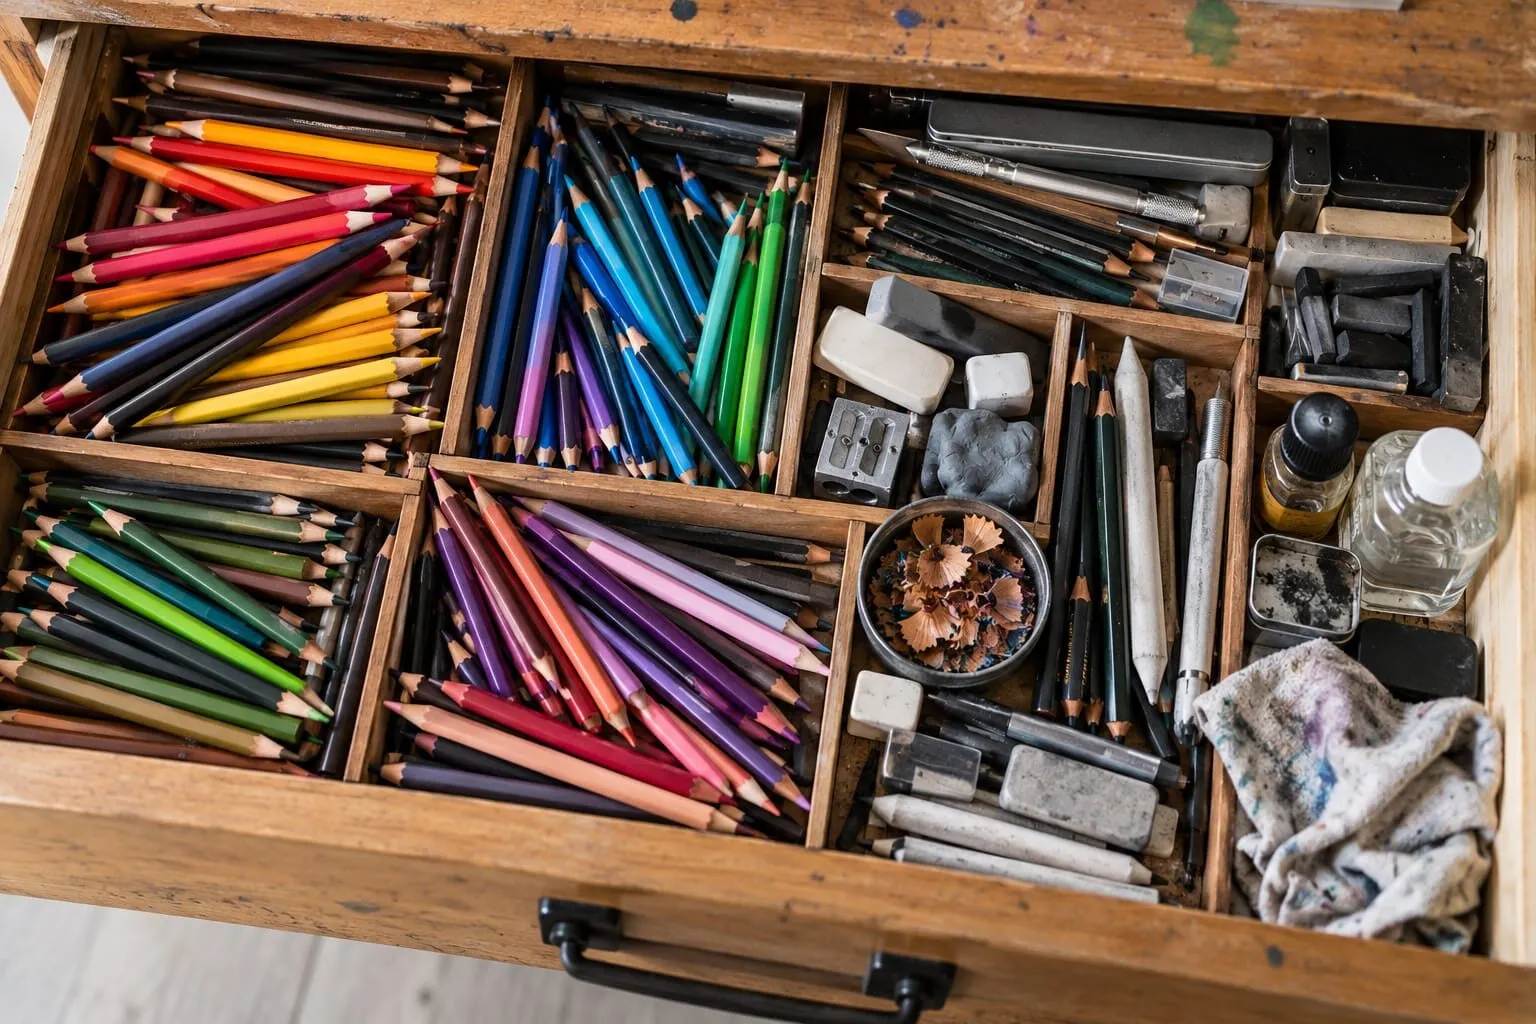
- Store pencils flat in a tin or tray, away from heat, which can soften wax cores.
- Avoid pressing hard on a fresh point. Start light and add pressure once the tip has worn slightly.
- If a core keeps breaking, try another sharpener before deciding the pencil is bad.
Wax and oil-based pencils
Wax-based pencils are soft, creamy and blend easily, which is also why they break more readily and can crumble under a strong blade. Oil-based pencils, such as Faber-Castell Polychromos, are firm and hold a long, fine point well, which suits precise detail. The way you sharpen is the same; only the tolerance differs. Read more in wax versus oil-based coloured pencils.
When to sharpen
- When the tip rounds off and strokes start to look thick or speckled.
- Before detail work, so the first marks are clean.
- When you change from broad shading to fine lines.
- Not necessarily before burnishing. Burnishing works well with a slightly worn tip, and a very sharp point can scratch the surface.
Sharpening too often wastes pencil, but sharpening too little wastes drawings. If you are unsure, look at the marks: even lines mean the point is fine.
Handling dust and shavings
Wax and pigment shavings are messy and can smudge or stain paper.
- Sharpen away from your drawing, ideally over a bin or a tray.
- Never blow shavings over the drawing. Blowing spreads dust and moisture.
- Use a soft brush to sweep crumbs off, away from the working area.
- Keep a small container for shavings and offcuts. Some artists save them for other uses, but that is optional.
- Tap or wipe the tip on scrap paper before returning to the drawing.
For more on keeping a drawing clean, see lifting and erasing coloured pencil.
The short version
Use a sharp blade and a gentle, steady turn. Make a long point for detail and a shorter one for broad work, resharpen as soon as the tip rounds, and treat soft wax cores with extra care. If pencils keep breaking, change the sharpener before blaming the pencil. A good sharpener will also help you as you learn coloured pencil drawing for beginners.
Where to buy
Recommended products
Affiliate links. We may earn a small commission if you buy, at no extra cost to you. Why?
Tool · Derwent
Derwent Pencil Sharpener
A dependable sharpener for keeping soft cores intact.
Buy on AmazonAffiliate link · opens Amazon
Pencils · Faber-Castell
Faber-Castell Polychromos
Firm, oil-based artist pencils that hold a point - a benchmark for detail and clean layering.
Pencils · Derwent
Derwent Coloursoft Pencils
Soft, velvety and richly pigmented - excellent for painterly blending and bold colour.
Quick answers
Frequently asked questions
Why do my coloured pencils keep breaking when I sharpen them?+
Three common causes: a dull blade that crushes instead of cuts, pressing too hard while turning, and a soft core that was already cracked inside the wood after a drop. Use a sharp blade, turn slowly with light pressure, and try a different sharpener before blaming the pencil. If the core is loose inside the wood, it will keep snapping.
What is the best way to sharpen colored pencils?+
A good sharpener with a sharp blade is the quickest and most consistent, and a hand-cranked or long-point model gives the finest tips. A craft knife or sandpaper gives more control over the point shape. Whatever you use, sharpen gently and often rather than forcing a very long point in one go.
How often should I sharpen while drawing?+
Whenever the point rounds off or you see speckled gaps in your layers, which for fine detail can be every few minutes. For broad shading you can go longer. A sharp point is what lets a light layer sit on the paper's tooth evenly, so frequent sharpening improves your layering.
Should I sharpen wax and oil-based pencils differently?+
The method is the same, but wax-based cores are softer and break more easily, so use lighter pressure and a shorter point. Oil-based cores are firmer and hold a long, fine point better. If a wax-based pencil crumbles, try sharpening it more slowly or a little less severely.