How to Draw
How to Draw Water and Reflections in Pencil
Learn to draw water and reflections: still versus moving water, inverted reflections, ripples, highlights, transparency and colour in coloured (colored) pencil.
Key takeaways
- ◆Still water acts like a mirror, so its reflection is an inverted copy of the scene, while moving water breaks that copy into wavering bands.
- ◆Reflections are usually slightly darker and softer than the object, and ripples stretch them vertically and break them with horizontal lines.
- ◆Water is drawn mostly through what it reflects and what it reveals, so the sky, the banks and the bed do the work, not an outline of the water itself.
- ◆Sharp, small highlights and strong value contrast make water look wet, and they should be saved for the final layers.
- ◆Water takes its colour from the sky, the surroundings and the depth, so build it with layered, muted colours instead of a flat blue.
Water has no colour or shape of its own. It is drawn almost entirely through what it reflects, what you can see through it and how its surface moves. That is good news, because it means you can draw convincing water with the same skills you already use for light, value and edges. The short method is to draw the objects first, flip them in the water, darken and soften the reflections, break them with horizontal ripples, and keep your brightest highlights for the last layer.
This lesson explains the difference between still and moving water, how reflections work, how to add highlights, how to show transparency and how to choose colour, in graphite first and in coloured pencil (colored pencil in the US) after.
What you need
- Graphite: HB, 2B and 4B for graphite water. See the pencil grade chart if you need help choosing.
- Smooth paper: a fine surface helps you keep smooth, even tone on calm water. Toned or grey paper gives a mid-value for highlights.
- A kneaded or plastic eraser: useful for lifting small highlights.
- A ruler or straight edge: for the horizontal guides that keep reflections level.
- Coloured pencils: several blues, greens, violets and warm greys, plus a white for highlights on toned paper.
- A value tool: the value study tool helps you see whether your water is dark enough against the sky.
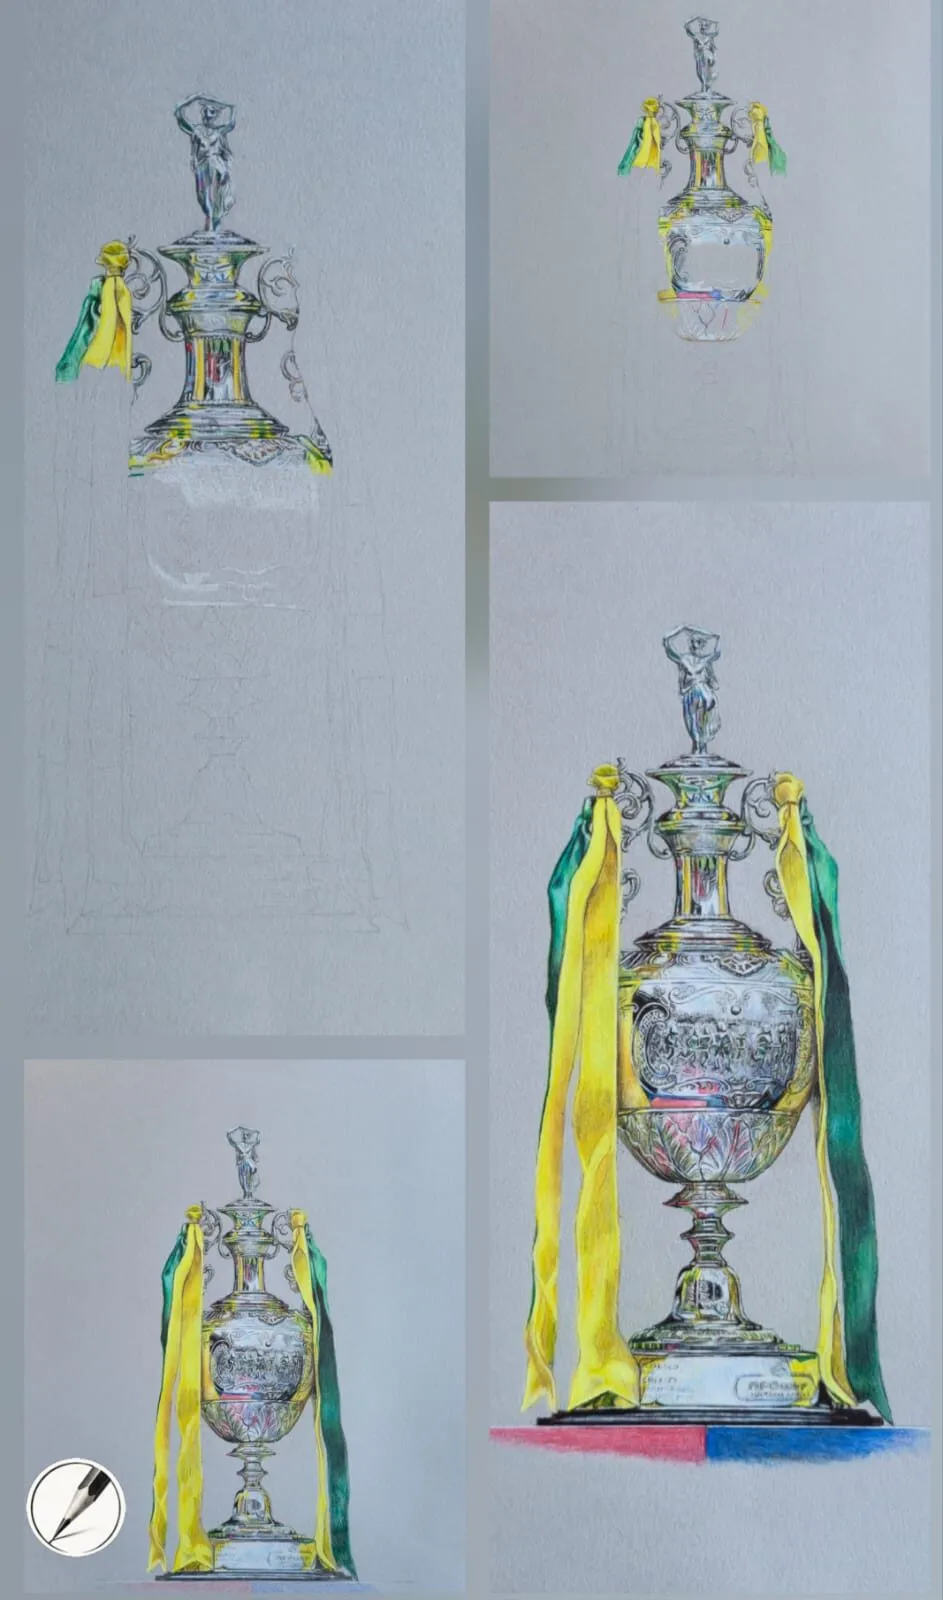
A silver trophy with yellow and green ribbons drawn in coloured pencil on grey paper, shown in four stages. Drawing by Michael Brace.
Still water and moving water
The first decision is what kind of water you are drawing.
| Water | Surface | Reflection | How to draw it |
|---|---|---|---|
| Still | Flat, like a mirror | Clear, near-exact inverted copy | Smooth horizontal tone, sharp reflection edges |
| Gentle ripples | Small regular movements | Stretched and wavering vertically | Horizontal gaps and wavy edges in the reflection |
| Moving or choppy | Irregular waves | Broken into fragments and colour patches | Short broken strokes, bright highlights and dark troughs |
| Fast water | White and turbulent | Little reflection | Hard contrast, directional strokes, paper left white for foam |
The lighter and more still the water, the more the reflection looks like the real scene. The more it moves, the more it becomes a pattern of light and dark shapes.
How to draw water and reflections step by step
1. Draw the scene above the water first
Draw the banks, trees, buildings, boats or sky that sit above the waterline in light pencil. The reflections depend on these, so they need to be in place and correct. Mark the waterline clearly with a straight, level line.
2. Flip the objects down
For still water, imagine the surface as a mirror. Every point on an object reflects to the same distance below the waterline as it stands above it. Measure key points, such as the top of a tree or the peak of a roof, and drop them straight down to the matching distance. Draw the reflection as a light, upside-down copy. If you are looking at the water from a low viewpoint, the reflection will be nearly as tall as the object, and from a high viewpoint it will appear shorter and more foreshortened.
3. Keep verticals vertical
The reflection of a vertical post stays directly beneath the post, even in a drawing with perspective. Reflections move sideways only when the object itself sits at an angle to the viewer. This is the most common thing to check when a reflection looks off.
4. Darken and soften the reflection
Shade the reflection slightly darker than the object in the mid-tones, and soften the edges. Light colours reflect as slightly darker versions of themselves, and the dark shapes of trees or buildings stay dark. Reflections of the sky are often lighter than the sky near the horizon. A general guide, since real conditions vary with light and angle, is to make the reflection a little simpler than the object with less detail.
5. Break the reflection with ripples
Add horizontal lines across the reflection, leaving gaps where the water catches the light, and let the lines wander slightly. On gentle ripples, pull the edges of the reflection sideways in a soft zigzag so they appear to wobble. On moving water, break the reflection into separate horizontal patches with lighter water between. The ripples are what convert a mirror into water.
6. Add the darker shapes of the water
In graphite, add darker horizontal strokes where the water is in shadow, such as beneath a bank or boat, and in the troughs of waves. Use firm, directional strokes that follow the surface, not diagonal scribble. The contrast of these dark shapes with the lighter surface is what makes the surface read as wet.
7. Lift or save the highlights
Water sparkles where the surface catches the light. Leave small, sharp slivers of white paper, or lift them out with a kneaded or electric eraser. Keep highlights small, horizontal and clustered near the light source, and strongest where the contrast is greatest. Too many sparkles make the water noisy. A few well-placed ones work better.
8. Show what lies beneath
If the water is shallow or clear, you can see the bed. Draw pebbles or plants with softer edges and lower contrast, and let them fade as the water deepens. This is the same idea as atmospheric perspective in landscape drawing, described in how to draw mountains and landscapes. Near the viewer you may see down into the water, while further away the surface reflects the sky, so the transparent area is usually in the foreground.
9. Finish with contrast
Strengthen the darkest darks near the foreground, add your last highlights and check that the water reads from a distance. If it looks flat, deepen the darks next to the brightest highlights.
Reflections on other shiny surfaces
The rules for water also apply to other reflective things, such as polished floors, glossy tables, car bodies and metal. The reflection is a flipped, darker and softer version of the scene, and curved surfaces distort it. Michael’s silver tokens above are a compact example, and the full method is in how to draw shiny metal and reflections.
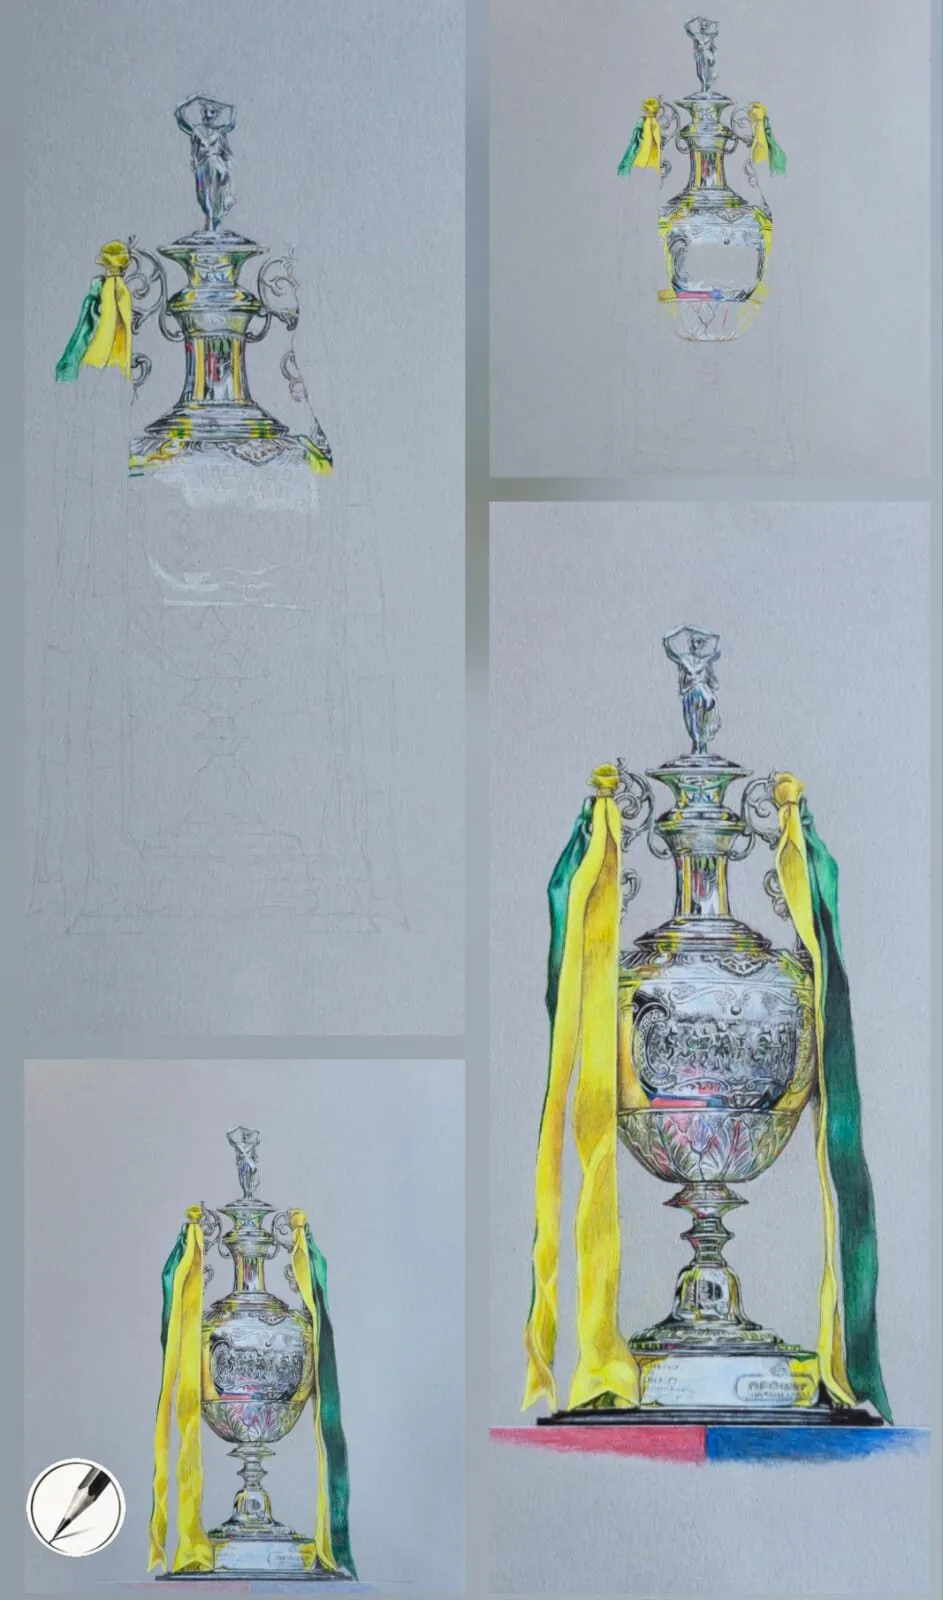
Michael’s silver trophy in stages on grey paper. Layering dark shapes and bright highlights on a reflective surface is the same approach used for water.
Colour in water
Water is rarely plain blue. It takes its colour from three things: the sky it reflects, the things around it, and its depth and what lies beneath.
- Clear, bright sky: the water near the horizon reflects a pale blue sky, and closer water may be darker.
- Overcast sky: grey, silver and green-grey tones.
- Trees and banks: greens, browns and dark neutrals reflected along the edge.
- Sunrise and sunset: warm oranges and pinks in the reflection, with cool violets in the shadows. See colour temperature: warm and cool.
- Depth: shallow water is lighter and more transparent, and deep water is darker and more saturated.
In coloured pencil, build water from several thin layers rather than one heavy one. A sample order is pale blue or grey first, then a mid blue or green, then violet or dark blue for the darks, with warm colours in places where the sky or sunset reflects. Keep horizontal strokes, and work light to dark. Leave white paper or add a white pencil highlight at the end. The colour scheme generator helps you pick a restrained palette, and how to draw clouds and skies gives you the colours to reflect.
Common mistakes
The remedy is to draw the reflected scene, then break it, then add highlights last. If water looks wrong, the first things to check are the horizontal level and the contrast.
Practice exercises
- Mirror lake: draw a simple skyline and its reflection in still water, using a ruler for the waterline.
- Ripple study: redraw the same reflection with gentle ripples, then with choppy water.
- Highlights only: make a small tonal study of water with only three highlights and compare it with one with thirty.
- Transparent shallows: draw pebbles under water, with the contrast fading as it deepens.
- Colour in three skies: draw the same water reflecting a clear sky, an overcast sky and a sunset in coloured pencil.
Next steps
Water sits in a landscape, so move on to how to draw mountains and landscapes to place it in a full scene. To understand the light and dark behind reflections, read how to draw shadows and light, and browse the how to draw hub for the rest of the series.
The short version: draw the scene, flip it in the water, darken and soften the reflection, break it with horizontal ripples, and save a few small highlights for the end.
Quick answers
Frequently asked questions
How do you draw reflections in water?+
Draw the reflected object directly below the real one, flipped vertically, as if the water surface were a mirror. Make it slightly darker and softer, and break it with horizontal ripple lines. The reflection should stretch to the same distance below the waterline as the object stands above it.
How do you draw water with a pencil?+
Use the reflections and the surroundings to describe it. Shade the water in horizontal strokes, leave the paper clean or lift out small highlights, add darker ripples beneath and keep the contrast strongest near the viewer. For still water keep the strokes smooth, and for moving water use broken, irregular lines.
Why do reflections look darker than the real object?+
Water reflects most of the light from objects only at glancing angles, and some of the light is absorbed or scattered, so a reflection is generally a little darker and less detailed than the real thing. Distant reflections may also pick up the colour of the sky. This is a general guide, and conditions vary.
Are colored pencils and coloured pencils the same?+
Yes, colored is the US spelling and coloured the UK spelling. Both suit water, because thin layers of blue, green, violet and warm grey can be stacked to build transparency. This lesson gives the graphite method first and the coloured pencil variant after.